Quick answer
To sew a zipper pouch with clean results, use a zipper foot, baste the zipper in place before sewing, and trim seam allowances after each step. Choose a nylon coil zipper at least 1 inch longer than your pouch width, and press seams open as you go. A little prep prevents puckers and crooked corners.
A zipper pouch is one of the most useful projects a beginner can sew. It teaches you to handle a zipper without fear, and the finished pouch makes a great gift or organizer for sewing tools. The difference between a frustrating attempt and a professional-looking pouch comes down to a few small habits: measuring accurately, basting before final stitching, and pressing at every stage.
This guide walks through the process step by step, with checkpoints to catch common mistakes before they become permanent. You do not need a special zipper foot for every machine, but it helps. You also do not need expensive fabric—a couple of fat quarters or scrap pieces work fine. By the end, you will have a pouch with a smooth zipper and neat corners, plus the confidence to make more.
Gather your materials and measure twice
For a standard 8-inch by 5-inch pouch, cut two outer fabric pieces and two lining pieces, each 9 inches by 6 inches. Cut two pieces of fusible interfacing the same size if you want a sturdier pouch. Choose a zipper at least 9 inches long—longer is fine because you will trim it later. A nylon coil zipper is more forgiving for beginners than a metal one because it bends easily under the presser foot.
Before you cut, double-check your measurements. A common mistake is cutting pieces slightly different sizes, which leads to a crooked zipper. Stack and trim your fabric pieces together if needed. Also, decide which side is the outer front and back; if you are using a directional print, make sure both outer pieces face the same way.
- Use a rotary cutter and ruler for accurate pieces. Scissors work, but a ruler helps you keep edges straight.
- If your fabric is slippery, add a light fusible interfacing to stabilize it before sewing.
Prepare the zipper and fabric layers
Place the zipper face down on the right side of one outer fabric piece, aligning the top edges. The zipper pull should be at the top. Pin or clip in place. Then place one lining piece right side down on top of the zipper, matching edges. The zipper is sandwiched between the outer and lining fabrics. Sew along the top edge with a 1/4-inch seam allowance using a zipper foot.
After sewing, flip the lining down and press the seam. Topstitch if desired. Repeat for the other side: place the remaining outer fabric right side down on the free side of the zipper, then the remaining lining piece right side down on top. Sew along that edge. Now you have a flat piece with the zipper in the middle and outer fabrics on one side, linings on the other.
- Do not sew over the zipper pull; stop with the needle down, lift the presser foot, and slide the pull out of the way.
- Use a zipper foot to get close to the teeth. If you do not have one, a regular foot works but may require slower sewing.
Sew the sides and box the corners
Open the zipper halfway—this is critical because you will turn the pouch through the lining later. Now bring the outer fabrics right sides together and the lining fabrics right sides together. The zipper should fold in half. Pin around the entire perimeter, leaving a 3-inch opening in the lining bottom for turning. Sew all the way around with a 1/4-inch seam allowance, pivoting at corners.
To create a flat bottom, box the corners. Flatten each corner so the side seam aligns with the bottom seam, forming a triangle. Measure 1 inch from the point and draw a line. Sew across the line, then trim the excess. Repeat for all four corners. This step gives the pouch structure and helps it stand up.
- Backstitch at the beginning and end of the turning opening to secure it.
- Trim seam allowances at the corners to reduce bulk before turning.
Turn, press, and finish
Turn the pouch right side out through the opening in the lining. Push out the corners gently with a point turner or chopstick. Press the pouch, especially around the zipper, to set the seams. Sew the lining opening closed by hand with a ladder stitch, or machine stitch close to the edge. If you prefer, you can skip boxing the corners for a simpler flat pouch.
For a professional finish, topstitch around the zipper through all layers. This step is optional but adds durability and a polished look. Finally, add a personalized touch with a sew-in label. A label like "Voila - Designer Sewing Labels" can be sewn into the side seam before turning, so your handmade pouch is clearly yours.
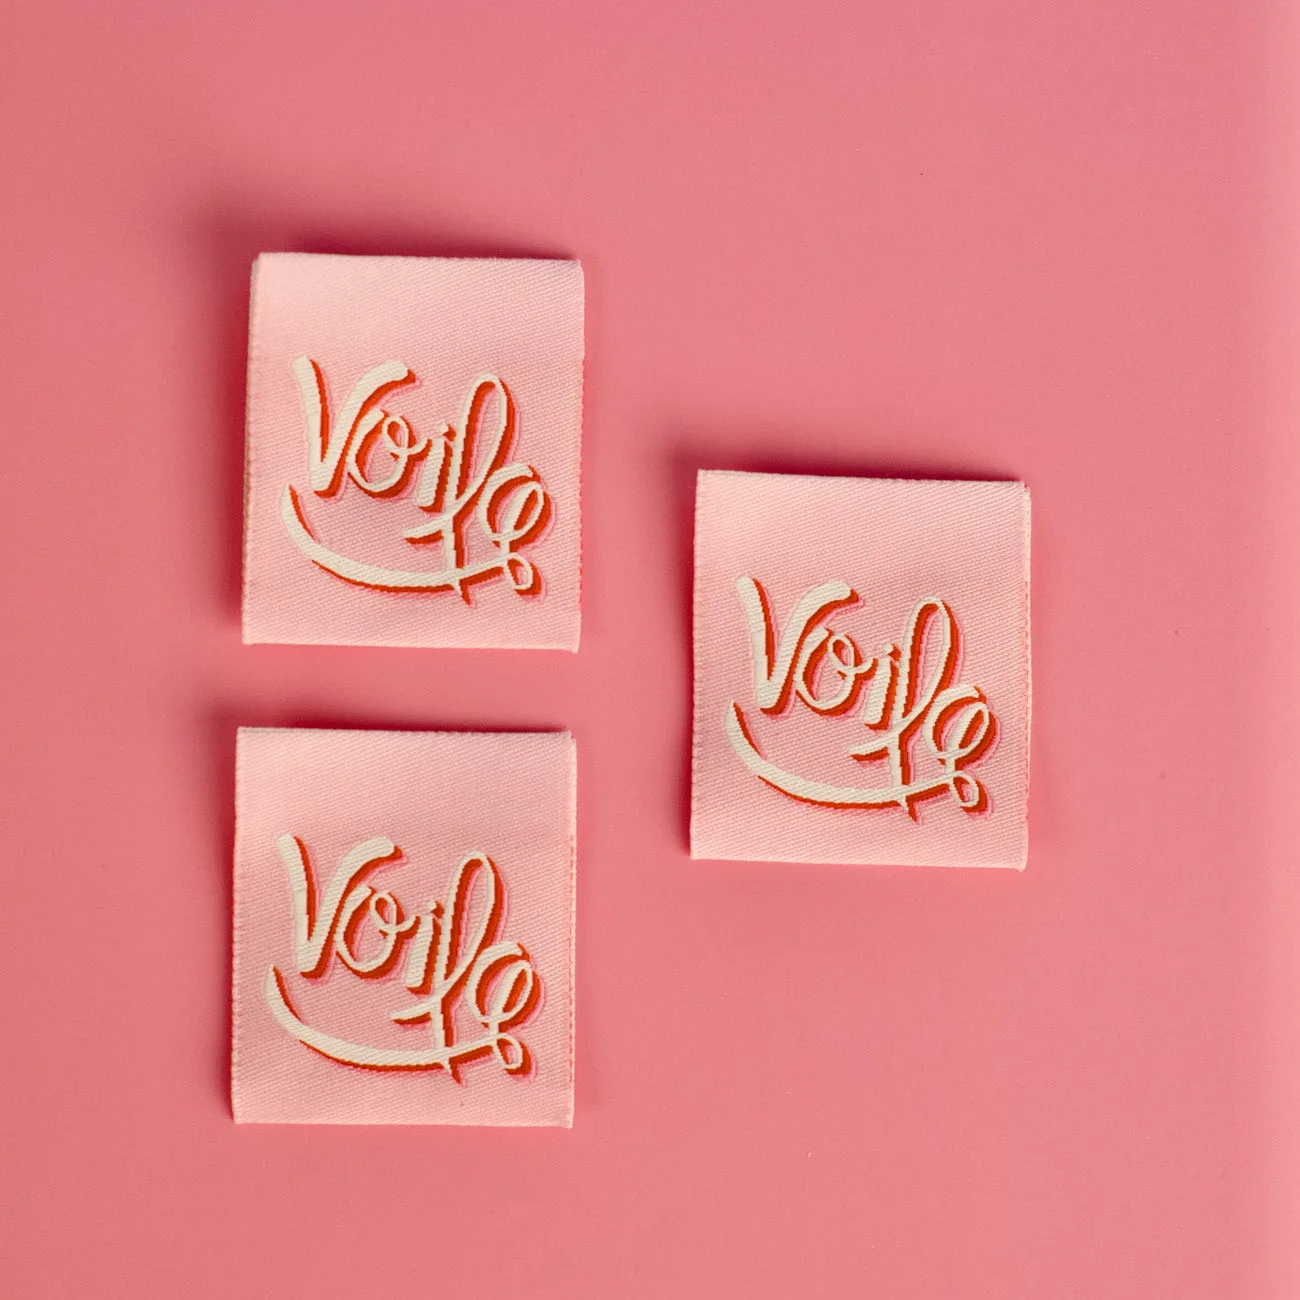
Voila - Designer Sewing Labels
- Use a pressing cloth to avoid melting the zipper coil.
- If the zipper is too long, trim it after sewing the sides, but be careful not to cut the zipper pull.
Step-by-step zipper pouch checklist
- Cut fabric and interfacing: Cut two outer and two lining pieces at 9"x6", plus interfacing if desired. Use a rotary cutter for accuracy. Checkpoint: Stack pieces to ensure they are identical in size.
- Attach zipper to first side: Layer outer fabric right side up, zipper face down, lining right side down. Sew with zipper foot. Mistake to avoid: Sewing too close to the zipper teeth can break needles. Slow down.
- Attach zipper to second side: Repeat with remaining outer and lining pieces on the other side of the zipper. Checkpoint: Both sides should be symmetrical with no twists.
- Sew sides and box corners: Open zipper halfway. Pin outer layers together and lining layers together. Sew around, leaving a 3" opening in lining. Box corners by sewing 1" from point. Mistake to avoid: Forgetting to open the zipper before sewing sides makes turning impossible.
- Turn and finish: Turn right side out through lining opening. Press. Sew opening closed. Topstitch around zipper if desired. Add a label. Checkpoint: Zipper should lie flat and open smoothly.
Materials that make a difference
- Voila - Designer Sewing Labels: Premium designer sew-in labels, easy to sew, perfect for handmade garments, quilts, bags, and accessories. Add a label to your zipper pouch to identify it as handmade or to give as a gift. Sew it into a seam before turning for a clean finish.
- Lillian & Oliver Quilt - Paper Pattern: Quilt pattern includes baby quilt, burp cloth, and bib set; finished quilt measures 42"x42". If you enjoy making pouches, you might want to try a larger project. This pattern offers a coordinated set that uses similar sewing skills.
Sewing a zipper pouch is a skill you can master with one or two practice runs. The key is to baste, press, and trim as you go—small steps that prevent big problems. Once you have the basic method down, experiment with different sizes, fabrics, and zipper colors. Add a personalized label to make each pouch unmistakably yours.