Quick Answer
Solder universal spade connectors to speaker cable by stripping the wire, tinning the strands, crimping the connector barrel, and flowing solder into the joint. This guide covers each step with the common mistakes that can weaken the connection.
Why Solder Instead of Crimp Alone?
Crimping alone can create a gas-tight connection, but adding solder fills microscopic gaps and increases mechanical strength. For DIY speaker cables, soldered spade connectors reduce the risk of intermittent contact over time. The trade-off is that soldering requires more skill and the right tools—a poor solder joint can be worse than a good crimp.
Choosing the Right Connector
Universal spade connectors are designed to fit a range of binding posts and terminals. The gold-plated Universal Spade Connectors for soldering from Transparent Audio are made to work with their DIY speaker cables. They come as a set of four, so you can terminate a full pair of speakers. The gold plating resists corrosion, but it also means you need to heat the joint quickly to avoid damaging the plating.
Step-by-Step Soldering Guide
- Step 1: Strip the Cable: Strip approximately 1/4 inch (6-7 mm) of insulation from the speaker cable end. Twist the exposed strands lightly to keep them together. Common mistake: stripping too much insulation leaves bare wire exposed past the connector barrel, risking short circuits.
- Step 2: Tin the Wire: Apply a small amount of solder to the tip of your soldering iron, then touch it to the wire strands. Feed solder into the strands until they are evenly coated but not dripping. Let the wire cool. Common mistake: overheating the wire can melt the insulation or make the strands brittle. Work quickly and use a heat sink if needed.
- Step 3: Pre-Tin the Connector Barrel: Heat the barrel of the spade connector with the iron and apply a thin layer of solder to the inside surface. Wipe away excess with a clean cloth. Common mistake: using too much solder here will make it hard to insert the wire later. A thin, even coat is enough.
- Step 4: Insert the Wire: Slide the tinned wire into the connector barrel until it bottoms out. The insulation should just meet the barrel opening—no bare wire should be visible. Common mistake: pushing the wire too far can force solder out the back or create a cold joint. Ensure a snug fit.
- Step 5: Crimp the Barrel: Use a crimping tool to gently compress the barrel around the wire. This holds the wire in place while you solder and adds mechanical strength. Common mistake: crimping too hard can deform the connector or crush the wire strands, increasing resistance. Use moderate pressure.
- Step 6: Solder the Joint: Heat the barrel with the iron and touch solder to the joint where the wire meets the barrel. The solder should flow smoothly into the connection. Remove the iron and let the joint cool without moving it. Common mistake: moving the wire while the solder is cooling creates a cold, grainy joint that can fail under vibration. Hold still for 10-15 seconds.
- Step 7: Inspect and Test: Check that the solder has flowed completely around the wire and that no strands are loose. Gently tug on the wire to confirm a solid mechanical bond. Common mistake: skipping the tug test can leave a hidden cold joint that only fails after installation. Always test before heat-shrinking.
Product Facts
-
Universal Spade Connectors for soldering: This high quality gold-plated universal spade connector has been specifically designed to provide a good fit on Transparent DIY Speaker Cables. Sold as a set of 4 connectors. The gold plating resists corrosion, but requires quick soldering to avoid damaging the plating and compromising the connection.
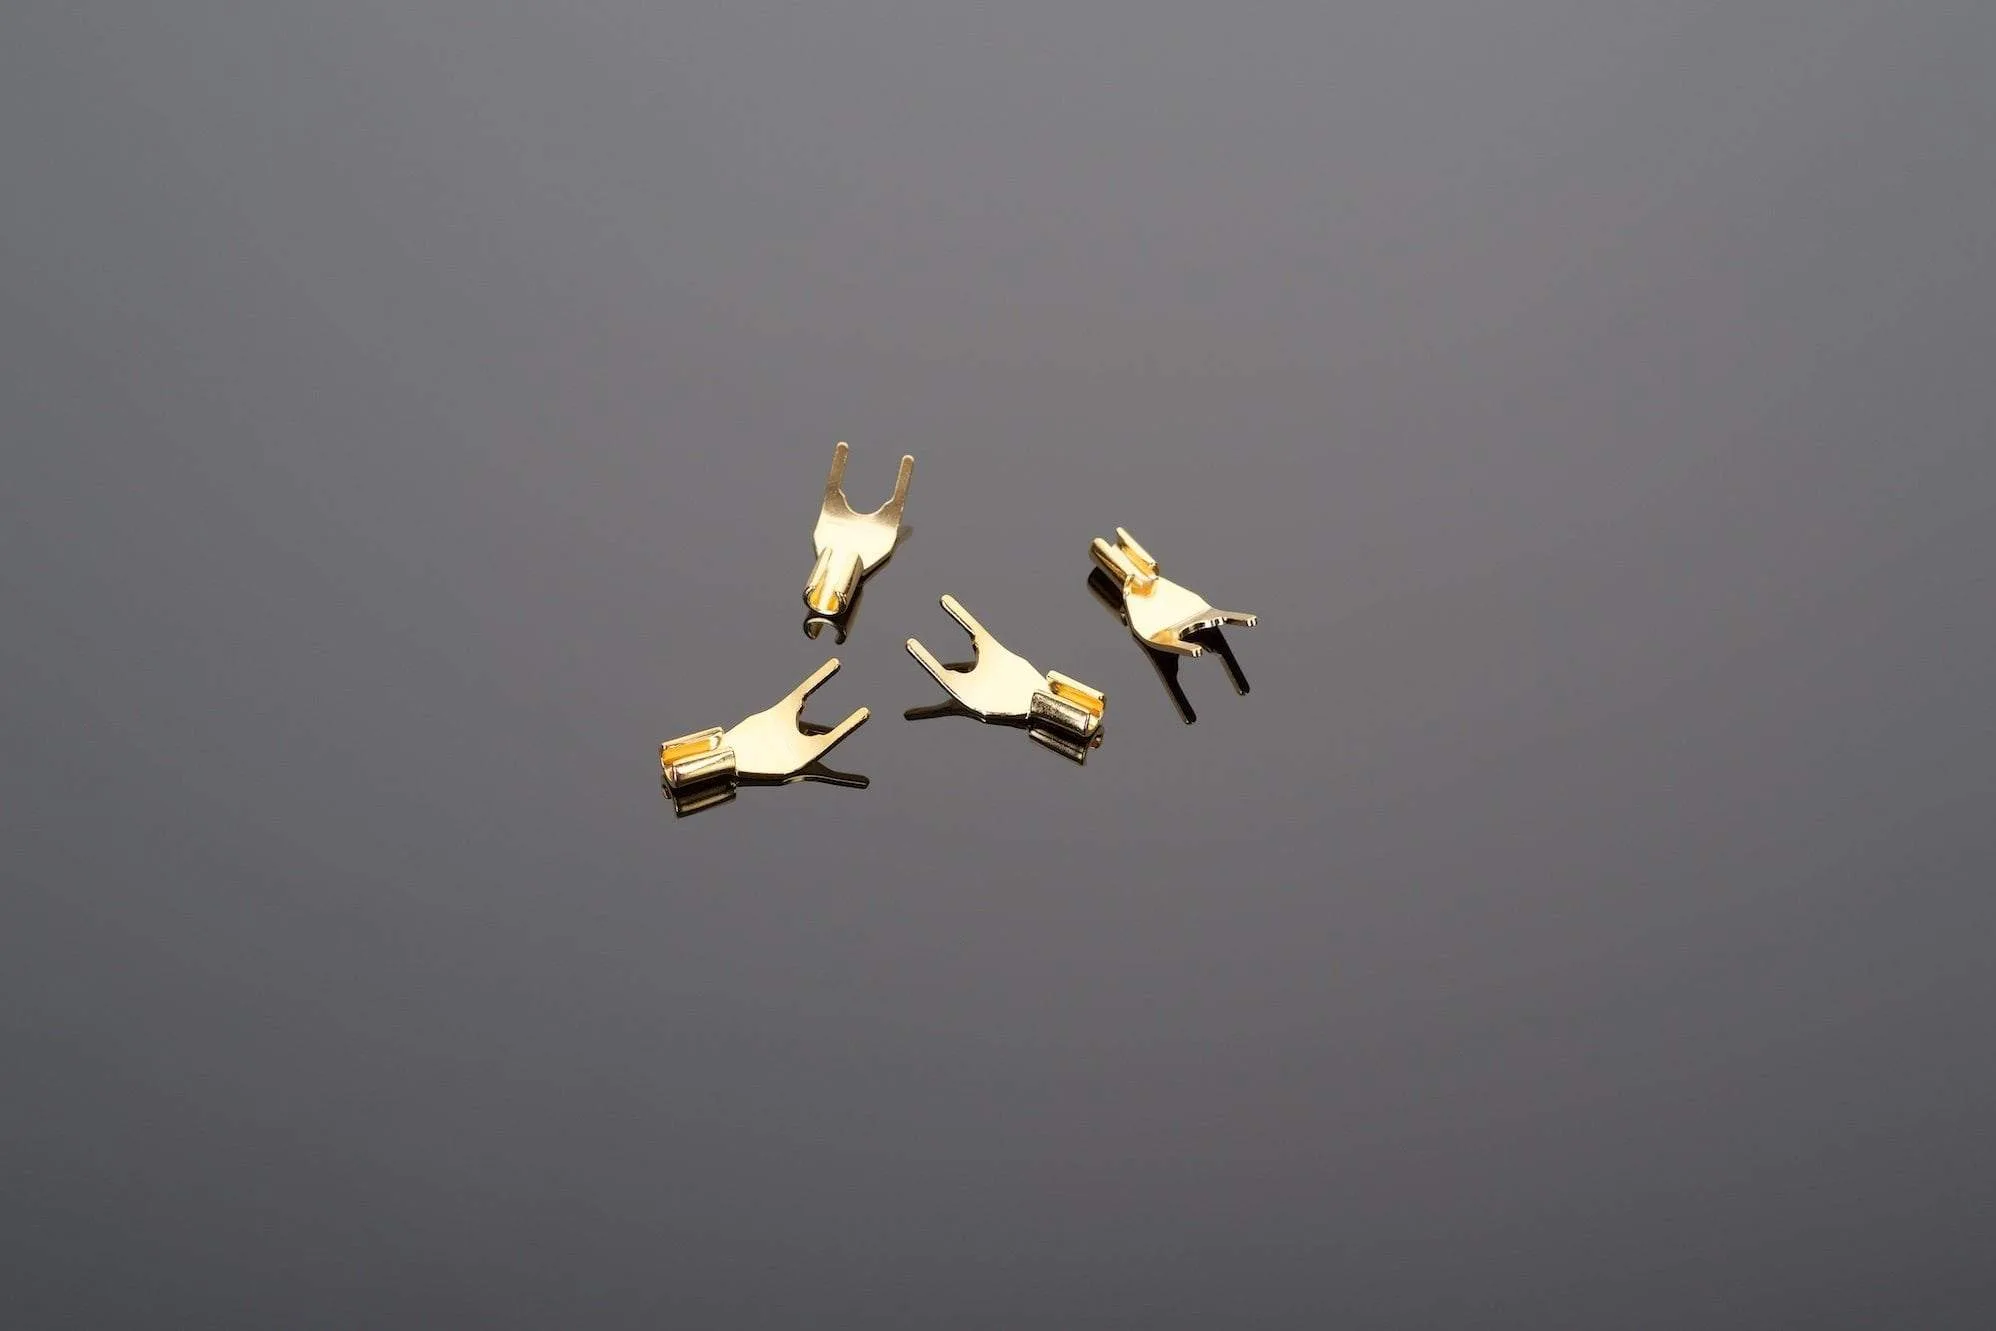
Universal Spade Connectors for soldering