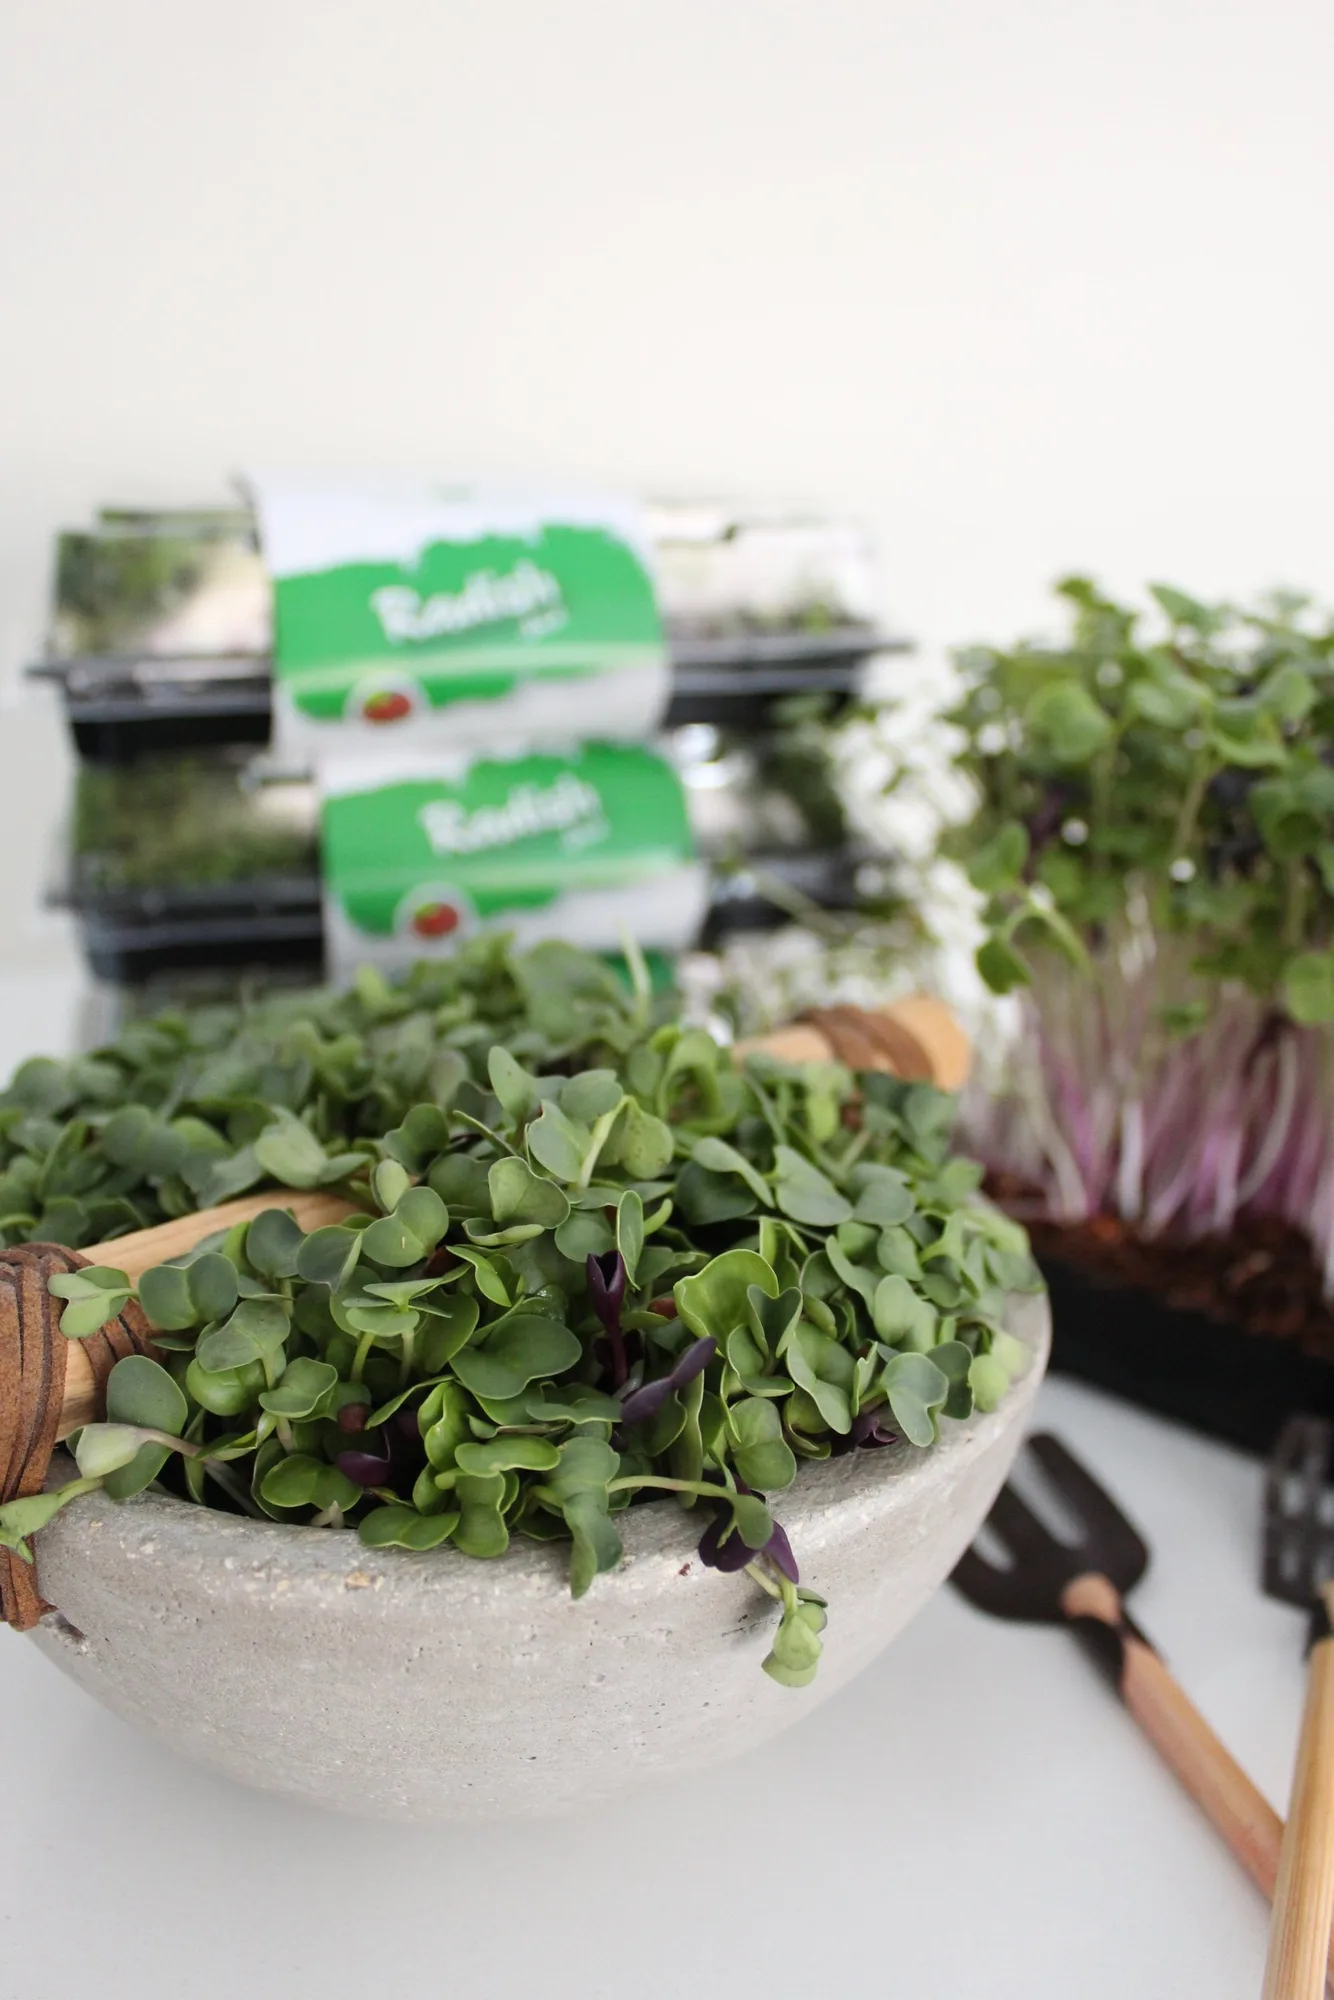
Quick Answer
Sprouting radish microgreens at home is simple: soak seeds, drain, and keep them moist in a shallow tray with or without soil. You'll see sprouts in 2–3 days and harvest in 7–10 days. The key is consistent moisture and good airflow.
What You'll Need
Radish microgreens seeds (about 2 tablespoons per 10x20 inch tray), a shallow tray or container, a spray bottle, and a growing medium. You can use soil, a coconut coir mat, or even a damp paper towel for a soil-free method. A second tray or a piece of cardboard works as a light-blocking cover for the first few days.
Why Radish Microgreens Are a Great Starting Point
Radish microgreens are one of the fastest and most forgiving crops for beginners. They germinate reliably, have a bold peppery flavor, and are packed with vitamins A, C, and K. Because they grow quickly, you can see results in under a week, which makes them perfect for learning the sprouting process without much risk.
Step-by-Step Sprouting Guide
- Step 1: Soak the Seeds: Place radish microgreen seeds in a bowl and cover with cool water. Soak for 6–8 hours or overnight. This softens the seed coat and speeds up germination. Common mistake: soaking too long (over 12 hours) can cause seeds to ferment. Stick to 6–8 hours.
- Step 2: Prepare the Tray: Fill your tray with about 1 inch of moistened soil or a soil-free medium like a coconut coir mat. If using paper towels, fold a few layers and dampen them evenly. Checkpoint: the medium should be damp but not waterlogged. Squeeze a handful — if water drips out, it's too wet.
- Step 3: Sow the Seeds: Drain the soaked seeds and spread them evenly over the growing surface. They should be close together but not piled on top of each other. Gently press them into the medium with your hand or a flat object. Common mistake: sowing too thickly leads to mold and poor airflow. Aim for a single layer of seeds with small gaps.
- Step 4: Cover and Wait: Place a second tray or a piece of cardboard on top to block light. This mimics the soil environment and encourages root growth. Leave it for 2–3 days, misting once or twice a day to keep the surface moist. Checkpoint: lift the cover briefly each day to check for mold. A faint earthy smell is normal; a sour or musty odor means too much moisture.
- Step 5: Uncover and Provide Light: After 2–3 days, remove the cover and move the tray to a spot with indirect sunlight or under a grow light. The sprouts will green up quickly. Continue misting once or twice a day. Common mistake: direct, harsh sunlight can scorch tender sprouts. Bright indirect light works best.
- Step 6: Harvest: In 7–10 days, when the microgreens are about 1–2 inches tall and have their first true leaves, use clean scissors to cut them just above the soil line. Rinse gently and enjoy immediately. Verdict: harvest just before eating for maximum freshness. Stored in a sealed container in the fridge, they last 3–5 days.
Product Spotlight
- Radish Microgreens: Radish Microgreens are packed with bold, peppery flavor and a powerful punch of nutrients. These tiny greens are rich in essential vitamins and minerals, making them a powerhouse addition to your diet. When you sprout your own radish microgreens, you get the freshest possible source of these nutrients, and the peppery kick adds instant flavor to salads, sandwiches, and smoothies.