Quick answer
Stay warm in a sleeping bag by going to bed dry, warming the bag before you get in, and stopping the cold air that steals heat. Eat a real meal, do light movement, and keep tomorrow's clothes in the bag. Then block drafts with a footprint and pitch your shelter tight, because cold weather sleeping is mostly about managing moisture and airflow.
Cold nights in the backcountry usually go wrong before you ever zip up. Wet base layers, a bag that has been sitting in a cold pack, and a shelter that funnels wind across your face will beat good insulation every time. The fix is a sequence, not a single piece of gear.
These seven steps cover what to do from the last hour of your hunt through the moment you wake up. Each one includes the mistake that quietly ruins warmth, so you can check yourself before the shivering starts.
Why cold weather sleeping fails in the backcountry
A sleeping bag does not make heat. It traps the heat your body produces and slows its escape. When you are cold in a bag, one of three things is happening: you are adding moisture from the inside, losing heat to the ground, or letting moving air strip warmth from the shell. Most cold nights are a combination of all three.
That is why sleeping bag tips that only focus on the bag's temperature rating miss the point. Your shelter, your clothing, what you ate, and how you pitch all change how much heat stays around you. Treat the bag as one part of a system, and cold weather sleeping gets much more predictable.
- Moisture is the biggest warmth killer: damp insulation conducts heat away from you.
- Ground contact drains heat faster than air, so what is under the bag matters as much as the bag.
Step 1: Dry off before you get in
If you have been hiking or climbing, your base layers are wet with sweat. Change into a dedicated dry set before bed, even if it is cold for a minute while you swap. The moisture you carry into the bag has to evaporate, and that process pulls heat from your body all night.
The common mistake is sleeping in the same layers you hunted in because they feel warm at first. They are warm because they are wet and conducting heat away from your skin. Keep one dry set of base layers that only gets worn in the bag.
- Wring out or swap socks too; feet are often the first thing to feel cold.
- If you can, air damp layers outside the bag rather than stuffing them inside.
Step 2: Warm the bag before you commit
A cold bag has to be heated by your body, which means your first 20 minutes are spent warming fabric instead of sleeping. Do light movement, eat something, and fill a bottle with hot water if you have a stove. Slide the bottle into the bag a few minutes before you get in.
The mistake here is overdoing it. Hard exercise makes you sweat, and sweat in the bag undoes the work. You want warm and dry, not exhausted and damp. A few minutes of easy movement plus a warm drink is usually enough.
- A hot water bottle doubles as a hand warmer and a boot warmer at first light.
- Never sleep with a stove burning inside a closed shelter; carbon monoxide is a real risk.
Step 3: Eat and hydrate for overnight heat
Your body burns fuel to stay warm, and that furnace runs low if you skip dinner. Eat a real meal with fat and protein before bed, and drink enough water that you are not dehydrated. Dehydration makes you feel colder and can trigger cramps that wake you up.
The common mistake is drinking a lot right before sleep and then avoiding water all night because you do not want to get up. Balance it: hydrate through the evening, take a small sip if you wake, and keep a bottle where you can reach it without leaving the bag.
- A snack within an hour of bed gives your body something to burn.
- Keep your water bottle in the bag so it does not freeze solid.
Step 4: Insulate the ground and block drafts
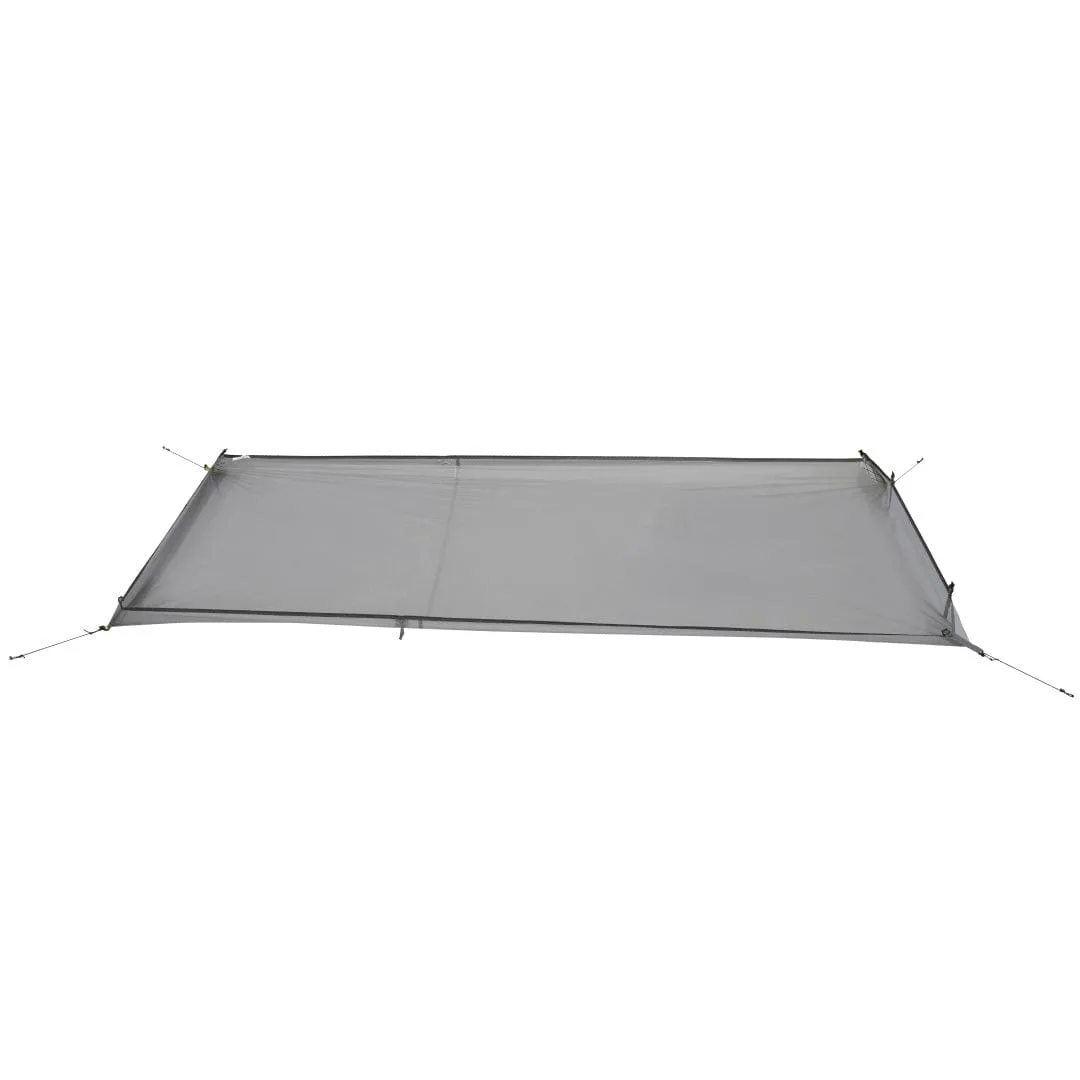
Heat loss to the ground is the fastest way to feel cold, no matter how good your bag is. A quality pad with enough insulation for the conditions matters more than most people expect. Under a tipi, the floor is also where wind sneaks in, so a footprint with raised sidewalls can make a noticeable difference.
The mistake is treating the shelter floor as a sealed boundary. It is not. Wind that runs under the tent edge and across the floor pulls warmth out of the bag from below, and that is exactly the kind of cold that wakes you at 2 a.m.
- Check that your pad is not sliding off the footprint during the night.
- Pitch so the shelter's low edge faces the prevailing wind.
Step 5: Manage your clothing and bag fit
Wear just enough insulation to be comfortable, not so much that you sweat. If you are cold when you get in, add a layer; if you wake up damp, remove one. Keep tomorrow's clothes in the foot of the bag so they are warm when you dress, which makes the morning exit far less brutal.
The mistake is layering up like you are standing still outside. Inside a bag, your body heat is already trapped, so extra layers can push you into the sweat zone. Adjust to how you actually feel, not to how cold the air was when you got in.
- A hat or hood keeps heat from escaping through your head and neck.
- Do not cinch the hood so tight that you trap moist breath inside the bag.
Step 6: Vent moisture without losing heat
You exhale moisture all night, and it condenses inside the bag if there is nowhere for it to go. A small vent near your face, or a slightly open shelter door when conditions allow, lets that moisture escape. This is one of the most overlooked sleeping bag tips, and it is why two people in identical bags can have very different nights.
The mistake is sealing everything up tight because it feels warmer at first. It is warmer for an hour, then the trapped moisture starts to chill you. Balance ventilation with draft protection so you are not trading one problem for the other.
- If the bag shell is frosted inside in the morning, you need more ventilation.
- Keep the vent above your face, not across your body.
Step 7: Handle the 2 a.m. cold wake-up
If you wake up cold, do not just lie there. Check for a draft, add a dry layer, eat a snack, and do a few minutes of gentle movement inside the bag. Often the problem is a pad that shifted or a shelter edge that came loose, not the bag itself.
The mistake is getting up and walking around in the cold, which drops your core temperature further. Fix the problem from inside the bag when you can. If you must get up, put on your insulated layer first and keep the movement short.
- A cold spot under your hip usually means your pad moved.
- Warm your hands against your torso before checking zippers or vents.
Your cold-night warmth checklist
- Dry layers only: Change out of damp hunting clothes into a dedicated dry base layer before you get in the bag. Checkpoint: if your base layer feels cool and damp, it will rob heat all night.
- Pre-warm the bag: Do light movement, eat, and use a hot water bottle to take the chill off the bag before you commit. Mistake to avoid: hard exercise that makes you sweat before bed.
- Insulate below and block drafts: Use an adequate pad and a footprint with raised sidewalls so wind cannot run under the shelter floor. Checkpoint: press a hand under your hip; if it feels cold, add insulation.
- Vent moisture, not heat: Leave a small vent near your face so exhaled moisture escapes instead of condensing in the bag. Mistake to avoid: sealing the bag and shelter completely tight.
- Fix the 2 a.m. cold spot: Check for drafts, add a dry layer, eat a snack, and move gently inside the bag rather than getting up. Next step: keep a dry hat and snack within reach for easy fixes.
Gear that supports these steps
- SOLITUDE 1 FOOTPRINT: The Solitude 1P Footprint has a bathtub-style floor with raised sidewalls that block wind and divert it up and away from you, which reduces convective cooling. Raised sidewalls stop the under-edge draft that pulls warmth out of a sleeping bag from below, so your insulation works the way it should.
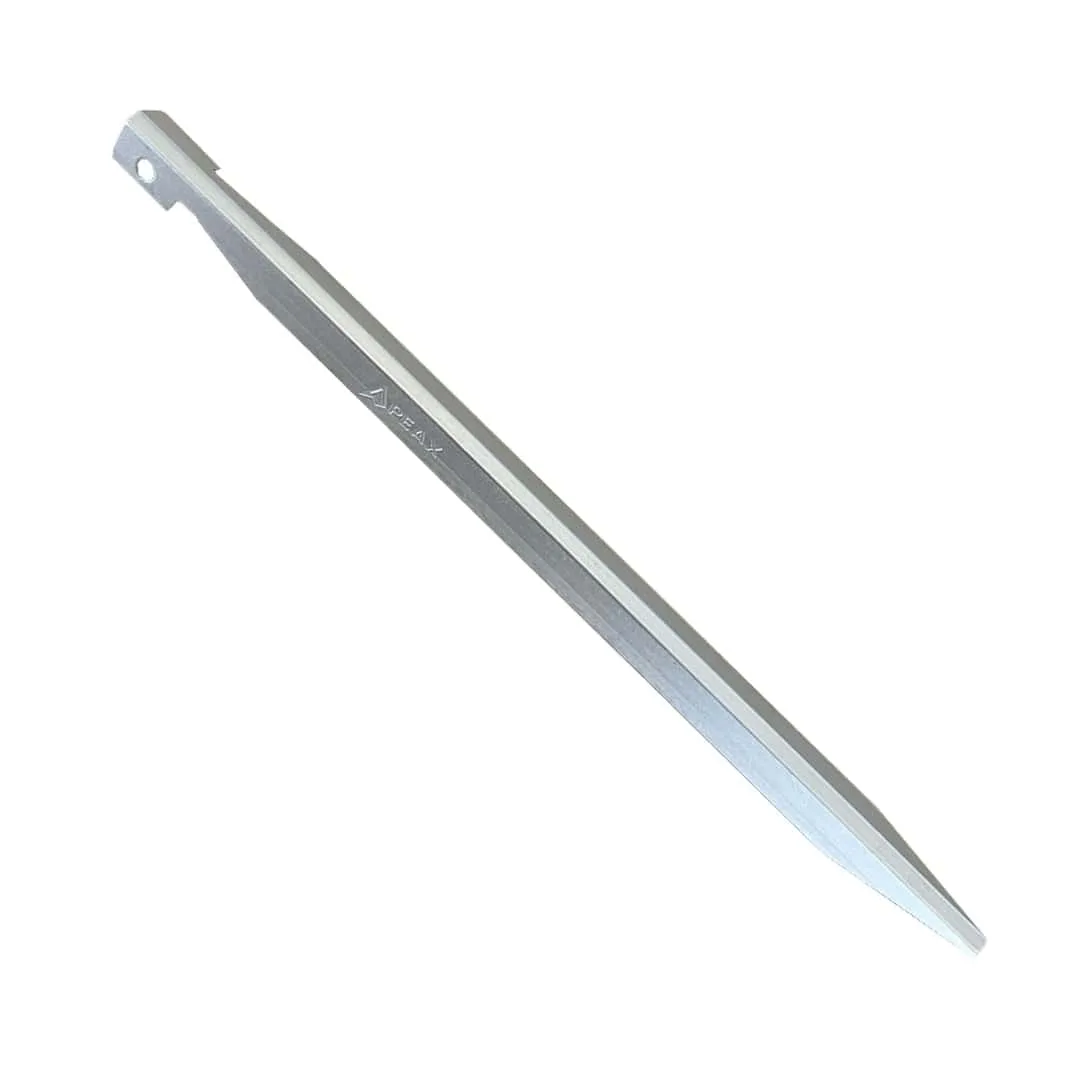
- ALU-V STAKES (3 PACK): ALU-V Tent Stakes are made from 7075 aircraft-grade aluminum with a V shape that provides superior friction and strength for reliable anchoring in all types of weather and terrain. A shelter that stays put keeps the floor sealed and the wind out, which is the difference between a stable warm night and a night of chasing loose edges.
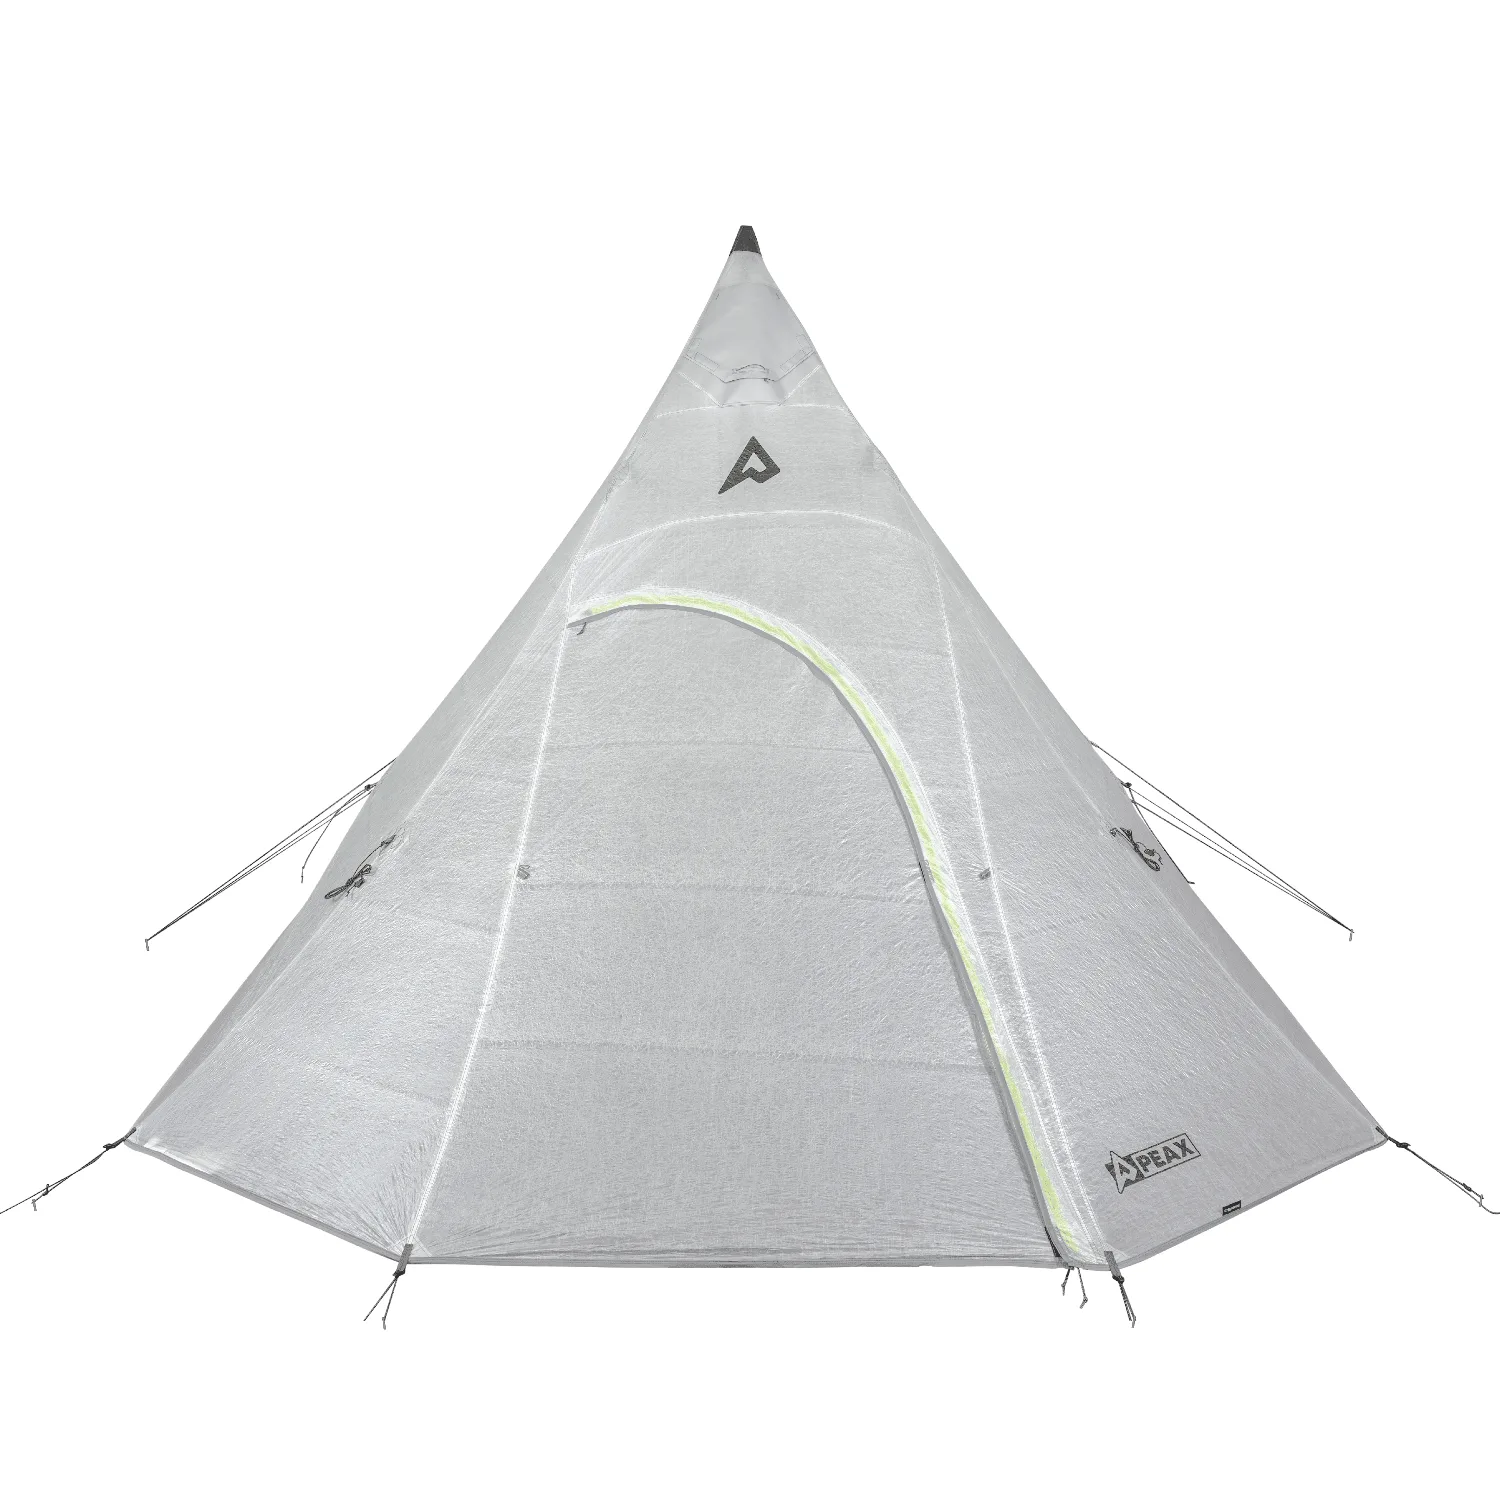
- SOLITUDE 4 TIPI TENT [DYNEEMA®]: The Solitude 4 Dyneema® combines the livability of the Solitude shelter platform with the strength-to-weight ratio of Dyneema®, and it is designed for hunters who want maximum performance with minimal pack weight. A lightweight, weather-capable shelter lets you pitch a protected spot farther in, so you are not forced into exposed ground where cold weather sleeping is hardest.
Staying warm in a sleeping bag is a sequence you can control: dry off, warm the bag, fuel your body, insulate the ground, and manage moisture. Get those steps right and cold weather sleeping stops being a gamble, even when the temperature drops below what you planned for.