Quick answer
Most hose connector leaking comes from a worn or missing rubber washer, grit on the sealing face, or a connector that is not pushed fully onto the tap or hose. Turn the water off, remove the fitting, check and reseat the washer, clean the mating surfaces, and refit firmly. If the leak continues, replace the washer or the connector rather than overtightening.
Work through the leak in the right order
Start at the tap and work outward. A drip at the tap usually means the tap connector is not sealing against the spout, while a drip where the hose joins the connector points to the hose end or the connector's internal seal. Fixing the tap end first stops water running down the hose and confusing you about where the leak actually starts.
Before you take anything apart, turn off the tap and disconnect the hose. Dry the fitting with a cloth so you can see fresh water when you test again. This makes the next leak obvious instead of leaving you guessing.
What a connector set actually seals
A standard connector set relies on a soft rubber washer compressed between the tap spout and the connector body. That washer does the sealing; the plastic or metal parts only hold it in place. If the washer is missing, flattened, or hardened, no amount of tightening will stop the drip.
The same principle applies at the hose end. The connector grips the hose and presses a seal against the cut end. If the hose was cut at an angle or the end is frayed, the seal cannot sit flat and water escapes around it.
When to repair and when to replace
Repair first if the connector body is intact and only the washer is worn. Washers are cheap and usually restore a seal in minutes. Replace the connector if the threads are stripped, the collar is cracked, or the fitting no longer clicks firmly onto the tap.
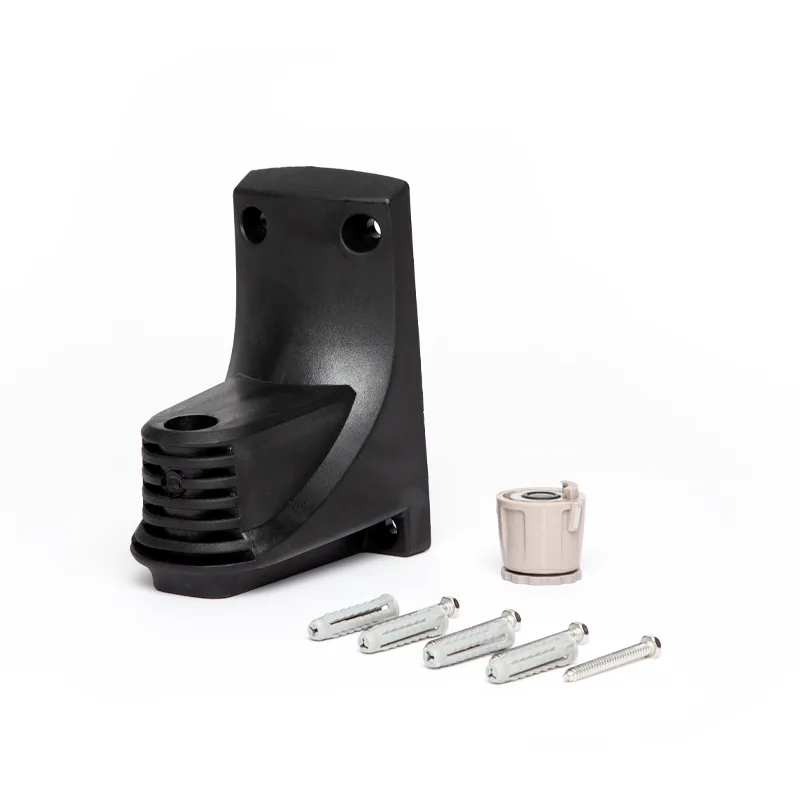
If you move one reel between taps, a second mounting bracket and tap connector lets you leave a connector fitted at each tap instead of swapping and stretching the same one. That reduces wear on the fitting and the chance of a poor seal from constant refitting.
Step-by-step fix for a leaking hose fitting
- Turn off the tap and disconnect: Shut off the water, remove the hose and connector, and dry the fitting so you can see exactly where water appears on the next test. Checkpoint: if water still drips with the tap off, the leak is above the connector, not in it.
- Inspect the washer: Look inside the tap connector for the rubber washer. It should be present, soft, and sitting flat. A hardened, split, or missing washer is the most common cause of a tap connector not sealing. Mistake to avoid: adding a second washer on top of a worn one usually makes the seal worse, not better.
- Clean the sealing faces: Wipe grit, grass, and scale off the tap spout and the connector's rubber face. Even a small grain of sand holds the washer off its seat and lets water through. Checkpoint: run your finger around the tap spout; if you feel roughness, clean it before refitting.
- Refit and tighten by hand: Push the connector fully onto the tap, then tighten the collar by hand until it is firm. Overtightening distorts the washer and can crack the collar. Mistake to avoid: using pliers or multigrips on plastic collars; hand-tight is enough for a rubber seal.
- Test at low pressure first: Turn the tap on gently and watch the joint for ten seconds before opening it fully. A slow trickle shows the seal is holding; a spray means the washer is still not seated. Checkpoint: if it still leaks, replace the washer before replacing the whole connector.
- Check the hose end if the tap is dry: If the tap connection is now dry but water appears where the hose meets the connector, cut 20-30 mm off the hose end square, then refit the connector so the seal meets clean, flat hose. Mistake to avoid: refitting a connector onto a frayed or angled hose end; the seal cannot close around it.
- Replace the washer or connector: Fit a new rubber washer if the old one is flattened or cracked. If the connector body is cracked or the threads are stripped, replace the connector rather than trying to seal it with tape. Next step: keep a spare washer and connector on hand so a drip does not stop you watering.
Parts that help with a leaking fitting
- Additional Wall Bracket & Tap Connector | Classic Series: Additional Wall Bracket & Tap Connector for Classic Series reels lets you use your Classic Retractable Hose Reel at a second tap, with a universal mounting bracket that fits any Classic Hose Reel size. Leaving a dedicated tap connector at each tap means less repeated fitting and refitting, which is when seals get damaged and start leaking.
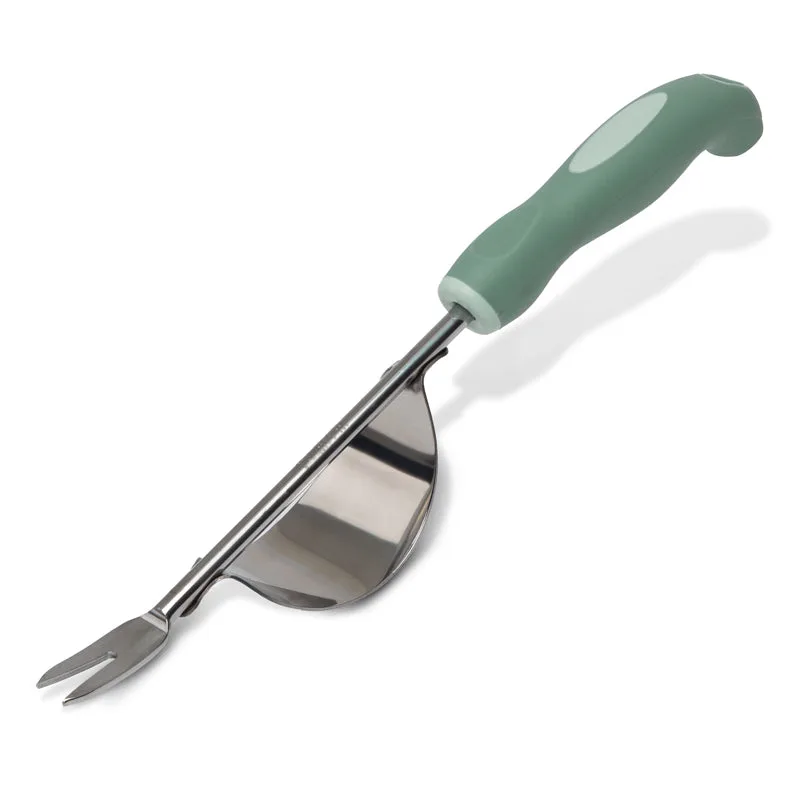
- Garden Weeder: Hoselink's Garden Weeder has a stainless steel split tip fork and an ergonomic soft grip handle for removing small plants and weeds from pots, beds, and lawns. Once the leak is fixed, clearing weeds around the tap and hose run keeps grit and roots away from fittings that can disturb the seal.