Quick answer
Store Christmas ornaments in a dark, dry, stable-temperature spot, wrap each piece individually in acid-free tissue, and pack them so nothing can shift. Never stack heavy items on top, and skip damp garages, hot attics, and sealed plastic bags that trap moisture. Done properly, glass, enamel, and fabric ornaments can stay in display condition for decades.
Most ornament damage happens in storage, not on the tree. A bauble that survives a toddler, a cat, and a tinsel avalanche can still crack because it sat in a hot attic or rubbed against a metal hook for eleven months. The fix is boring but effective: control the environment, separate the pieces, and stop anything from moving.
This guide walks through the process in order, from sorting to sealing the box. It applies to glass baubles, enamel pins used as ornaments, fabric figures, and sentimental pieces you cannot replace. You do not need a purpose-built ornament chest, though one helps. You need the right materials and a consistent routine you will actually repeat each January.
Why ornaments deteriorate in storage
Ornaments fail for four reasons: heat, moisture, light, and contact. Heat softens adhesives and warps thin glass. Moisture corrodes metal caps and hooks, then feeds mould on fabric and paper. UV light fades painted finishes and dulls gold foil. Contact damage is the most common of all, because two ornaments touching in a box will grind against each other every time the box moves.
The materials you pack with matter too. Ordinary newspaper is acidic and can transfer ink onto pale finishes. Tight plastic bags seal in any residual humidity and can leave a musty smell on fabric pieces. Acid-free tissue and a rigid, breathable container solve most of this at low cost, and they are reusable year after year.
- Avoid garages and attics: both swing in temperature and humidity more than any room in the house.
- Keep ornaments away from direct sun even while stored, especially hand-painted and foil-finished pieces.
What you need before you start
Gather acid-free tissue paper, a rigid storage box or two, small zip bags for hooks and spare parts, and a soft brush. Cotton gloves help with foil and mirror finishes because fingerprints etch into them over time. If you have many small baubles, a divided box with individual compartments saves hours of wrapping.
Label each box by size or by tree section rather than by year. Next December you will want the large baubles together for the bottom branches, not a chronological archive. A simple label like 'large glass, bottom branches' prevents the annual ritual of unpacking everything to find one star.
- Photograph sentimental or fragile pieces before packing so you have a record for insurance.
- Keep a small repair kit with the boxes: clear drying glue, spare hooks, and a few extra caps.
Clean and dry before anything goes in a box
Dust is abrasive. Wipe each ornament with a soft dry cloth or a makeup brush before packing, working around any glued-on detail rather than across it. For glass and enamel, a barely damp cloth is fine, but the piece must be completely dry before wrapping. Trapped moisture is what causes metal caps to pit and fabric to smell.
Check hooks, loops, and ribbons now, not in December. Replace rusty hooks immediately, because rust spreads to neighbouring pieces and stains fabric. If a cap is loose, a tiny dot of clear drying glue on the inside of the cap will hold it without marking the ornament.
- Never submerge antique or hand-painted ornaments in water.
- Let everything air-dry on a towel for a few hours before wrapping, even if it feels dry to the touch.
Wrap each ornament individually
Wrap every ornament on its own, even the cheap ones. Two layers of acid-free tissue is enough for most baubles; use three for thin glass or anything with protruding parts. For baubles, wrap around the cap first, then bring the tissue up so the cap sits in a soft nest rather than pressing against the box lid.
For flat or oddly shaped pieces, a small acid-free envelope or a tissue sleeve works better than loose wrapping. Enamel pins and flat decorations store neatly this way, and you can write the item name on the outside of the sleeve so you do not have to unwrap to identify it.
- Twist the tissue ends rather than taping them; tape can leave residue on the ornament.
- Do not wrap in newspaper, paper towel, or coloured tissue, all of which can transfer ink or dye.
Pack the box so nothing can move
The test is simple: close the lid, lift the box, and shake it gently. If you hear movement, add more filler. Ornaments should be snug enough that they cannot roll, but not compressed. Pack the heaviest pieces on the bottom, lighter and more fragile ones on top, and never stack one box of ornaments under a box of books.
Fill gaps with crumpled acid-free tissue rather than bubble wrap where the wrap would touch a painted surface, since plastic can stick to some finishes over a hot summer. If you use a divided box, line each compartment base with tissue before adding the ornament.
- Leave a small air gap at the top of the box so the lid does not press down on the tallest pieces.
- Store boxes upright and only one layer high where possible.
Choose the right storage location
A wardrobe shelf, a hallway cupboard, or the top of a linen press are all better than a garage or loft. You want a spot that stays between roughly 15 and 22 degrees Celsius, stays dry, and does not sit against an external wall that sweats in winter. If your only option is a garage, use a sealed plastic tub with a moisture absorber and check it mid-year.
Keep boxes off concrete floors, which wick moisture upward. A low shelf or a pallet solves this cheaply. If you live in a humid climate, add a reusable silica gel pack to each box and replace it annually rather than leaving the same tired sachet in there for a decade.
- Avoid anywhere with fluctuating humidity, including laundry cupboards and bathrooms.
- Check stored boxes once mid-year for pests, damp, or crushed corners.
Add a small care kit to the box
Tuck a few spare hooks, a length of neutral ribbon, and a soft cloth into the top of the storage box. When you open it next season, you can replace a bent hook or re-thread a hanging loop without hunting through the house. Spare ribbon is also useful for hanging ornaments that have lost their original loop.
If you use ribbon to hang ornaments, choose a smooth satin or silk that will not fray against the tree. A double-faced satin ribbon holds a knot cleanly and does not shed fibres onto fabric ornaments the way some cheaper ribbons do.
- Store hooks separately in a small zip bag so they cannot scratch neighbouring pieces.
- Replace ribbon hangers every few years, since they weaken with age and heat.
Your ornament storage routine, step by step
- 1. Sort and declutter first: Lay every ornament out and separate them into keep, repair, and let go. Repair anything with a loose cap or missing hook before it goes into storage, because a small fault becomes a broken piece after a year in a box. Checkpoint: if you have not displayed it in three years, it does not need premium wrapping.
- 2. Clean and fully dry: Dust each piece with a soft cloth or brush, spot-clean glass and enamel with a barely damp cloth, then leave everything to air-dry for a few hours. Metal caps and fabric are the parts most likely to hold hidden moisture. Common mistake: packing while still damp, which leads to rust and musty smells.
- 3. Wrap individually in acid-free tissue: Wrap each ornament on its own, two layers for standard baubles and three for thin glass or pieces with protruding details. Twist the tissue ends rather than taping them, and wrap around the cap first so it sits in a soft nest. Common mistake: using newspaper or coloured tissue, which can transfer ink onto pale finishes.
- 4. Pack snugly, heavy on the bottom: Place heavier pieces at the bottom, lighter and fragile ones on top, and fill every gap with crumpled acid-free tissue. Close the lid and shake gently; if anything moves, add more filler until it does not. Checkpoint: no movement when you shake the closed box.
- 5. Store in a stable, dry spot: Choose a cupboard or wardrobe shelf that stays cool and dry, keep boxes off concrete floors, and avoid garages, lofts, and laundry cupboards. Add a silica gel pack in humid climates and replace it yearly. Common mistake: stacking heavy boxes on top of ornament boxes, which crushes the pieces underneath.
- 6. Check once mid-year: Open each box briefly halfway through the year to look for damp, pests, crushed corners, or rust. This five-minute check catches problems while the ornaments can still be saved rather than in December when it is too late. Next step: relabel the box by size or tree section so unpacking is faster next season.
Products that help with ornament storage and display
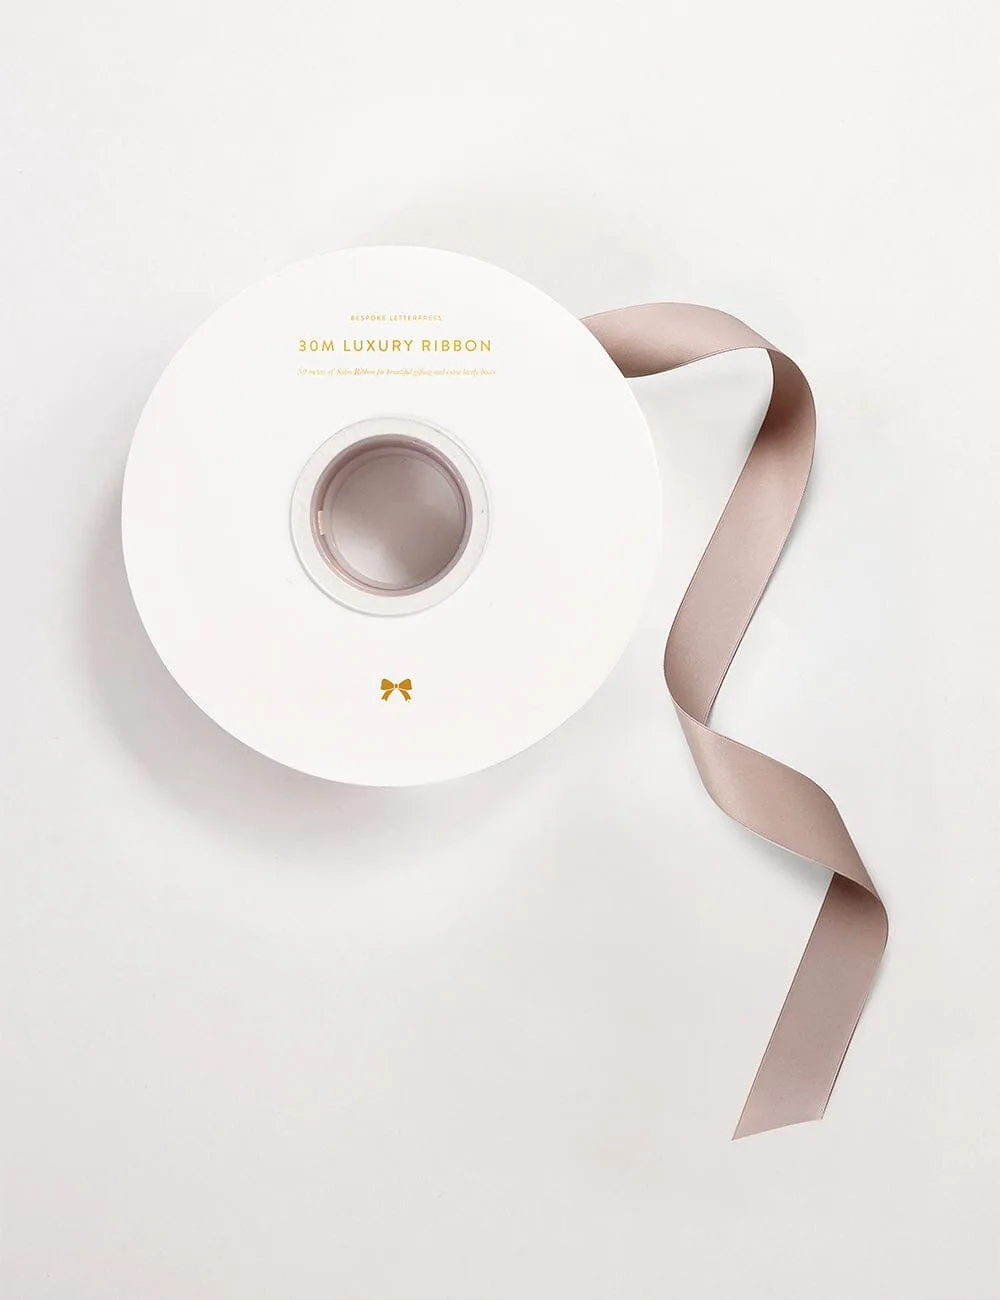
- Nude Luxury Satin Ribbon - 30 meters: 30 metres of soft double-faced silky satin ribbon, boxed in a self-dispensing FSC-certified gold foil printed box, with instructions to pull the ribbon end through the side spine window as needed. A neutral satin ribbon works as a replacement hanger for ornaments that have lost their loop, and the smooth double-faced finish will not fray against fabric or painted baubles. The self-dispensing box also keeps the ribbon tidy between seasons.
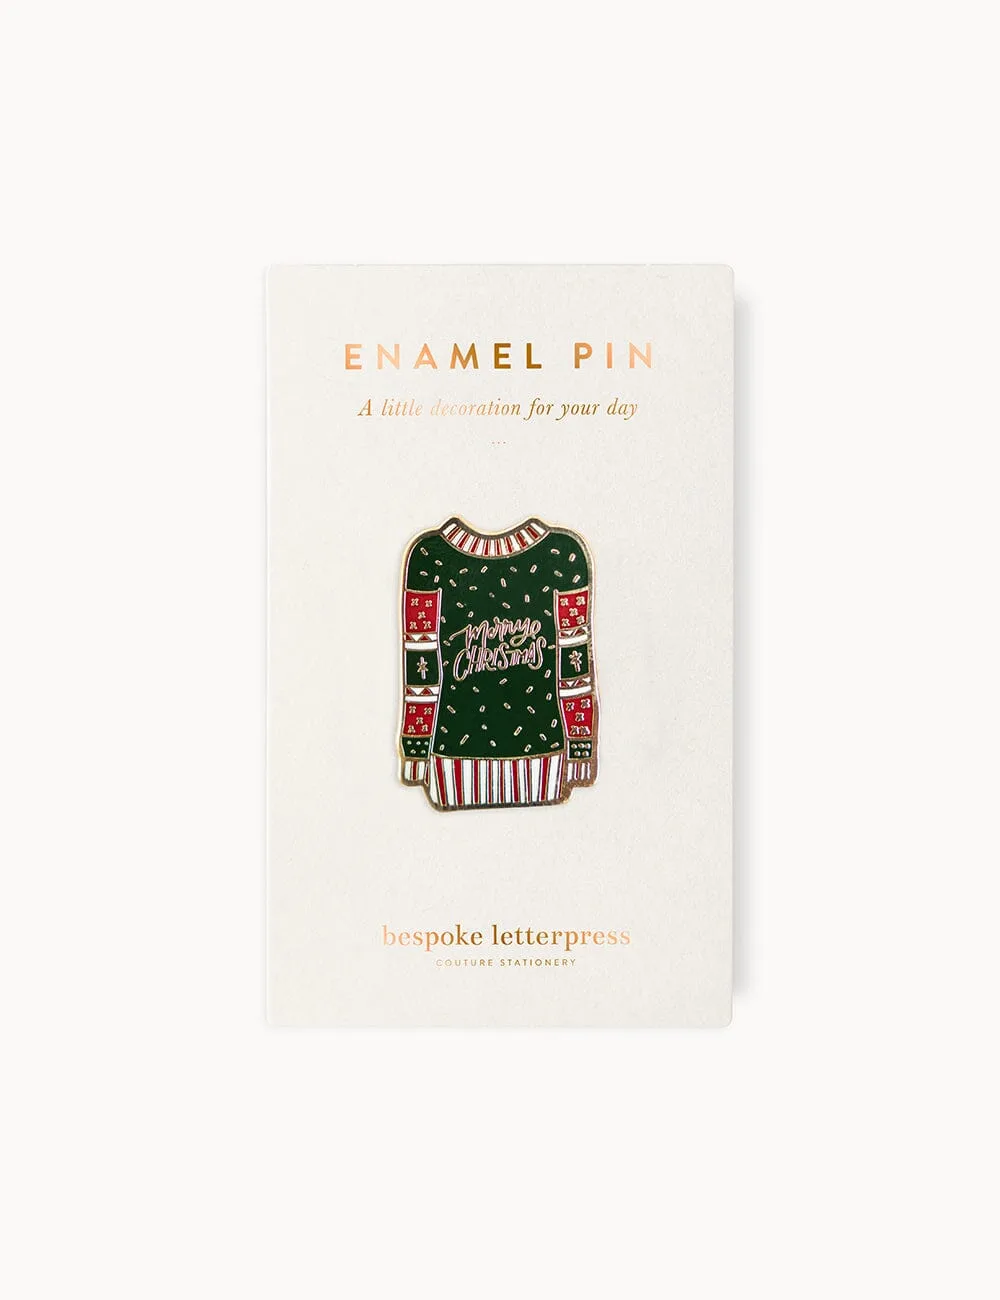
- Christmas Jumper Enamel Pin: Fine hard enamel pin with a secure butterfly clip, suitable as a brooch for a backpack, lapel, scarf, or accessories. Flat enamel pieces like this store well in a tissue sleeve or a small compartment, and the secure butterfly clip means it can double as a tree ornament or a gift topper without needing extra hardware.
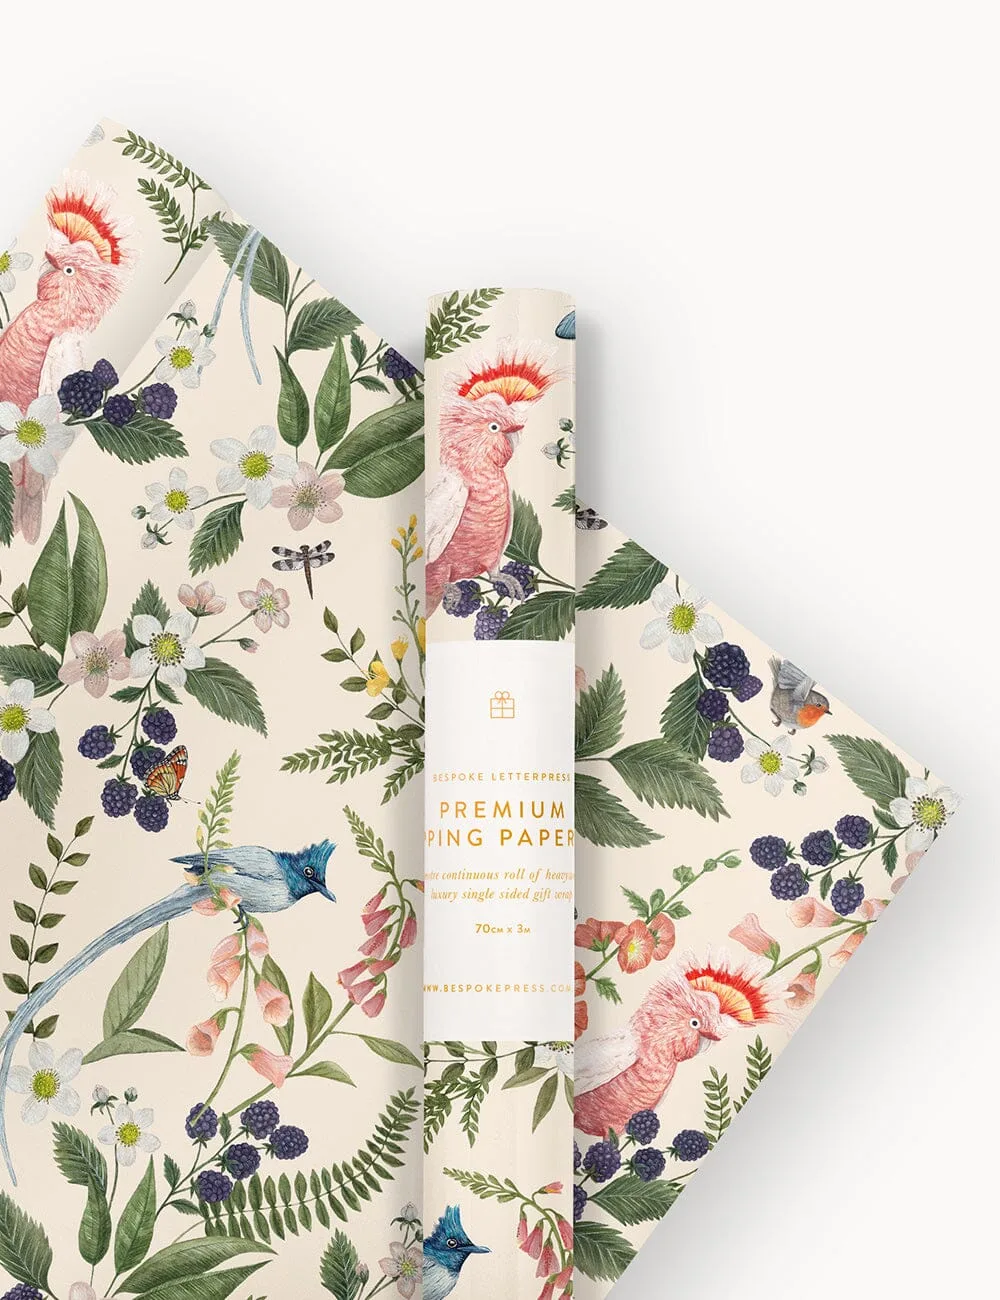
- Gift Wrap Roll 3m - Cockatoos: Premium 3 metre single-sided gift wrap roll, 70cm wide, printed on 100gsm environmentally responsible 100% recycled paper, with artwork by Vicky Lastra. Acid-free recycled paper like this is a reasonable outer wrap for a storage box or for wrapping ornament gifts, though it should not touch the ornament itself. Keep it as the outer layer and use tissue against the finish.
Ornament storage is not complicated, but it is unforgiving of shortcuts. Wrap each piece, keep the box still and dry, and check it once a year. Do that and the decorations you love this Christmas will still look right in twenty.