Quick answer
Keep lash trays flat in their original packaging, away from heat, direct sun, and moisture. Store lash kits closed in a cool, dry drawer or a dedicated case, and never toss loose lashes into a makeup bag. This keeps lashes clean, protects their curl, and makes every DIY application faster.
Why lash storage is part of lash care
Lash extension pieces are delicate. Heat can relax the curl, moisture and dust can cling to the band, and pressure can bend or crush the fibers. Good storage is not about being fussy; it is about protecting the shape and cleanliness of lashes you plan to reuse. A simple, consistent spot for your trays and kits also means you spend less time hunting for supplies and more time applying.
If you already clean your tools and follow a removal routine, storage is the missing piece that keeps everything ready between wears.
Set up a dedicated lash station at home
Choose one cool, dry, shaded spot, such as a drawer or a closed storage box, and keep all lash items there. Avoid bathroom counters where steam and humidity fluctuate, and avoid windowsills where sun and heat can build up. A small organizer with flat compartments works well because trays can lie level instead of standing on edge.
Pack lashes for travel without crushing them
For travel, use a rigid case rather than a soft pouch. Keep trays flat and separated so bands do not tangle, and place the case in your carry-on so it stays out of extreme temperatures in checked luggage. If you are bringing a full kit, keep small items like applicators and adhesive in their own compartment so nothing presses against the lash trays.
Step-by-step lash storage routine
- Keep trays flat in their original packaging: Leave lash pieces on the tray and slide the tray back into its sleeve or box. Lying flat prevents the band from bending and keeps the curl uniform. Checkpoint: if a tray will not sit level, move it to a wider compartment rather than forcing it.
- Choose a cool, dry, shaded location: Store your trays and kit in a drawer or closed box away from direct sun, radiators, and steamy bathrooms. Stable room temperature is the goal. Mistake to avoid: leaving lashes on a sunny windowsill or next to a hot styling tool.
- Keep the kit closed and organized: Return every item to its compartment after use so adhesive, applicators, and trays do not mix. A closed kit limits dust and keeps small parts from going missing. Checkpoint: if the kit does not close easily, remove items you are not using instead of forcing the lid.
- Use a rigid case for travel: Pack trays flat in a hard-sided case and carry it with you rather than checking it. Add a small pouch for tools so they cannot press on the lashes. Mistake to avoid: tossing loose lashes into a soft makeup bag where they can bend and tangle.
- Do a quick monthly check: Open your storage, confirm trays are flat and dry, and wipe the inside of the case if needed. This is also a good time to restock anything running low. Next step: keep a small notepad or note in your kit to track which styles you reach for most.
Products that make storage easier
- Mixed Metals Collection: The Mixed Metals Collection brings together a curated set of lash extension pieces in mixed metal tones for at-home application. A curated collection gives you several styles in one place, so you can store them together and still create custom looks without digging through separate trays.
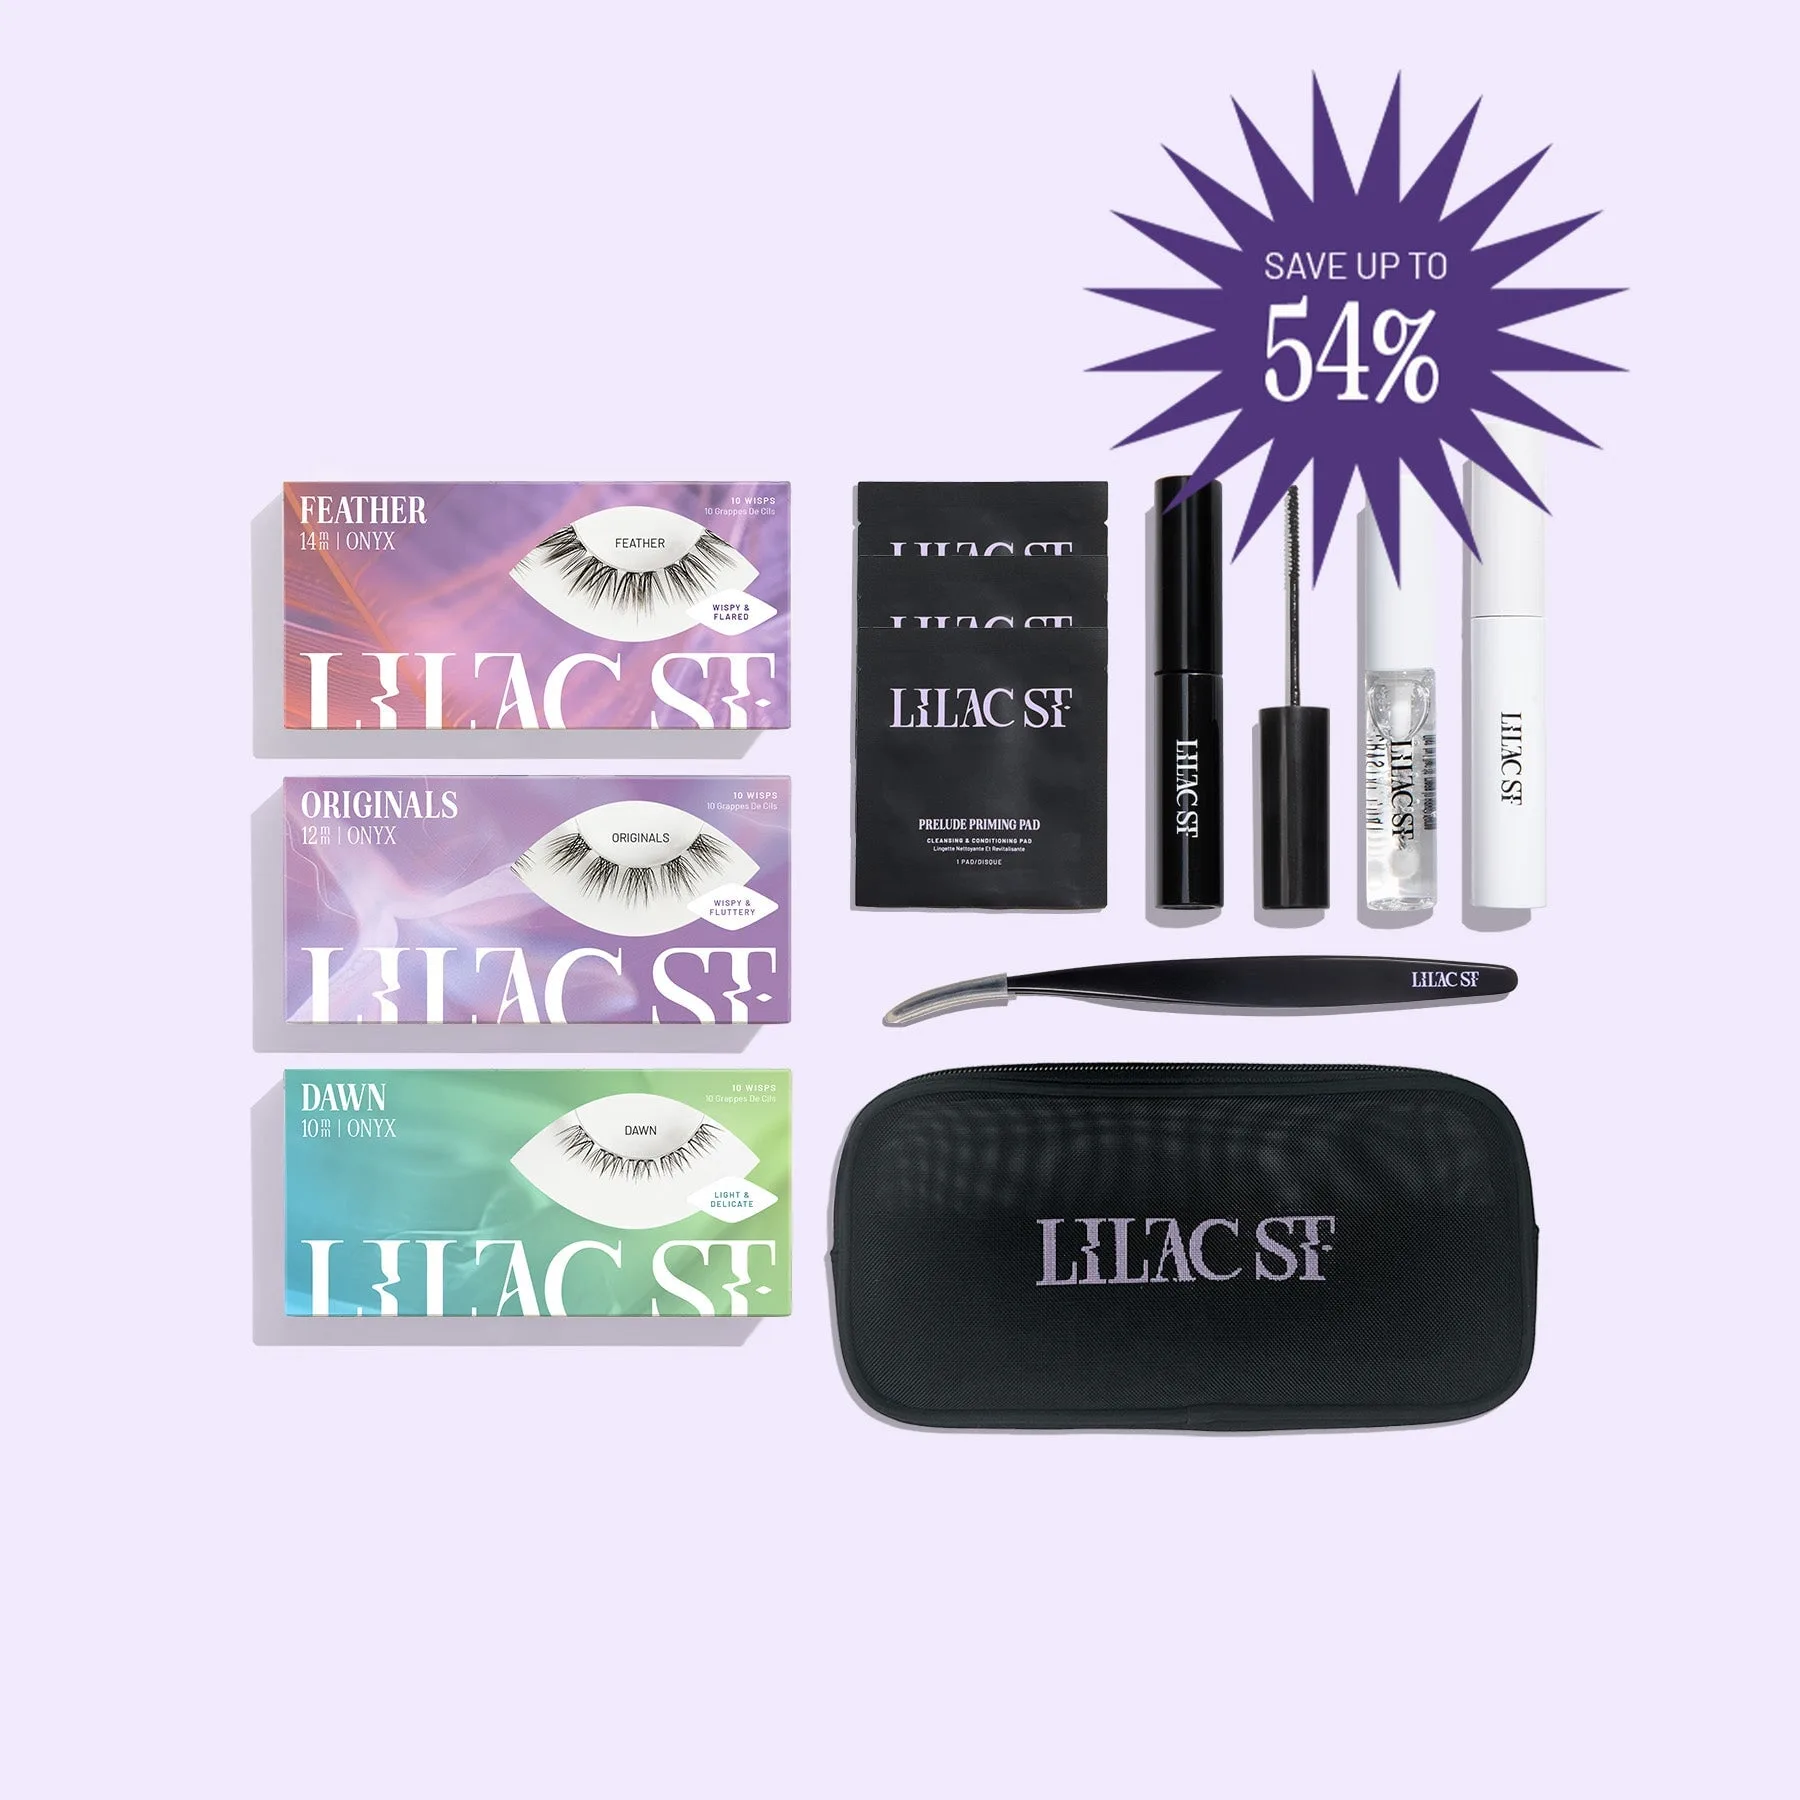
- Deluxe Starter Kit Set: The Deluxe Starter Kit Set is an all-in-one kit designed for at-home application and is described as a best seller and best deal. Because everything arrives in one set, you can dedicate a single drawer or case to your full routine instead of storing loose pieces in different spots.
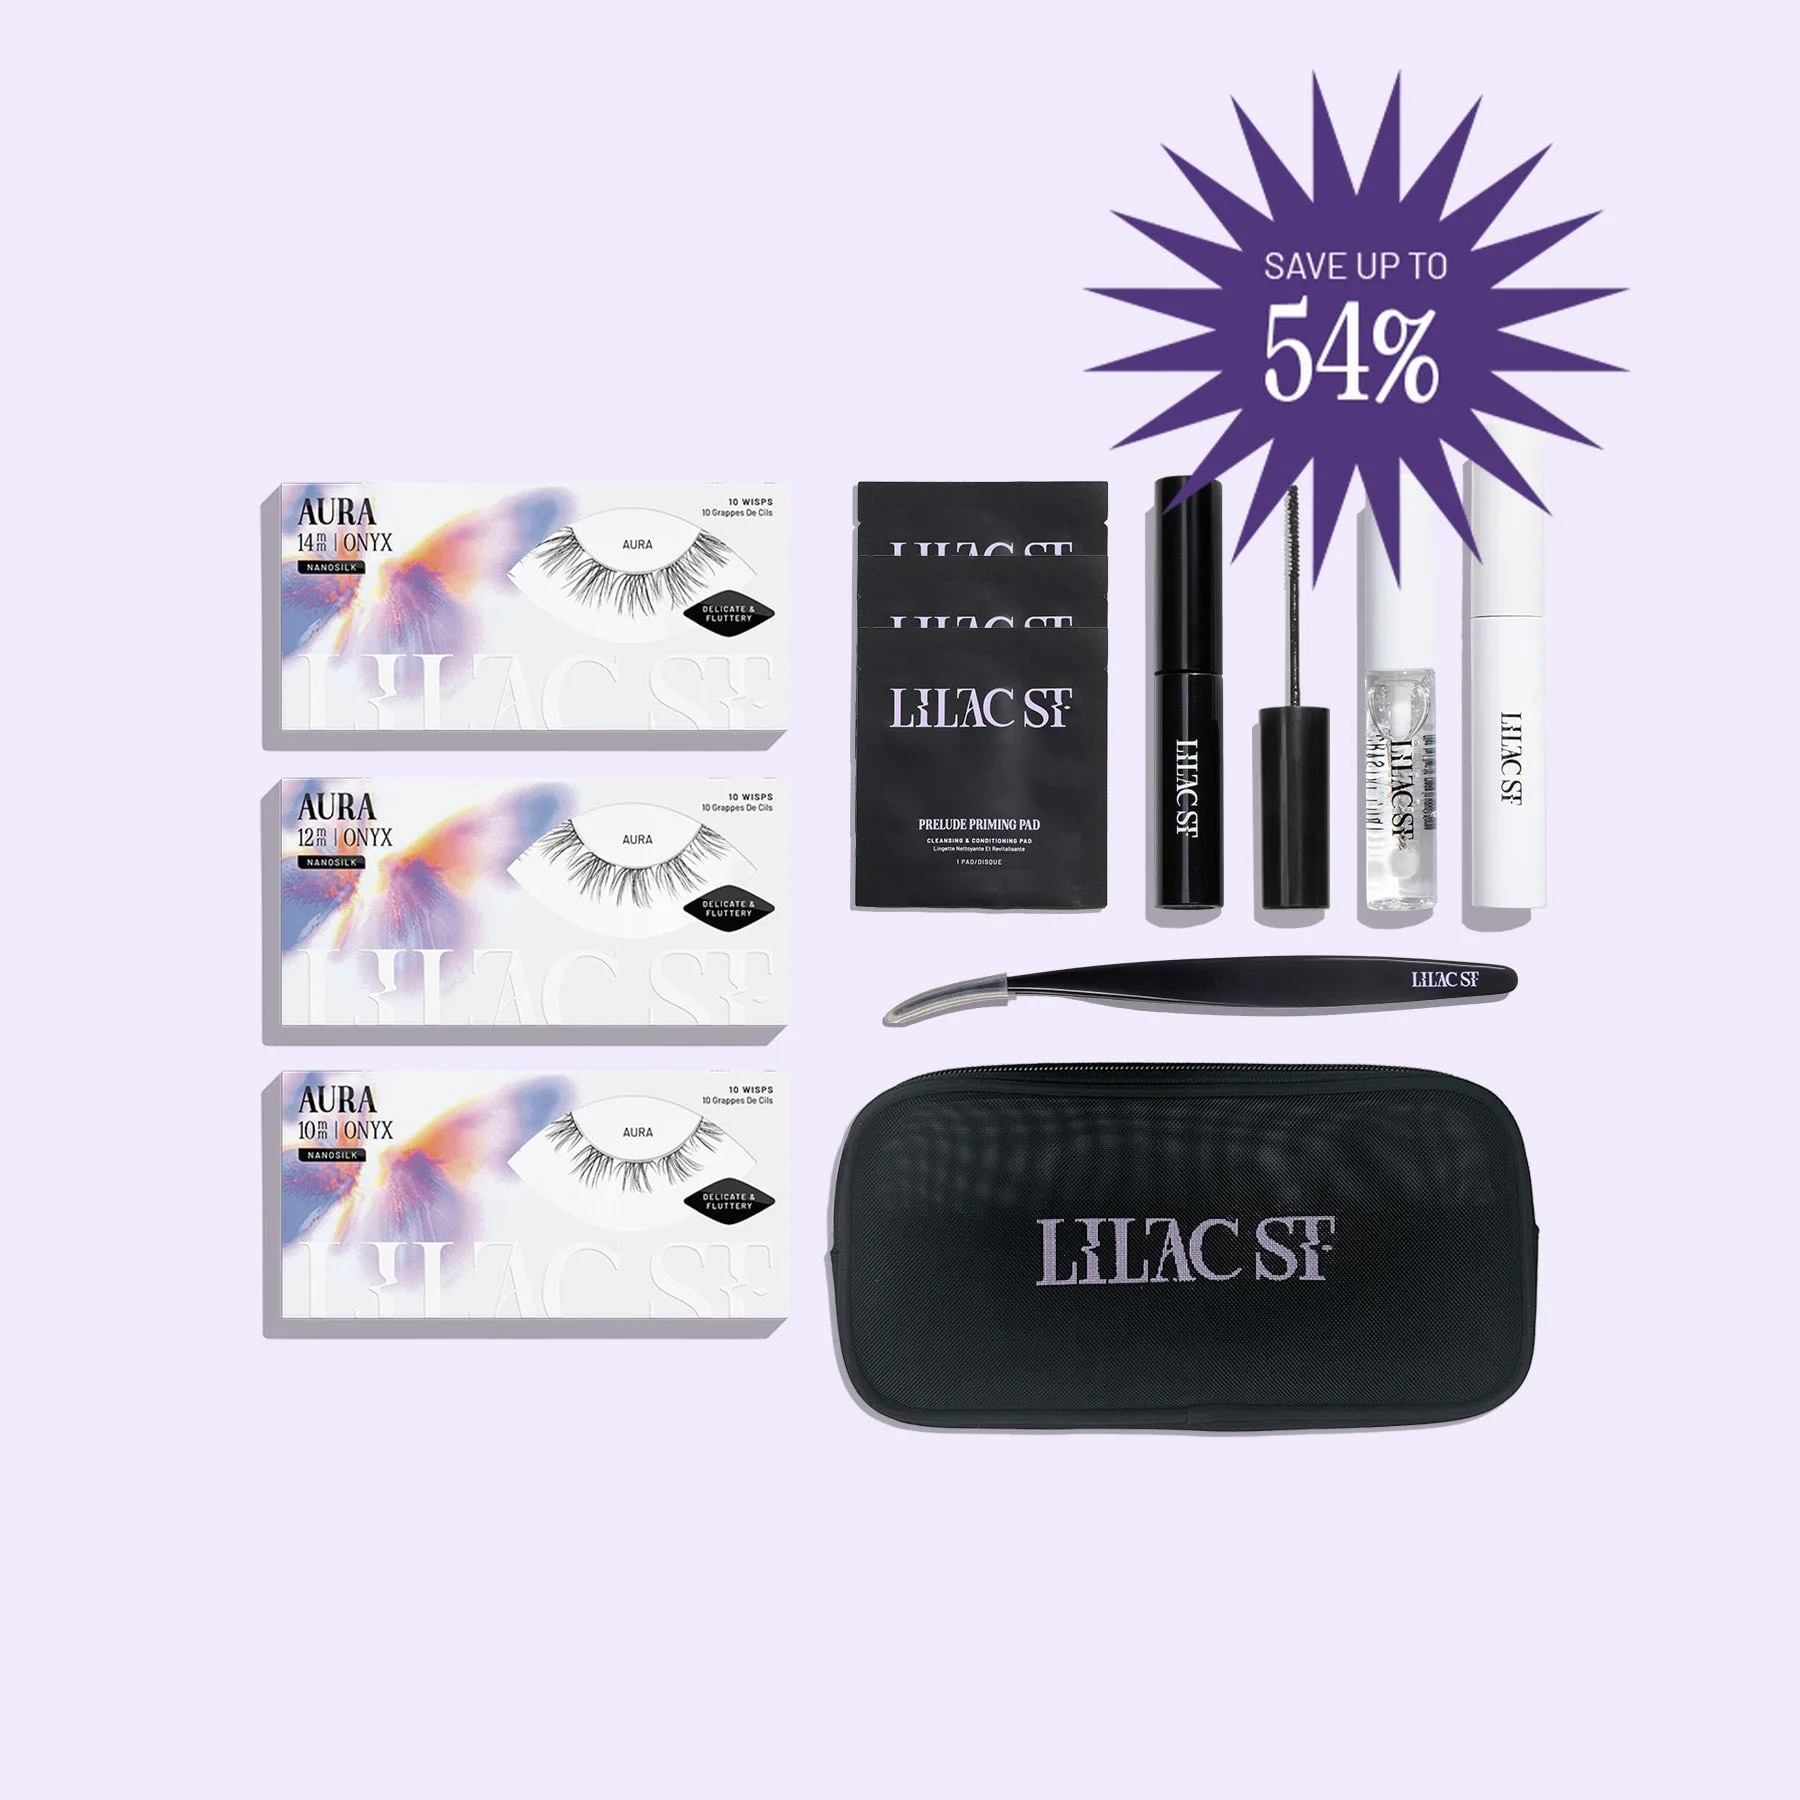
- Deluxe Starter Kit Set - Aura: The Deluxe Starter Kit Set - Aura is a comprehensive at-home kit featuring the Aura style, known for a soft, wispy appearance. A complete kit with a defined style makes it easy to keep one tray system organized, which protects the soft, wispy lashes from being crushed.