Quick answer
Store lash adhesive upright with the cap fully sealed, in a dark spot at a steady room temperature, away from humidity, direct sun, and heat. Keep it out of the bathroom and the fridge, and check the nozzle for a dry plug before every use. If the texture or smell has changed, replace it rather than trying to revive it.
Why lash adhesive storage changes how your glue performs
Adhesive is the one part of a DIY lash routine you cannot inspect by looking at it. The bond either grabs quickly or it does not, and the difference usually comes down to how the bottle has been stored since you opened it. Heat speeds up the chemical reaction inside the bottle, so adhesive that sits near a radiator or in a hot car can thicken or cure before it ever reaches your lashes. Humidity is the other quiet problem: moisture in the air starts the curing process early, which shows up as stringy texture, a slower grab, or a bond that releases within a day.
Light matters too. Clear or partially clear bottles left on a sunny windowsill degrade faster than the same adhesive kept in a drawer. None of this requires special equipment. It requires one consistent spot and a few habits that take seconds to build.
Where not to keep your lash glue
The bathroom is the most common storage mistake because it is where most people get ready. Showering and hot water push humidity up and down all day, and that cycling is exactly what shortens usable adhesive life. The refrigerator is the second mistake. Cold adhesive can behave inconsistently right after you take it out, and condensation forming on the bottle as it warms introduces the moisture you were trying to avoid.
A bedroom drawer, a closed cabinet, or a dedicated lash case in a climate-controlled room works better. Wherever you choose, keep the bottle standing up so the formula stays near the nozzle rather than pooling against the cap, and keep it out of reach of direct sun.
What to check before you blame the adhesive
Before replacing a bottle, rule out the two things that mimic storage failure: application conditions and removal habits. Applying in a steamy room, or applying right after a shower, can weaken a perfectly good bond. So can leftover residue or oil near the lash line, which stops adhesive from gripping. If your adhesive has been stored correctly and your lash line is clean and dry, and lashes still lift within hours, the bottle is the likely cause.
Removal is the other half of the equation. Ripping lashes off damages the natural lash and leaves residue that interferes with the next application. A dedicated remover, used patiently, protects both your lashes and your results.
Your lash adhesive storage routine, step by step
- Seal the cap fully after every use: Wipe any adhesive off the nozzle threads with a dry paper towel, then close the cap until it stops. A cap that feels tight but has residue on the threads is not sealing. Checkpoint: if you can smell adhesive when the cap is on, air is still getting in.
- Stand the bottle upright in a dark drawer: Choose one drawer or case away from windows and heat sources, and return the bottle there every time. Upright storage keeps the formula settled near the nozzle instead of drying against the cap. Checkpoint: the spot should feel the same temperature year-round, not warm to the touch.
- Keep the storage spot dry and stable: Avoid bathrooms, kitchens, laundry rooms, and garages. Aim for a room where humidity does not spike with showers or cooking, and do not move the bottle between hot and cold spaces. Checkpoint: if the bottle feels cold or shows condensation when you pick it up, move it.
- Clear the nozzle before each application: If the tip looks plugged, wipe it with a dry paper towel rather than poking it with a pin, which can widen the opening and change how much adhesive dispenses. Checkpoint: a clean nozzle gives you consistent drops and less wasted adhesive.
- Apply in a dry, unsteamed room: Wait at least twenty minutes after a shower before applying, and skip the humidifier or hot shower nearby. Moisture in the air starts curing adhesive before it reaches your lashes. Checkpoint: if your mirror is still fogged, the room is not ready.
- Remove with a dedicated balm, not force: Work a thick, creamy balm into the lash line and let it soften the adhesive before gently easing lashes away. This keeps your natural lashes intact and your lash line clean for next time. Checkpoint: no tugging. If you feel resistance, add more balm and wait.
- Replace adhesive when the signs point to it: Thickened texture, a stringy pull, a changed smell, or bonds that release within hours despite correct storage and clean application all mean it is time for a fresh bottle. Checkpoint: do not try to thin or revive old adhesive with water or oil. Replace it.
Products that support good adhesive habits
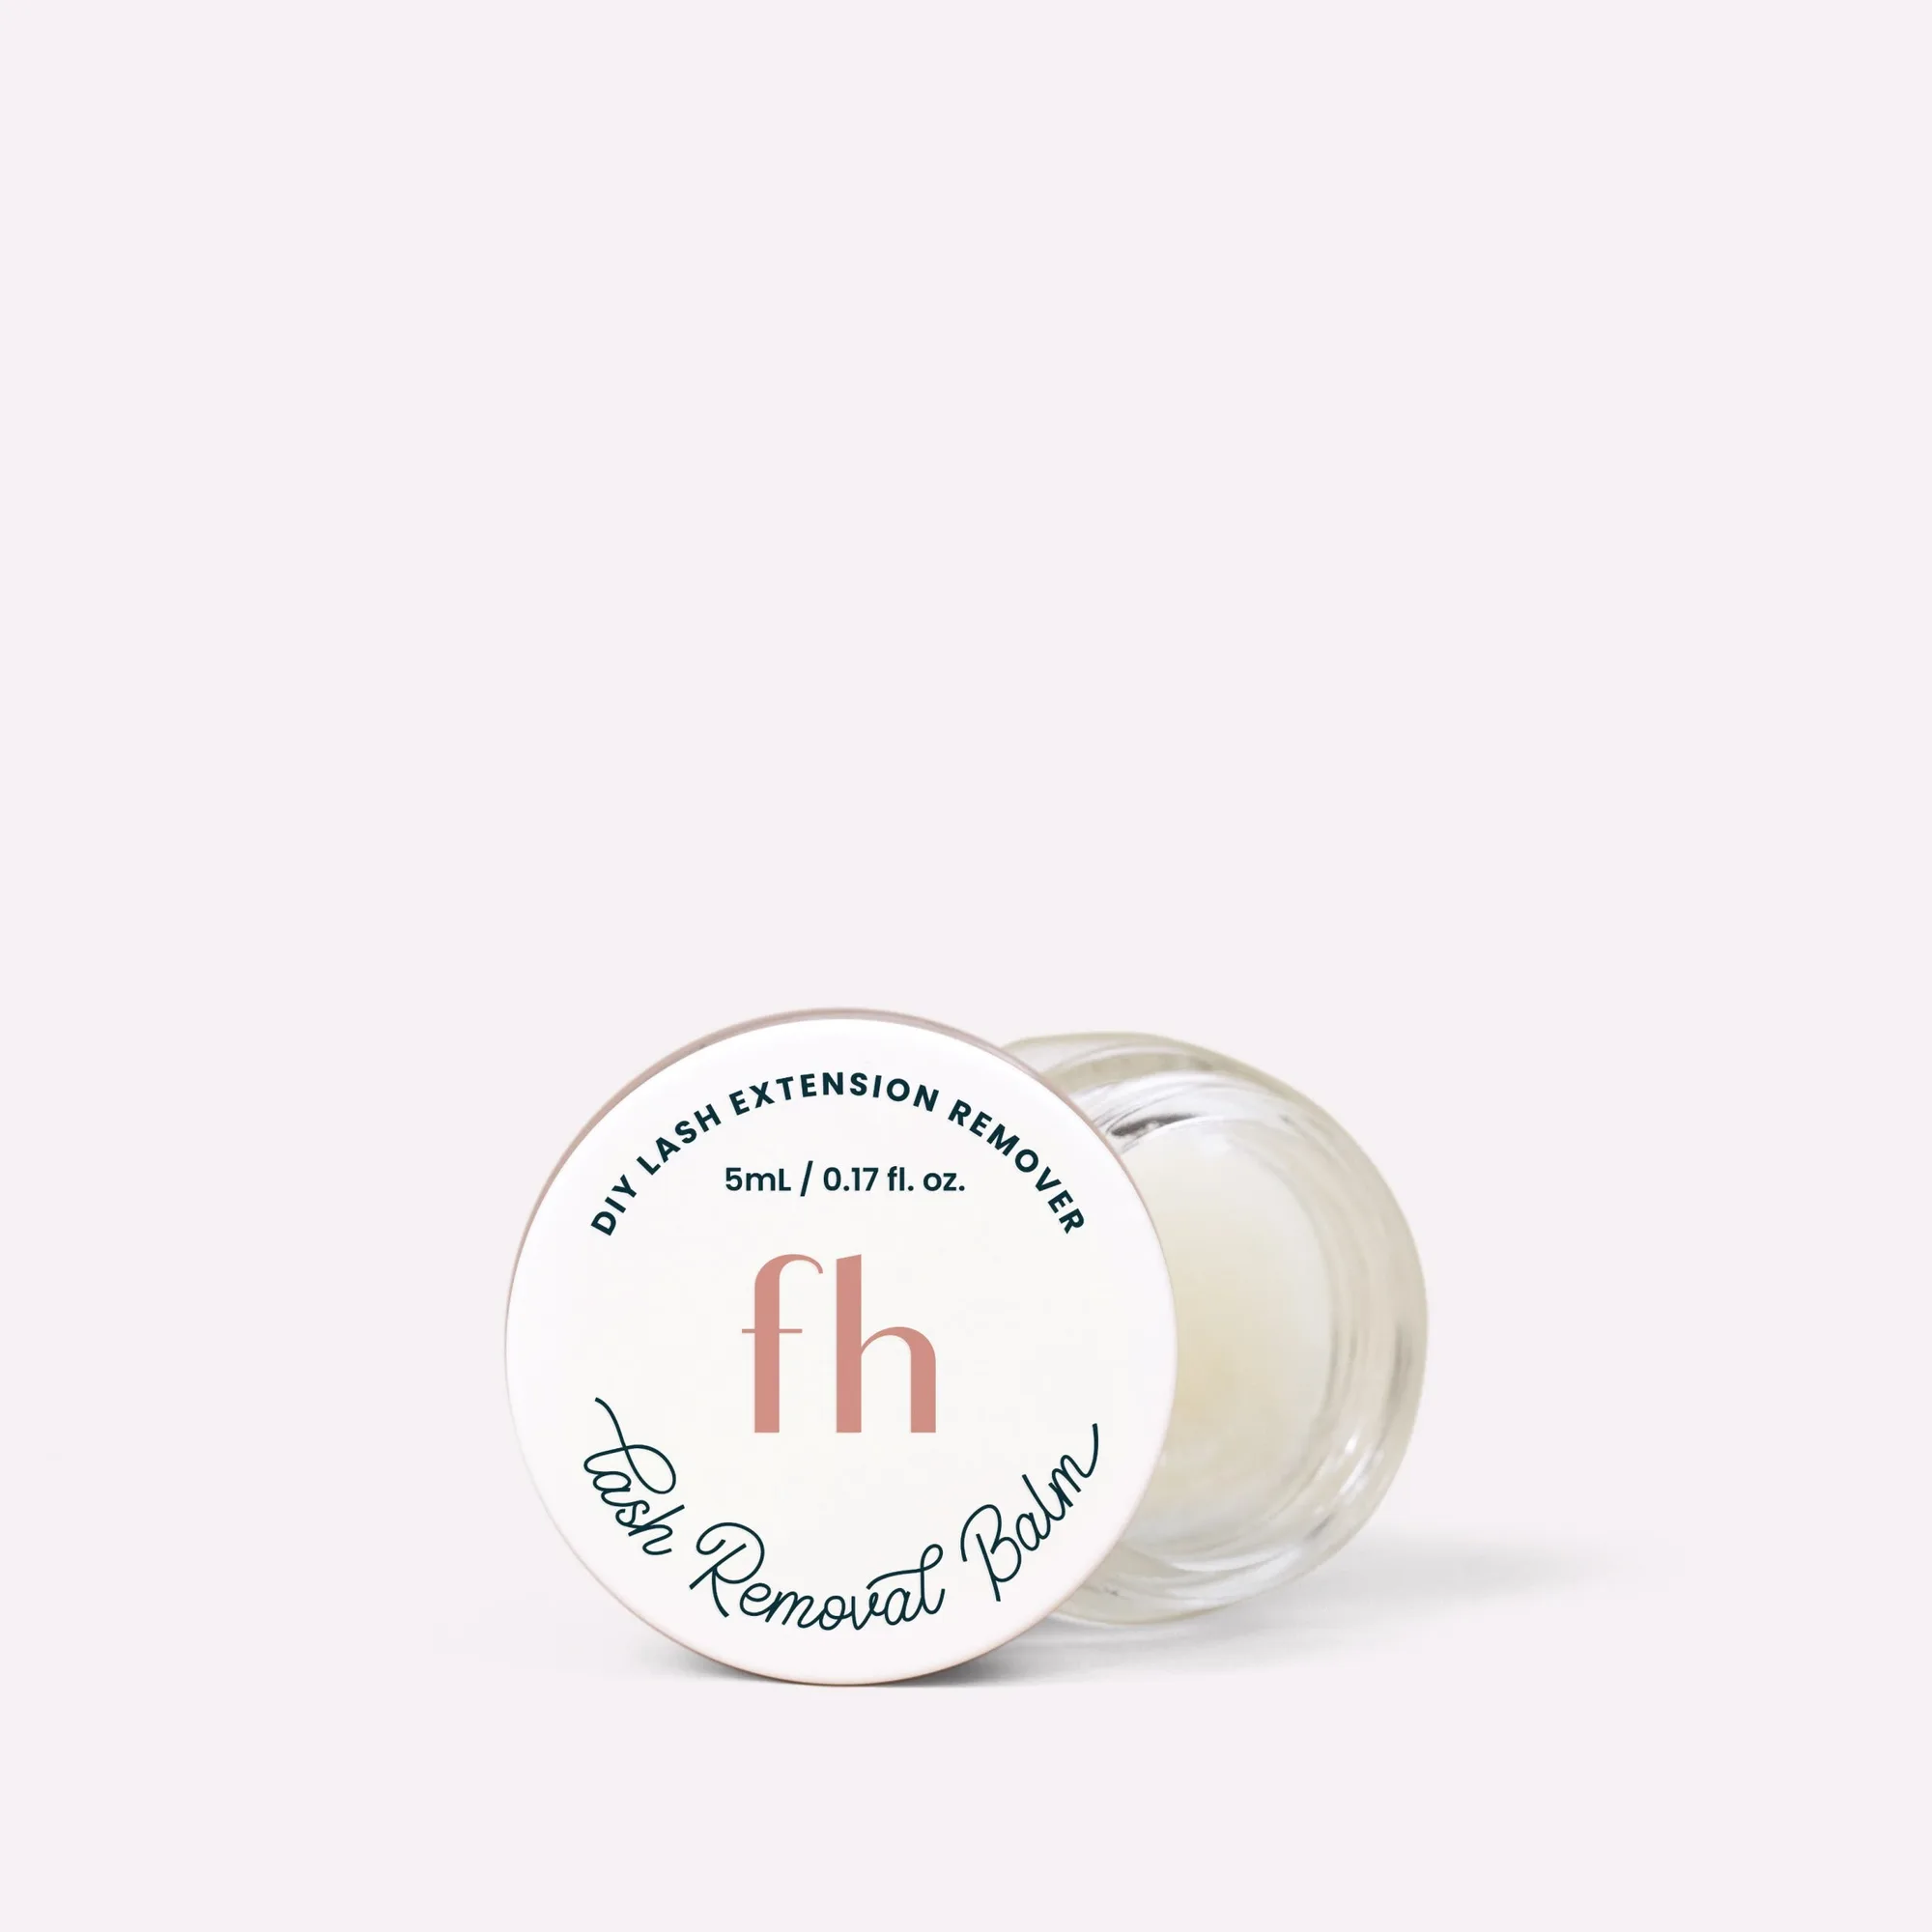
- Mini Removal Balm: Mini Removal Balm is a thick, creamy balm made with clean, nourishing ingredients including argan and jojoba oil, designed to soften and melt away adhesive. Gentle removal keeps the lash line clean and undamaged, which means your next application bonds properly instead of failing for reasons that look like bad adhesive storage.
- Pre-Glued DIY Underlash Extensions Kit: The Pre-Glued DIY Underlash Extensions Kit includes two sets of self-adhesive lashes and a precision lash applicator, with no glue required. If you are tired of managing adhesive altogether, a pre-glued kit removes the storage variable entirely while still giving you a reusable applicator to keep clean and dry.