Quick answer
Sort every eitech part by type and size first, then store each group in a clear, labeled container that lives in one fixed spot. Keep tiny screws and brackets in shallow trays or compartment boxes so you can see them at a glance. The goal is a single, repeatable system: one home for every part, one habit for returning it.
Losing a single eitech screw in a carpet or a junk drawer can stall a build for days. The fix is not more careful building; it is a storage system that makes every part visible and easy to put back. This guide walks through a simple process you can set up in an afternoon and keep running with almost no effort.
You do not need a workshop or expensive cabinets. A few shallow trays, a marker, and a consistent sorting rule will do more for your eitech part organization than any single purchase. The steps below are ordered so each one builds on the last, from sorting to labeling to daily habits.
Start by sorting every part into broad groups
Empty the mixed pile onto a flat, light-colored surface so small pieces do not blend into the background. Sort into broad families first: screws, nuts, brackets, angled plates, flat plates, axles, and specialty parts. Do not try to be perfect at this stage; the goal is to separate the categories that behave differently when you search for them later.
As you sort, set aside anything bent, stripped, or worn. A damaged screw or bracket will not help a future build and will only slow you down if it stays in the tray. Put those aside for recycling or replacement rather than mixing them back in.
- Use a muffin tin or ice cube tray to hold small groups while you sort.
- Work over a tray with a lip so dropped screws do not roll away.
- Keep a magnet nearby for stray steel parts, but do not store parts on it long term.
Group by size and function, not by kit
Once the broad families are separated, refine each group by size. Screws go together by length and diameter, brackets by hole count, and plates by dimensions such as 6x6-hole. This is the step that makes eitech screw storage actually work: when you need a specific screw, you search one small group instead of a whole box.
Resist the urge to keep each kit in its own bag. Kit-based storage feels tidy at first, but as soon as you borrow a part from one set for another build, the system breaks down. Function-based groups survive mixing and rebuilding, which is exactly what eitech building involves.
- Label groups by what the part does, not by which set it came from.
- Keep rare or specialty parts in their own small container so they stay easy to spot.
- If a group grows too large to scan quickly, split it by size again.
Choose containers that match the part size
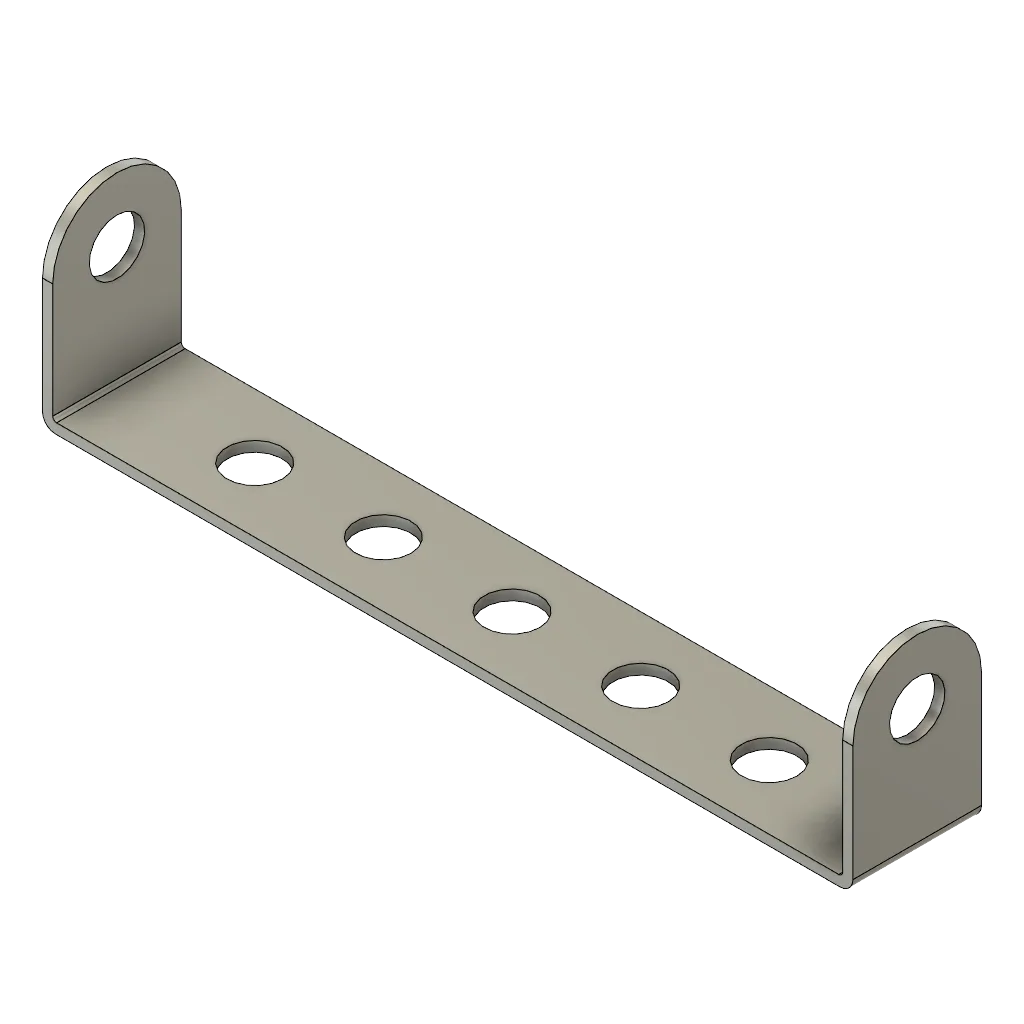
Tiny parts need shallow containers; large plates need flat ones. A deep jar of screws forces you to dig, while a shallow compartment box lets you see every piece at once. For very small items such as a Bracket 5x1-hole or a Cladding plate 6x6-hole, blue, a compartment box with adjustable dividers is usually the most practical choice.
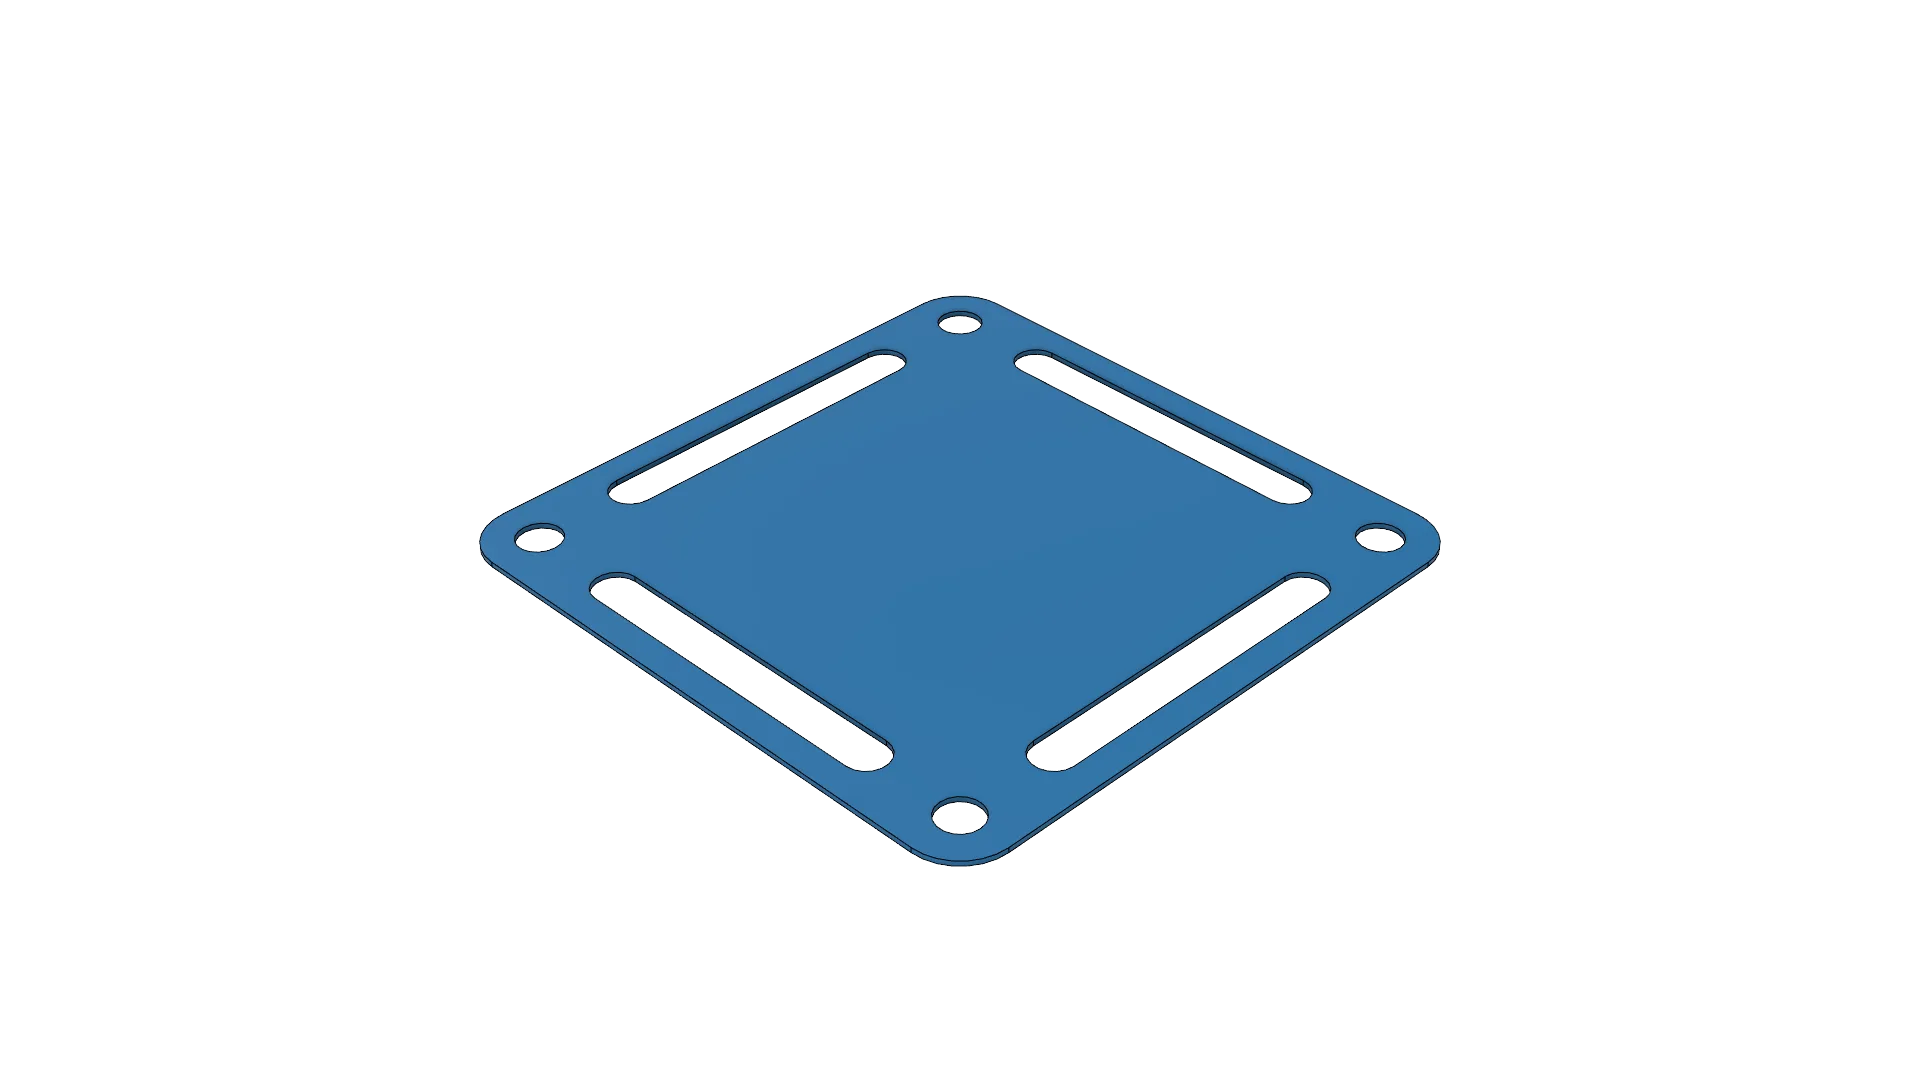
Cladding plate 6x6-hole, blue
For longer or flatter parts, use stackable trays or shallow drawers rather than bags. Bags hide contents and encourage you to dump everything out to find one piece. Clear containers solve that problem because you can identify a group without opening it.
- Pick containers you can open one-handed while holding a model.
- Avoid opaque bags for anything you use often.
- Keep a small lidded tray for parts currently in use during a build.
Label everything clearly and consistently
Write the group name and size on each container, and use the same wording every time. If one tray says 'screws M4' and another says 'M4 screws', you will hesitate every time you search. Consistency matters more than the exact wording you choose.
For eitech Manufaktur parts, include the part name and hole count if it fits on the label. A label like 'Angle bar 10-hole' tells you exactly what is inside without opening the box. If you keep spare parts in original packaging, add a label anyway so the group is identifiable at a glance.
- Use a label maker or permanent marker on tape, not a pencil that fades.
- Label the lid and the front of the container if it sits on a shelf.
- Re-label when you split or merge groups so old names do not linger.
Give the system one fixed home
A storage system only works if it has a permanent location. Choose a shelf, drawer, or cabinet where the containers live when not in use, and keep it close enough to your building spot that putting parts away is easier than leaving them out. Distance is the main reason tidy systems fall apart.
If you build in different rooms, use a small portable caddy for the parts in active use and return them to the main storage when the session ends. This keeps the main system intact while still letting you work wherever you like.
- Store the system at waist height so you can reach it without bending.
- Keep a small catch tray at the building spot for loose parts.
- Do a two-minute tidy at the end of each session, not a big cleanup later.
Handle tiny parts with a routine
Small parts are the ones most likely to disappear. Open only one compartment at a time, and place the lid underneath the container to catch rolls. When you finish a step, return unused parts before opening the next compartment. This single habit prevents most lost-screw situations.
For very small items such as a Bracket 5x1-hole or a Cladding plate 6x6-hole, blue, work over a tray with a raised edge. If a part does drop, a flashlight held low and parallel to the floor casts a long shadow that makes tiny metal pieces much easier to spot.
- Never open two compartments at once.
- Sweep the work surface into a tray before standing up.
- Check pockets and cuffs before leaving the building area.
Restock and review on a schedule
Once a month, open each container and check for mixed-in parts, empty groups, and low stock. This is also the moment to move rarely used parts to a secondary box so your main trays stay focused on what you actually build with. A short review keeps the system from drifting.
If you notice you are always short on one size, note it and order replacements before the next build. Running out mid-project is a common reason people start borrowing from other groups and undoing their own organization.
- Keep a running list of parts to reorder.
- Move seasonal or specialty parts out of the main trays.
- Fix one small problem each review instead of reorganizing everything.
Your seven-step storage routine
- Step 1: Sort into broad families: Empty everything onto a light, lipped tray and separate screws, nuts, brackets, plates, axles, and specialty parts. Remove damaged pieces as you go. Checkpoint: if a part does not clearly belong to one family, set it in a small 'decide later' pile rather than forcing it.
- Step 2: Refine by size and function: Split each family by size or hole count so screws are grouped by length and diameter, and plates by dimensions such as 6x6-hole. Checkpoint: if a group takes more than a few seconds to scan, it is still too broad.
- Step 3: Match containers to part size: Use shallow compartment boxes for tiny parts and flat trays or drawers for long or wide pieces. Avoid opaque bags for anything you use often. Checkpoint: you should be able to identify each group without opening the container.
- Step 4: Label consistently: Write the group name and size on every container using the same wording each time, including part names and hole counts where they fit. Checkpoint: another person should be able to find a part using only your labels.
- Step 5: Give the system one home: Choose a fixed shelf, drawer, or cabinet at a comfortable height and return containers there after each session. Checkpoint: if putting a part away takes longer than leaving it out, the home is in the wrong place.
- Step 6: Open one compartment at a time: Work over a lipped tray, place lids underneath to catch rolls, and return unused parts before opening the next compartment. Checkpoint: a dropped part should land in the tray, not on the floor.
- Step 7: Review and restock monthly: Check each container for mixed-in parts and low stock, move rarely used parts to a secondary box, and note what to reorder. Checkpoint: fix one small issue per review instead of reorganizing everything.
Parts that benefit from dedicated storage
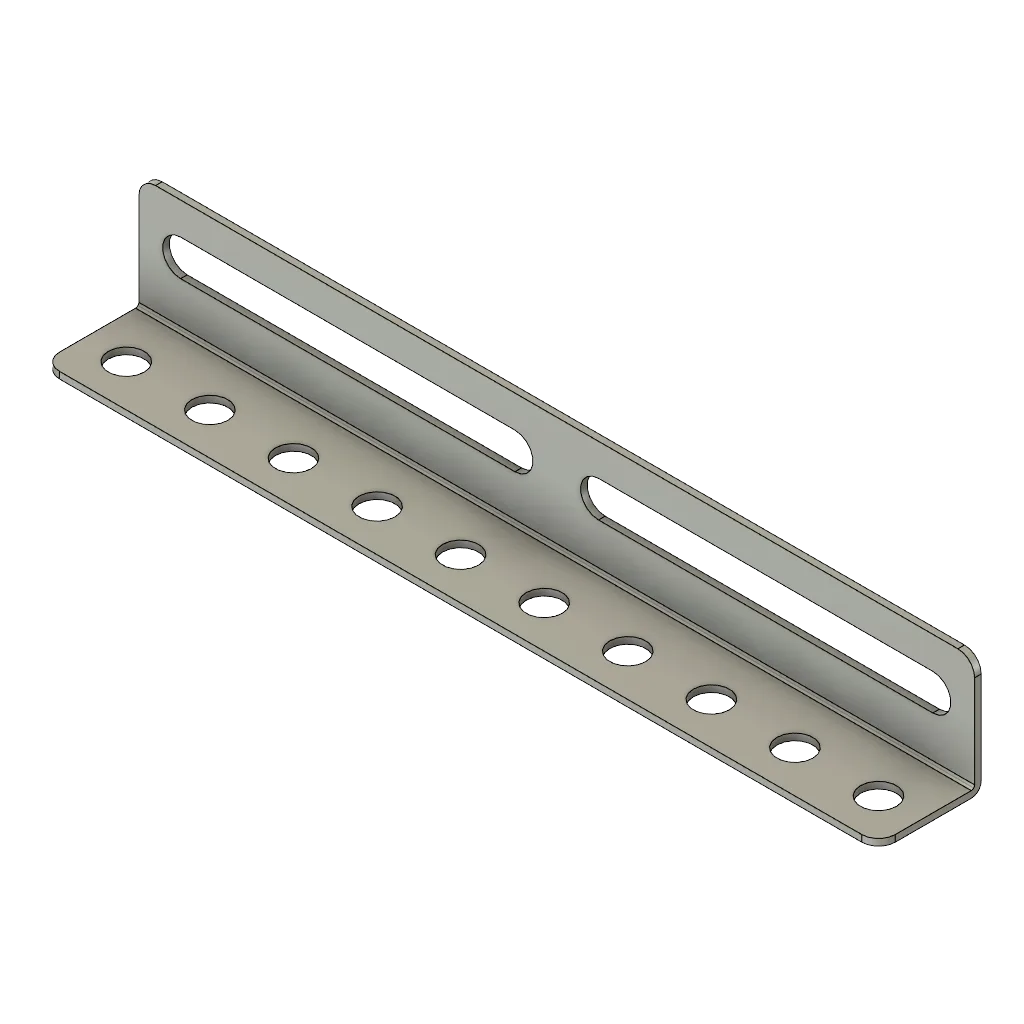
- Angle bar 10-hole: The eitech Angle Bar 10-hole is a metal construction component from the eitech brand, listed under the manufacturer tag, and is a building element intended for use with compatible eitech construction sets and components. Because it is a flat, elongated part, it stores best in a shallow tray or slot where it cannot bend or get buried under smaller pieces.
- Bracket 5x1-hole: The eitech Bracket 5x1-hole is a component from the eitech Manufaktur line, offered under SKU 01203 in a Standard variant, designed as a five-by-one-hole bracket for use in eitech building and construction projects. Its small size makes it easy to lose in a mixed pile, so a labeled compartment keeps it findable and separate from similar brackets.
- Cladding plate 6x6-hole, blue: The eitech Cladding Plate 6x6-hole in blue is a component from the eitech Manufaktur line, offered under SKU 01135 BLAU, designed as a cladding plate with a 6x6-hole pattern and a blue finish. The blue finish makes it visually distinct, so grouping it with other 6x6-hole plates in a clear container lets you identify it without opening the box.
A good storage system is less about the containers and more about the habit. Sort by function, label clearly, and return every part to its one home after each session. Do that, and you will spend your build time building instead of hunting for a screw.