Quick answer
Coil every cable in loose, uniform loops at or above its natural bend radius, secure the coil with a soft tie at two points, and store it in a labeled pouch or box away from heat, sunlight, and heavy objects. Keep connectors capped or bagged separately so plating and contact surfaces never rub against each other.
Why cable storage deserves a real routine
A high-end cable is a mechanical assembly as much as an electrical one. Heavy OFHC stranding, precision winding, and machined tellurium copper spade lugs all depend on the conductor geometry staying close to how it left the factory. Tight coiling, sharp bends, and gravity-loaded connector stacks gradually deform that geometry, and the change is usually audible before it is visible.
Storage also affects resale and service life. A cable that lives in a loose, labeled loop is easy to identify, quick to redeploy, and unlikely to arrive at a new owner with flattened dielectric or a scratched connector body.
Choose storage locations that respect the materials
Heat, UV light, and ozone are the quiet enemies of cable jackets and dielectric materials. A climate-controlled closet or equipment rack shelf is better than an attic, garage, or sunny window ledge. Avoid storing cables on concrete floors for long periods, since moisture wicking and abrasion are both realistic risks.
Weight is the other variable. Never pile heavy components, tools, or other cables on top of a coiled run. If you must stack storage boxes, keep the heaviest at the bottom and place cables in rigid containers that hold their shape.
Label before you store, not after
Label each cable with its type, length, and the component it was tuned for. This matters most when you own multiple runs that look identical, such as a pair of REFERENCE Speaker Cables used in different rooms or a mix of single-ended and balanced interconnects.
Use removable painter's tape or a soft cable tag rather than adhesive labels wrapped directly around the jacket. Adhesive residue attracts dust and can pull on printed markings when removed.
Step-by-step storage routine
- Step 1: Unplug and inspect first: Power down the system, disconnect each cable, and run your fingers along the jacket and connector bodies. Look for kinks, flattened sections, or loose spade lugs before the cable goes into storage. Checkpoint: if a connector spins freely or the jacket is visibly crushed, address it before storing rather than after.
- Step 2: Coil in loose, uniform loops: Use the over-under method: alternate each loop so the cable naturally follows its own lay. Keep loop diameter generous, roughly the size of a dinner plate or larger, and never force a bend tighter than the cable wants to go. Common mistake: wrapping a cable around your elbow or a tight hand-to-shoulder loop, which stresses conductors and can twist the internal geometry.
- Step 3: Secure with soft ties at two points: Use hook-and-loop straps or soft cotton ties. Place one tie near the middle of the coil and one near the end, leaving the connectors accessible so you can inspect them without uncoiling the whole run. Avoid zip ties and tight rubber bands; they concentrate pressure and can leave permanent indentations in the jacket.
- Step 4: Protect connectors separately: Cap spade lugs and XLR or RCA ends with their original covers, or place each connector in a small soft bag. Keep adapters such as the Male RCA to Female XLR in their own labeled compartment so they do not rattle against heavier cables. Checkpoint: no metal-to-metal contact between connectors in the same container.
- Step 5: Store vertically or in a single layer: Hang coiled cables on a padded hook, or lay them flat in a rigid box with dividers. Do not compress multiple heavy runs into one tight bin where the bottom cable carries the weight of the others. Common mistake: stuffing cables into a drawer where they tangle and get pulled apart every time you need one.
- Step 6: Label and log the location: Tag each cable with type, length, and intended component. Keep a simple list or photo of what is stored where, especially if you rotate cables between systems. Next step: when you redeploy a cable, inspect it again before connecting, and re-coil it the same way when it comes out.
Product facts that affect storage
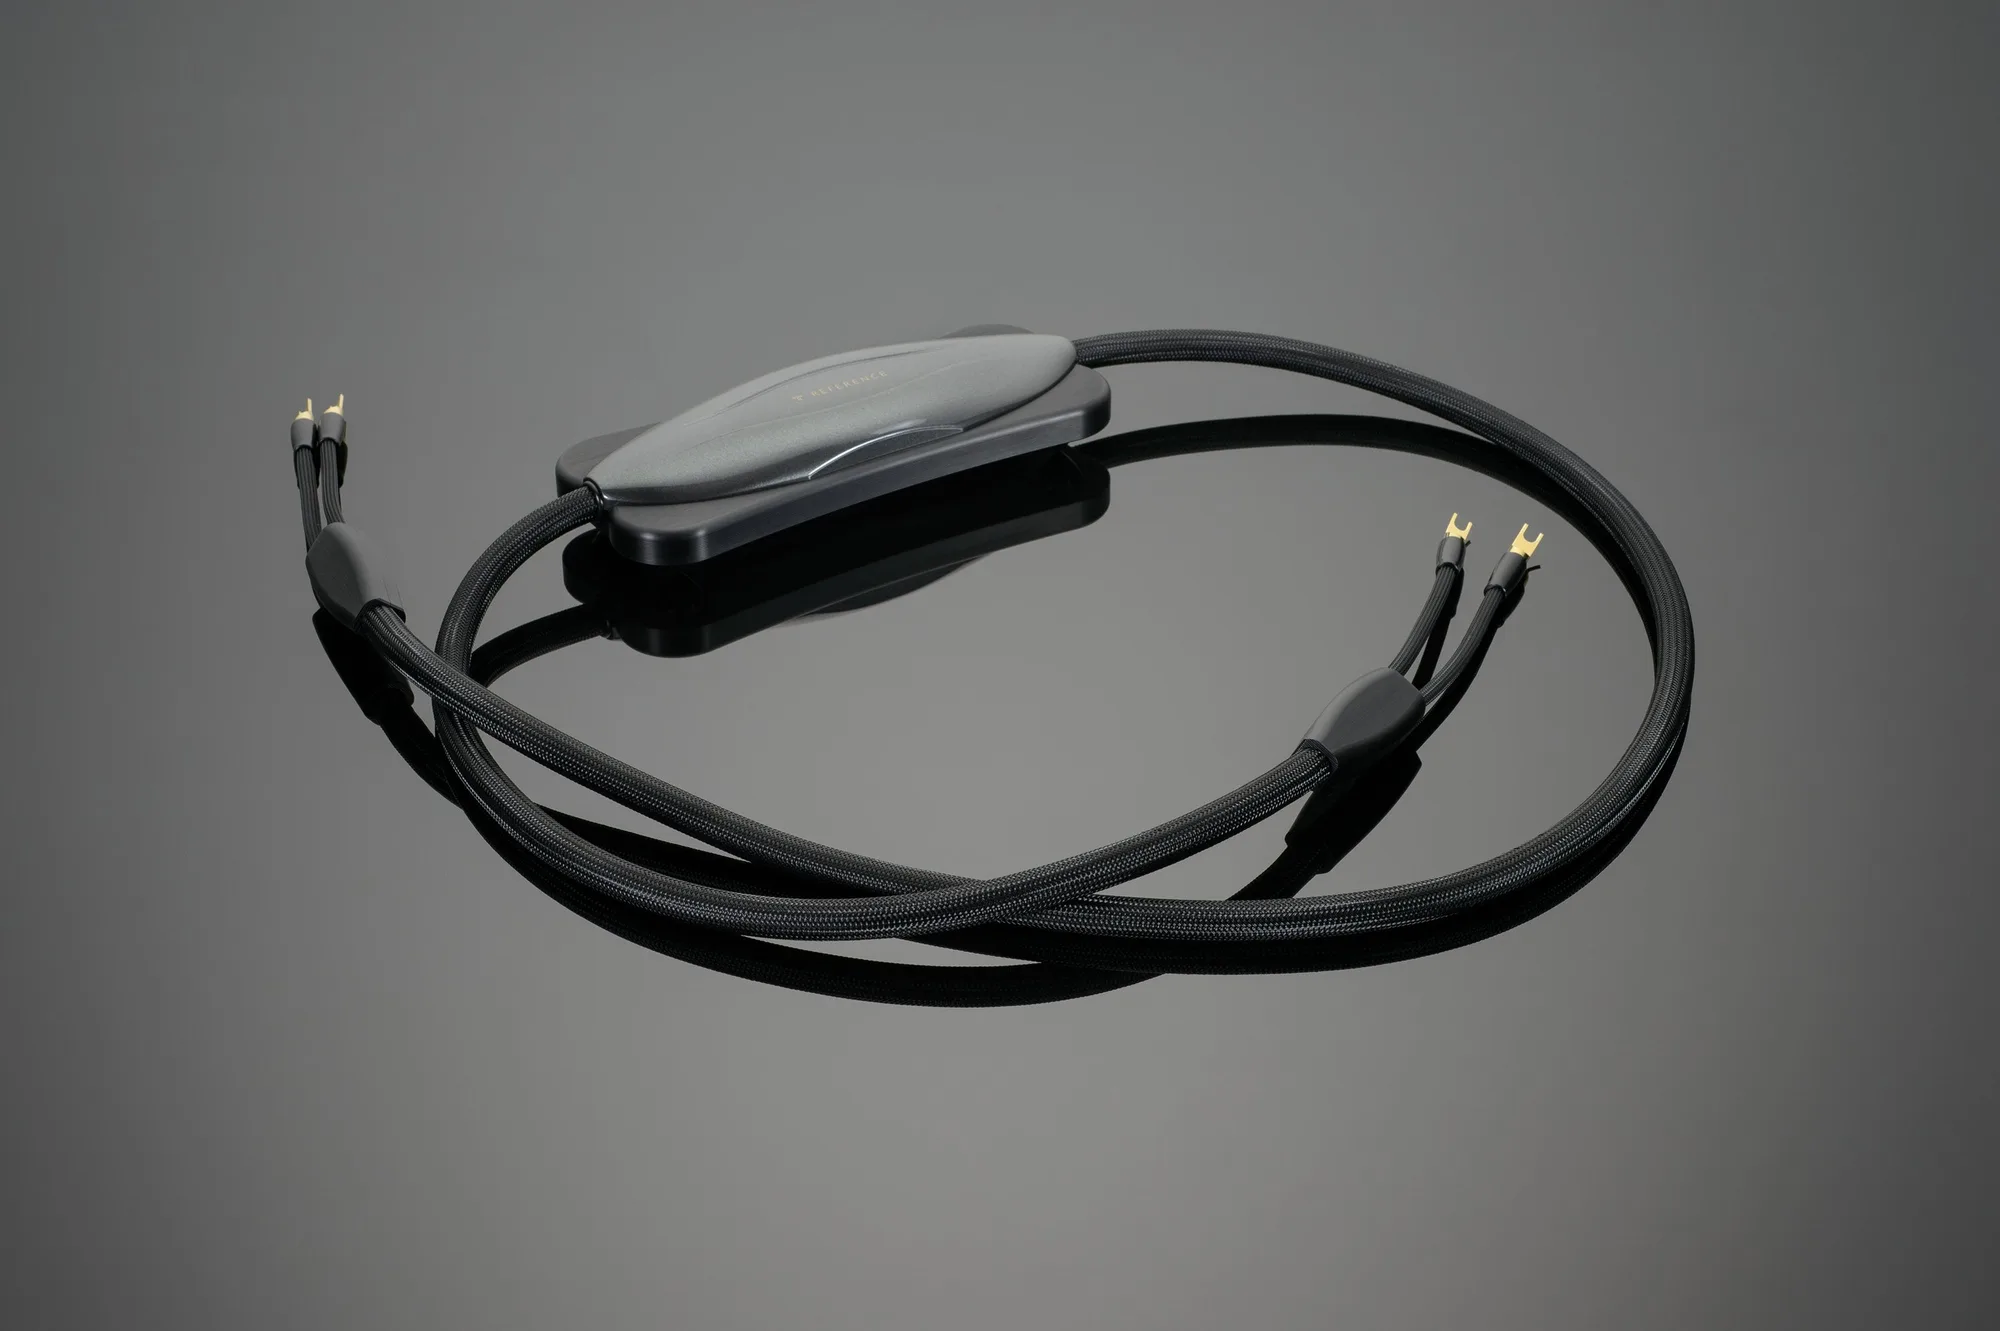
- REFERENCE Speaker Cable: REFERENCE Speaker Cable uses heavy, precision wound OFHC stranding and custom machined, highly polished gold-plated tellurium copper spade lugs. The mass and stiffness of this cable means it should be coiled loosely and supported along its length; the polished spade lugs should be capped or bagged so the plating is not scratched in storage.
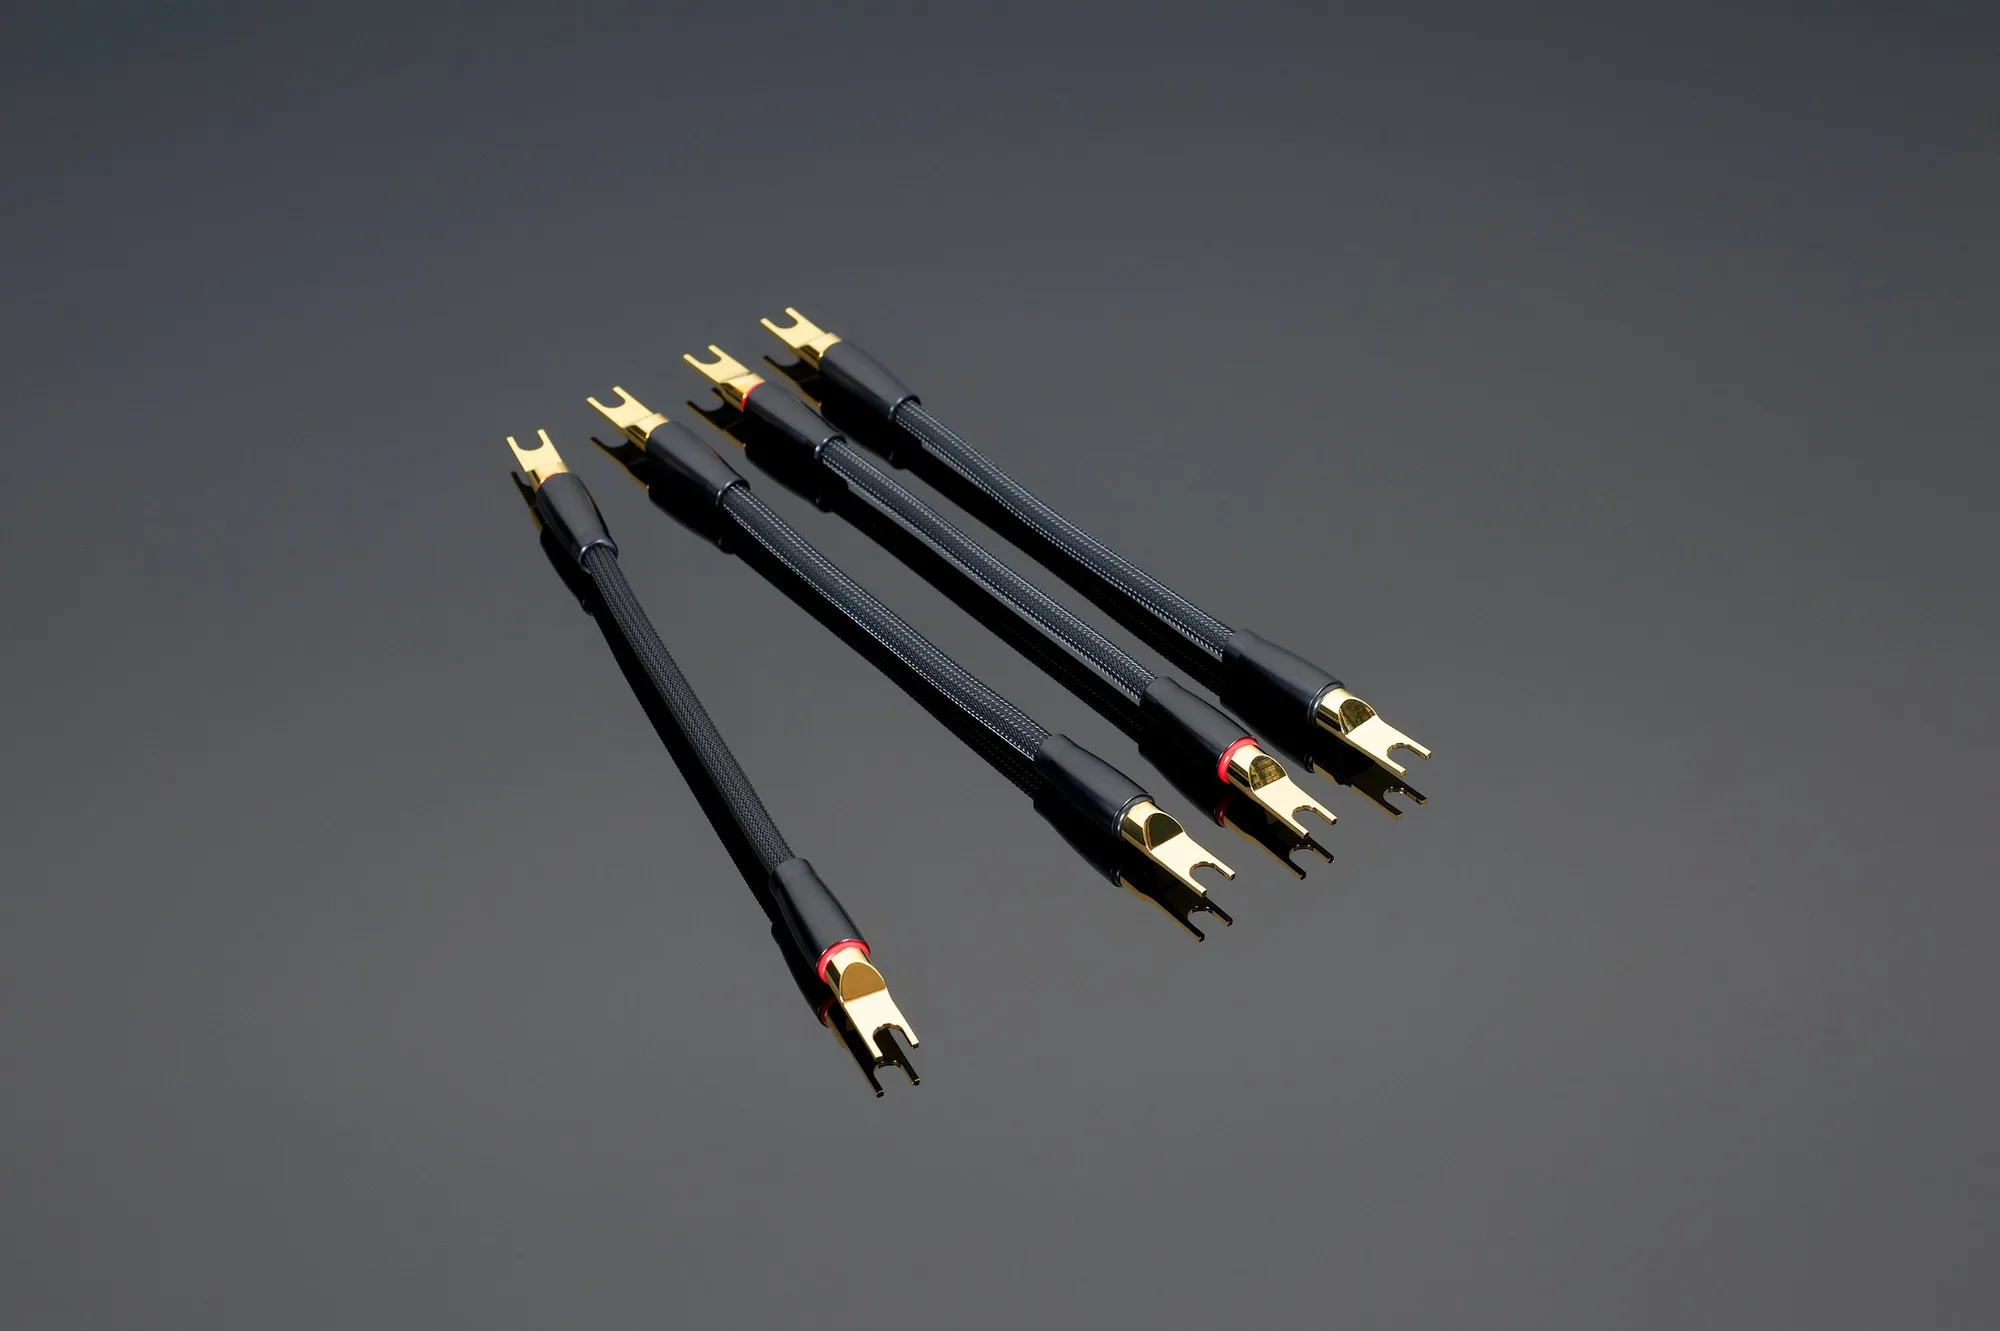
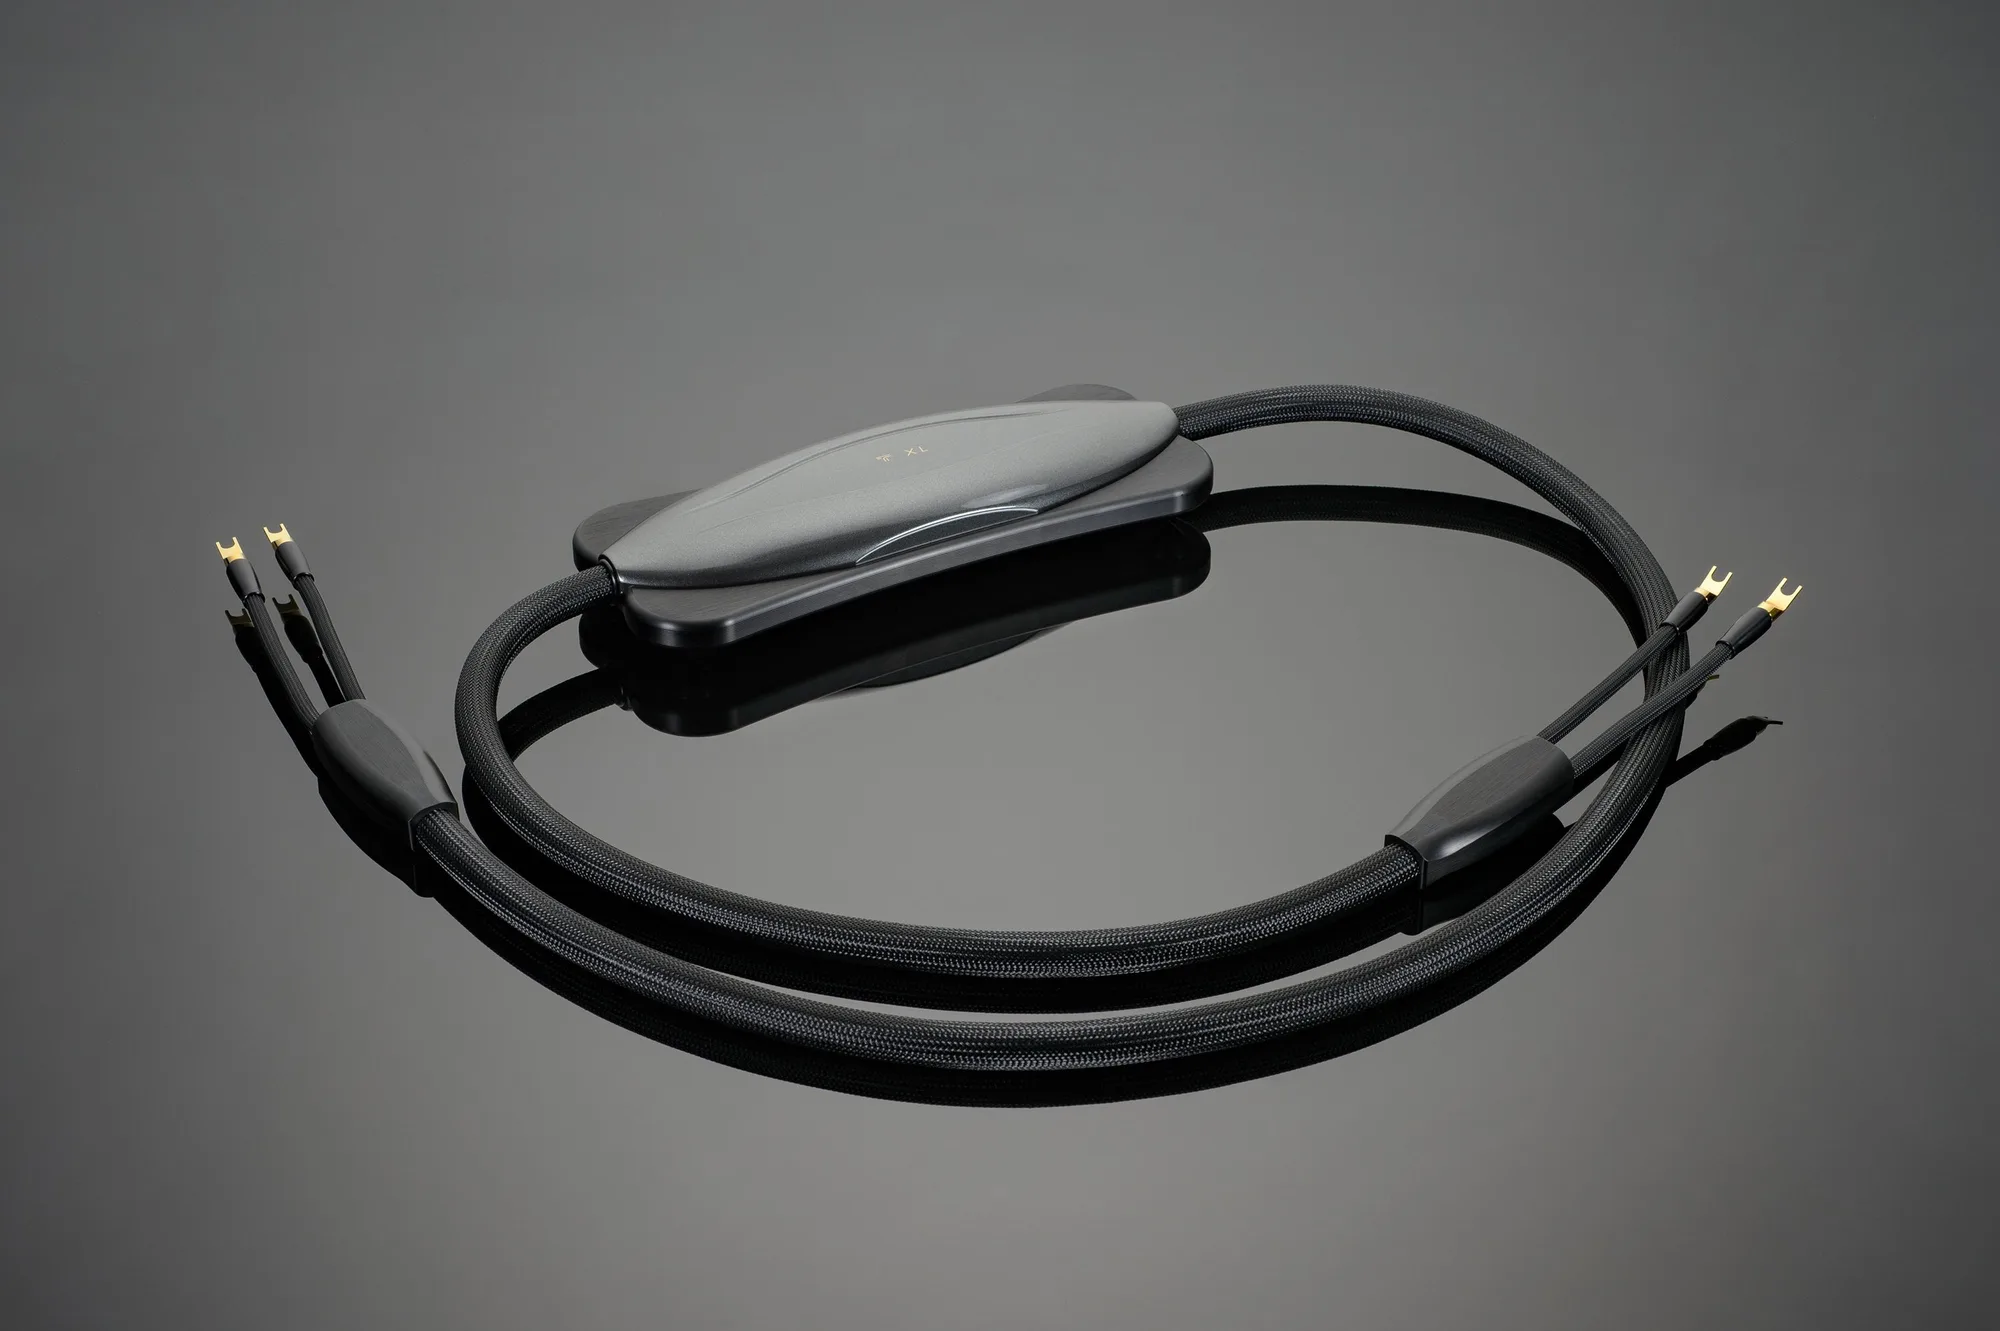
- Reference or XL Biwire Speaker Adapters: Reference or XL Biwire Speaker Adapters are made by hand with the same cable and spades used in Transparent XL Speaker Cable. These short, hand-built adapters are easy to lose or crush; store them in their own small pouch with the speaker cables they pair with, not loose in a general cable bin.
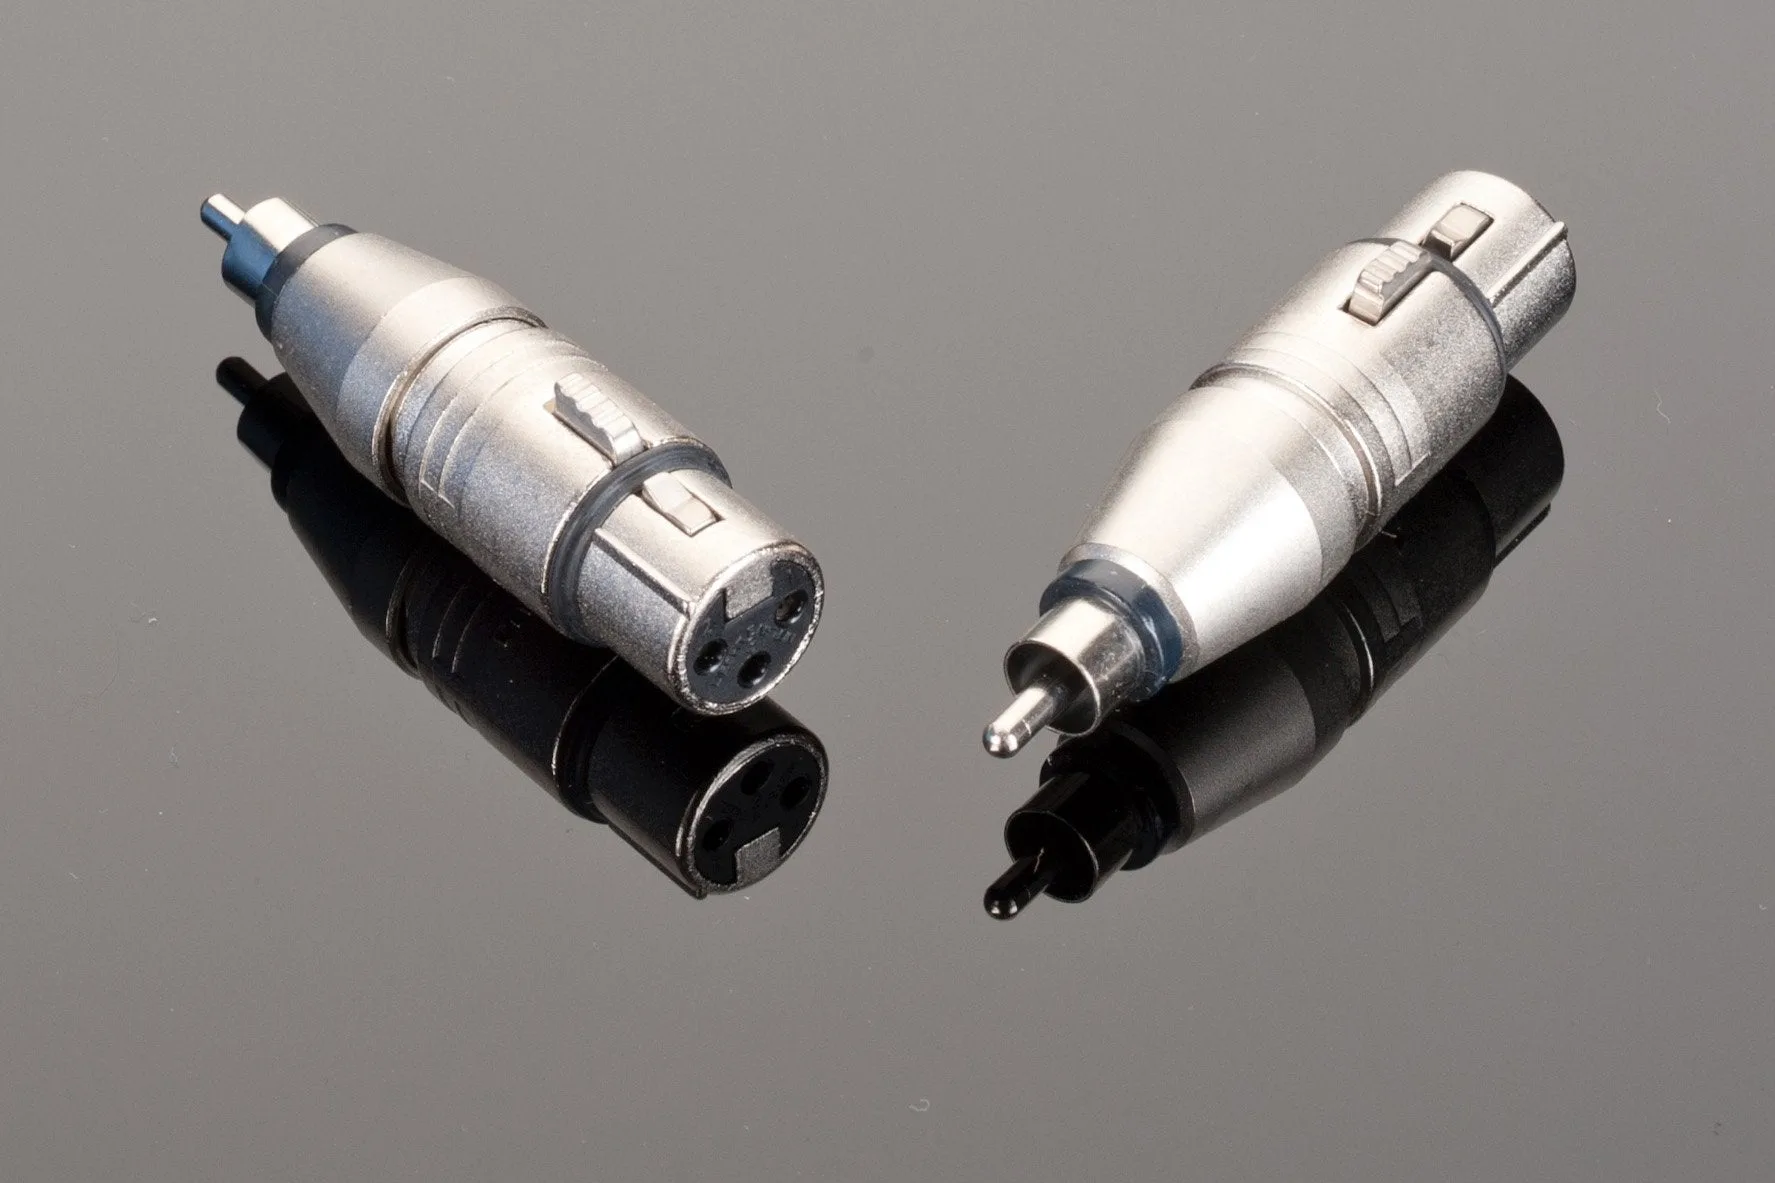
- Male RCA to Female XLR: Male RCA to Female XLR is a Neutrik adapter that changes a balanced connection on a component into a single-ended connection. Small adapters like this are the most commonly misplaced item in a cable collection; a labeled compartment keeps it findable and prevents it from being mixed in with cables it does not match.