Quick Answer
Store planner stickers flat, dark, and dry: keep sheets in a closed binder or file box, away from direct sun and humid rooms, and never stack heavy items on top of loose sheets. If you rotate seasonal sets, store them in labeled sleeves so you can find a sheet without pulling the whole collection apart.
Planner stickers are small, thin, and easy to misplace, which is exactly why they curl, fade, or lose their grip before you get around to using them. A little structure solves most of that. You do not need a craft room or an elaborate system, just a few consistent habits.
This guide walks through a simple storage routine you can set up in one sitting, then maintain in seconds per week. It covers flattening, sorting, protecting, and checking your stash, with the common mistakes to avoid at each stage.
Why Planner Stickers Curl, Fade, and Stop Peeling
Sticker sheets react to their environment. Humidity softens the backing and can make paper sheets wavy. Direct sunlight fades ink over time, especially on pastel and blush-toned designs. Pressure from a heavy stack can press sheets into whatever surface they are resting on, and loose sheets in a drawer bend at the corners every time you dig through them.
Material matters too. Matte sticker paper is writable and has a blue backing, while premium matte vinyl is thinner and shows more vibrant, saturated color. Vinyl tolerates handling a bit better, but both types still benefit from being stored flat and out of the sun. Treating every sheet the same way keeps your routine simple.
- Keep sheets out of bathrooms, kitchens, and garages where humidity swings are largest.
- Avoid windowsills and car dashboards, even for a short display.
- Never store loose sheets in a deep, crowded drawer without a sleeve or folder.
Choose a Storage Format That Matches How You Plan
There is no single right container. The best planner sticker storage ideas are the ones you will actually reopen. If you plan weekly, a small binder with clear sleeves lets you flip to the sheet you want. If you plan seasonally, a lidded file box with dividers keeps sets grouped and dust-free. If you travel with your planner, a zip pouch sized to your sheets prevents bending in a bag.
Match the container to sheet size before you buy anything. The full-size dolly sheets come in Mini at 3.5 by 4.9 inches and Big at 4.5 by 6.3 inches, and the minimalist icon sheets measure 2.3 by 4.9 inches. A sleeve that fits one size may not fit another, so measure your largest sheet first and size the container around it.
- Measure your biggest sheet, then add a quarter inch of clearance for the sleeve.
- Pick a container that closes; open trays collect dust that dulls sticker edges.
- Keep one small working pouch for the current month and archive the rest.
Flatten New Sheets Before You File Them
New stickers sometimes arrive slightly bowed from shipping. Before filing, place the sheet between two clean sheets of cardstock and press it under a flat, evenly distributed weight for a day. Books work, but spread the load across the whole sheet rather than balancing one heavy book in the center, which can crease the middle.
Once a sheet is flat, keep it that way. Storing sheets vertically in a sleeve is fine if the sleeve is snug, but loose vertical storage lets sheets slump and bow over weeks. If you are short on horizontal space, use a rigid backing board inside each sleeve so the sheet holds its shape.
- Checkpoint: run a finger along the sheet edge. If it lifts easily, it needs more flattening time.
- Do not iron or heat stickers to flatten them; heat can warp the backing.
- Flatten before labeling so your label sits straight on the sleeve.
Sort by Use, Not by Collection
Sticker sheet organization works best when it follows your planning habits. Group by function first, such as monthly headers, functional icons, and decorative doll sheets, then by season inside each group. That way you reach for one sleeve instead of flipping through everything when you sit down to plan.
Label the sleeve, not the sticker sheet. Writing on the sheet itself risks ink transfer and makes the sheet harder to reuse or trade later. A small removable label on the sleeve edge lets you relabel when your system changes.
- Keep a small 'current' section at the front for the sheets in active use.
- Store seasonal sets together so winter sheets are not buried behind summer ones.
- Checkpoint: if you cannot find a sheet in ten seconds, your labels are too vague.
Protect Sheets From Light, Heat, and Pressure
Protect planner stickers by controlling three things: light, heat, and weight. An opaque box or a closed binder in a cabinet handles light. A room with stable temperature handles heat. Pressure is the one people forget, so avoid stacking heavy planners, books, or storage bins directly on top of loose sheets.
If you display stickers on a shelf, rotate them out of direct light and keep them in sleeves. Displays are fine for a season, but long-term exposure is what fades color. For sheets you plan to keep for years, keep them closed and dark.
- Store away from heaters, vents, and appliances that run warm.
- Use rigid dividers so bins can stack without crushing the sheets inside.
- Checkpoint: after a month, look for wavy edges. Waviness means moisture is getting in.
Handle Sheets Gently When You Peel and Refile
Most damage happens during use, not storage. Peel slowly from a corner, keep your fingers off the adhesive, and refile the sheet immediately rather than leaving it out on the desk. A sheet left out overnight is the sheet that ends up under a coffee mug.
If you cut a sheet down to fit a smaller sleeve, trim with a straight edge and keep the cut piece in its own sleeve so it does not migrate. Kiss cut sheets are designed to peel as individual stickers, so there is rarely a reason to cut into the design itself.
- Refile the sheet as soon as you finish planning, before you close the planner.
- Keep a scrap sleeve for trimmed pieces so nothing floats loose in the box.
- Checkpoint: if the backing is bending at the corner, you are peeling too fast.
Your Six-Step Sticker Storage Routine
- Step 1: Clear a dry, dark home: Pick one cabinet or shelf away from windows, sinks, and heaters. This becomes the only place stickers live. Checkpoint: if the spot gets direct sun at any point in the day, choose another.
- Step 2: Measure your largest sheet: Note whether you own Mini (3.5 by 4.9 inches), Big (4.5 by 6.3 inches), or taller Hobonichi-sized sheets at 3.2 by 6.8 inches, then buy sleeves and boxes around the biggest one. Checkpoint: every sleeve should hold your largest sheet with a little room to spare.
- Step 3: Flatten before filing: Press bowed sheets between cardstock under an evenly spread weight for a day. Checkpoint: the sheet should lie flat on its own before it goes in a sleeve.
- Step 4: Sort by function, then season: Group monthly headers, functional icons, and decorative sheets separately, with seasonal sets together inside each group. Checkpoint: you should find any sheet in under ten seconds.
- Step 5: Label the sleeve, not the sheet: Use removable labels on the sleeve edge so you can relabel without marking the sticker backing. Checkpoint: no writing directly on sticker sheets.
- Step 6: Refile after every planning session: Peel slowly, keep fingers off adhesive, and return the sheet to its sleeve before you close the planner. Checkpoint: no sheet stays out overnight.
PaperDollzCo Sheets and How They Store
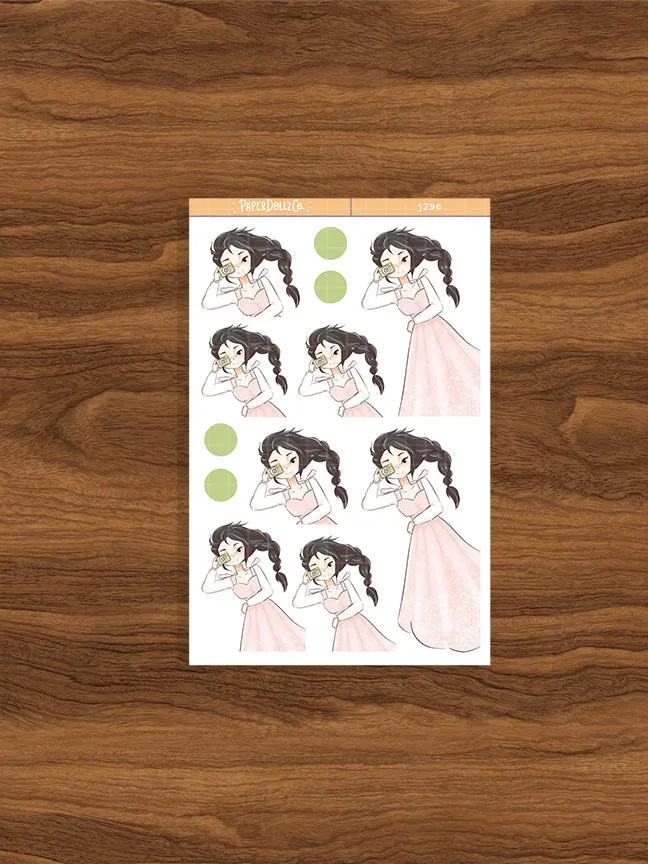
- Blush PaperDollzCo Planner Stickers | J296: Available in Mini (3.5 by 4.9 inches) and Big (4.5 by 6.3 inches), in Sticker Paper or Premium Matte Vinyl. Measure the Big size before buying sleeves; a Mini-sized sleeve will not hold the larger sheet flat.
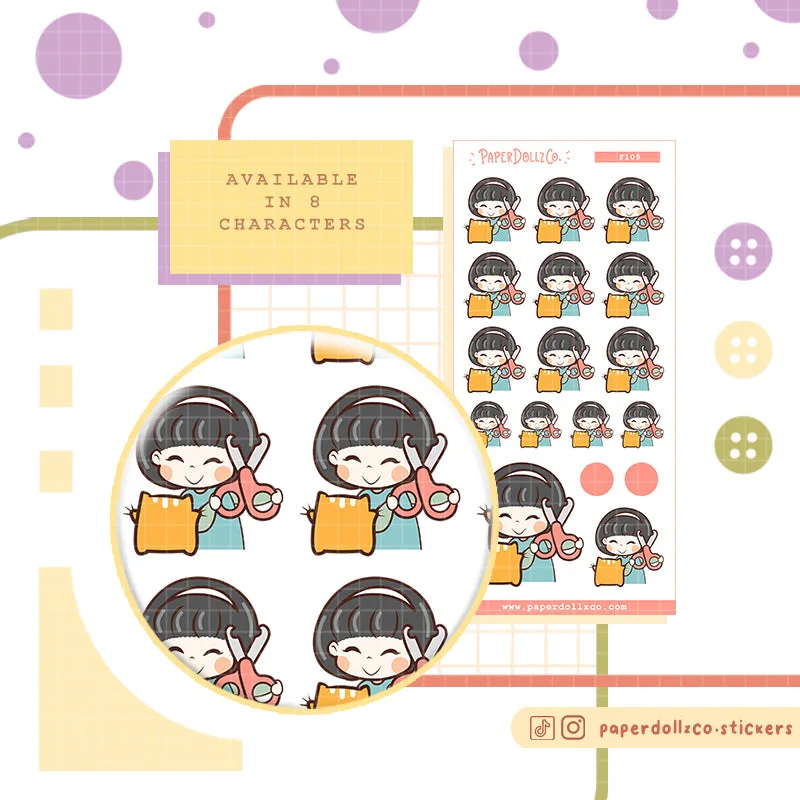
- Cat Clip Nails PaperDollzCo Planner Stickers | f109: Minimalist icon sheet measuring 2.3 by 4.9 inches, in matte writable sticker paper or premium matte vinyl. Its narrow width fits slim sleeves, so you can keep functional icons in a separate thin binder from full-size doll sheets.
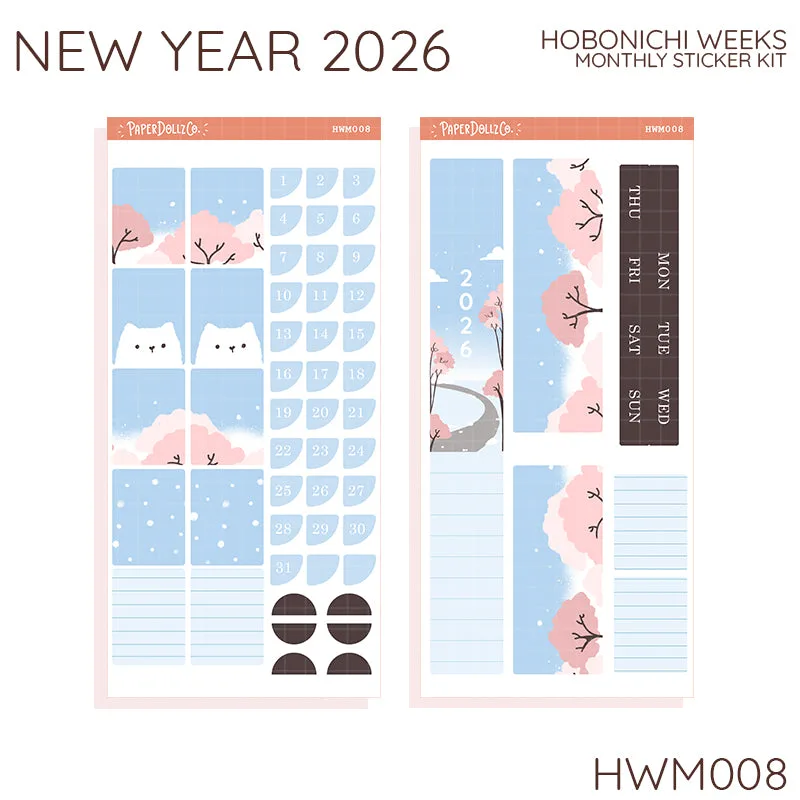
- Welcoming New Year | Hobonichi Weeks Monthly Stickers ( set of 2 ) - HWM008: Set of two sheets sized 3.2 by 6.8 inches, designed for Hobonichi Weeks monthly layouts, in Sticker Paper or Premium Matte Vinyl. The taller sheet needs a longer sleeve or a file box rather than a standard card-sized binder page.
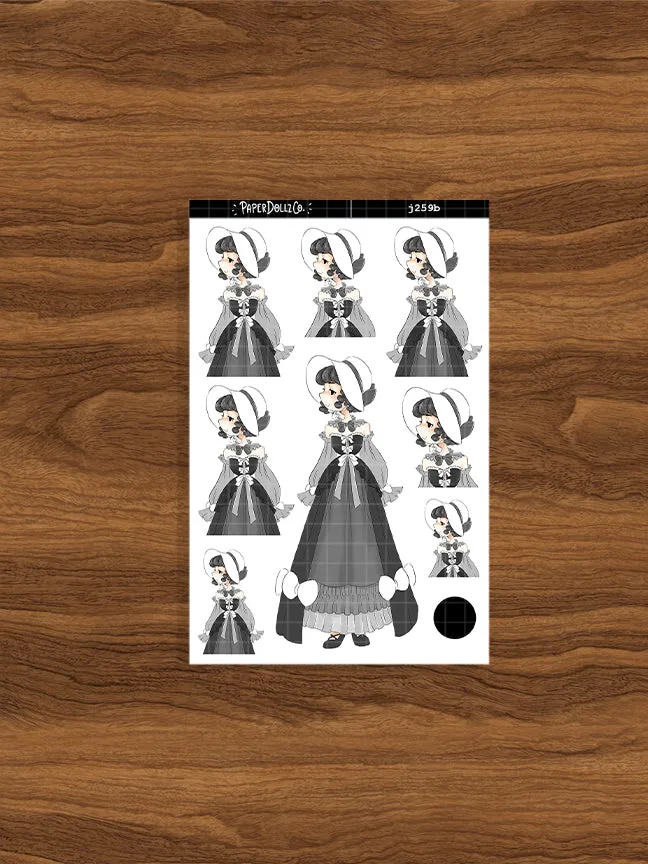
- Mystical Gothicness PaperDollzCo Planner Stickers | J259b: Kiss cut dolly stickers with original illustrations by Mama Cat, in Mini or Big sizes and two material options. Dark, detailed artwork benefits most from dark storage, since long sun exposure is what dulls printed color.
Storing planner stickers well is mostly about consistency: one dry, dark home, sheets kept flat, sleeves labeled by use, and a quick refile after each planning session. Set that up once and your stickers will still peel cleanly months from now.