Quick answer
Style a canoe planter by treating it as the horizontal anchor of the table: choose a length that leaves at least a third of the surface free, pair it with low or trailing plants that won't block sightlines, and group it with two or three objects of different heights. Keep the arrangement slightly off-center so it feels collected rather than staged.
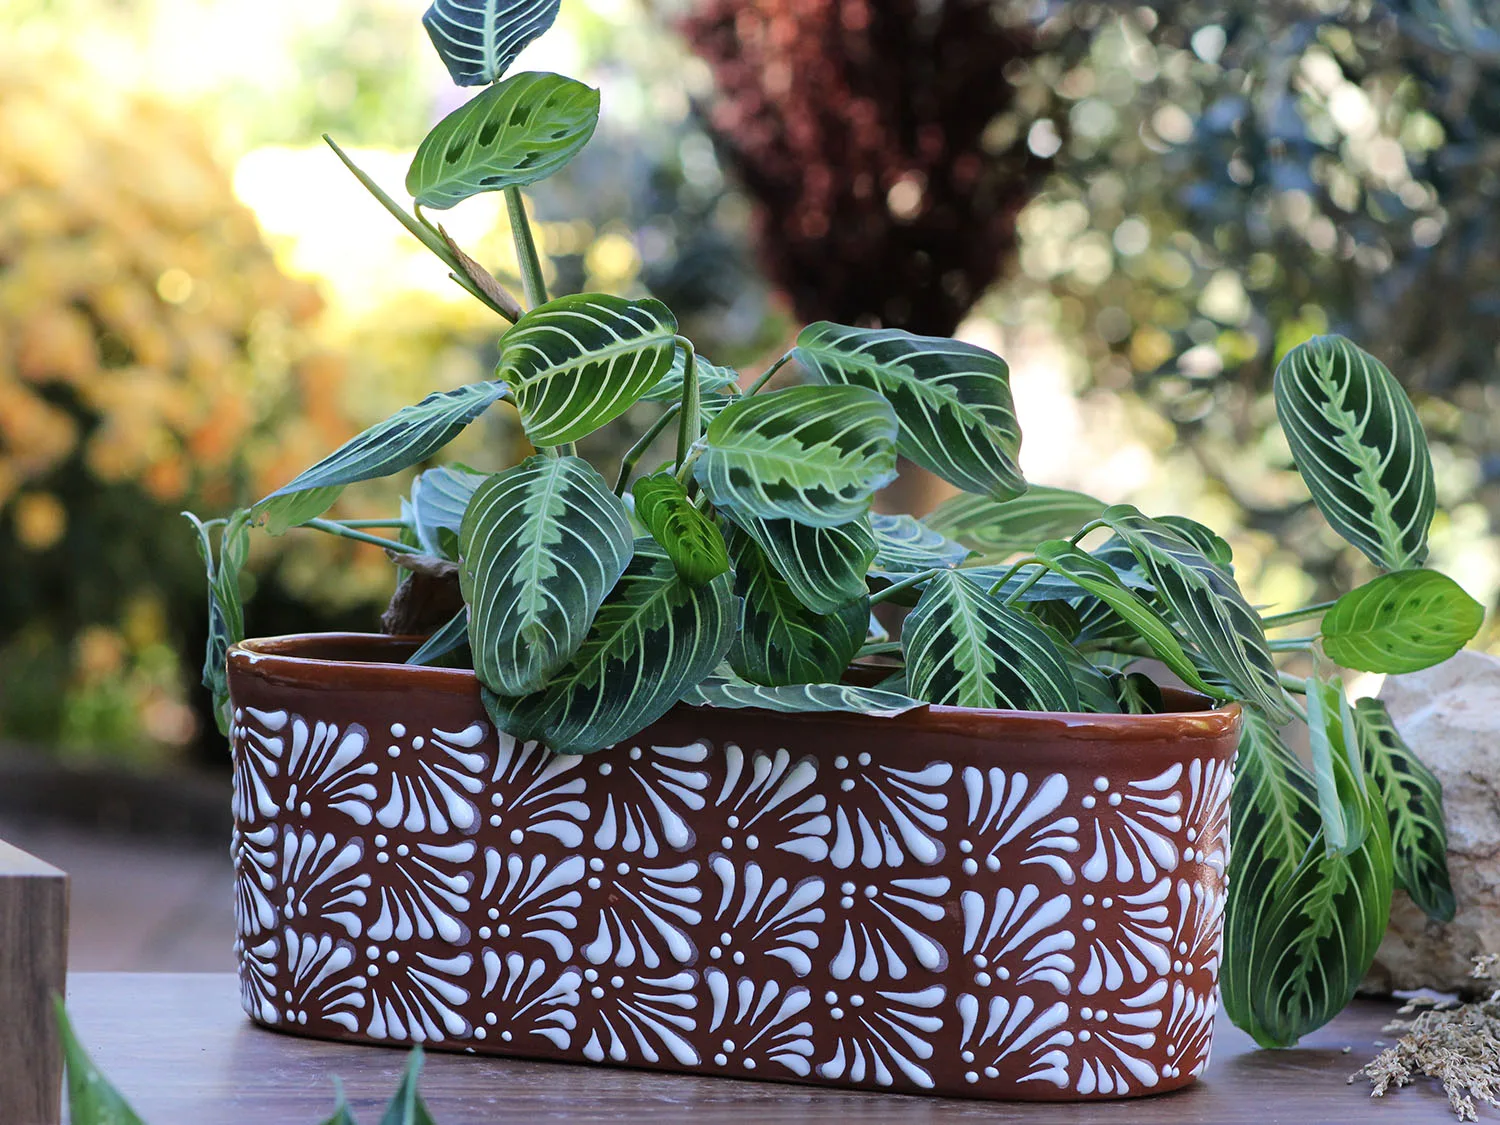
canoe planter
A canoe planter is long, low, and wide, which makes it one of the easiest shapes to style on a console or entryway table, and one of the easiest to get wrong. Because it already reads as a line, everything you place around it either supports that line or fights it.
This guide walks through the order that works: measure the table, pick the plants, place the planter, then add the surrounding objects. Each step includes the mistake that most often flattens the look.
Step 1: Measure the table before you shop
A canoe planter should occupy roughly half to two-thirds of the table's length and no more. On a 48-inch console, that means a planter in the 24- to 32-inch range. Leave at least 6 inches of clear surface at each end so the planter doesn't look wedged against the edges.
Depth matters as much as length. A console that is 14 inches deep can take a planter up to about 8 inches wide and still leave room for a small stack of books or a lamp behind it. If the planter is deeper than half the table, you lose the layered look that makes entryway planter decor feel intentional.
- Checkpoint: if you can't set a set of keys down beside the planter, it's too big for the table.
Step 2: Choose plants that repeat the horizontal line
Canoe planters reward plants with a low, spreading habit or a trailing habit. Compact ferns, pothos, philodendron, and string-of-pearls all work because they fill the length of the planter without adding height that competes with a mirror or artwork above the table.
For canoe planter plant pairing, aim for one upright accent and two or three low fillers. A single small upright plant placed off-center gives the eye somewhere to land; the rest should spill or spread. Avoid tall, stiff plants like a mature snake plant in the center, which turns the canoe into a base rather than a feature.
- Common mistake: planting the same species evenly across the whole length, which reads as a hedge rather than a styled arrangement.
Step 3: Set the planter slightly off-center
Centering a long planter splits the table into two equal halves and makes the arrangement feel static. Shift it a few inches to one side, then balance the empty side with a taller object such as a lamp, a vase, or a small stack of books. This is the single change that most improves console table planter ideas.
If the table sits against a wall, pull the planter forward so its front edge is roughly a third of the way in from the table's front edge. That leaves a shallow zone behind it for a lamp or tray and keeps the planter from looking like it's hiding.
- Checkpoint: stand at the doorway and look at the table. If both halves look identical, move the planter.
Step 4: Layer heights around the planter
An elongated planter styling job needs at least three heights: something tall behind it, the planter itself in the middle, and something low in front. A lamp or tall vase behind, the canoe in the middle, and a small tray or a single book in front gives the eye a path.
Keep the tallest object no more than about twice the height of the planter's rim. Anything taller starts to pull attention away from the plants. If you're styling an entryway, remember that people will set bags and mail on this table, so leave one clear landing zone.
- Common mistake: adding a second long, low object, such as a wide tray, which competes with the canoe's shape instead of supporting it.
Step 5: Finish with texture, not more plants
Once the planter and plants are set, add one or two non-plant objects with a different texture: a ceramic bowl, a stone tray, a candle, or a small sculpture. This is what separates a styled table from a plant display. Two objects is usually enough; three starts to feel cluttered on a narrow console.
For planter styling tips that hold up over time, choose objects you actually use, like a catchall for keys or a candle you light in the evening. Functional pieces stay on the table; decorative-only pieces tend to get cleared away within a month.
- Checkpoint: if you remove the planter and the table still looks complete, you've added too much.
Step 6: Protect the surface and manage water
A canoe planter on a wood console needs a barrier. Use a saucer, a felt pad, or a shallow tray under the planter, and water at the sink rather than in place whenever the planter is small enough to move. This prevents rings and swelling on finished wood.
If the planter is too large to move, water slowly and stop before water reaches the bottom of the saucer. Empty any standing water within an hour. This is the step most people skip, and it's the one that damages furniture.
- Common mistake: assuming a glazed planter is waterproof. Glaze covers the outside; the base and any drainage hole still pass water.
The styling sequence at a glance
- 1. Measure the table: Planter length should be half to two-thirds of the table length, with at least 6 inches clear at each end. Checkpoint: room for keys beside the planter.
- 2. Pick low or trailing plants: One upright accent off-center, two or three low or trailing fillers. Mistake to avoid: uniform planting across the whole length.
- 3. Shift it off-center: Move the planter a few inches to one side and balance the other side with a taller object. Checkpoint: the two halves should not look identical.
- 4. Layer three heights: Tall object behind, planter in the middle, low object in front; keep the tallest piece under twice the rim height. Mistake to avoid: a second long, low object competing with the canoe.
- 5. Add texture, not more plants: One or two functional non-plant objects with a different texture. Checkpoint: remove the planter and the table should look incomplete.
- 6. Protect the surface: Use a saucer or pad, water at the sink when possible, and empty standing water within an hour. Mistake to avoid: trusting the glaze to stop water.
Products that work in this arrangement
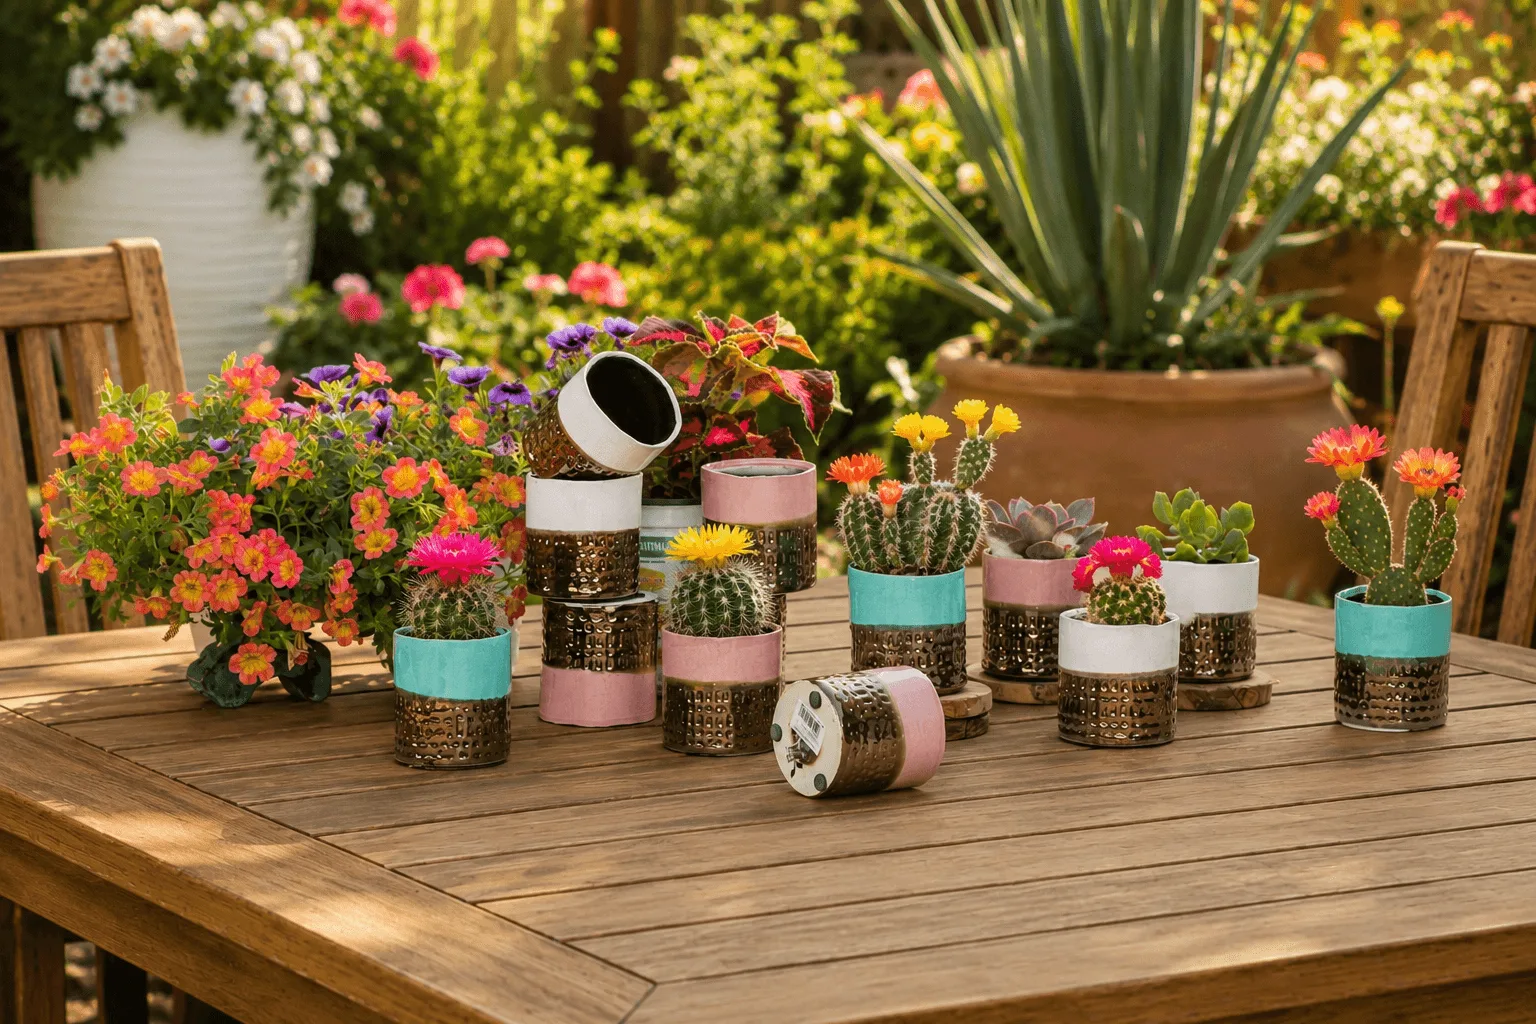
- JEWEL CACHE POT-MIX: The Jewel Cache Pot Mix is a glazed mini pot shipped as an assorted case, with a straight-sided cylinder shape, no taper and no rim, a solid color band on the top half and a dimpled, hammered bronze finish on the bottom. The straight sides let several minis sit shoulder-to-shoulder inside or beside a canoe planter without gaps, and the two-tone finish adds the texture contrast that step 5 calls for.
- https://plantatoremez.com/products/peace-lily-cache-pot-case-of-12-1d7fd5b7d495ef78d9a1c035-2580439https://plantatoremez.com/products/peace-lily-cache-pot-case-of-2-da4d2eab37d3eb43d85a71ac-2580448Peace Lily Cache Pot By Plantatorem: The Peace Lily Cache Pot by Plantatorem is a ceramic drop-in planter for indoor use, available as a single pot or a case of 4, in a 7.5-inch diameter by 6.5-inch height, with glossy and matte finish options including Glossy Black, Glossy White, Matte Classic Blue, Matte Cool Grey, and Matte Light Blue. A drop-in cache pot lets you lift the plant out to water it, which solves the surface-protection problem in step 6 without moving the whole arrangement.
- Round Saucer 19.0" By Plantatorem: The Round Saucer 19.0" by Plantatorem has a 19.0-inch outer diameter and a 16-inch inner diameter, and is available in Falling Blue, Lavish Red, Matte Black, White White, Falling Aqua, and Green Stream. A saucer this wide sits under a long planter and catches drips before they reach a wood console, and the 16-inch inner diameter tells you the maximum base width it will actually hold.
Style the canoe planter as the horizontal anchor, keep the plants low or trailing, and let two or three surrounding objects do the rest. Measure first, shift it off-center, and protect the surface underneath, and the arrangement will hold up long after the styling day is over.