Quick answer
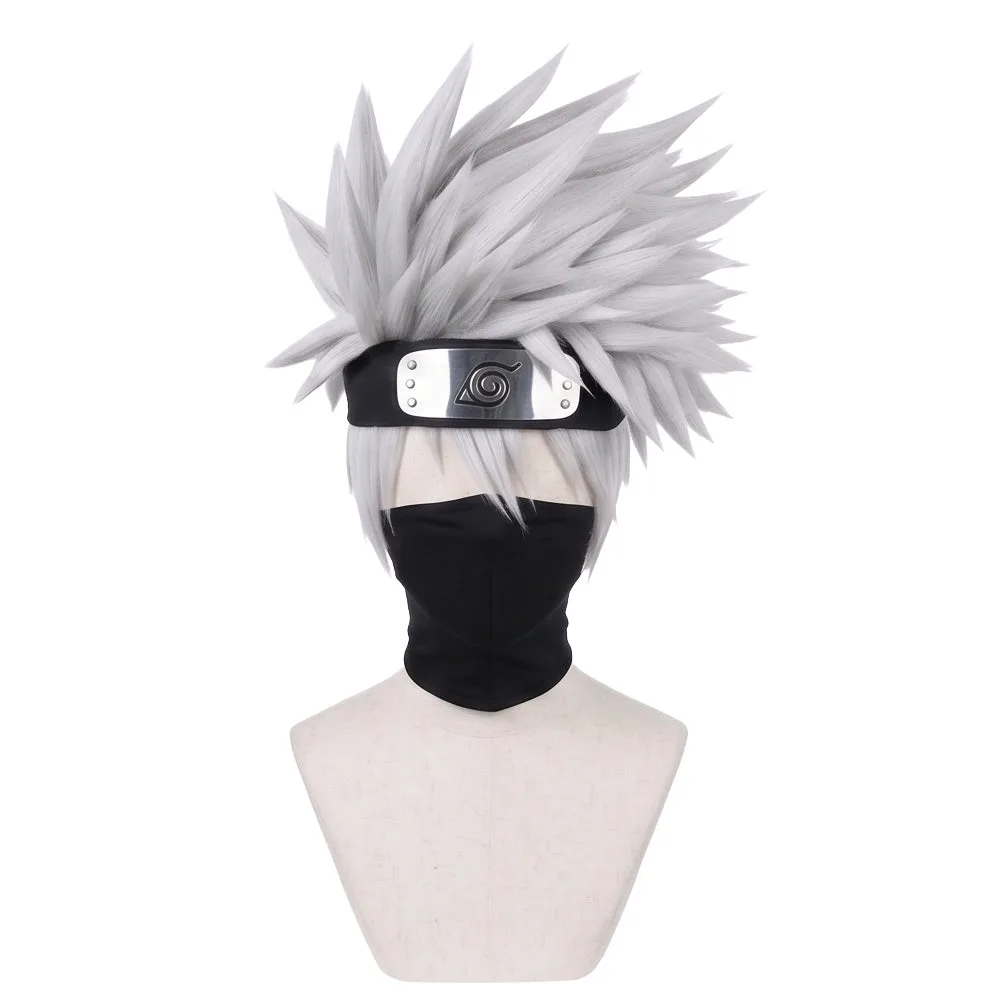
Style a Kakashi Hatake cosplay wig by working in small sections: backcomb the roots, spike the silver fibers with a light hold product, and sweep the front toward the left side. Set the shape with cool air, then photograph under the same light you styled in. The Kakashi Hatake Cosplay Wig from Morojowig is already handcrafted with the left-swept spiky silhouette, so your job is mainly to lock in the shape and keep it camera-ready.
Prep the wig and your workspace before you touch the fibers
A handmade wig like the Kakashi Hatake Cosplay Wig arrives with the basic silhouette already built in. Before you add product, put it on a wig stand and comb through it gently with a wide-tooth comb. Work from the ends upward so you do not pull out the spike structure. If you are styling on a mannequin head, match the head size to yours; a loose stand makes every spike look flatter than it will on camera.
Set up in a room with good daylight or a ring light you can move. Styling under one light and shooting under another is the fastest way to lose the silver anime wig spikes you just built. Keep a spray bottle of water, a fine-tooth comb, and a heat tool on low heat within reach.
Build the spikes in small sections, not all at once
Divide the top and sides into sections roughly the width of your finger. For each section, lift it straight up, mist the roots lightly, and backcomb downward toward the scalp with a fine-tooth comb. This creates the internal lift that makes gravity-defying anime hair hold without a helmet of product. Then pinch the tip into a point and hit it with cool air to set.
Common mistake: spraying the whole wig first and then trying to shape it. Wet fiber collapses under its own weight. Work one section at a time, and check the profile from the front camera angle before moving on.
Sweep the front left and check the lens, not the mirror
Kakashi's hair reads as swept toward the left side. Once the spikes are set, comb the front section across to that side and pin it temporarily while it cools. Then step back and look through your camera or phone screen rather than a mirror. Lenses flatten height, so a spike that looks dramatic in the mirror can disappear in the frame. Adjust the front sweep until the silhouette is clear on screen.
If you are using a heat-resistant synthetic wig, keep the tool on low and moving. Holding heat in one spot can crush the spike you just built.
Lock the shape and shoot within the same light
Finish with a light hold spray from about 12 inches away, then let it dry completely before you put the wig on. Once it is on, use a few bobby pins at the sides to keep the base flat against your head; a lifted base reads as a lump under the silver spikes. Shoot your photos in the same room and light direction you styled in, and take test shots at the start so you can re-pinch any spike that flattened during handling.
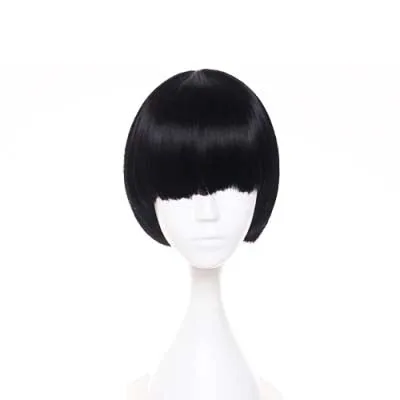
For a second character look on a tighter budget, the Rock Lee Cosplay Wig is a different silhouette entirely, so do not try to spike it into Kakashi's shape. Style each wig for its own character.
Kakashi wig photo-styling steps
- Put the wig on a stand and comb ends first: Comb from the ends upward with a wide-tooth comb to protect the pre-built spike structure. Checkpoint: the wig sits flat on a stand that matches your head size.
- Backcomb small sections for lift: Lift finger-width sections, mist the roots, and backcomb downward to create internal volume before pinching the tips. Mistake to avoid: spraying the whole wig before shaping it.
- Set each spike with cool air: Pinch the tip into a point and hit it with cool air so the fiber holds without heavy product. Checkpoint: each spike springs back when you release it.
- Sweep the front left and check the camera screen: Comb the front section toward the left side, pin it while cooling, then view it through your lens rather than a mirror. Mistake to avoid: trusting the mirror when the lens flattens height.
- Light-hold spray, dry, then pin the base: Spray from about 12 inches, let it dry fully, then bobby-pin the sides so the base stays flat on your head. Next step: take test shots in your shooting light and re-pinch any flattened spike.
Product facts that affect your styling
- Kakashi Hatake Cosplay Wig: Premium handmade designer wig inspired by Naruto, with spiky silver hair swept toward the left side. The left sweep and spike base are already built in, so your styling time goes into setting and photographing the shape rather than creating it from scratch.
- Embody Strength and Determination with Rock Lee Cosplay Wig | High-Quality Anime-Inspired Hairpiece: Rock Lee Cosplay Wig with a distinctive black bowl-cut and thick eyebrows. This is a separate character silhouette. Do not restyle it into Kakashi spikes; keep each wig matched to its own character for photos.