Quick answer
Start with a blunt tapestry needle, thick thread, and a stiff fabric such as felt, then teach one stitch at a time. Keep sessions to 10–15 minutes, sit beside your child, and let them hold the needle while you guide the fabric. A small, achievable first sewing project for children, like a running-stitch bookmark, builds confidence before moving on.
Teaching a child to sew is less about perfect stitches and more about building comfort with a needle, thread, and fabric. The goal is a calm, safe routine your child can repeat until the movements feel natural.
This guide walks through the beginner stitching steps in order, with the common mistakes to watch for at each stage. It works for children around five and up, and you can adapt the pace to your child's focus and fine motor skills.
Set up a safe, simple sewing space
Before any stitching, clear a table and gather only what you need: a blunt tapestry needle, thick cotton or embroidery thread, felt or stiff cotton fabric, and small scissors. A tray or shallow box keeps everything contained and makes clean-up part of the routine. Good lighting and a comfortable chair matter more than fancy tools.
Sit beside your child rather than across from them, so you can see the needle and step in quickly if needed. Keep scissors on your side of the table until your child is ready to use them with supervision. This setup turns safe sewing for kids into a habit, not a one-time warning.
- Use a blunt tapestry needle with a large eye for beginners.
- Choose felt or stiff cotton so the fabric does not slip.
- Keep a small tray for needle, thread, and scraps.
Teach threading and knotting first
Threading is often the hardest part, so practice it as its own step before stitching. Cut a piece of thread about as long as your child's arm, then have them wet the end and push it through the needle eye. If they struggle, a needle threader is a fair tool, not a shortcut.
Once threaded, tie a small knot at the long end. Show your child how to wrap the thread around a finger and roll it off to make the knot. Expect several tries here; patience at this stage prevents frustration later.
- Cut thread to arm's length to reduce tangles.
- Tie a knot at the end before the first stitch.
- Let your child hold the needle while you guide the thread.
Practice the running stitch on scrap fabric
The running stitch is the foundation of hand sewing for kids. Have your child push the needle up through the fabric, then back down a short distance away, and repeat. Aim for stitches about the width of a pea, but let the first attempts be uneven. The rhythm matters more than the spacing.
A common mistake is pulling the thread too tight, which puckers the fabric. Show your child how to leave a little slack after each stitch. Another checkpoint: keep the needle pointed away from fingers and always watch where the tip goes.
- Mark dots on fabric with a washable pen as guides.
- Practice on a scrap piece before the real project.
- Stop if the thread tangles and re-thread rather than tug.
Choose a first sewing project for children
Pick a project that uses only straight stitches and finishes in one sitting. A small felt bookmark, a two-piece stuffed shape, or a simple pouch all work well. Avoid projects with curves, zippers, or thin fabric until your child is comfortable with the running stitch.
Let your child choose the color and shape so they feel ownership. If they lose interest halfway, it is fine to finish it together or set it aside for another day. The point is a positive first experience, not a perfect object.
- Keep the first project to 20 minutes or less.
- Use two layers of felt for easy grip.
- Celebrate the finished piece, even if stitches are uneven.
Build skills with short, regular sessions
Sewing is a fine motor skill, and like any skill it improves with repetition. Ten to fifteen minutes a few times a week is better than one long session. Over time, introduce the backstitch or a simple button, but only when your child asks or seems ready.
Watch for signs of fatigue: dropped needle, wandering attention, or frustration. That is the moment to stop and pack away. Ending on a good note keeps sewing associated with success rather than struggle.
- Store the project in a labeled bag between sessions.
- Review the previous stitch before starting a new one.
- Let your child thread the needle independently when ready.
Beginner stitching steps at a glance
- Set up the space: Clear a table, gather a blunt needle, thick thread, felt, and small scissors, then sit beside your child. Checkpoint: needle and scissors stay on your side until your child is ready.
- Thread and knot: Cut arm-length thread, wet the end, push it through the needle eye, and tie a small knot at the long end. Common mistake: thread too long, which tangles and tests patience.
- Practice the running stitch: On scrap fabric, push the needle up and back down in short, even spaces, leaving a little slack after each stitch. Checkpoint: fabric stays flat and the needle points away from fingers.
- Start a simple project: Choose a felt bookmark or two-piece stuffed shape that uses only straight stitches and finishes in one sitting. Common mistake: choosing thin fabric or a curved pattern too early.
- Finish and review: Tie off the thread, trim the ends, and look at the stitches together without correcting them. Next step: repeat the same project before adding a new stitch.
Toys that support fine motor skills for sewing
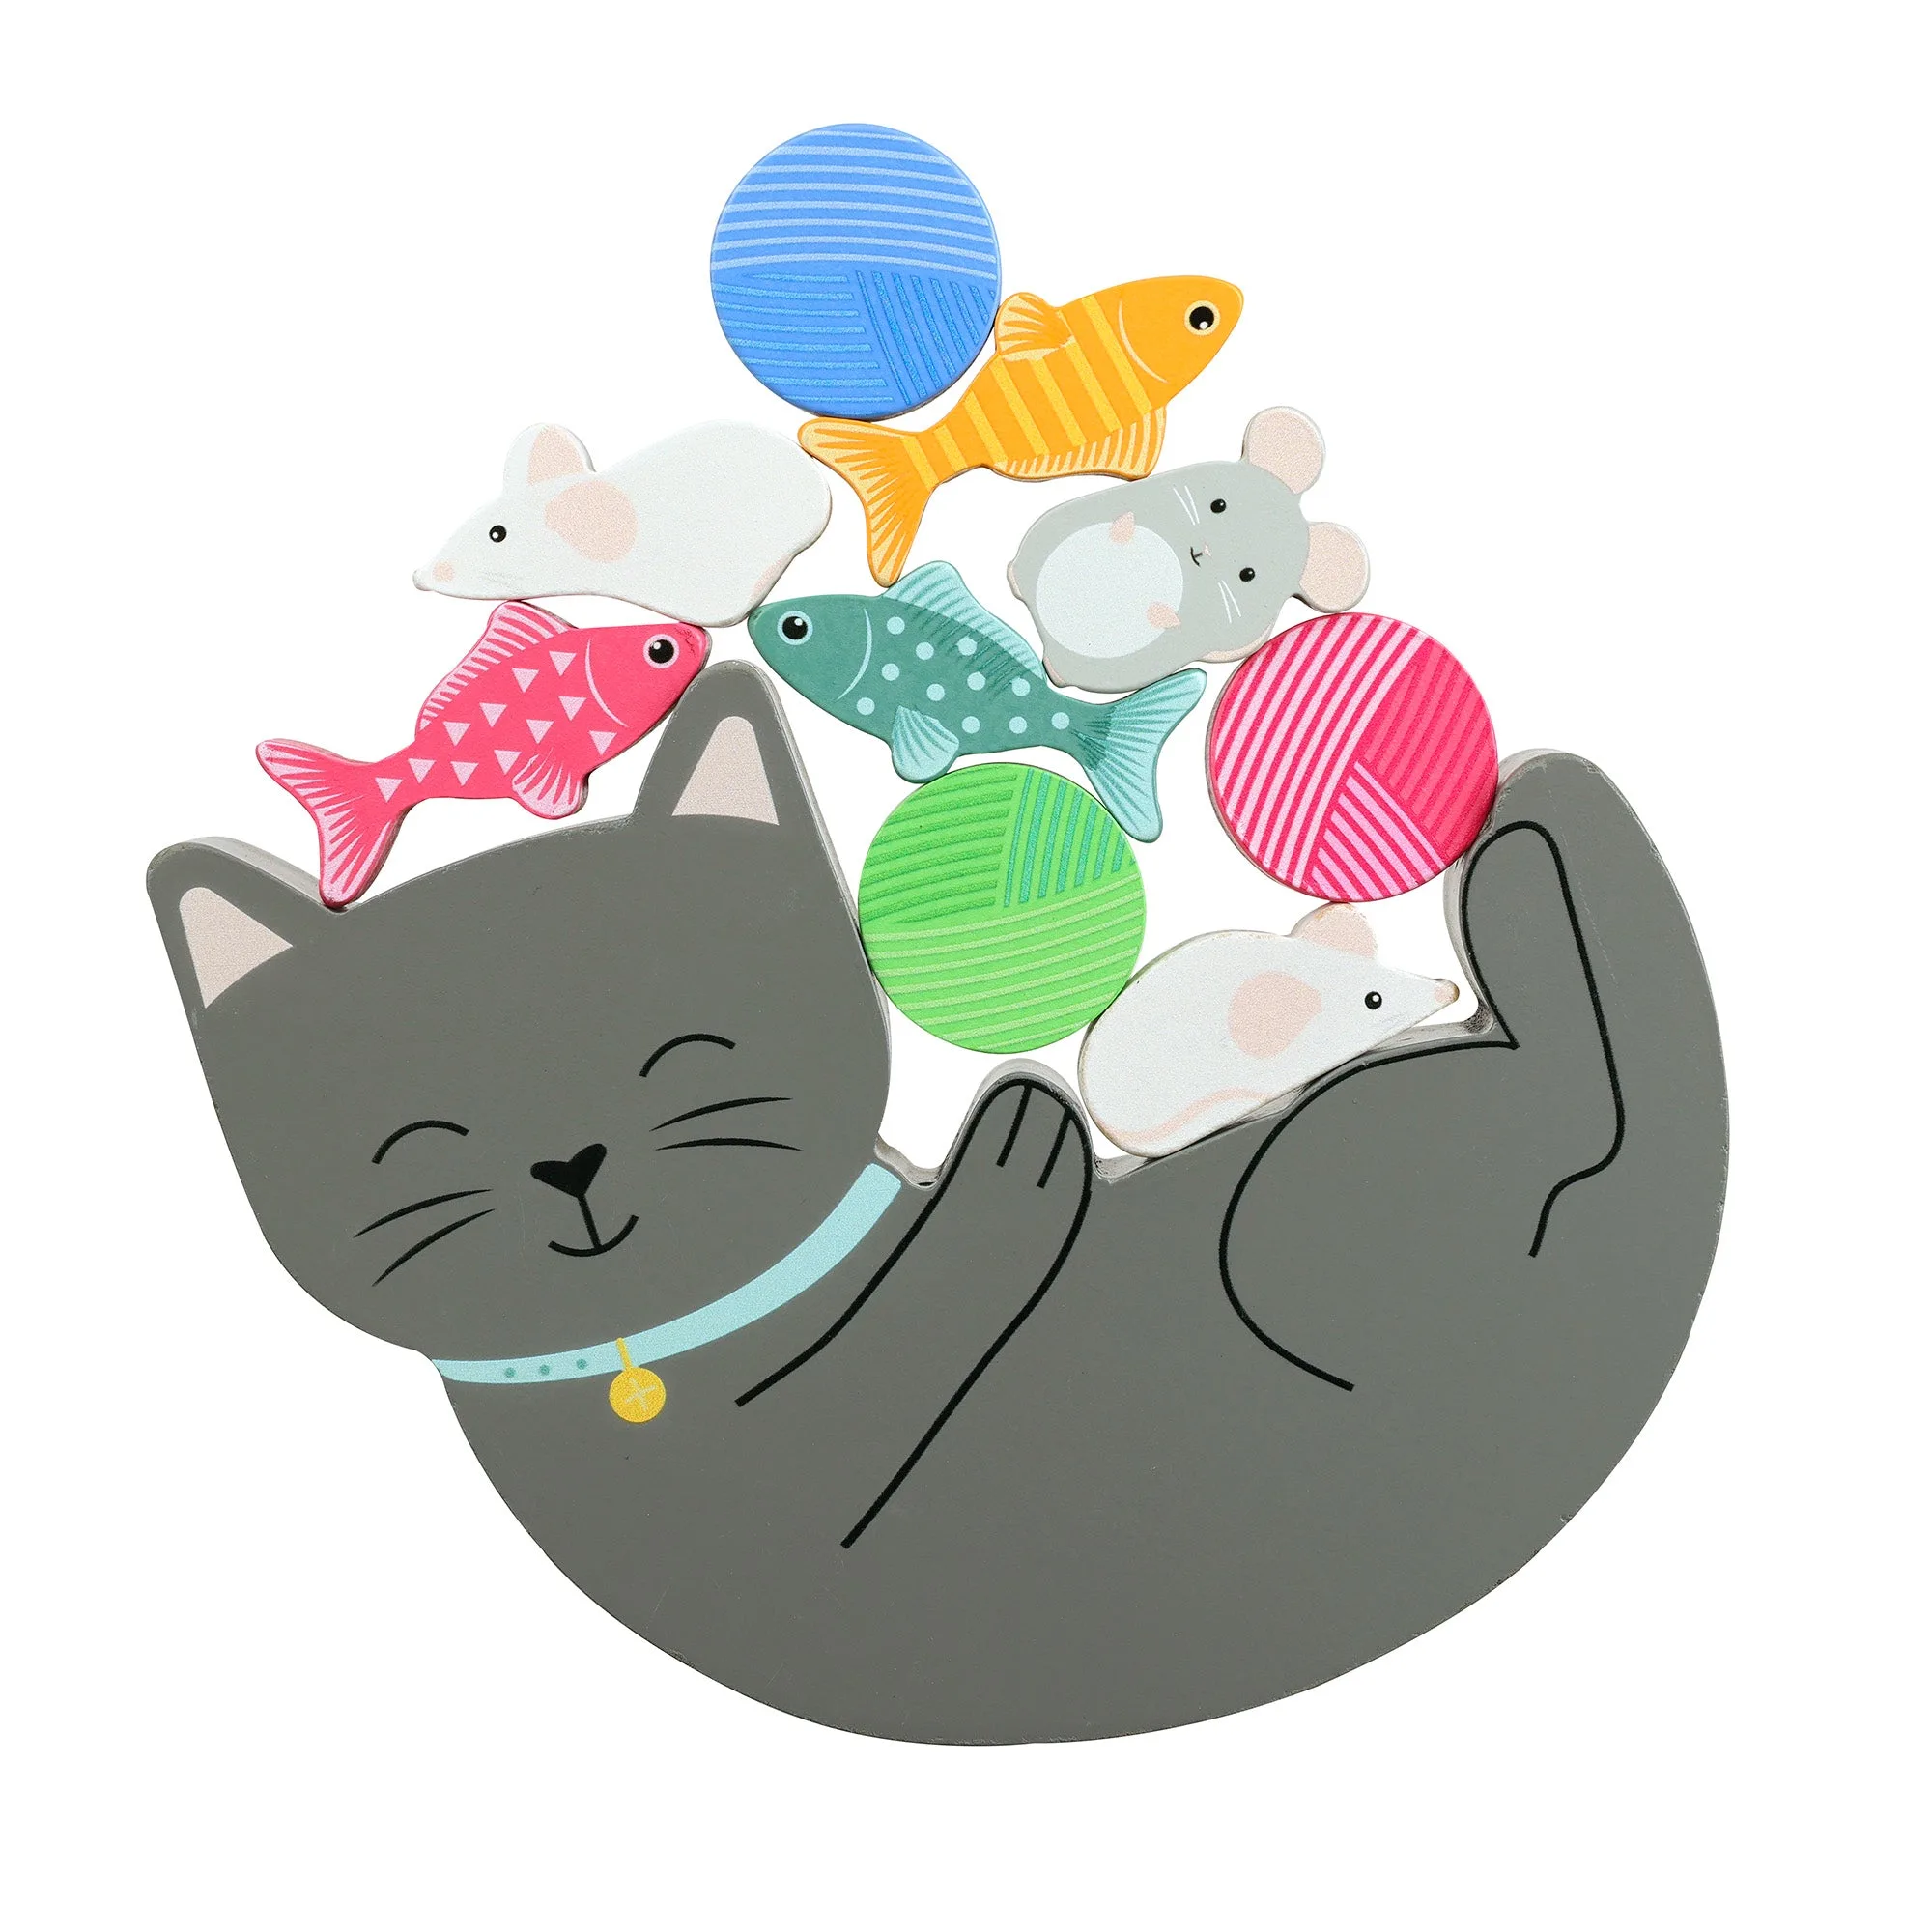
- NEW Kitty Balancing Game: Stack mice, balls of wool, and fish on the cat's tummy in this wooden balancing game, which encourages patience, concentration, and motor skill development with chunky pieces for little hands. Balancing and placing small pieces builds the same hand control and patience your child needs for threading and stitching.
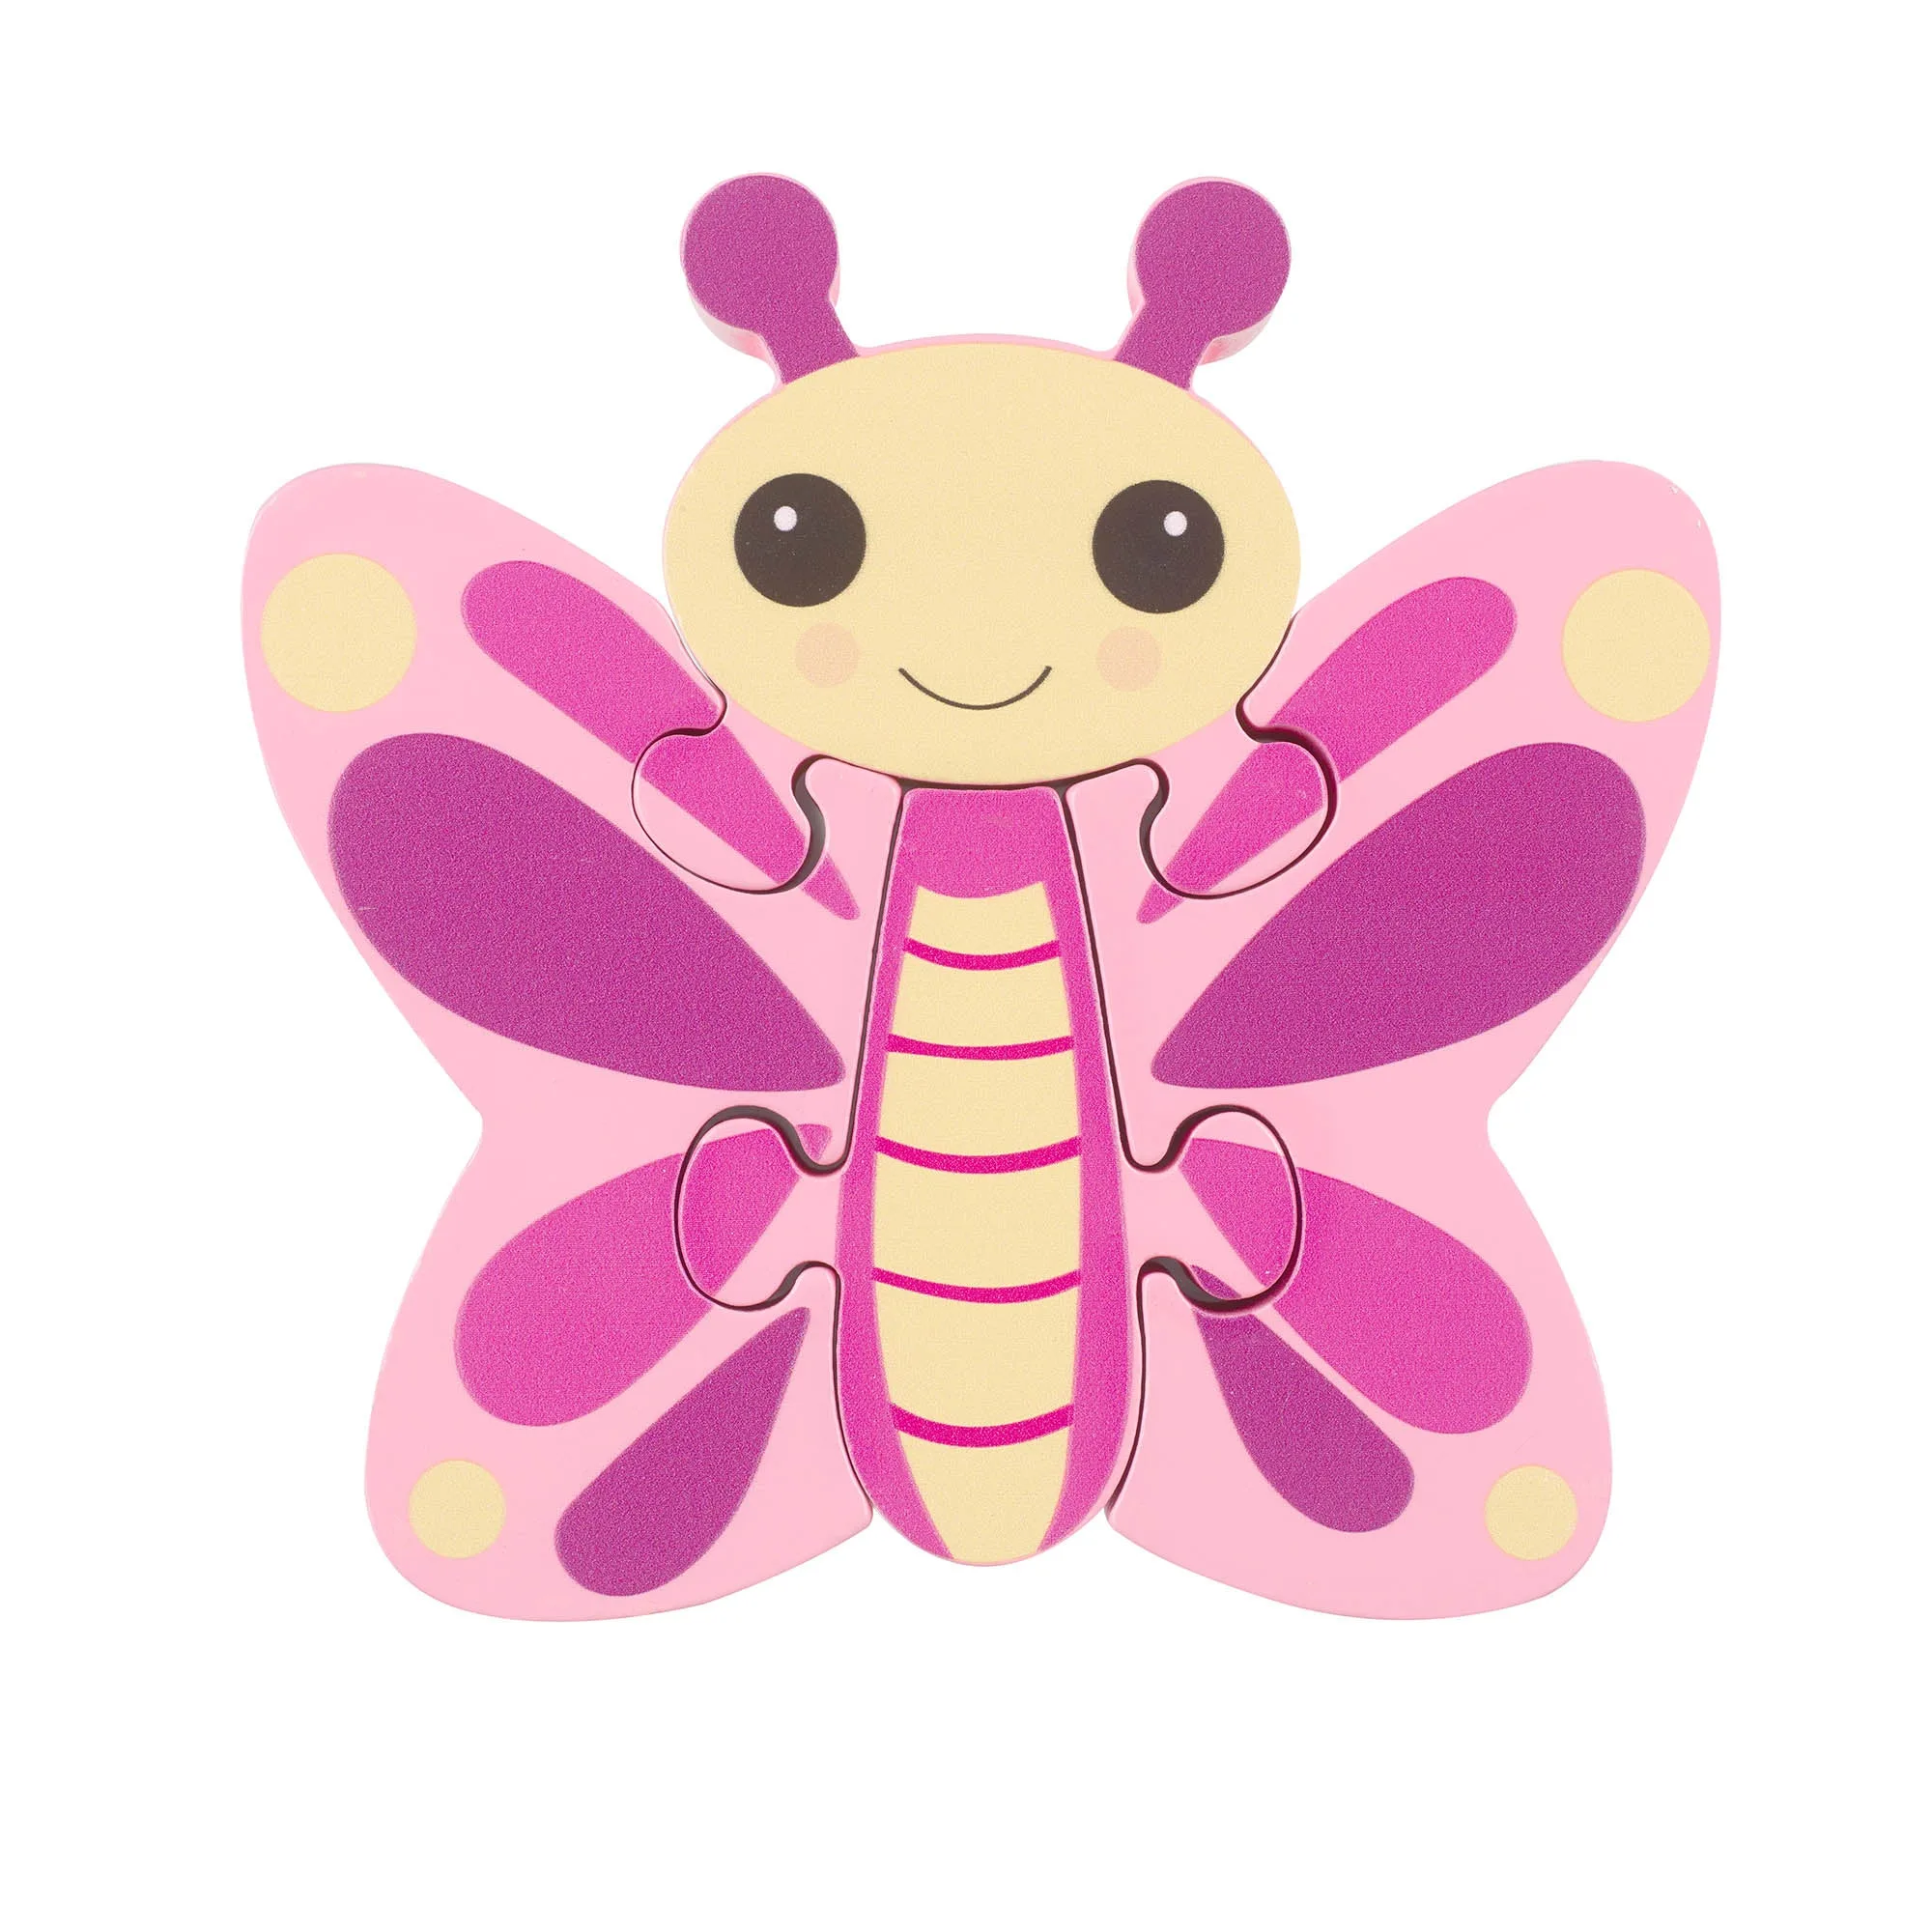
- Butterfly Wooden Puzzle: A chunky 4-piece puzzle designed for little hands, supporting hand-eye coordination, fine motor skills, and problem-solving. Matching and placing puzzle pieces is a low-pressure way to practice the grip and coordination used in sewing.
Teaching a child to sew works best when you slow down, keep sessions short, and treat each stitch as practice rather than a test. Start with threading and the running stitch, choose a small first project, and let your child's confidence grow at its own pace.