Tempering chocolate at home might sound like something only pastry chefs do, but with the right technique and a little patience, anyone can achieve that glossy, snappy finish that makes artisan chocolate so irresistible. Whether you are dipping fruits, making chocolate bars, or coating nuts and coffee beans, proper tempering ensures your creations look beautiful and have that satisfying crisp snap when you bite into them.
In this guide, we will walk you through the science of chocolate tempering, the best methods for home cooks, and how to use high-quality couverture like Tosier's single-origin chocolate to get professional results. You will learn why tempering matters, how to do it without a thermometer, and what to do when things go wrong. By the end, you will be ready to temper chocolate like a chef.
Why Tempering Chocolate Matters
Untempered chocolate looks dull, feels soft at room temperature, and often develops white streaks or spots called bloom. Tempering stabilizes the cocoa butter crystals, giving the chocolate a glossy sheen, a clean snap, and a smooth melt-in-your-mouth texture. For home chocolatiers, this is the difference between a rustic-looking treat and a polished, gift-worthy creation.
When you work with premium couverture, such as the single-origin bars from Tosier, tempering becomes even more important. These chocolates have a higher cocoa butter content, which means they are more responsive to proper crystallization. Using a well-tempered couverture also enhances the flavor release, allowing the subtle notes of the cacao to shine through.
- Glossy finish that looks professional
- Clean, sharp snap when broken
- Stable at room temperature without melting on your fingers
- Prevents fat bloom and sugar bloom
The Three Main Methods for Home Tempering
There are several ways to temper chocolate at home, but three methods are most practical for home cooks: the seeding method, the tabling method, and the microwave method. The seeding method is the easiest and most reliable for beginners. It involves melting two-thirds of your chocolate gently, then stirring in finely chopped pieces of the remaining chocolate to lower the temperature and introduce stable crystals.
The tabling method is the classic chef technique where you spread melted chocolate on a cool marble or granite surface and work it back and forth with a spatula until it cools and thickens. It requires practice but gives you great control. The microwave method is fast and works well for small batches, but you need to be careful not to overheat the chocolate. For most home cooks, the seeding method is the best place to start.
- Seeding method: easiest for beginners, uses finely chopped chocolate to cool the melt
- Tabling method: traditional chef technique, requires a cool stone surface
- Microwave method: quick and efficient for small batches, watch the temperature closely
Step-by-Step: Tempering with the Seeding Method
Begin by chopping your chocolate into small, uniform pieces. For best results, use a high-quality couverture like the 80% Hacienda Victoria Ecuador 2025 Harvest 60g — Tosier Chocolatemaker. Reserve about one-third of the chopped chocolate for seeding. Melt the remaining two-thirds in a heatproof bowl over a pot of simmering water (double boiler method) or in short bursts in the microwave, stirring frequently, until it reaches 45–50°C for dark chocolate.
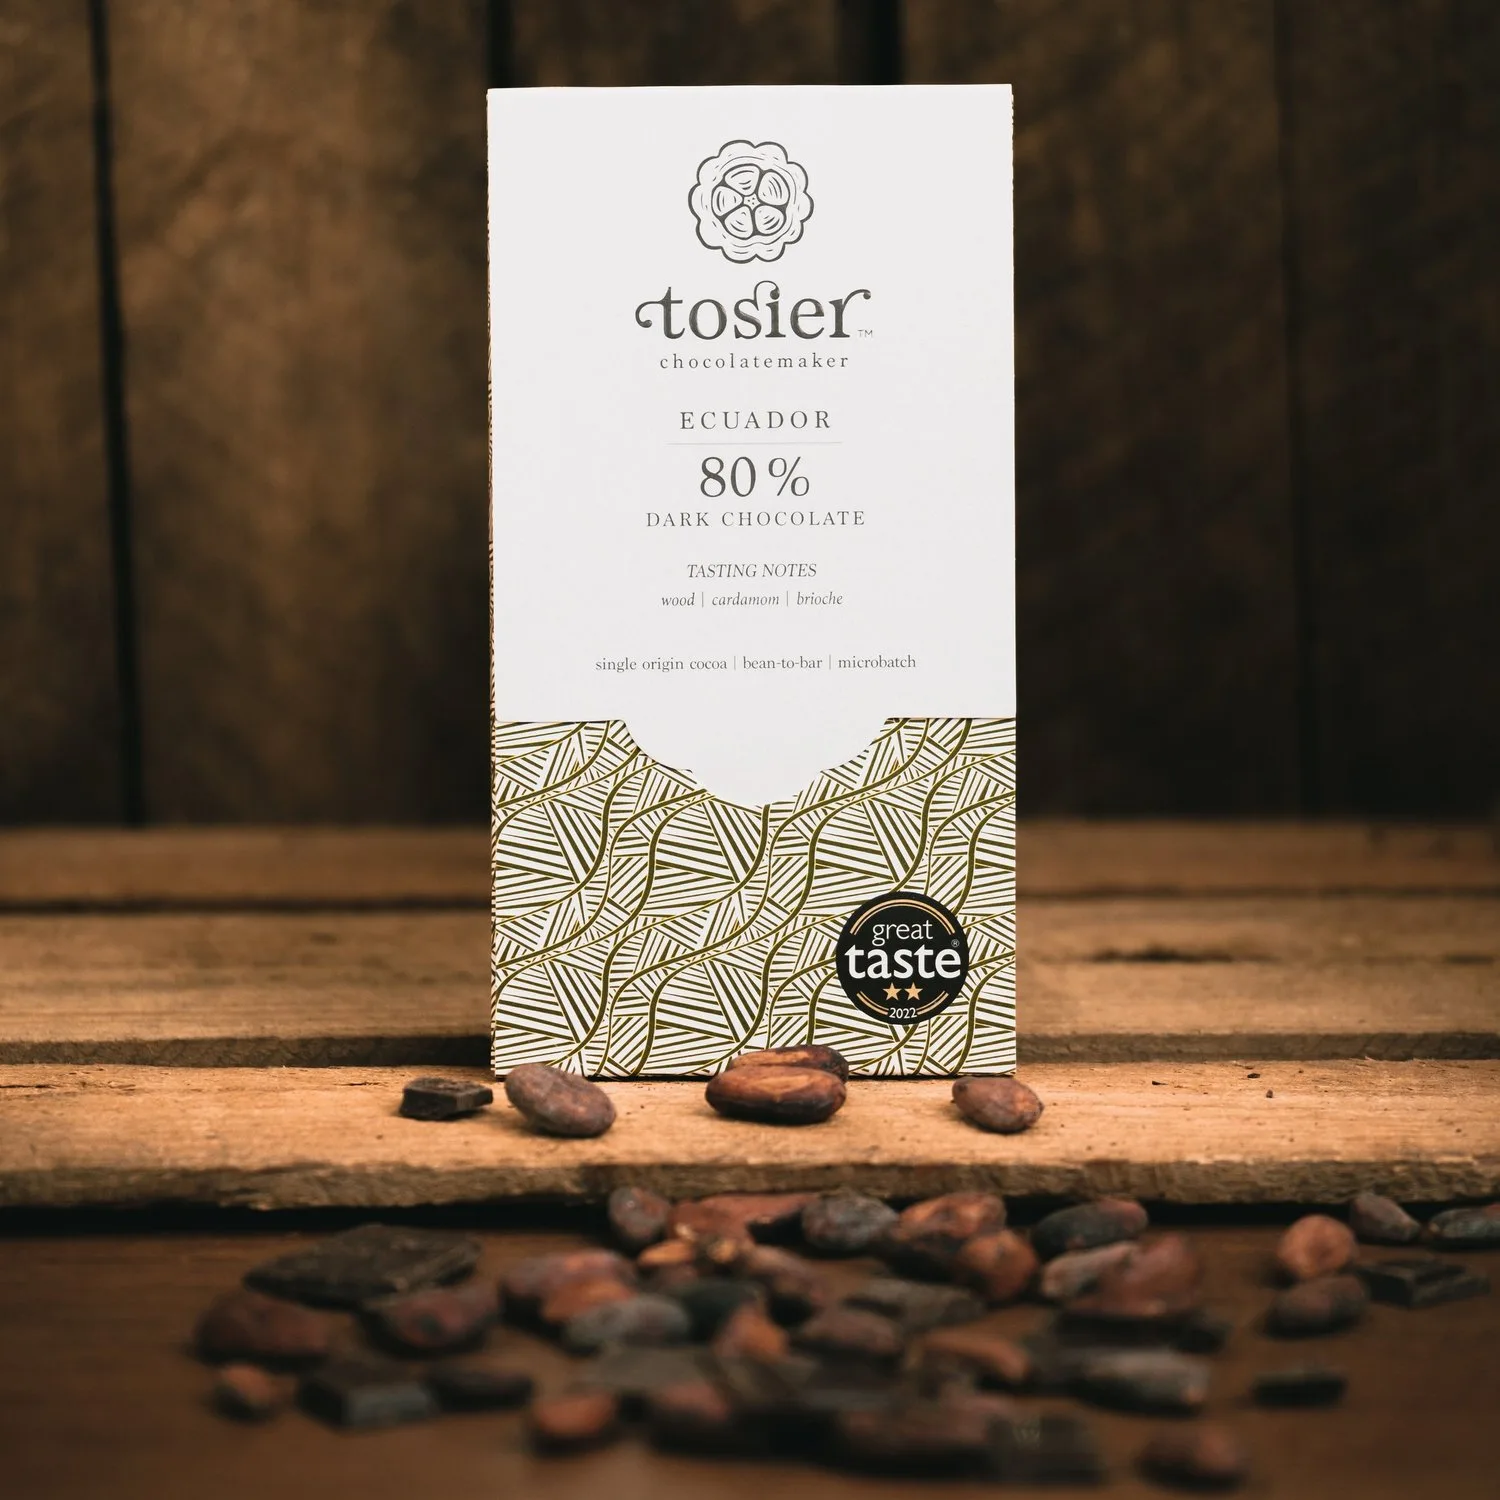
80% Hacienda Victoria Ecuador 2025 Harvest 60g — Tosier Chocolatemaker
Remove the bowl from the heat and add the reserved chopped chocolate all at once. Stir continuously until the added pieces are fully melted and the mixture cools to about 31–32°C for dark chocolate. Test the temper by dipping a knife tip into the chocolate and letting it set for a few minutes. If it hardens with a glossy shine and no streaks, your chocolate is ready to use.
- Chop chocolate uniformly for even melting
- Use a digital thermometer for accuracy (optional but helpful)
- Stir constantly when adding seed chocolate to distribute crystals
- Test temper on a small spatula or parchment paper
Common Tempering Mistakes and How to Fix Them
One of the most common mistakes is overheating the chocolate. If the temperature goes above 50°C, the cocoa butter crystals break down and the chocolate will not temper properly. In that case, you need to start over with fresh chocolate. Another issue is not stirring enough during the seeding phase, which leads to uneven crystallization and a dull finish.
If your chocolate becomes too thick while working, you can gently rewarm it to 31–32°C, but do not exceed that temperature. Also, avoid getting any water or steam into the chocolate, as even a few drops can cause it to seize into a grainy, stiff mess. If this happens, you can sometimes rescue seized chocolate by adding a small amount of cocoa butter or vegetable oil, but the texture will never be the same.
- Never exceed 50°C when melting dark chocolate
- Keep all utensils and bowls completely dry
- If chocolate seizes, you may need to start fresh
- Work in a cool, dry room (18–20°C ideal)
Using Tempered Chocolate for Coated Treats and Bars
Once your chocolate is perfectly tempered, the possibilities are endless. You can dip fresh fruit, make chocolate bars, or coat nuts and coffee beans for a crunchy, elegant snack. For a sophisticated treat, try coating whole peaberry coffee beans with tempered chocolate. The contrast between the smooth chocolate shell and the crunchy, aromatic coffee bean is delightful.
If you want to add extra texture and flavor, consider making dragées with nuts or crystallized ginger. The tempered chocolate will set quickly and evenly, giving each piece a professional finish. You can also use tempered chocolate to create thin decorations, chocolate shards, or even dip homemade truffles. Just remember to work quickly while the chocolate is in temper, as it will begin to thicken as it cools.
- Dip fruits, nuts, or coffee beans for a quick treat
- Use tempered chocolate for bar molds or bonbon shells
- Work in small batches to maintain temper
- Store finished items in a cool, dry place
How to Store Tempered Chocolate Creations
Properly tempered chocolate will stay glossy and snappy for weeks if stored correctly. Keep your finished chocolates in an airtight container away from direct sunlight, heat sources, and strong odors. The ideal storage temperature is between 15–18°C. Avoid refrigerating chocolate unless absolutely necessary, as condensation can cause sugar bloom and ruin the finish.
If you need to store chocolate for longer periods, you can freeze it, but wrap it tightly in plastic wrap and then in an airtight bag. When you are ready to enjoy it, let it come to room temperature slowly in the packaging to prevent condensation. With good storage, your homemade tempered chocolates will remain beautiful and delicious for several months.
- Store in a cool, dark place (15–18°C)
- Use airtight containers to protect from humidity and odors
- Avoid refrigeration if possible; if freezing, thaw slowly in packaging
- Label with date to track freshness
Tempering chocolate at home is a rewarding skill that opens the door to creating professional-quality treats in your own kitchen. With practice, you will learn to read the chocolate by sight and feel, and soon you will be tempering like a chef. To get started with the finest single-origin couverture, explore the 80% Hacienda Victoria Ecuador 2025 Harvest 60g — Tosier Chocolatemaker and experience how premium chocolate makes tempering easier and more delicious.