Quick answer
For a 50x50 cm silk square, fold it on the bias into a narrow band first, then choose a knot based on where you want the volume: a single neck knot for the throat, a loose loop for a blouse neckline, or a bow for a bag handle. Silk satin is smooth, so keep the first wrap snug and the finishing knot slightly loose, otherwise the scarf slides out within minutes.
A 50x50 cm midi square is the easiest silk format to actually wear, because it is small enough to tie without a mirror and large enough to hold a shape. The five knots below cover neck, hair, and bag styling, and each one starts from the same foundation: a bias fold.
The trick with silk satin is tension. Pull every fold flat before you knot, and leave the final knot a little loose so the fabric has room to move. If you tighten silk all the way, it creases sharply and the knot looks heavy instead of fluid.
Start with a clean bias fold
Lay the square flat with the print facing down. Bring one corner to the opposite corner to form a triangle, then press the long edge flat with your hand. Fold the triangle over itself two or three times from the long edge toward the point, until you have a band roughly 6-8 cm wide. This is your base for almost every classic scarf knot.
Keep the folds even. If one side is thicker than the other, the finished knot will lean and the narrow end will slide out. Smooth the band with your fingers before you lift it, and hold the point end between two fingers so it does not unravel while you wrap.
- Fold on a flat surface, not in the air, for a straighter band.
- If the band twists, unfold and start again rather than fighting it around your neck.
Knot 1: The single neck knot
Drape the folded band around your neck with the ends in front. Cross the ends once, then tie a simple overhand knot, but stop pulling when the knot is about the size of a thumbnail. Slide the knot slightly to one side of your throat so the scarf sits asymmetrically, which keeps the look relaxed rather than uniform-like.
This knot works best with a collared shirt or a plain sweater. If your neck is short or you are wearing a high collar, move the knot down a few centimeters so it sits on the collarbone instead of under the chin.
- Checkpoint: the knot should sit flat, not bunched, before you walk away from the mirror.
- Common mistake: pulling the second end through too tightly, which makes the knot look like a bead.
Knot 2: The loose loop
Fold the band in half and place the loop against the front of your neck. Pass the two loose ends through the loop from the front, then pull them only until the loop closes around the ends. Adjust the loop so it hangs just below the collarbone and let the tails fall straight.
This is the most forgiving knot for a midi square because it does not require precise length. It also works well over a V-neck or an open shirt, where a tight knot would look crowded. Keep the tails even if you want a tidy look, or leave one longer for an intentionally uneven finish.
- Common mistake: making the loop too small, which turns the knot into a tight choker.
- If the loop will not stay closed, the band is too wide; refold it one turn narrower.
Knot 3: The front bow
Wrap the band around your neck and bring both ends to the front. Tie a basic knot, then form a loop with one end and wrap the other end around the middle of that loop. Pull the second end through to create the second loop, and tighten gently until the bow holds its shape.
Silk satin bows can look floppy if the fabric is very smooth, so keep the loops small and the tails short. A bow reads best with a plain top or a buttoned cardigan, where it becomes the focal point. If you are wearing a patterned dress, skip the bow and use the single neck knot instead.
- Checkpoint: both loops should be the same size before you leave the house.
- Common mistake: tying the bow too high on the throat, which shortens the neck visually.
Knot 4: The hair ribbon
Fold the square into a narrow band as before, then tie it around a ponytail or a low bun. Pass the band under the hair, cross the ends at the top, and tie a single knot. Tuck the loose point ends under the band so they do not stick out.
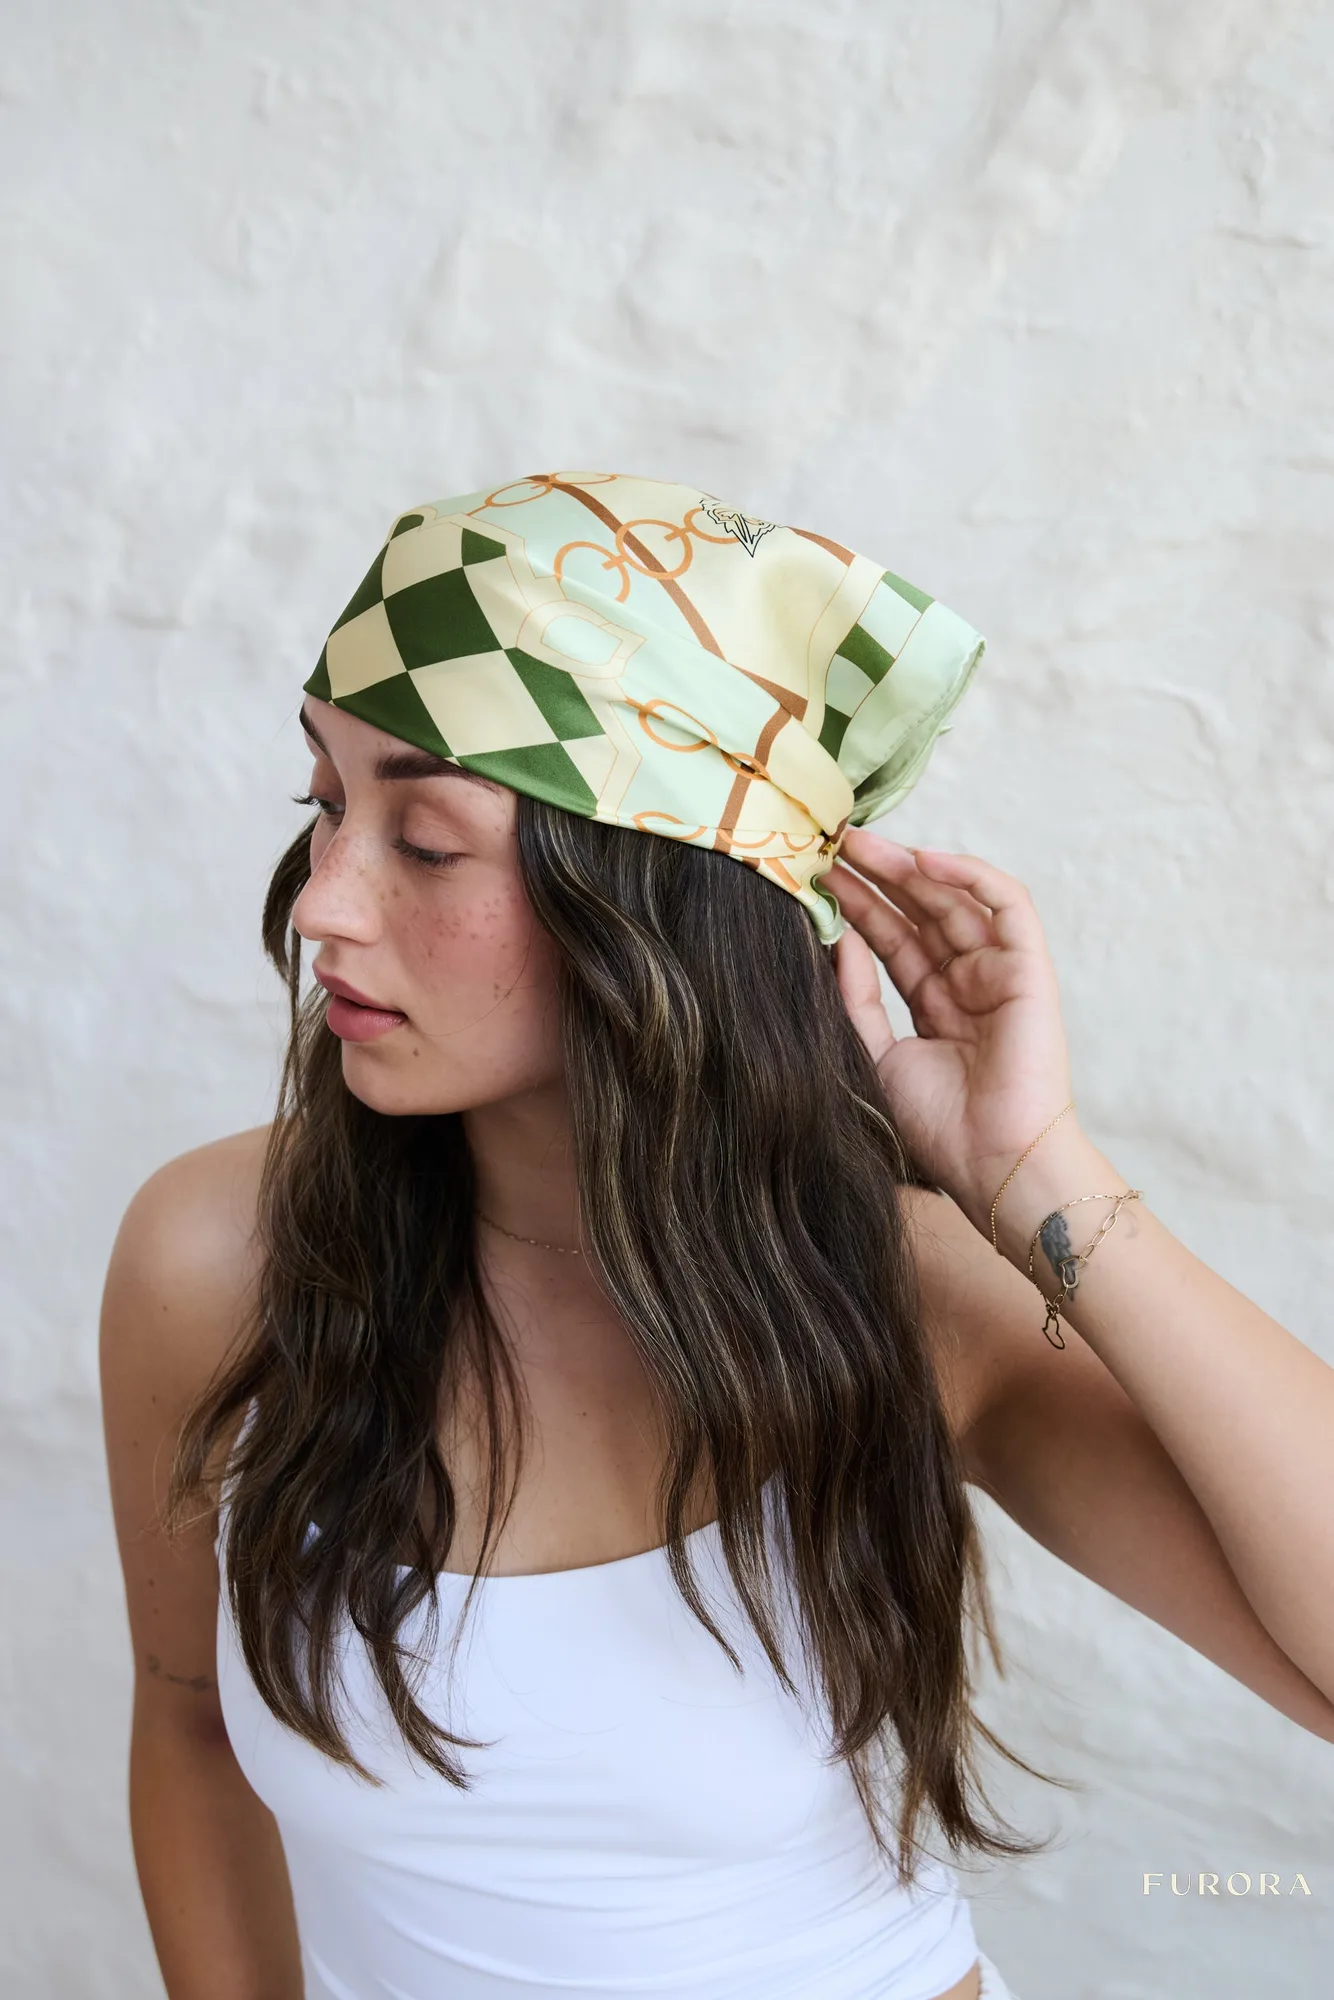
This style holds better on second-day hair, because natural texture gives the silk something to grip. On very smooth hair, add a small bobby pin under the knot. The print sits close to your face in this style, so it works well with a scarf that has a light background and a small-scale pattern.
- Common mistake: tying the band too tight against the scalp, which flattens the hair.
- If the ends keep slipping, cross them twice before the final knot.
Knot 5: The bag handle wrap
Fold the square into a band and thread it through the handle of a tote or shoulder bag. Bring both ends together and tie a simple knot close to the handle, then let the tails hang down the side of the bag. Adjust the knot so it sits on the outside of the handle, where it is visible.
This is the least fussy way to use a midi square, and it protects the handle from hand oils at the same time. Keep the knot small so it does not catch on your coat sleeve, and check it once a week, because silk loosens gradually with movement.
- Checkpoint: the scarf should not drag on the ground when the bag hangs at your side.
- Common mistake: tying the knot under the handle, where it rubs and loosens faster.
Five knots, in order
- Fold the square on the bias: Corner to corner into a triangle, then fold from the long edge toward the point until the band is 6-8 cm wide. Checkpoint: the band is even, with no thick side.
- Tie the single neck knot: Cross the ends once and tie an overhand knot the size of a thumbnail, then slide it slightly off-center. Common mistake: pulling the knot tight against the throat.
- Tie the loose loop: Fold the band in half, place the loop at the front of the neck, and pass the ends through from the front. Checkpoint: the loop hangs just below the collarbone.
- Tie the front bow: Make a basic knot, form one loop, wrap the other end around it, and pull through the second loop. Common mistake: loops that are too large and floppy.
- Tie the hair ribbon or bag wrap: For hair, knot the band around a ponytail and tuck the ends. For a bag, thread it through the handle and knot on the outside. Next step: recheck the knot after an hour of wear, since silk loosens with movement.
The scarf used in this tutorial
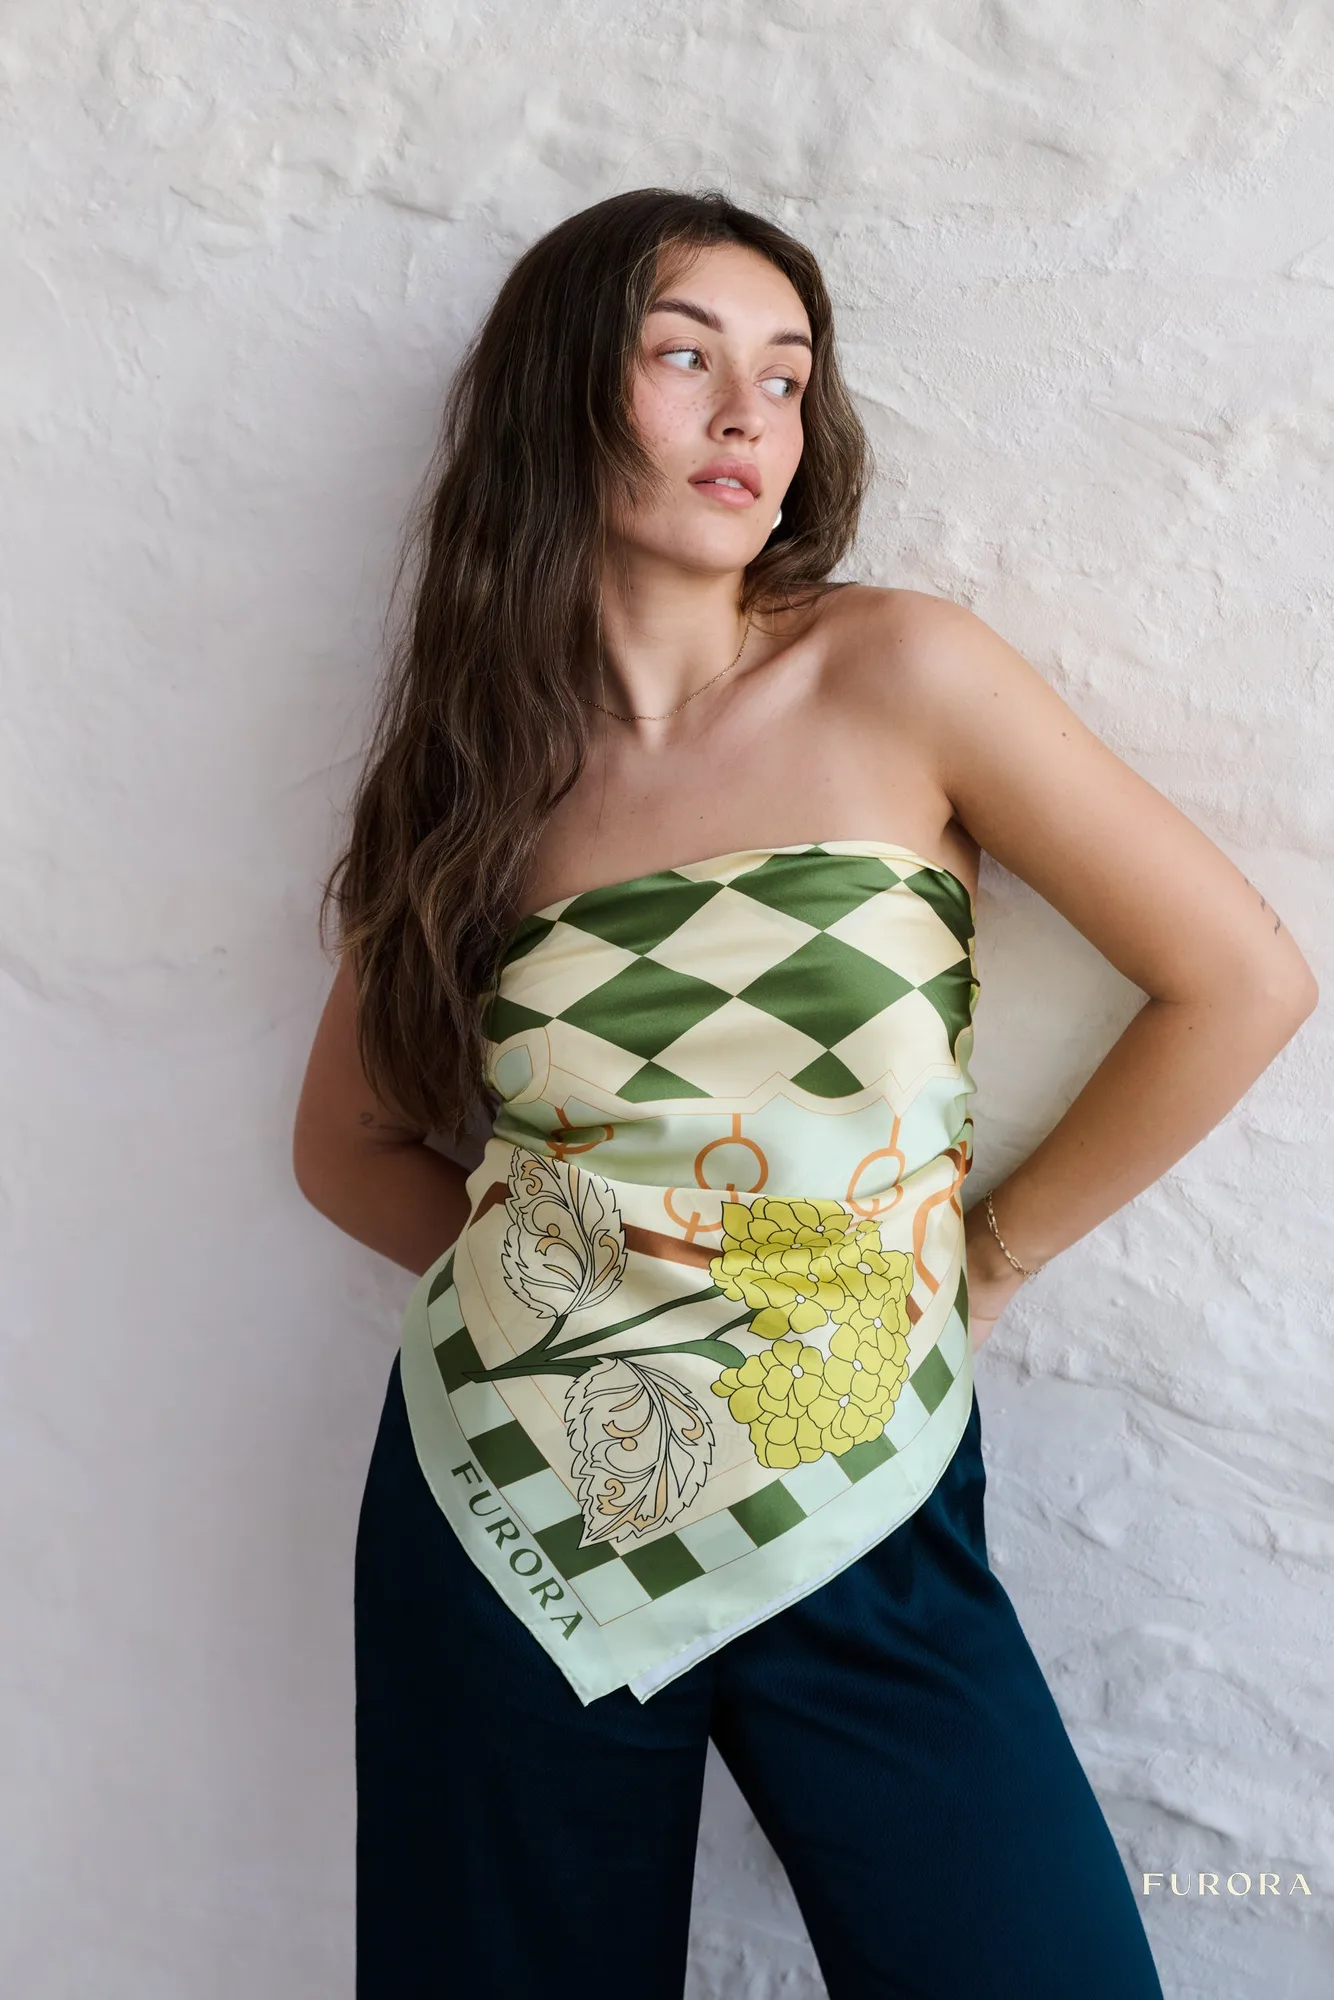
- https://furoraenm.com/products/jedwabna-apaszka-hortesnia-midi-3331142125ed08bd7d674a5b-1423092Jedwabna Apaszka Hortensia Midi: Jedwabna apaszka midi Hortensia to mniejszy format 50x50 cm z botanicznym printem w zieleni i kremie, 100% jedwab satynowy z ręcznie rolowanymi brzegami. The 50x50 cm size is exactly what these five knots are built for, and the hand-rolled edges give the band a clean line when you fold it.
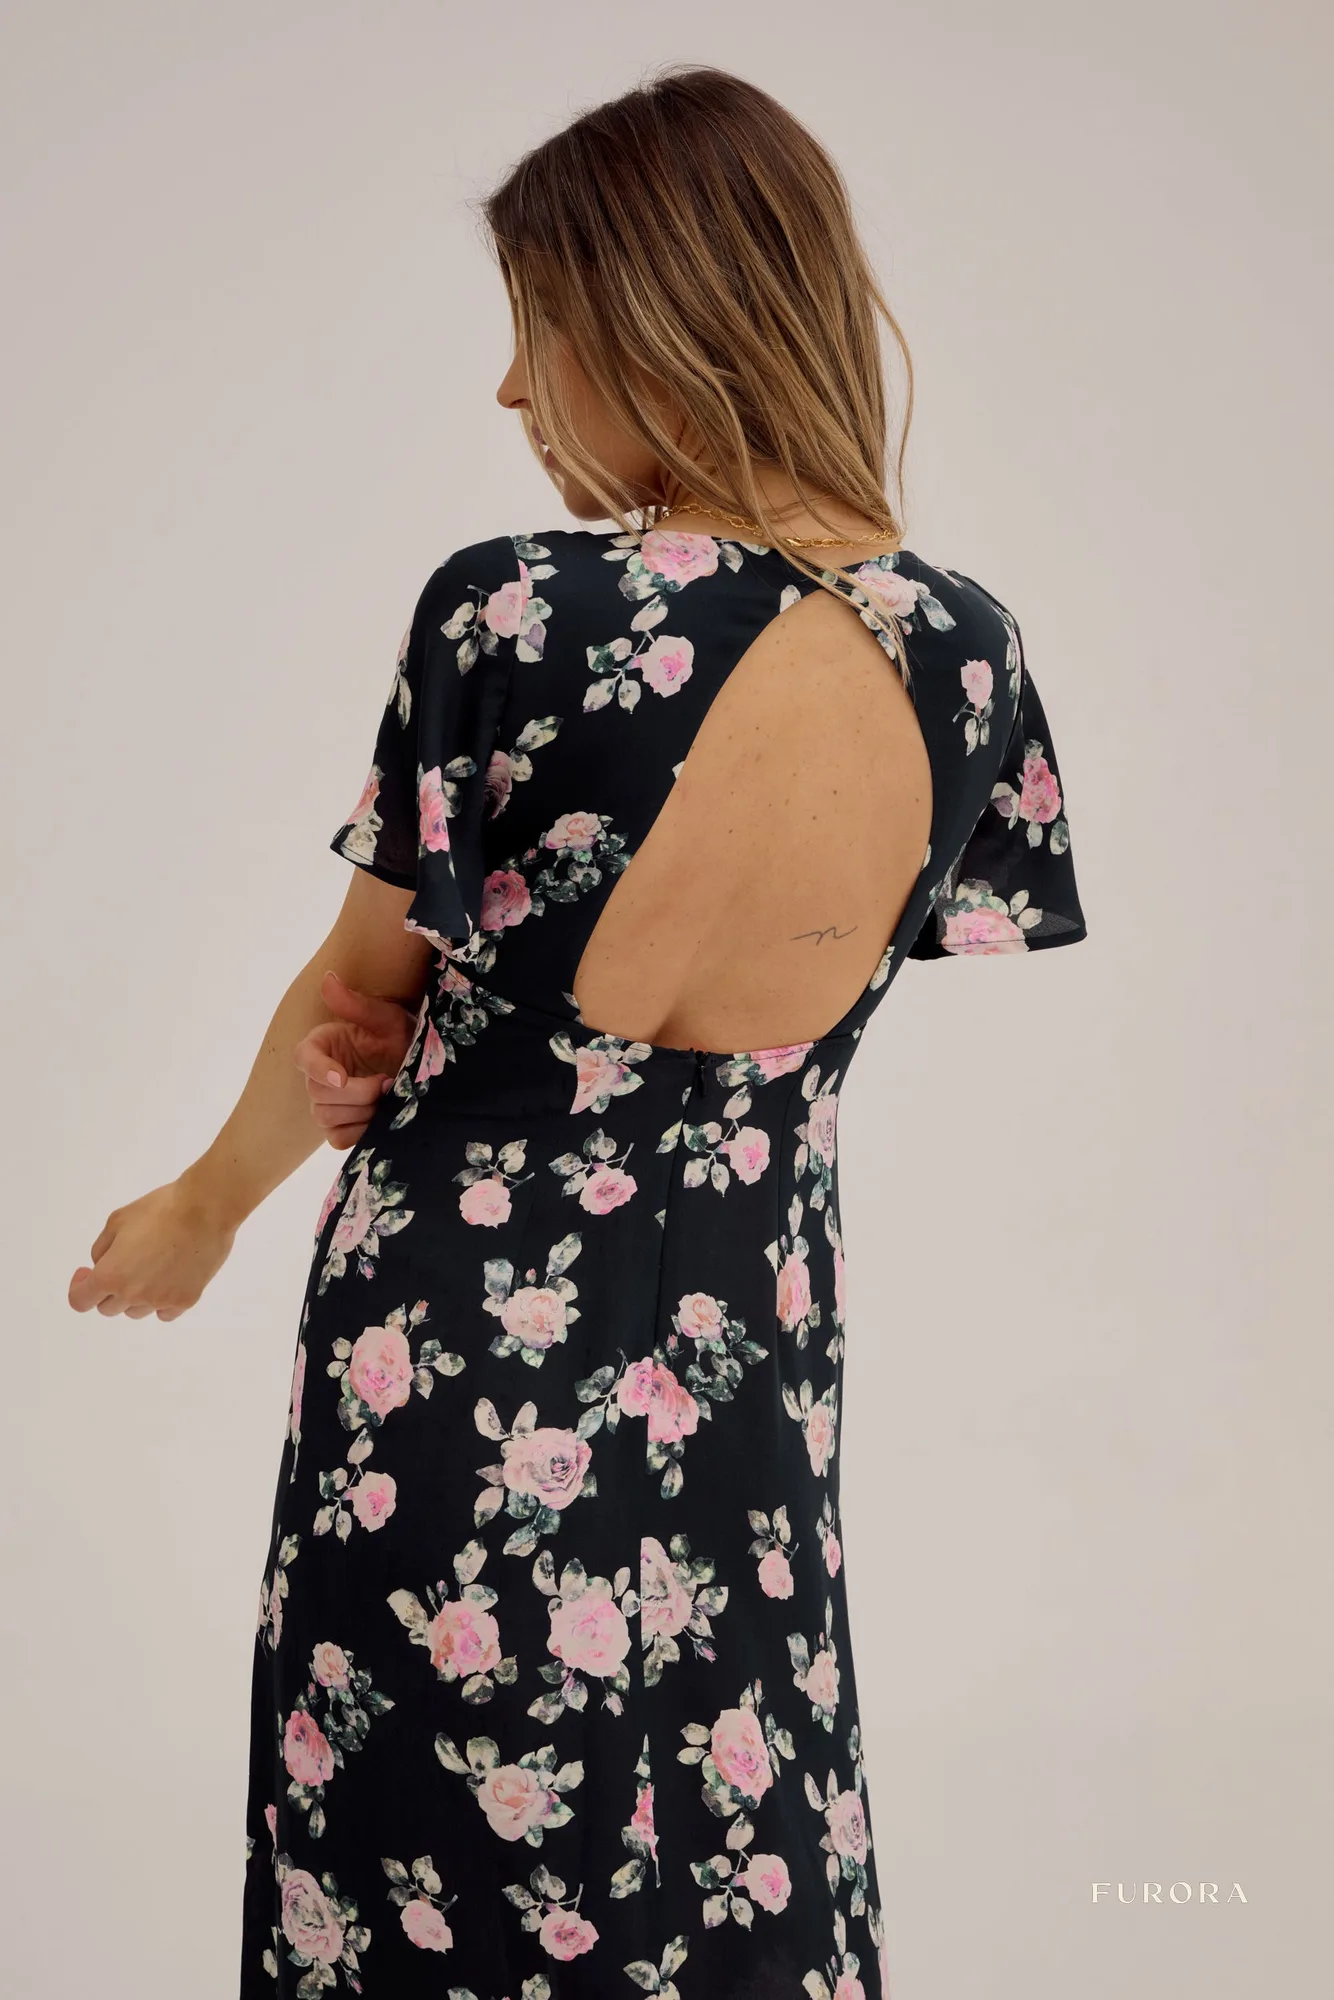
- Aimee Floral Silk Dress: Aimee silk dress has short, flared sleeves, a subtle V-neckline, a thigh slit, and a back neckline. A V-neckline leaves room for the single neck knot or the loose loop without crowding the chest.
Pick one knot and wear it for a full day before trying the next. Silk behaves differently once it warms up against your skin, and the knot that felt right in the mirror is the one you will actually reach for.