Quick answer
Measure the pre-glued lash against your lash line before you peel the backing, then trim from the outer end in small snips until the band ends where your natural lash line ends. Always trim a little, test, and repeat—cutting too short is the one mistake you cannot undo.
Why the band length matters more than the lash style
A pre-glued lash that runs past your outer corner will lift, poke, and collect makeup within hours. One that stops too short leaves a visible gap and makes the set look unfinished. The fix is not a different style; it is matching the band to your eye shape. Most pre-glued lashes are made to a standard length, so trimming is a normal part of the process, not a sign you bought the wrong pair.
What you need before you trim
Work over a clean, dry surface with small cuticle scissors or lash scissors. Keep the lash on its tray or backing while you measure so the pre-glued strip stays protected. If you wear contact lenses, put them in after fitting, not before, so you can close your eyes comfortably during the test.
How to check the fit without ruining the glue
Hold the lash above your natural lash line with the curve facing your eye. The inner end should sit a millimeter or two away from your inner corner, and the outer end should stop at or just before your outer corner. Do not press it down yet. If the band extends past either corner, that overhang is what you trim. This dry-fit step is the difference between a comfortable set and one you want to remove by lunch.
Trimming from the right end
Always trim the outer end of the lash, not the inner corner. The inner corner is tapered to sit softly against the eye; cutting it changes how the lash sits and can make the band feel stiff. The outer end is where extra length is easiest to remove without affecting the shape. Take small, straight snips and re-check the fit after every cut.
If your eyes are uneven or your lash line is short
Most people need slightly different lengths on each eye, so fit each lash separately instead of trimming one and copying it. If your lash line is short, trim in smaller increments and keep the inner taper intact. If you have a monolid or hooded eyes, the band may need to be shorter overall so the outer corner does not disappear into the fold.
When a pre-glued lash is already the right length
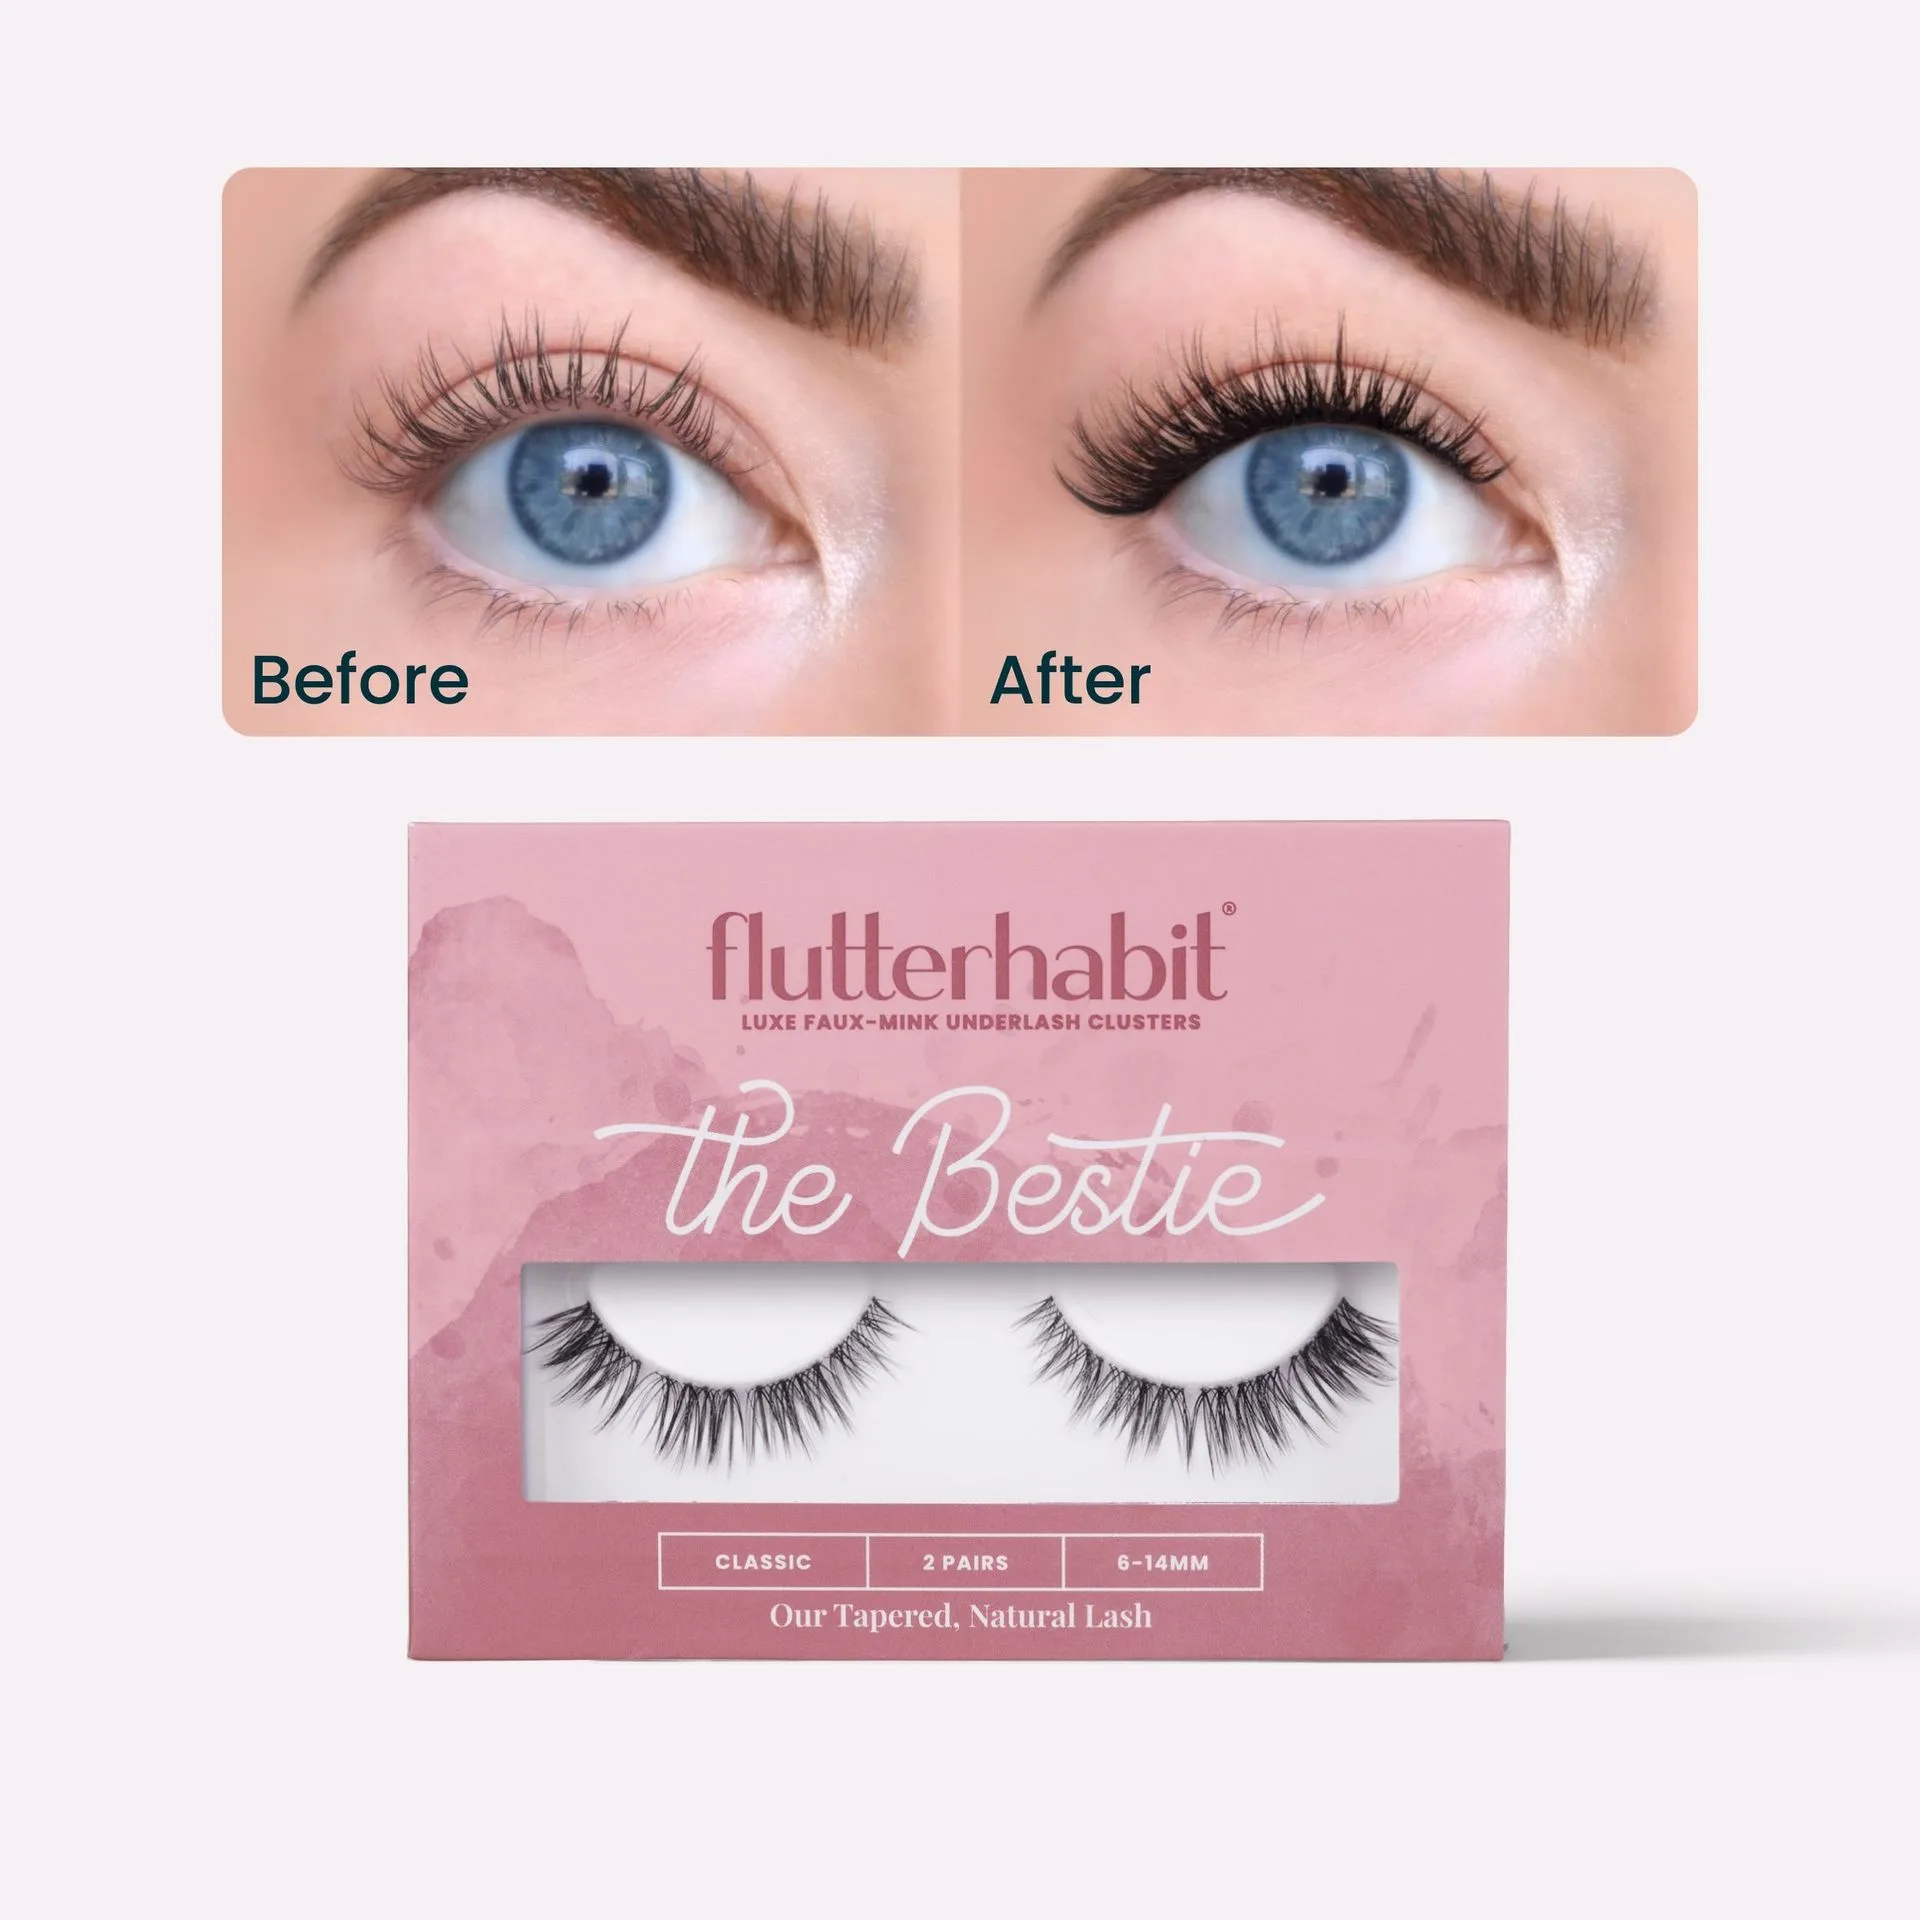
Some styles are designed with a softer, shorter profile that fits many eye shapes without trimming. The Bestie Brunette, for example, has gentle spikes, subtle length variation, and a softly tapered inner corner, which means it can sit comfortably on smaller or more almond-shaped eyes with little to no adjustment. If you find yourself trimming more than a few millimeters, a shorter style may suit you better than forcing a longer one to fit.
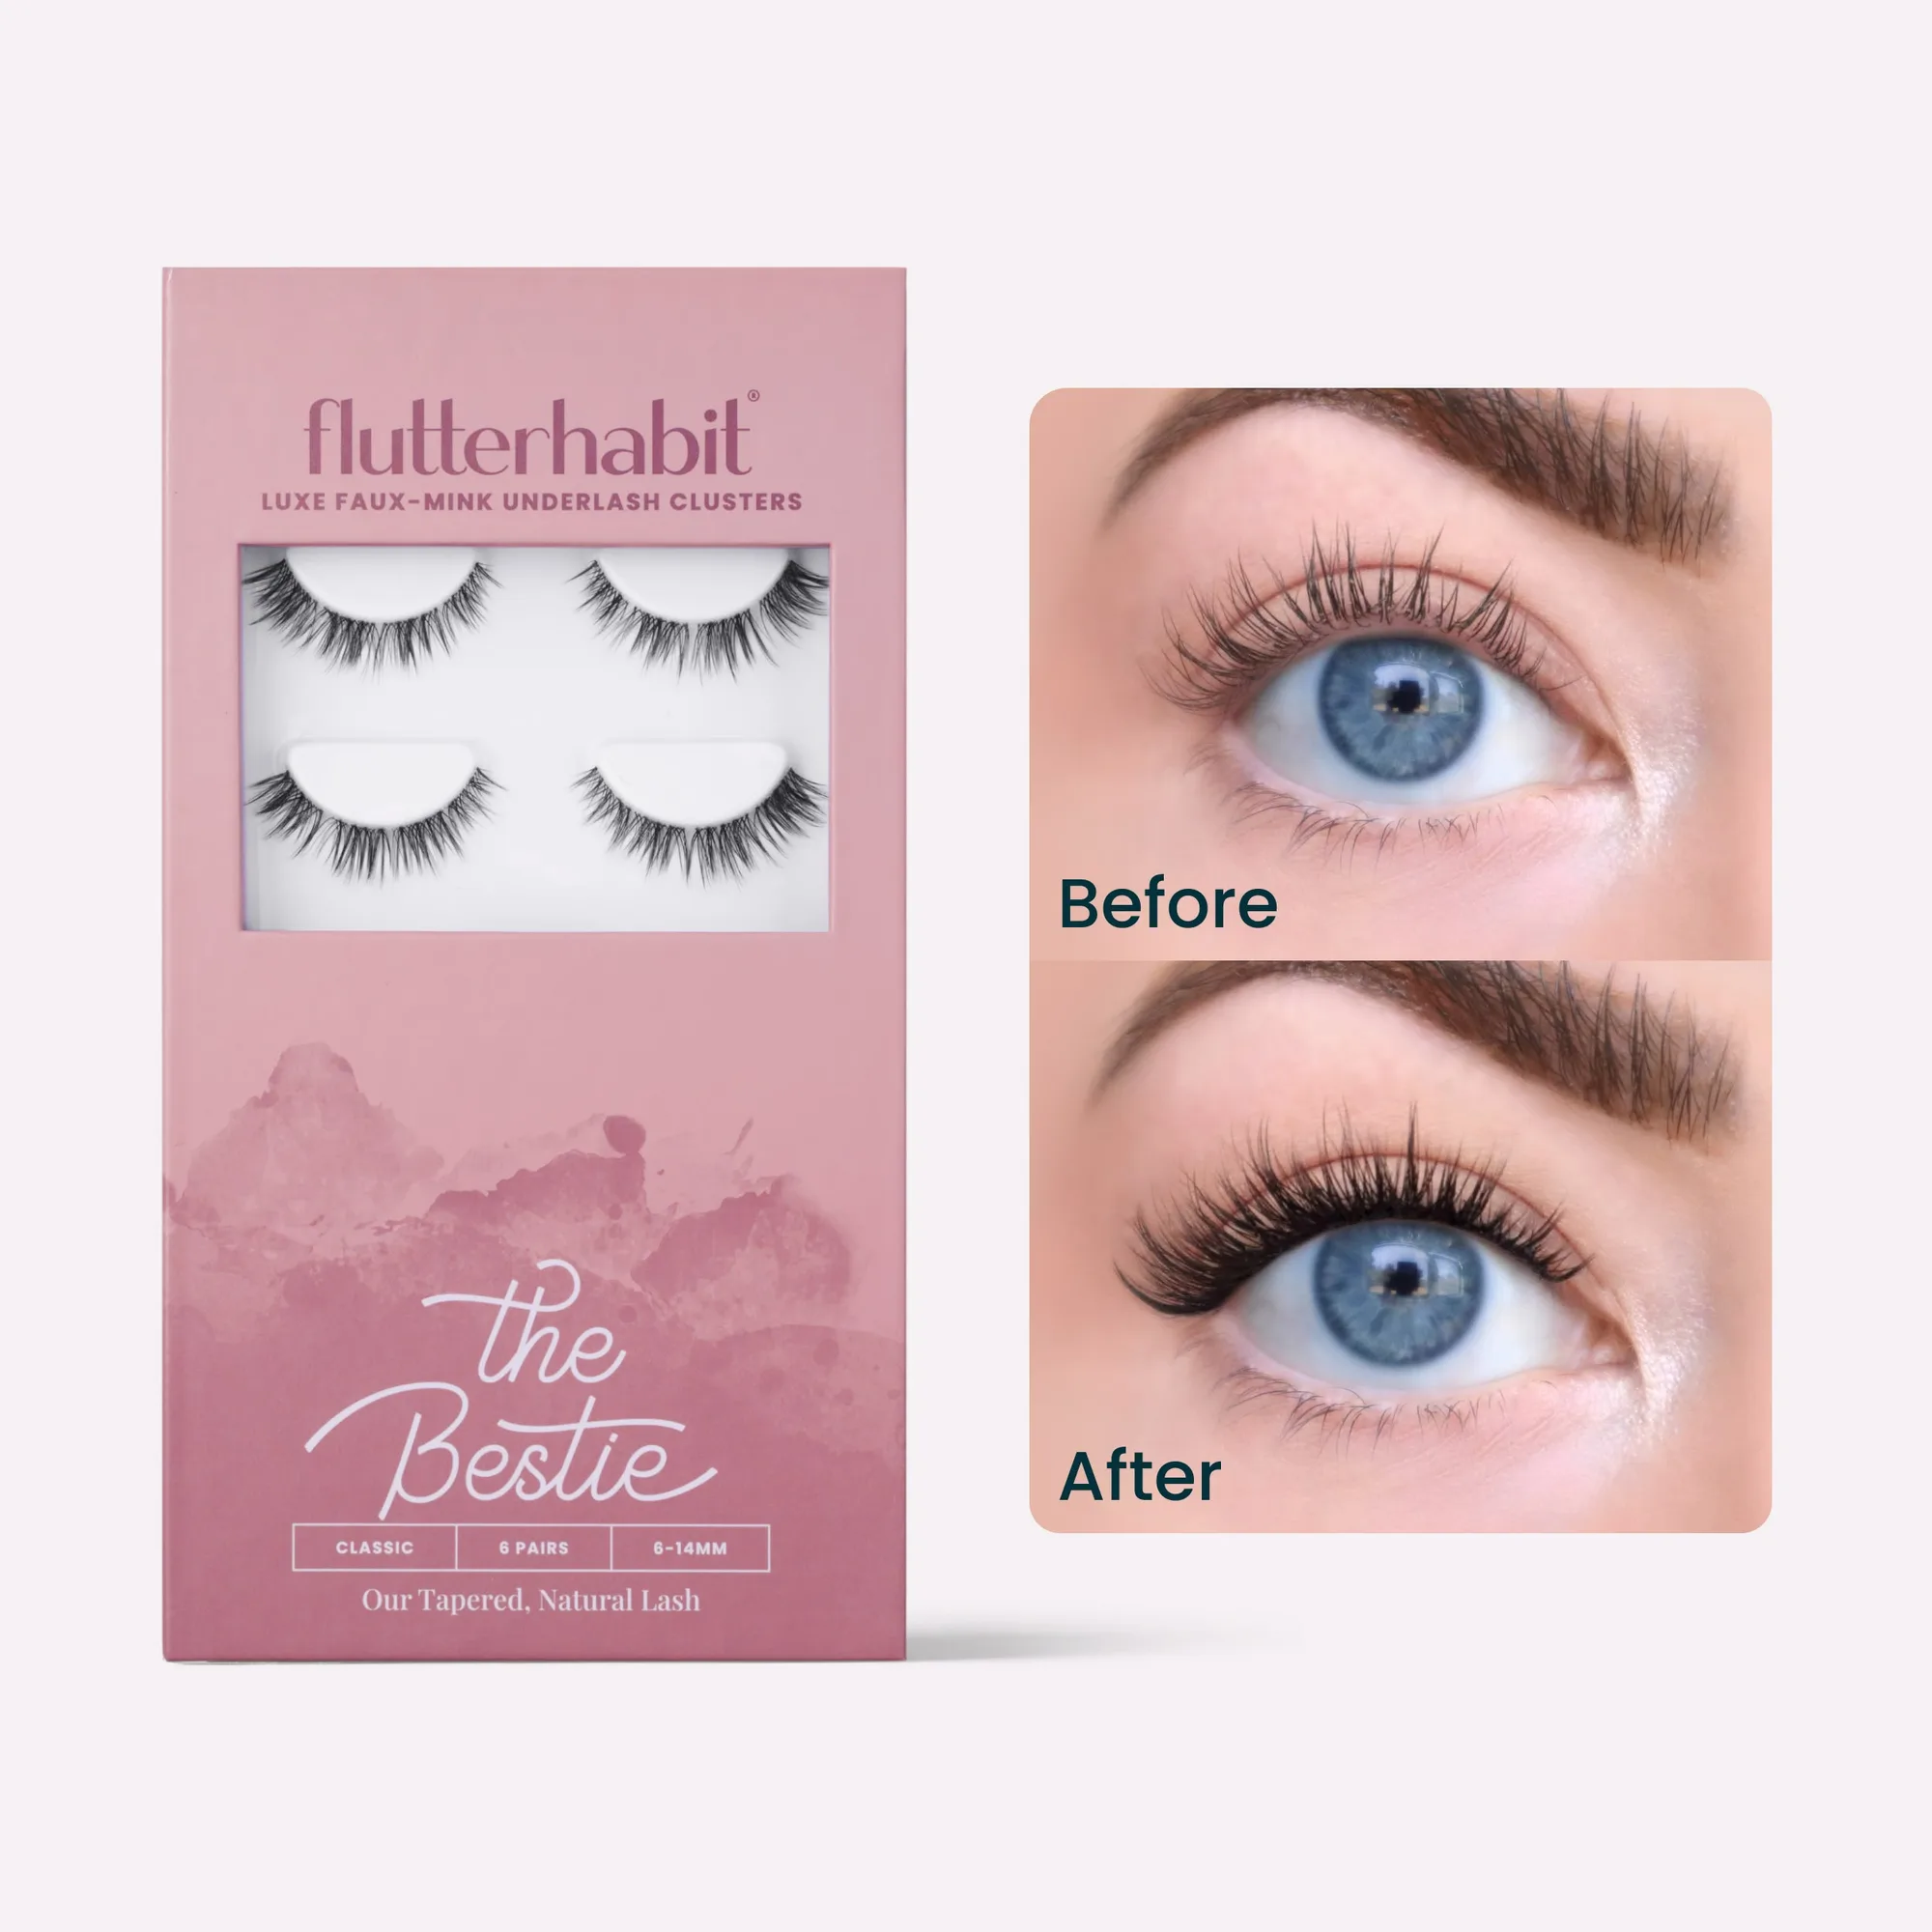
The Bestie
Step-by-step: trim and fit pre-glued lashes
- Dry-fit the lash above your lash line: Hold the lash on its backing against your eye without pressing it down. Check that the inner end sits just past your inner corner and the outer end stops at your outer corner. Checkpoint: if either end hangs past your natural lash line, that is the section to trim.
- Mark the outer end you plan to cut: Use your fingernail or a tiny dot of eyeliner on the backing to mark where your lash line ends. This gives you a visual stop so you do not over-trim. Common mistake: marking the inner corner instead of the outer end, which ruins the tapered fit.
- Cut in small, straight snips from the outer end: Use small cuticle or lash scissors and remove one to two millimeters at a time. Keep the cut perpendicular to the band so the edge stays clean. Checkpoint: re-fit after every snip. It is easier to cut more than to fix a too-short band.
- Re-fit and check both eyes separately: Fit the trimmed lash again, then repeat the measuring and trimming process for the other eye. Do not assume both eyes need the same length. Common mistake: trimming the second lash to match the first without measuring, which often leaves one side short.
- Apply only after the fit is comfortable: Once the band ends where your lash line ends, peel the backing and apply according to the product instructions. Press gently along the band to secure it. Checkpoint: if you feel any poking at the inner or outer corner, remove and trim one more small snip before the glue sets.
Product facts
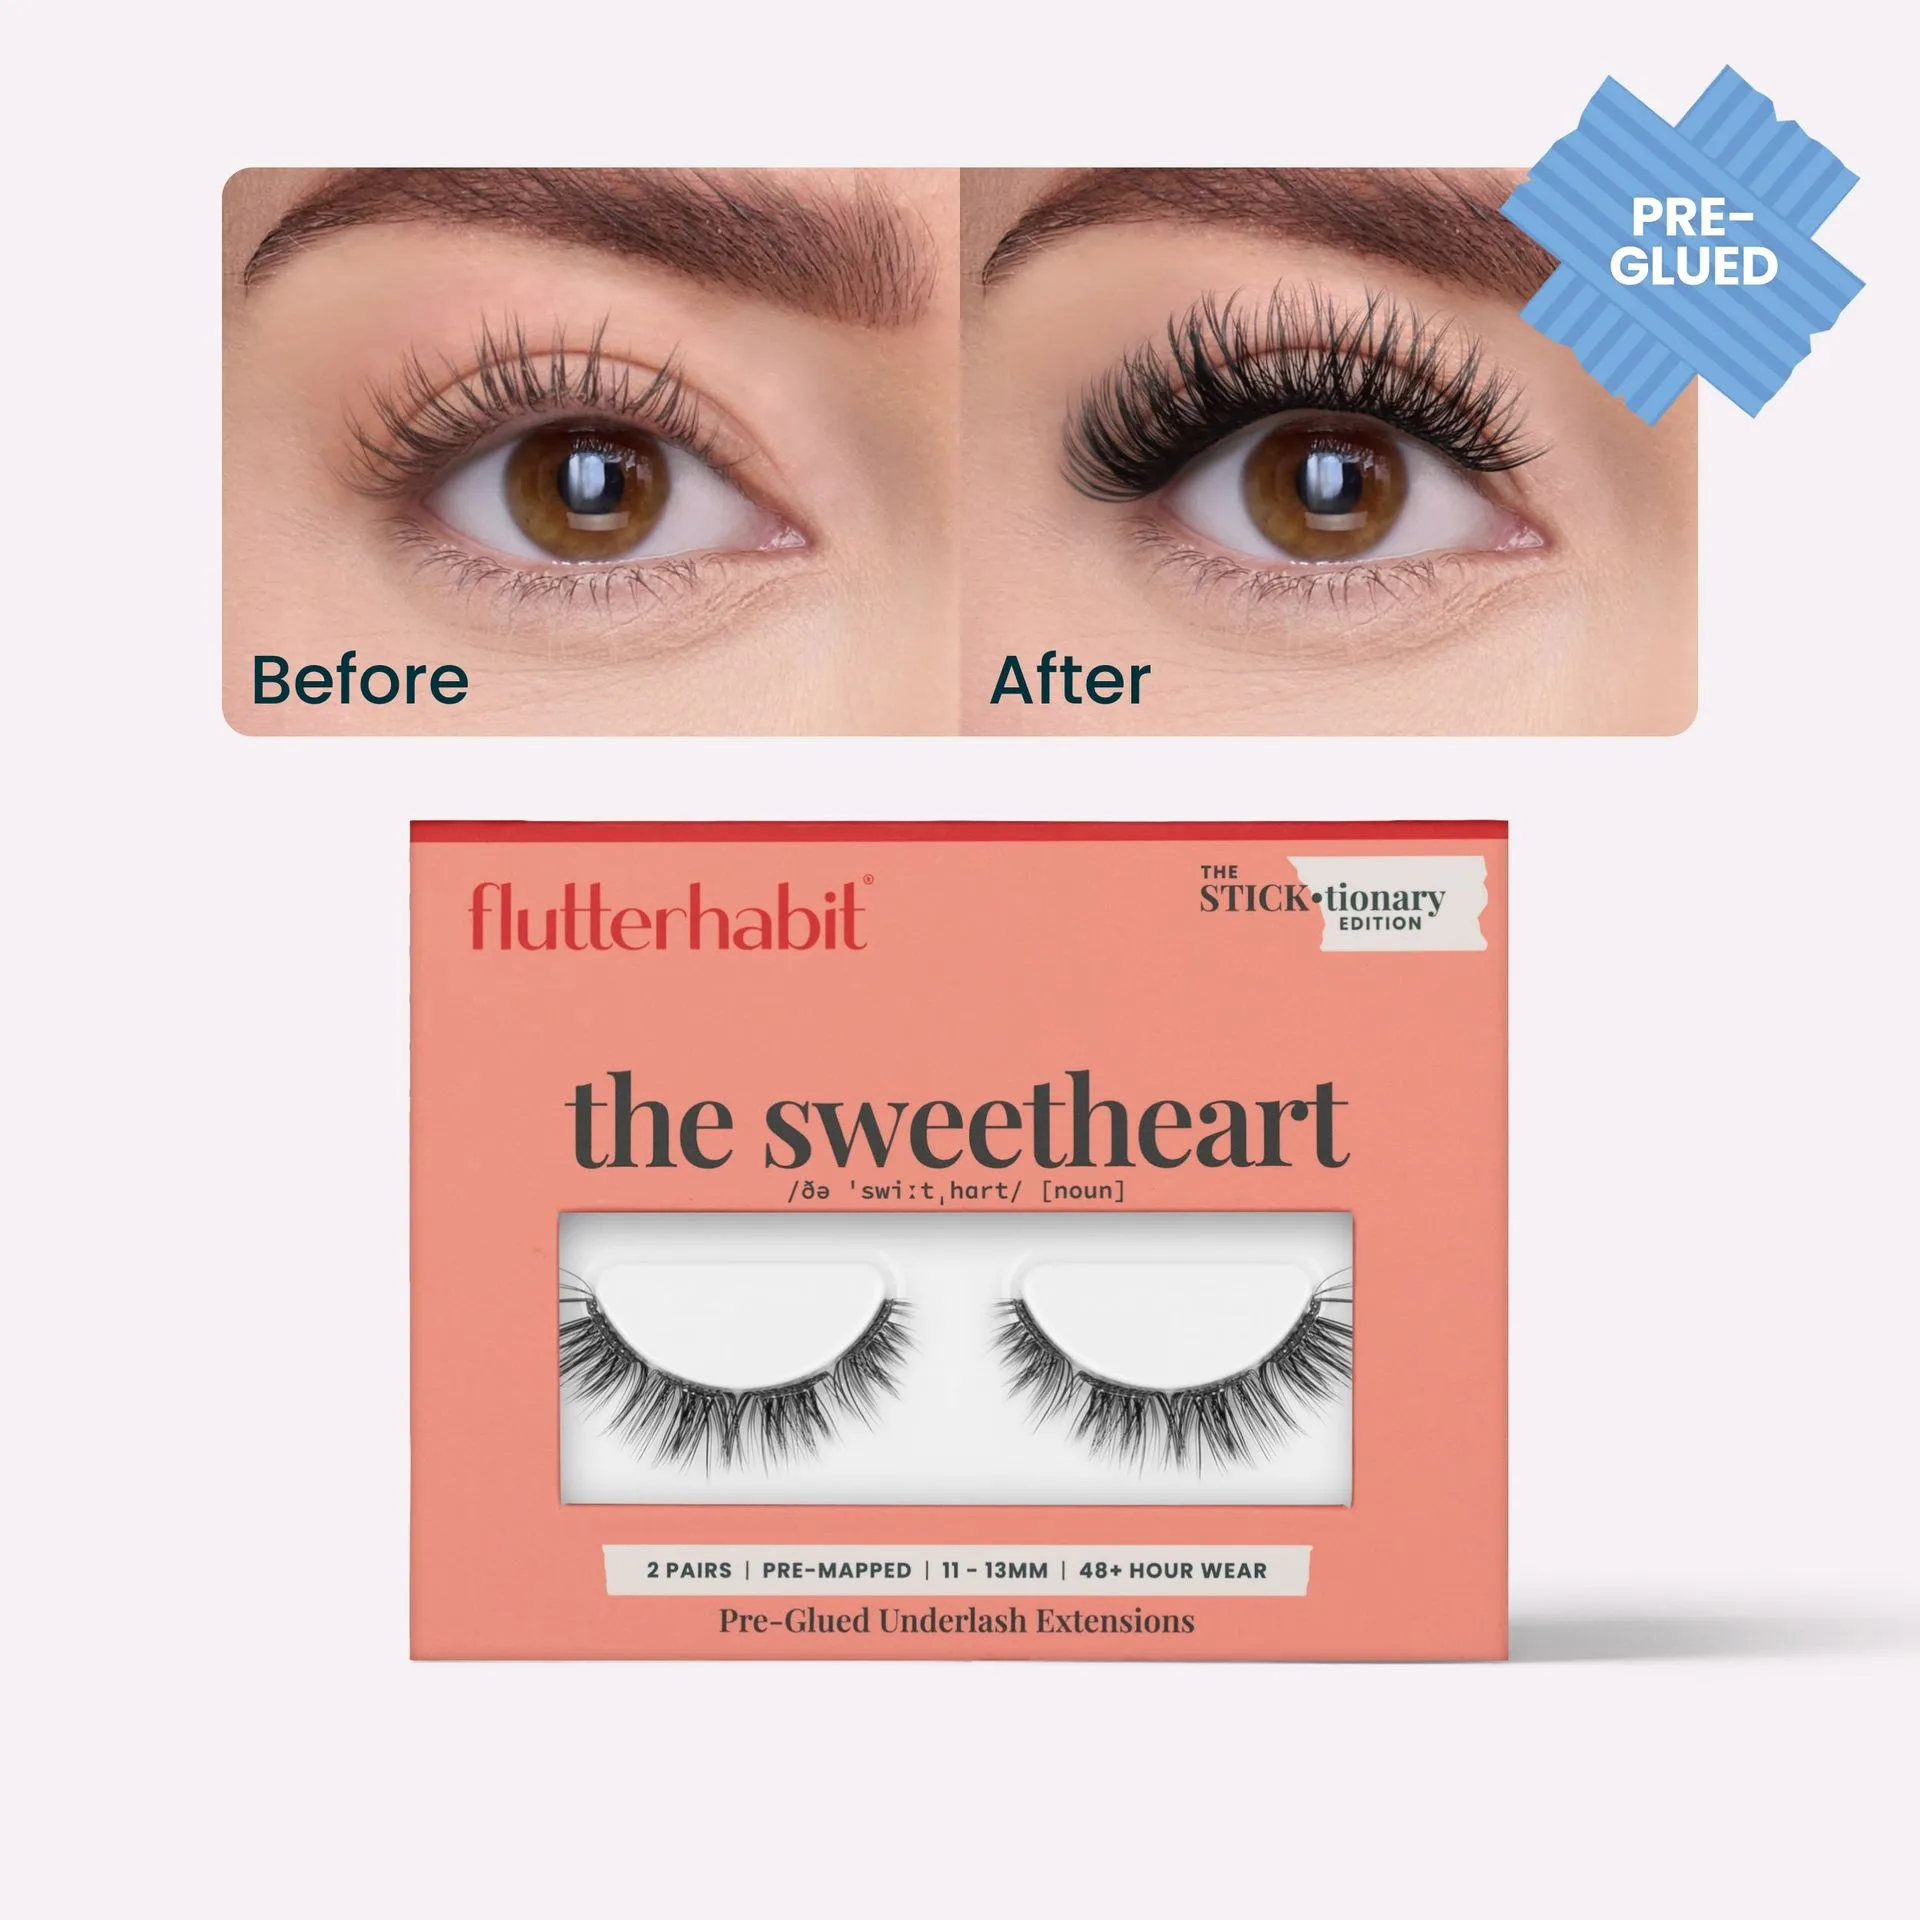
- Water Lily Pre-Glued (2 Pair) with ProTECHt™: Water Lily Pre-Glued (2 Pair) with ProTECHtTM uses underlash placement for a clean, natural finish that mimics fresh lash extensions. Underlash placement means the band sits below your natural lashes, so trimming the outer end helps it sit flush without poking your waterline.
- The Glow-Getter Brunette: The Glow-Getter Brunette has lengths ranging from 6–15mm. A 6–15mm range gives you room to trim the outer end while keeping the shorter inner fibers intact for a natural transition.
- The Bestie Brunette: The Bestie Brunette features gentle spikes, subtle length variation, and a softly tapered inner corner. The tapered inner corner is designed to sit comfortably near the inner eye, so trim only the outer end to preserve that fit.