Quick answer
To achieve a flawless wing with the 1-Step Press Cat Eye Map, prep your natural lashes, then press the pre-mapped clusters onto the lash line starting from the outer corner, adjusting for symmetry before the glue sets.
Why the Cat Eye Map simplifies winged lashes
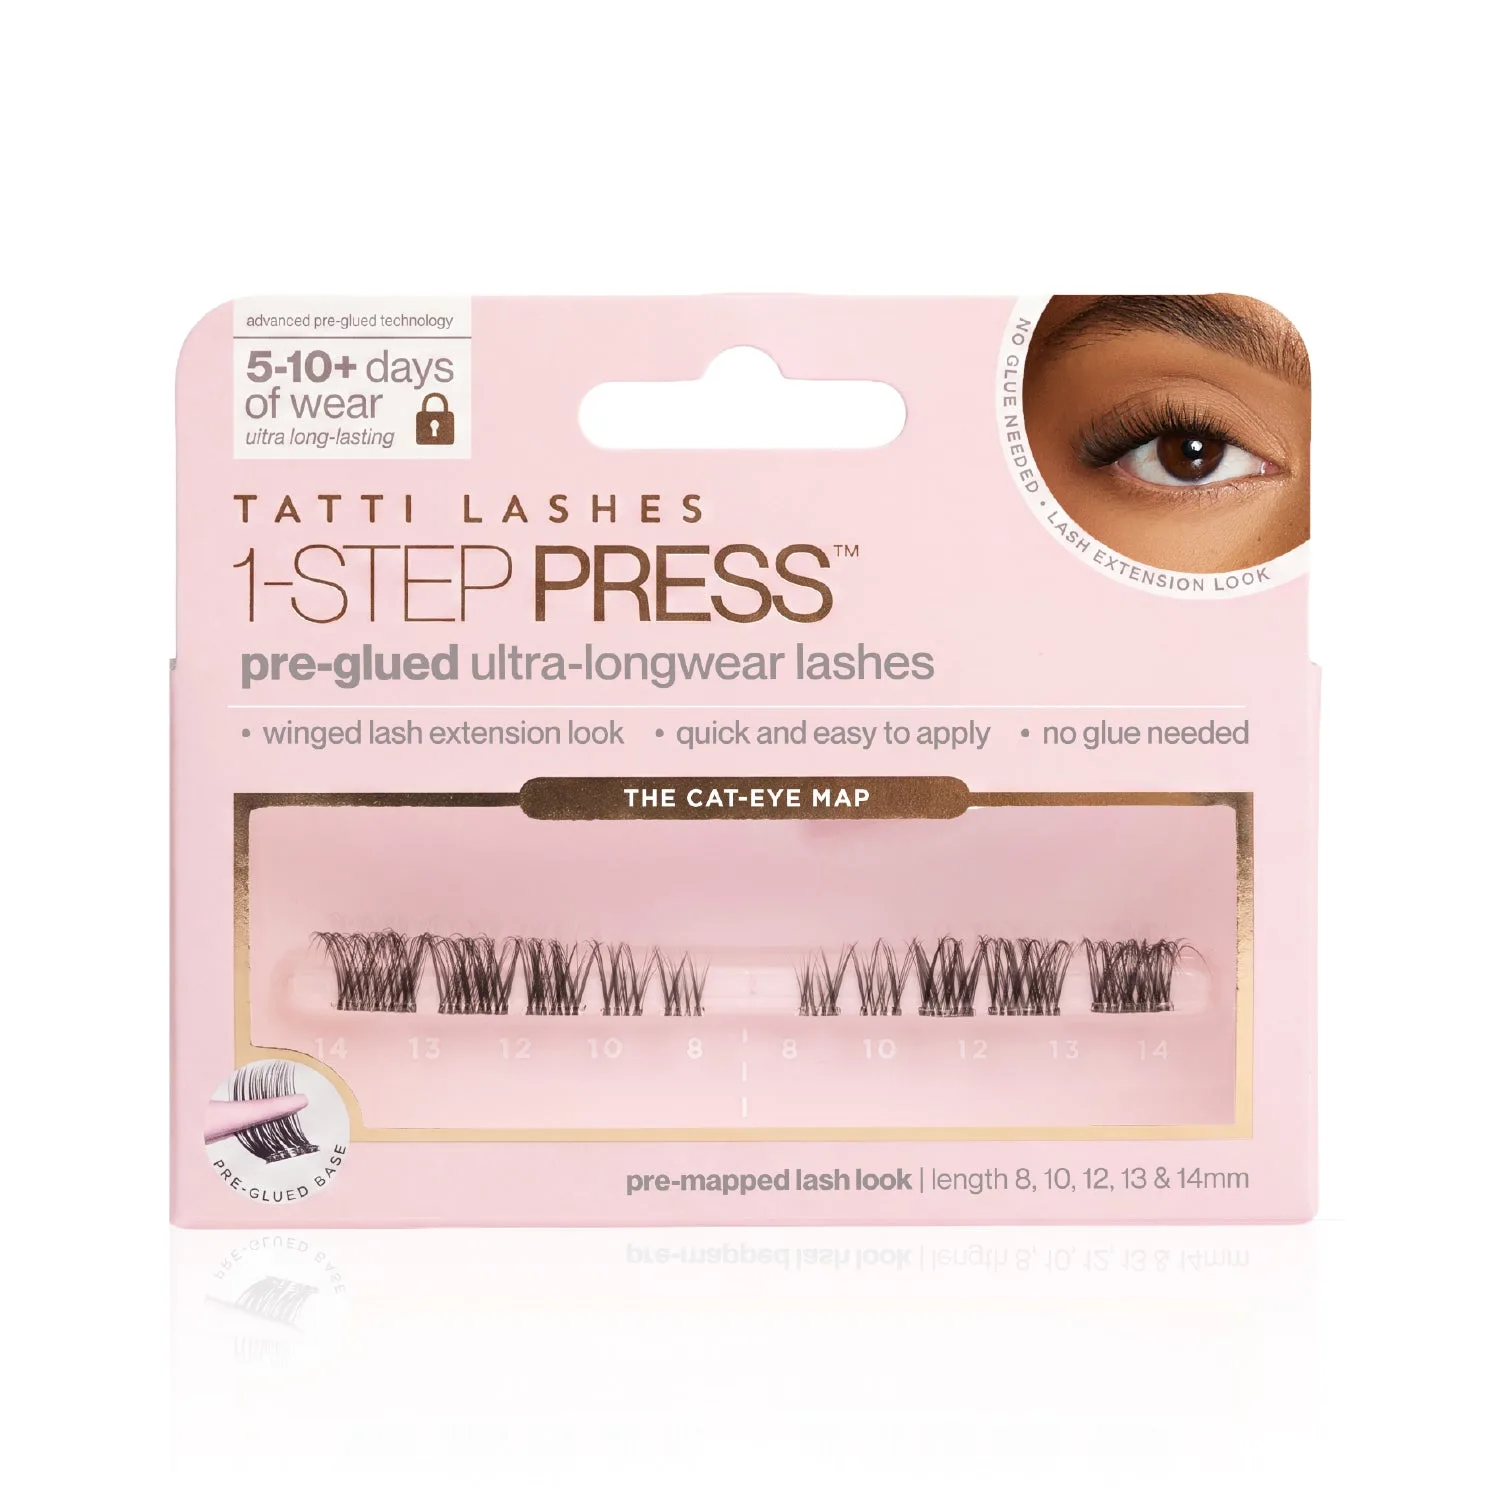
Traditional winged lash application requires trimming, shaping, and guessing where to place each cluster. The 1-Step Press Cat Eye Map removes the guesswork by combining softer inner pieces and wider, flared outer clusters into a single pre-glued strip. This design naturally lifts and elongates the eye shape, making it easier for beginners to get a consistent cat eye without multiple attempts.
Common mistake: skipping lash prep
Applying lashes over oily or dirty natural lashes reduces adhesion and can cause the wing to droop. Clean your natural lashes with a gentle, oil-free cleanser and ensure they are completely dry before starting. This step is often overlooked but directly affects how long the 1-Step Press Cat Eye Map stays in place.
Step-by-step: Applying the 1-Step Press Cat Eye Map
- Step 1: Clean and curl your natural lashes: Remove any makeup or oil from your eyelids and natural lashes. Curl your lashes to create a unified base that blends with the false lash curl. This prevents a visible gap between your natural lashes and the strip. Checkpoint: If your natural lashes point straight down, the wing may appear disconnected. Curling lifts them to match the lash map's curve.
- Step 2: Test the fit before applying glue: Hold the 1-Step Press Cat Eye Map over your eye without removing the backing. Check that the outer flare aligns with your natural lash line and the inner corner sits comfortably. Trim the outer edge slightly if the strip extends beyond your eye, but avoid cutting into the clusters. Common mistake: Trimming too much from the outer edge removes the wing effect. Only trim the very tip if needed.
- Step 3: Apply a thin layer of lash glue: Peel the lash map from the tray and apply a thin, even layer of latex-free lash glue along the band. Wait 20-30 seconds for the glue to become tacky. Tacky glue grips the lash line immediately, reducing slippage. Checkpoint: If the glue is still wet when you press, the lash map may slide out of position. Always wait until it feels sticky.
- Step 4: Press from the outer corner inward: Using tweezers or your fingers, place the outer corner of the lash map onto your lash line first. Gently press the rest of the strip inward, following your natural lash line. The pre-mapped flare should sit at the outer edge to create the winged lift. Common mistake: Starting from the inner corner can misalign the outer flare. Always start at the outer edge for correct wing placement.
- Step 5: Secure and blend: Once positioned, gently press the entire strip onto your lashes using the flat end of a tweezer or your fingertip. Apply a light squeeze along the band to fuse it with your natural lashes. Let the glue dry completely before opening your eyes fully. Checkpoint: If you open your eyes too soon, the lash map may lift at the inner corner. Wait 30 seconds for a secure bond.
Product facts
-
1-Step Press Cat Eye Map: Our Cat-Eye Lash Map is the perfect winged lash, designed to elongate and lift. It gives subtle length and fullness, while creating a naturally lifted finish. We totally customised this lash map, combining softer, smaller inner pieces and wider, flared outer clusters to create the dream winged lash look. This pre-mapped design means you don't have to measure or trim individual clusters—just press on for an instant cat-eye effect.
1-Step Press Cat Eye Map