Quick Answer
To use a 3D face stick, apply the contour shade to the hollows of your cheeks, jawline, and temples, then blend with a brush or sponge. Add the highlight shade to the high points of your face—cheekbones, brow bone, nose bridge, and cupid's bow—and blend for a natural, lifted effect.
Why a Cream Contour Stick Works for Most Skin Types
A cream contour stick like the Skin O2 3D Face Stick is a great choice for beginners and pros alike. The creamy formula blends quickly and builds coverage, making it easier to correct mistakes than powder contour. It's also safe for all skin types, including sensitive skin, so you can use it without worrying about irritation.
The dual-ended design combines a contour and a highlight in one stick, so you don't need to buy separate products. That saves time and space in your makeup bag, and it makes touch-ups on the go simple.
Choosing the Right Tools for Blending
You can blend the stick with your fingers, a makeup sponge, or a dense brush. Fingers warm the product and give a sheer, skin-like finish, while a sponge creates a seamless, airbrushed look. A brush offers more precision for the contour lines. For best results, use a damp sponge for the highlight and a small, angled brush for the contour.
If you prefer a more sculpted look, apply the contour in thin layers and build up. For a natural everyday look, keep the lines soft and blend well.
Step-by-Step Contour and Highlight Routine
- Prep your skin: Start with a clean, moisturized face. Apply your usual primer or foundation if you use it. Make sure your skin is dry to the touch so the cream stick glides on smoothly. Checkpoint: Wait a minute after moisturizing so the product doesn't slide.
- Apply the contour shade: Twist up the contour side and draw a line from your ear toward the corner of your mouth, staying under your cheekbone. Add short strokes along your jawline and at your temples. For a nose contour, draw two thin lines down the sides of your nose. Common mistake: Placing the contour too low on the cheek makes the face look droopy. Keep the line above the hollow you feel when you suck in your cheeks.
- Blend the contour: Use a damp sponge or dense brush to blend the contour in upward strokes. Work quickly while the product is still creamy. Blend until there are no harsh lines, but keep the pigment visible for definition. Checkpoint: If you blended too much, reapply a thin layer and blend again.
- Apply the highlight: Use the highlight side to apply a small amount to the tops of your cheekbones, the bridge of your nose, your brow bone, and your cupid's bow. You can also dab a little on the inner corners of your eyes to brighten. Common mistake: Using too much highlight can look greasy. Start with a light touch and build up if needed.
- Blend the highlight: Gently tap the highlight with your fingertip or a clean sponge to blend the edges. Avoid rubbing, which can move the product and create a patchy look. Checkpoint: The highlight should look like a natural sheen, not a stripe.
- Set and finish: If you want your makeup to last all day, set your face with a translucent powder or setting spray. Focus the powder on the contour areas to prevent creasing. Checkpoint: For a dewy finish, skip powder on the high points where you applied highlight.
Product Spotlight
-
3D Face Stick - Contour & Highlight: The Skin O2 3D Face Stick is a smooth, blendable cream contour and highly pigmented illuminator cream stick combined in one. This means you get both contour and highlight in a single product, simplifying your routine and making it easy to achieve a sculpted look.
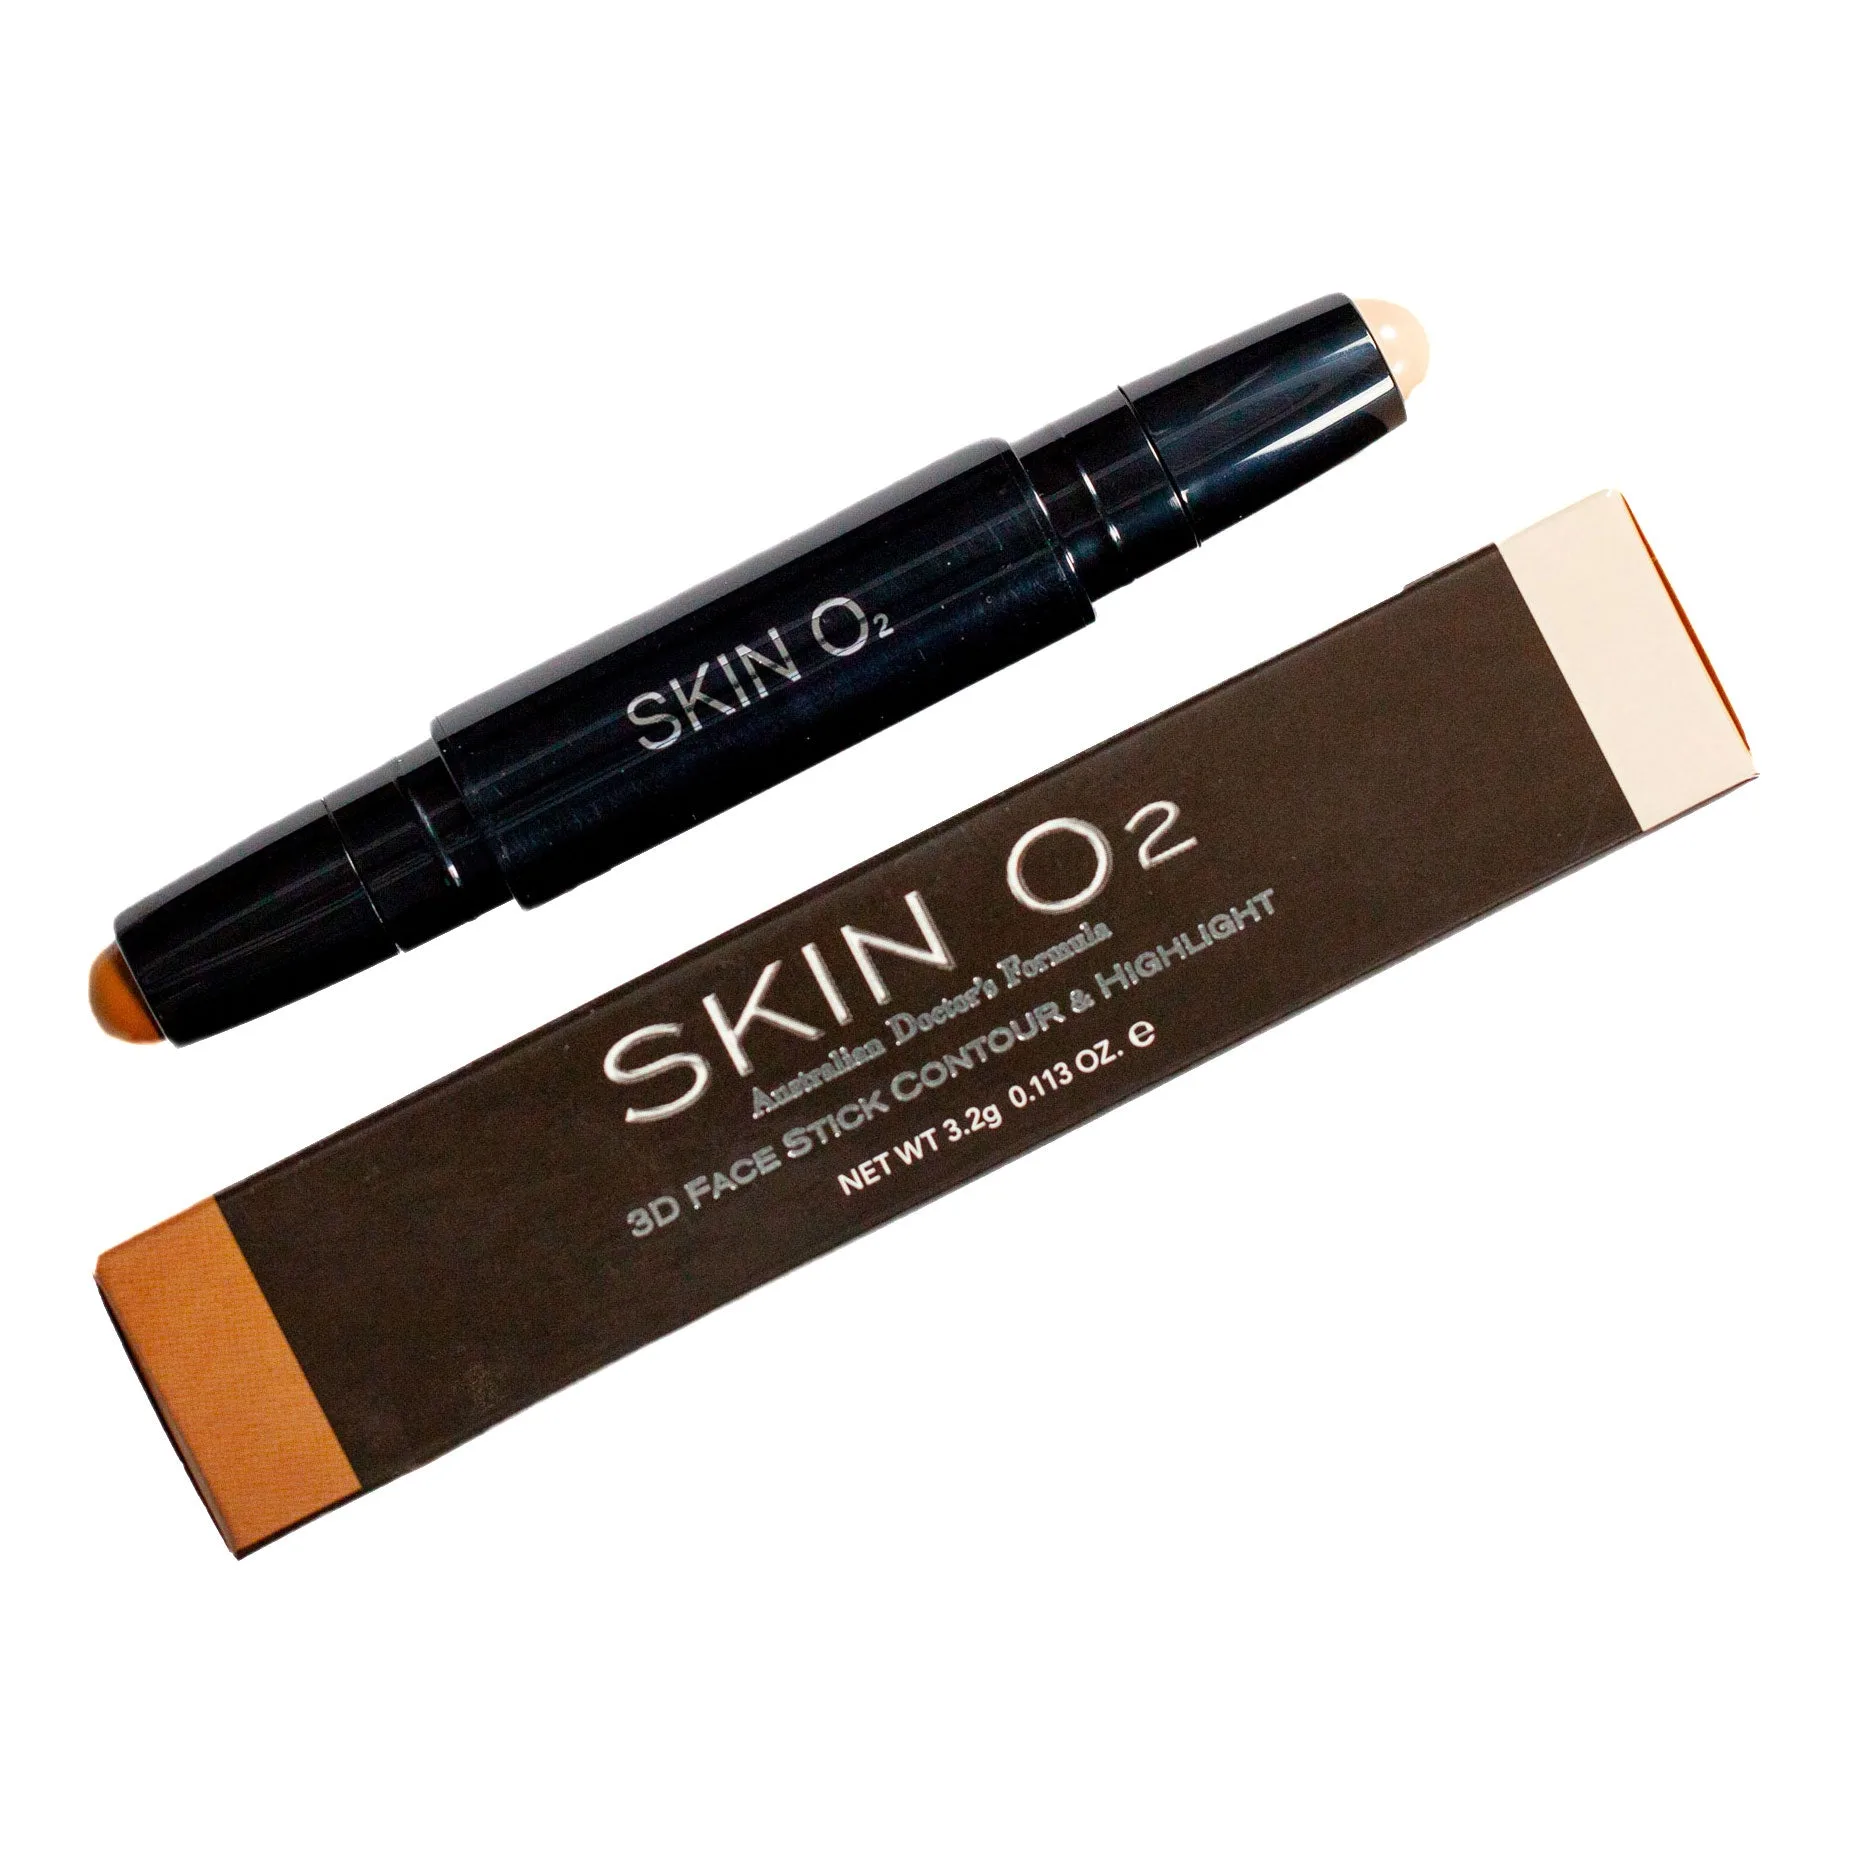
3D Face Stick - Contour & Highlight