A fan brush might look like an artist’s tool, but in the world of makeup, it’s a secret weapon for achieving a soft, luminous highlight. Unlike dense brushes that pack on product, the fan brush’s light, airy bristles allow for a diffused, buildable glow that looks natural and radiant. Whether you’re a makeup novice or a seasoned pro, mastering the fan brush can elevate your highlight game and give you that sought-after, lit-from-within look.
In this guide, we’ll walk you through everything you need to know about using a fan brush for highlight—from choosing the right brush to applying product on different areas of the face. You’ll also learn tips to avoid common mistakes and how to pair your fan brush with other essential tools for a flawless finish.
Why a Fan Brush Is Ideal for Highlight Application
Fan brushes are uniquely designed with thin, tapered bristles that spread product evenly and softly. This makes them perfect for highlighters, especially powder formulas, because they deposit just enough pigment to catch the light without overwhelming the skin. The featherlight touch of a fan brush ensures that your highlight looks seamless and blended, not harsh or streaky.
Compared to other brushes like tapered highlighters or flat paddles, a fan brush offers more control over intensity. You can build the glow gradually, making it ideal for both subtle daytime looks and more dramatic evening effects. Plus, the wide shape allows you to cover larger areas like the cheekbones or brow bone in just a few sweeps.
- Use a soft, sweeping motion to avoid disturbing your foundation or blush underneath.
Choosing the Right Fan Brush for Your Highlight
Not all fan brushes are created equal. The key is to look for one with soft, synthetic bristles that are dense enough to pick up product but flexible enough to deposit it lightly. A brush with a slight curve or tapered edge can help you target precise areas like the inner corner of the eye or the cupid’s bow.
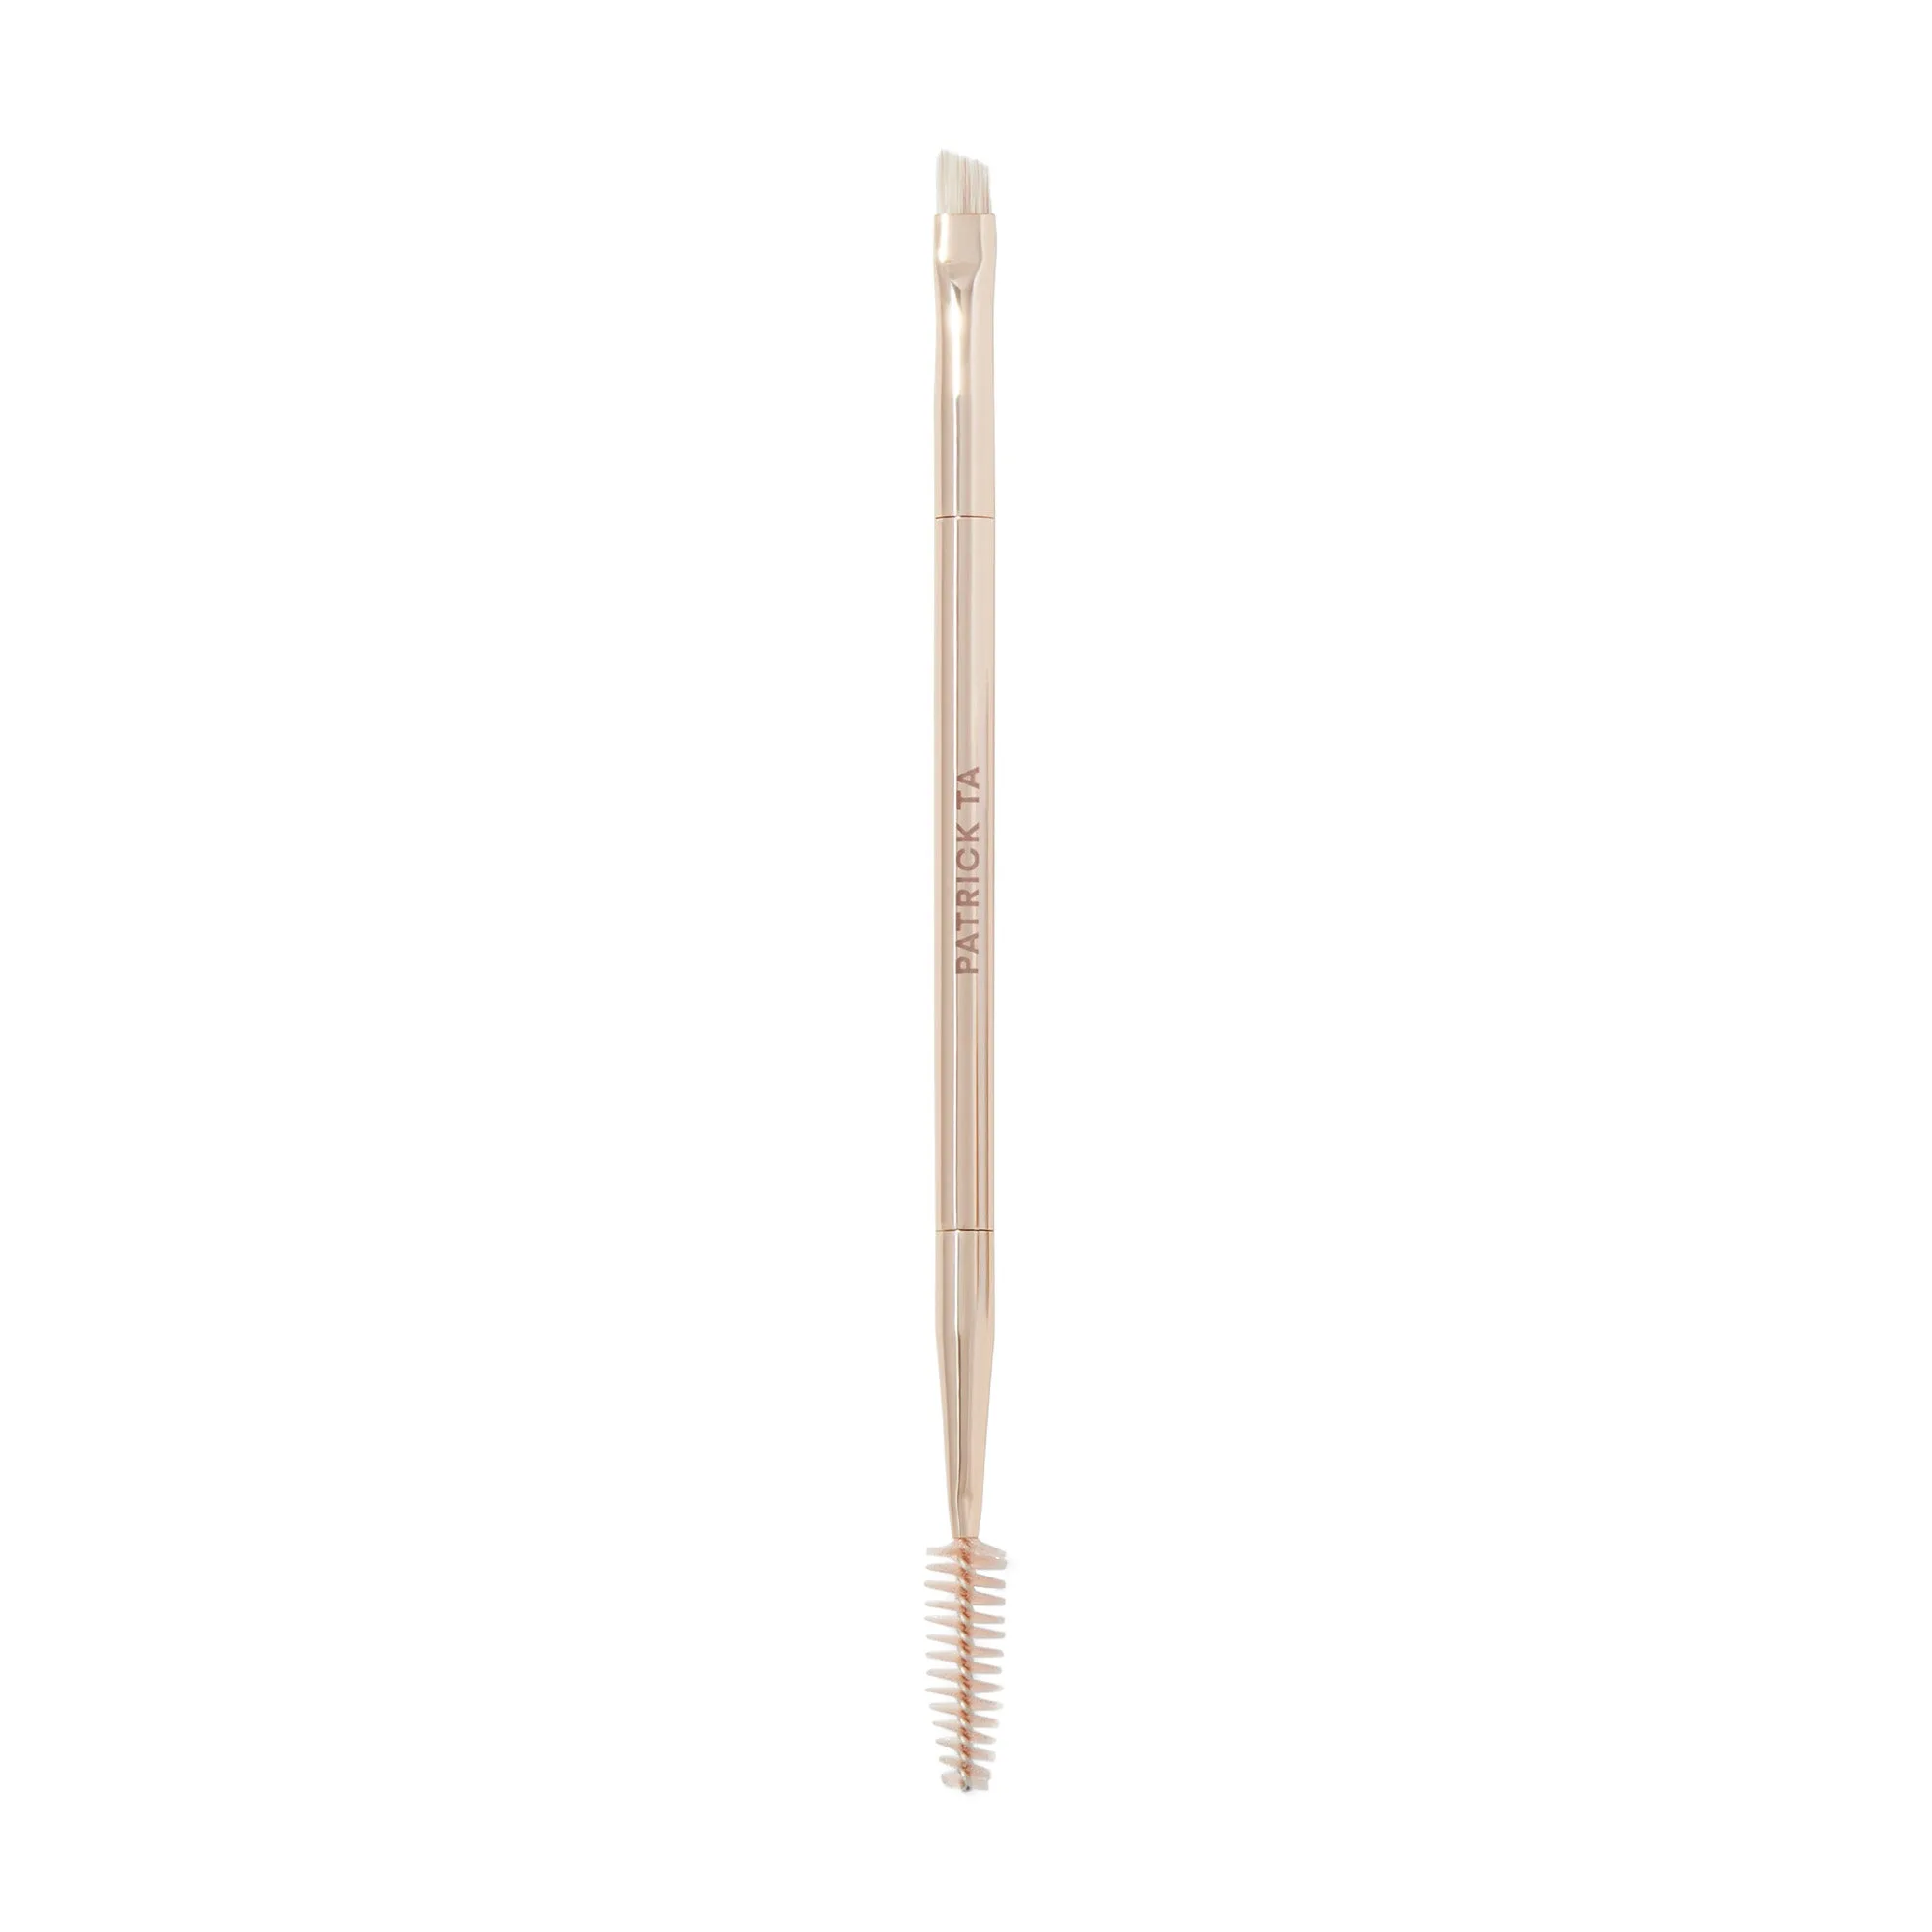
Patrick Ta Beauty offers a range of high-quality brushes designed for precision and comfort. For highlight application, consider pairing your fan brush with the Dual Ended Precision Blush Brush for a coordinated routine—use the fan side for highlight and the precision side for blush. This dual-ended tool saves space in your kit and ensures a seamless makeup application.
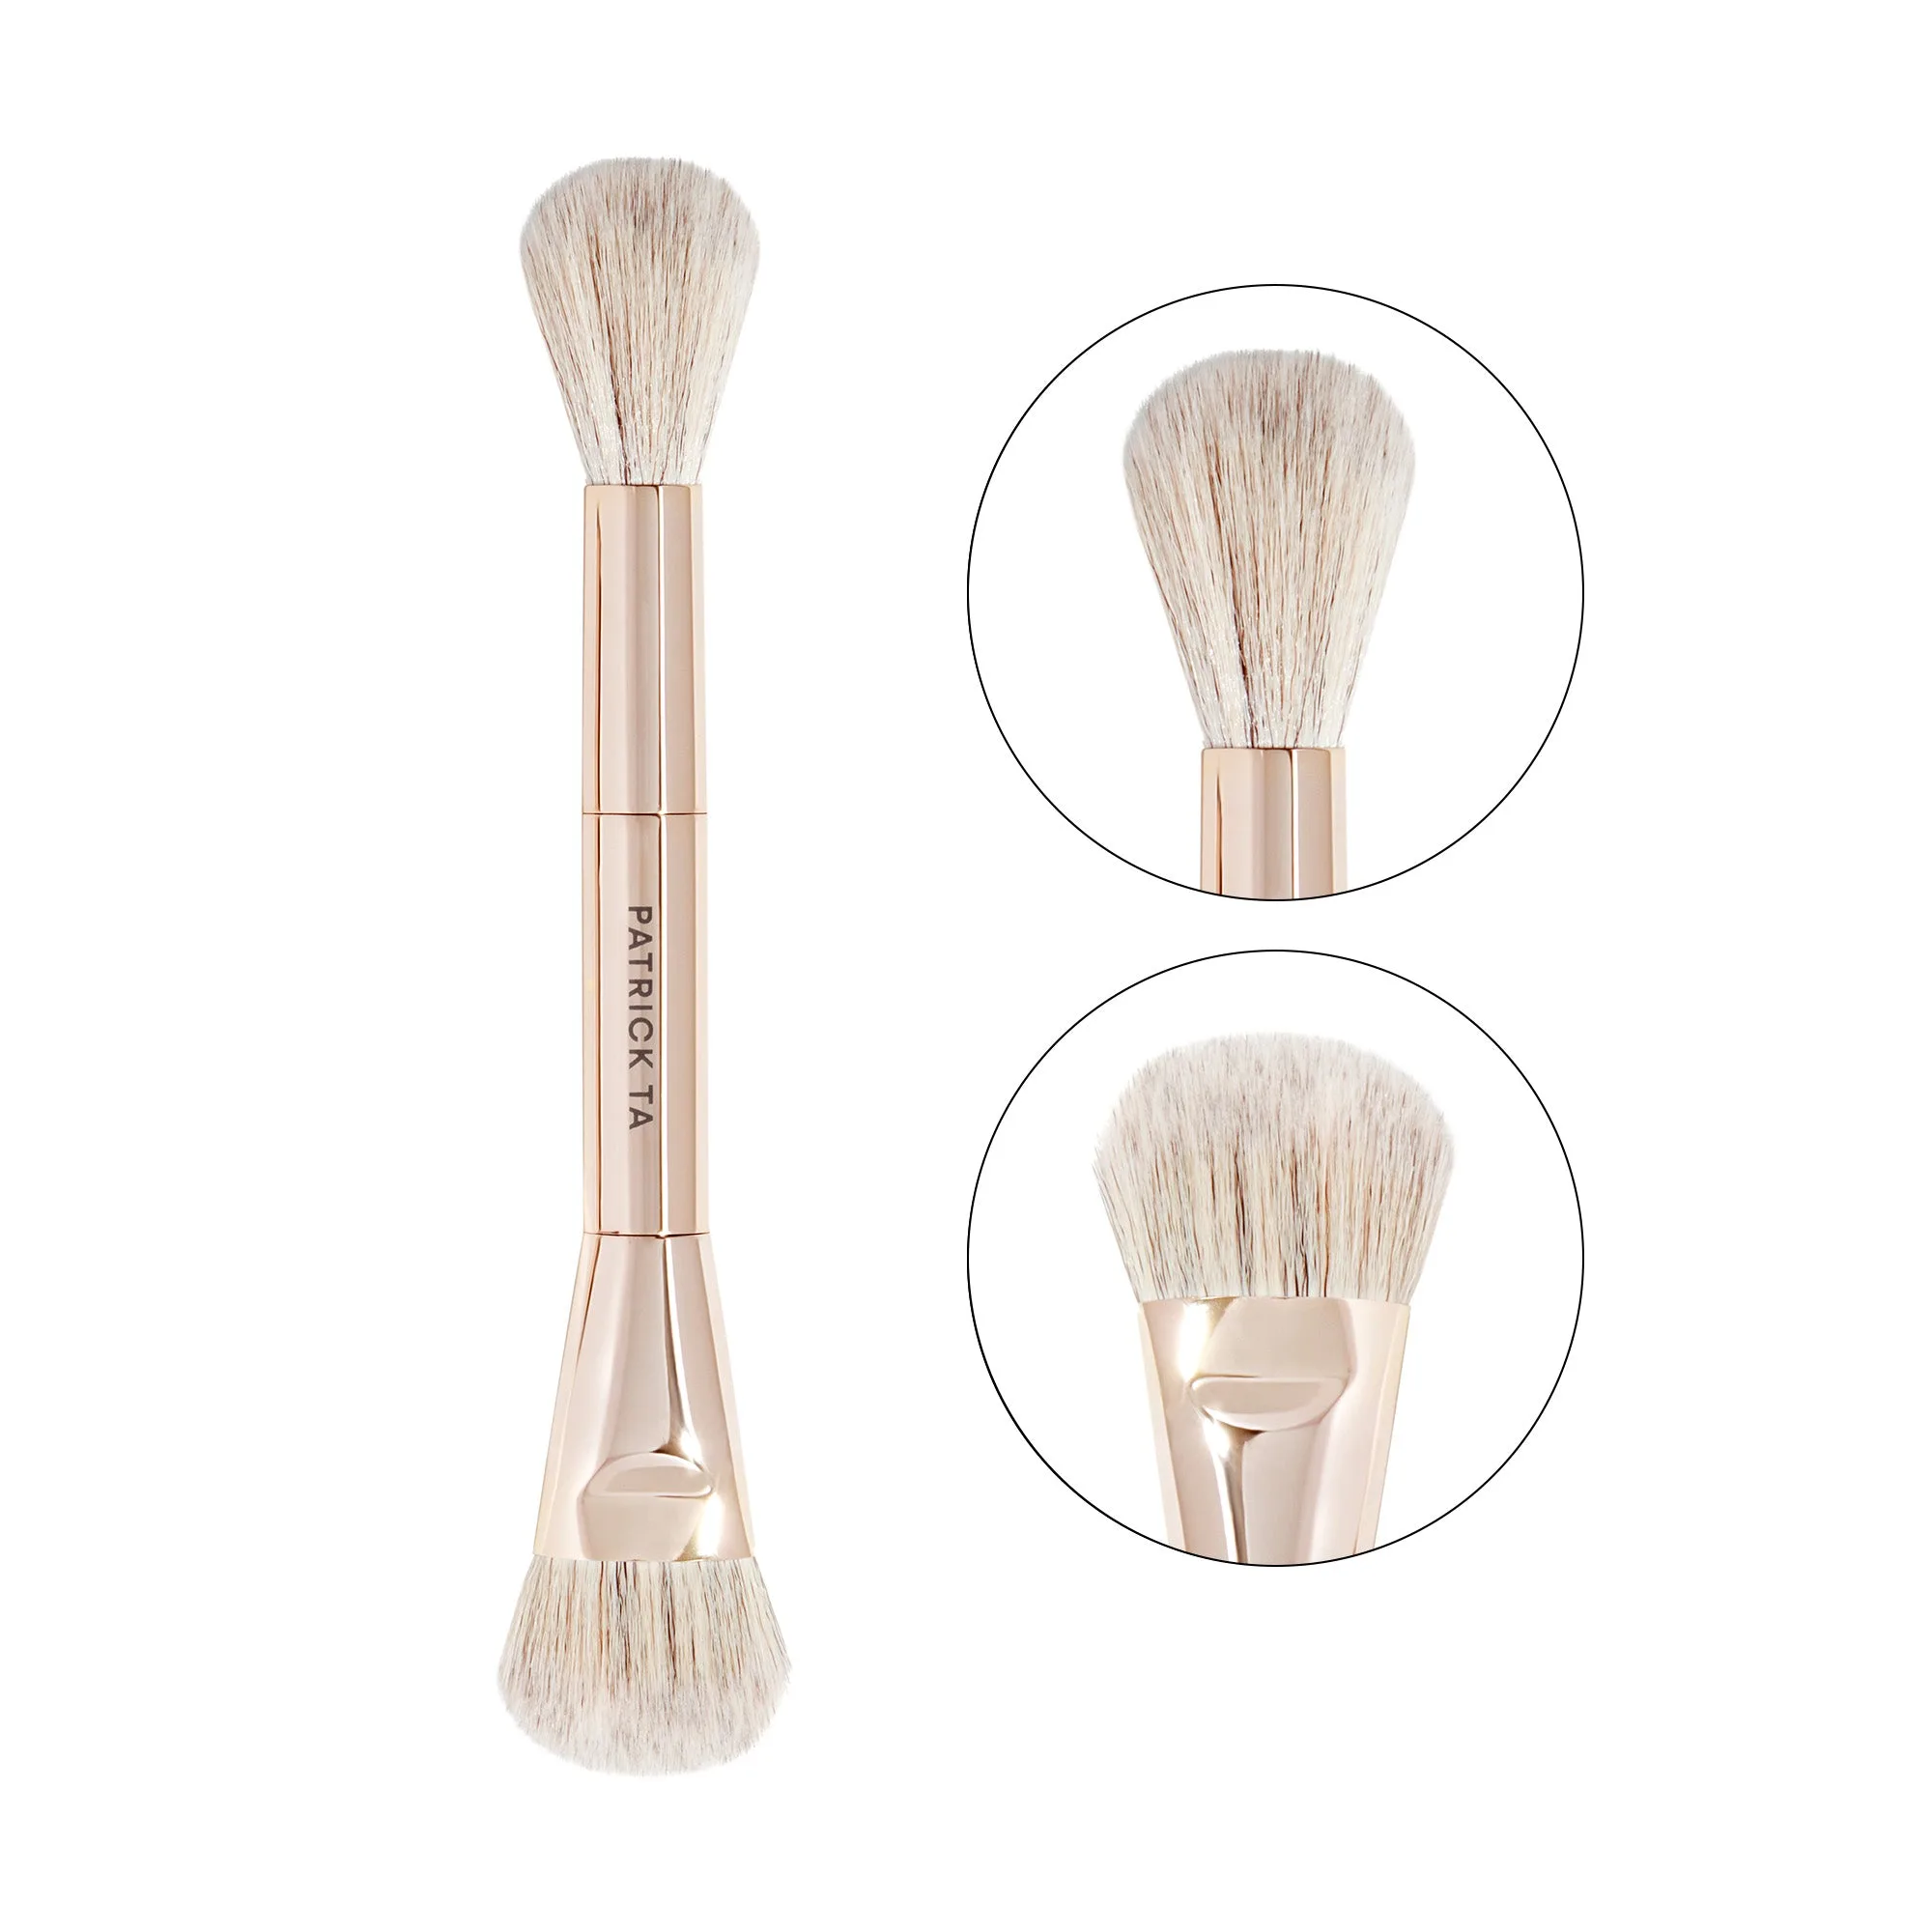
Dual Ended Precision Blush Brush
- Clean your fan brush regularly to prevent product buildup and maintain its airy texture.
Step-by-Step: How to Apply Highlight with a Fan Brush
Start by selecting a powder or cream highlighter. For a natural glow, opt for a shade that complements your skin tone—champagne for fair skin, rose gold for medium, and bronze for deeper complexions. Dip the fan brush lightly into the product, tap off any excess, and sweep it across the high points of your face where light naturally hits.
For the cheekbones, place the brush at the highest point of your cheekbone and sweep upward toward your temple. Use a gentle, zigzag motion for a diffused finish. For the brow bone, lightly dust the brush under the arch of your brow to lift the eye area. To highlight the nose, use the edge of the fan brush to draw a thin line down the bridge, blending outward for a subtle effect.
- Always tap off excess product to avoid fallout and maintain control over the intensity.
Fan Brush Techniques for Different Face Shapes
Your face shape can influence where you place your highlight for the most flattering effect. For round faces, focus on the high cheekbones and the center of the forehead to create the illusion of length. For square faces, apply highlight to the temples and the outer corners of the brow bone to soften angular features.
Heart-shaped faces benefit from highlight on the chin and the tops of the cheekbones to balance a wider forehead. Oval faces can get away with a classic application on the cheekbones, brow bone, and cupid’s bow. The fan brush’s versatility allows you to adjust your technique easily, making it a must-have tool for every makeup lover.
- Use a light hand and build the glow gradually—it’s easier to add than to remove.
Common Mistakes to Avoid When Using a Fan Brush
One of the most common mistakes is using too much product. Because fan brushes are light, it’s tempting to press hard or dip multiple times, but this can lead to a cakey or glittery look. Instead, tap off excess and build the color slowly. Another mistake is using a dirty brush—old product residue can muddy your highlight or cause uneven application.
Also, avoid using a fan brush with cream or liquid highlighters unless the bristles are synthetic and designed for wet formulas. For creamy textures, a stippling brush or a damp sponge might work better. Stick to powder highlights with your fan brush for the best results, and always blend in natural light to ensure an even finish.
- Store your fan brush upright to maintain its shape and prevent bristle damage.
Pairing Your Fan Brush with Other Essential Tools
A fan brush works beautifully alongside other tools to create a cohesive look. After applying your highlight, use a fluffy brush like the Dual Ended Eye Shadow Brush to blend eyeshadow seamlessly into the highlight on your brow bone. This dual-ended tool can also help you soften any harsh edges around the eye area.
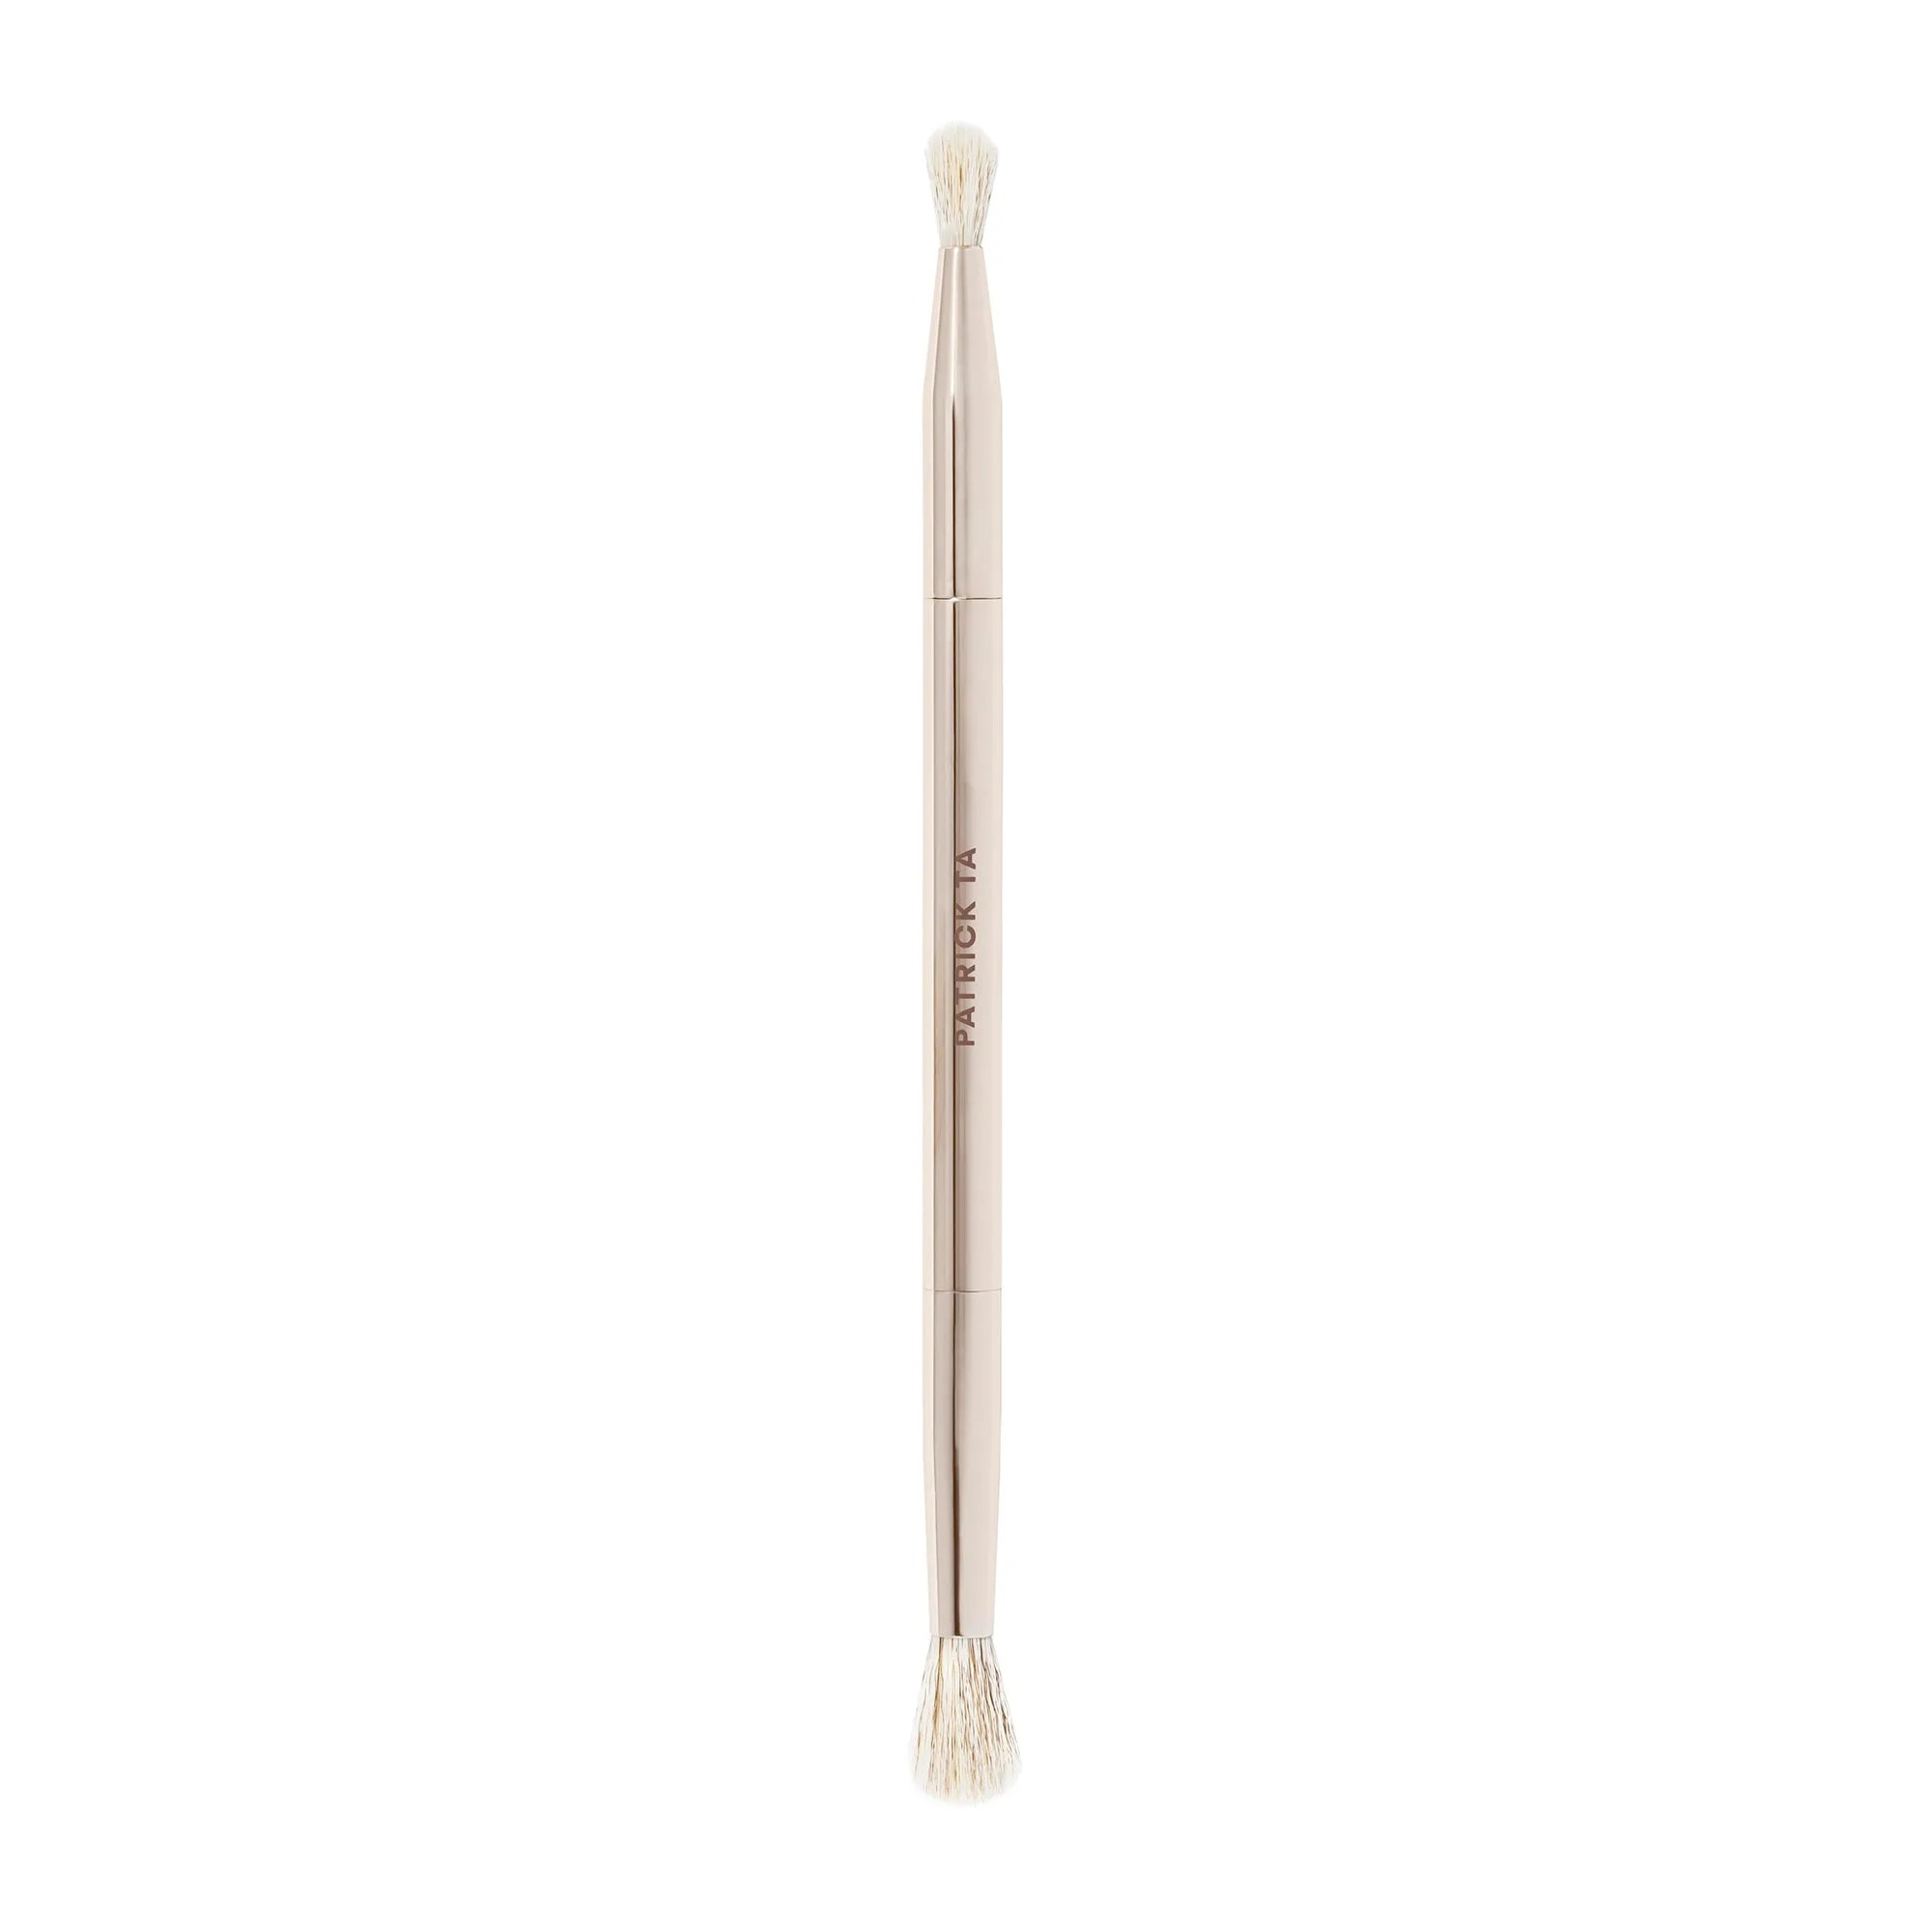
Dual Ended Eye Shadow Brush
For the rest of your face, the Major Sculpt Crème Contour & Powder Bronzer Duo is an excellent companion product. Use a contour brush to define your cheekbones, then follow up with your fan brush for a targeted highlight on the high points. This combination creates a sculpted, radiant finish that’s perfect for any occasion.
- Layer your highlight over a dewy primer for an extra luminous effect that lasts all day.
Mastering the fan brush for highlight is a simple yet transformative skill that can take your makeup routine to the next level. With its soft, diffused application, you can achieve a natural glow that enhances your features without looking overdone. Ready to perfect your technique? Explore the Dual Ended Precision Blush Brush for a versatile tool that pairs perfectly with your favorite highlighter.