Quick Answer
To use a lash applicator, hold it like a pen, grip the lash extension near the base, and place it directly on your natural lash, about 1-2 mm from the lash line. Press gently for a few seconds to bond. For beginners, start with a few lashes at a time and use a Lash Applicator from Lilac St. for precise, comfortable placement.
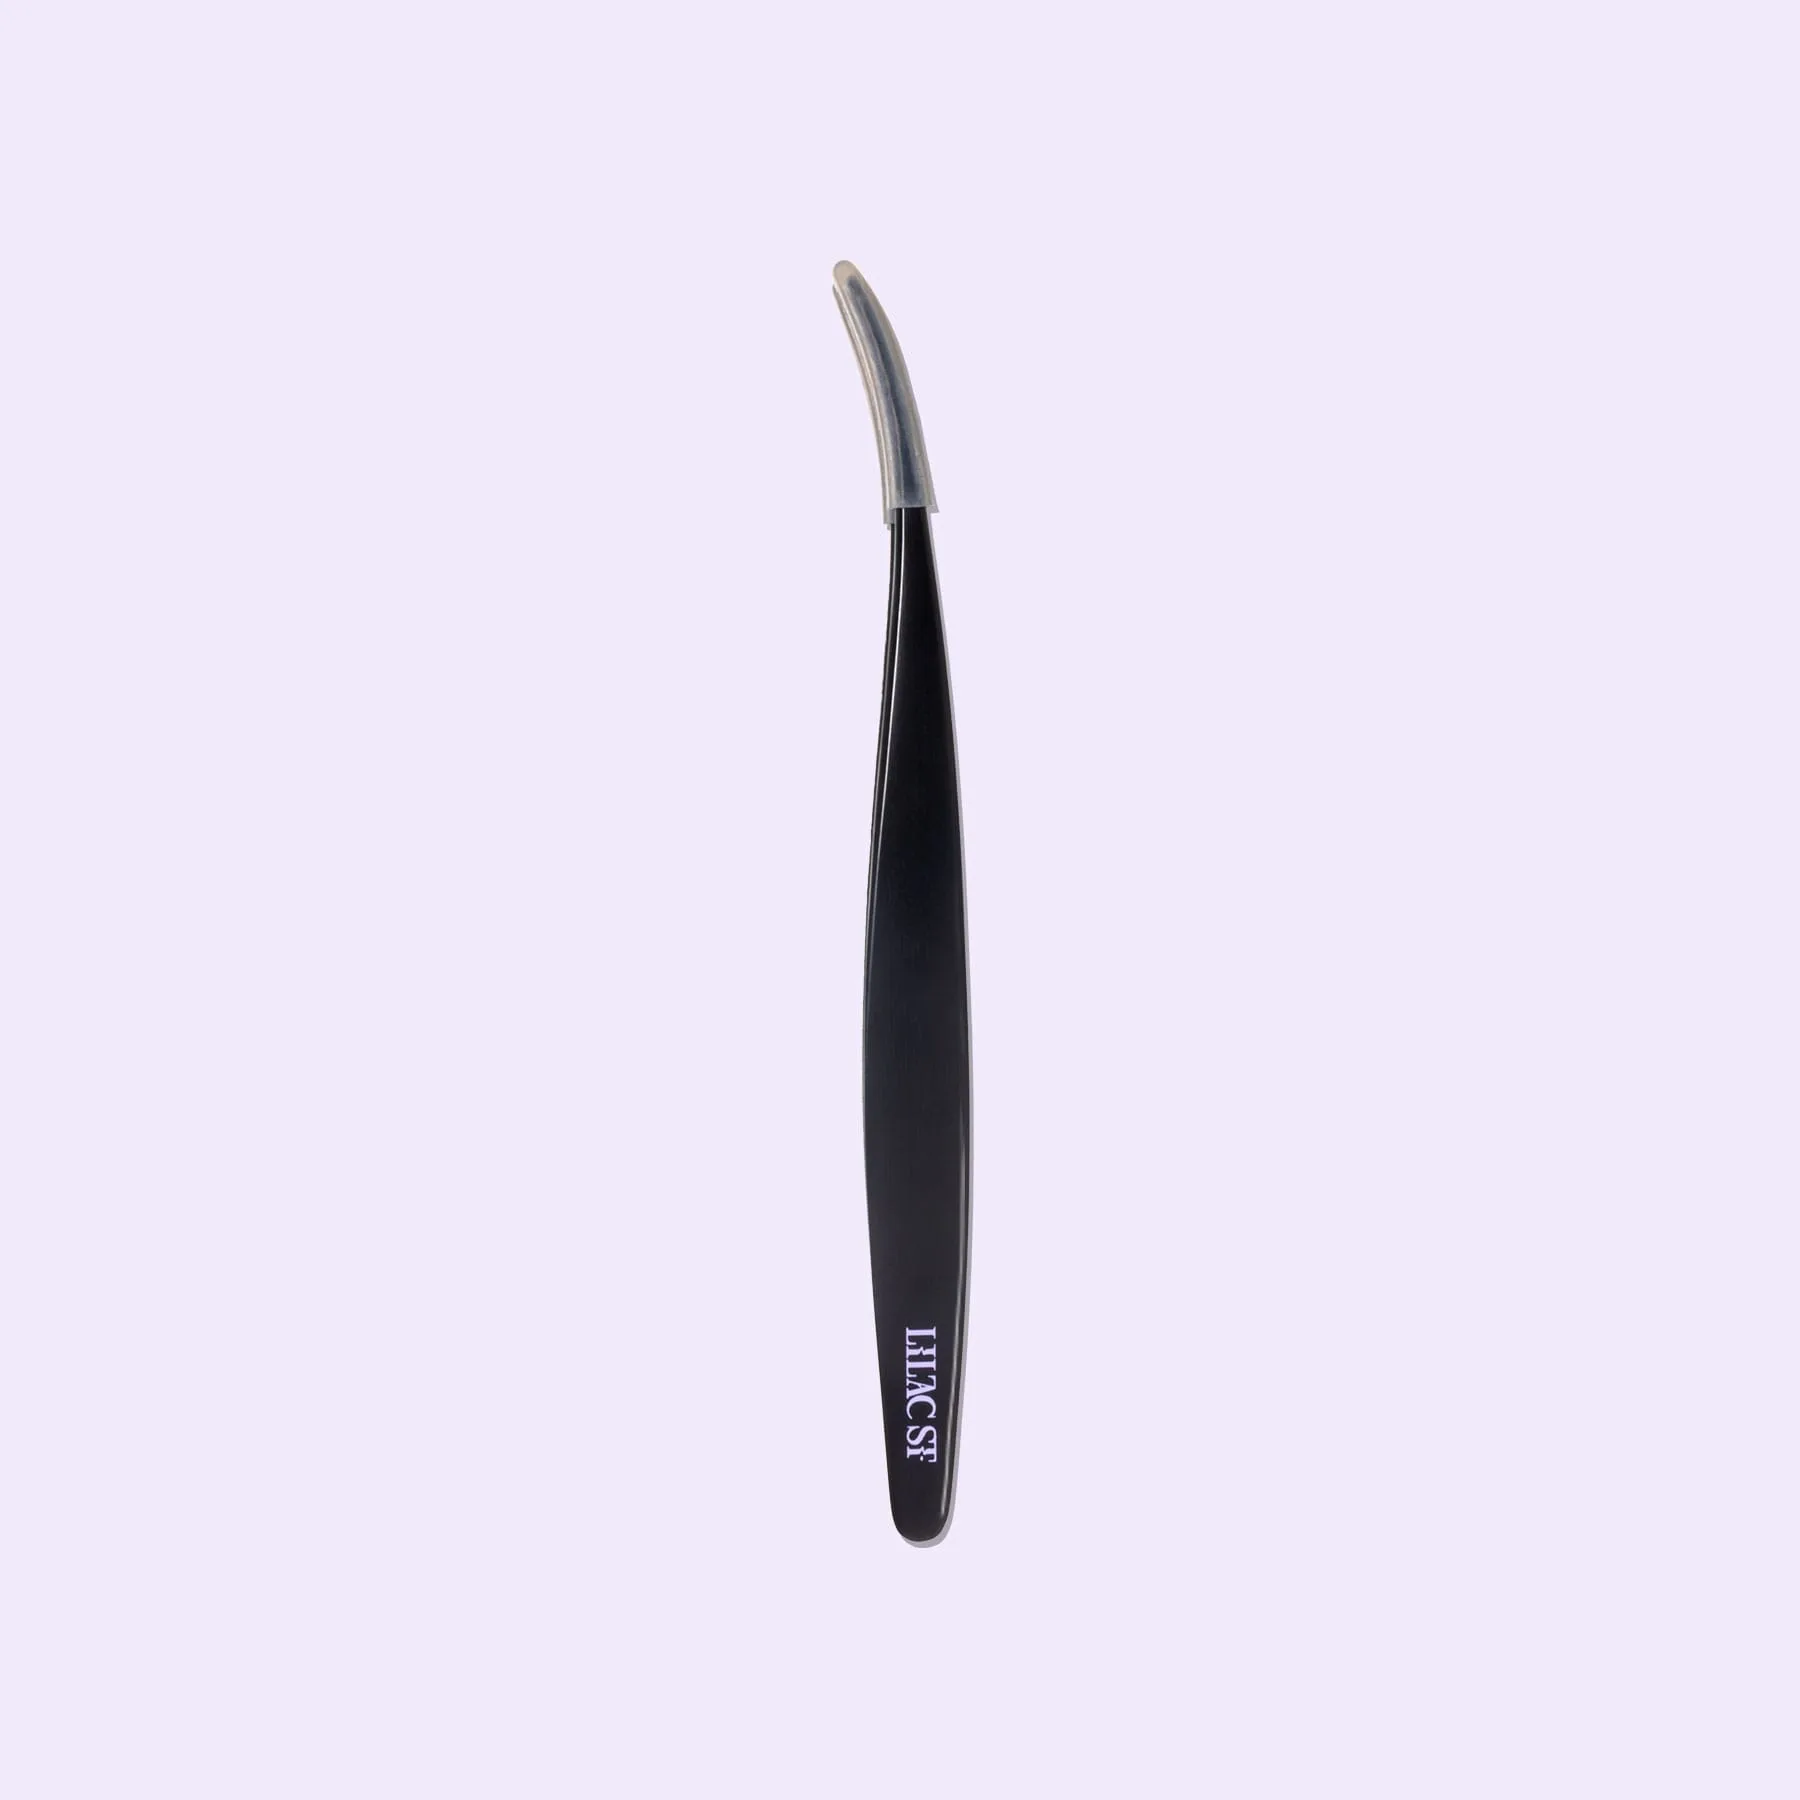
lash applicator
If you're new to DIY lash extensions, the applicator is your best friend. It gives you the control to place each lash exactly where you want it, without the mess of using your fingers. But learning how to use a lash applicator takes a little practice. This guide breaks down the process step by step, so you can apply lashes with confidence and avoid common beginner mistakes.
Before you start, make sure you have a clean, well-lit space and your lash extension kit ready. A good applicator, like the Lash Applicator from Lilac St., is designed for at-home use, with a compact shape that feels comfortable in your hand. With a few simple techniques, you'll be applying lashes like a pro in no time.
Why Use a Lash Applicator?
Using a lash applicator instead of your fingers offers several benefits. First, it gives you a steady grip on the lash extension, which is especially important for individual lashes or small clusters. Your fingers can be bulky and may obstruct your view, making it hard to see exactly where you're placing the lash. An applicator lets you see the lash line clearly and place each extension with precision.
Second, an applicator helps keep the lash extension clean. Your fingers have natural oils that can weaken the bond between the lash and your natural lashes. By using a tool, you avoid transferring oils and ensure the adhesive works as intended. For beginners, this can make the difference between lashes that last for days and those that fall out after a few hours.
- Look for an applicator with a comfortable grip to reduce hand fatigue during longer sessions.
- Clean your applicator before and after each use to keep it hygienic and maintain its grip.
Preparing Your Lashes and Tools
Before you pick up your applicator, prepare your natural lashes. Make sure they are clean, dry, and free of any makeup or oil. Use a gentle cleanser and a spoolie to brush them into place. This creates a clean surface for the adhesive to bond, which is crucial for long-lasting results.
Lay out all your tools within reach: your lash extensions, adhesive, and a lash pad to keep everything organized. The Lilac Lash Pad from Lilac St. is a practical accessory that gives you a dedicated surface to arrange your lashes and tools, keeping your area tidy and preventing accidental spills or mix-ups. Having everything ready before you start will make the process smoother and faster.
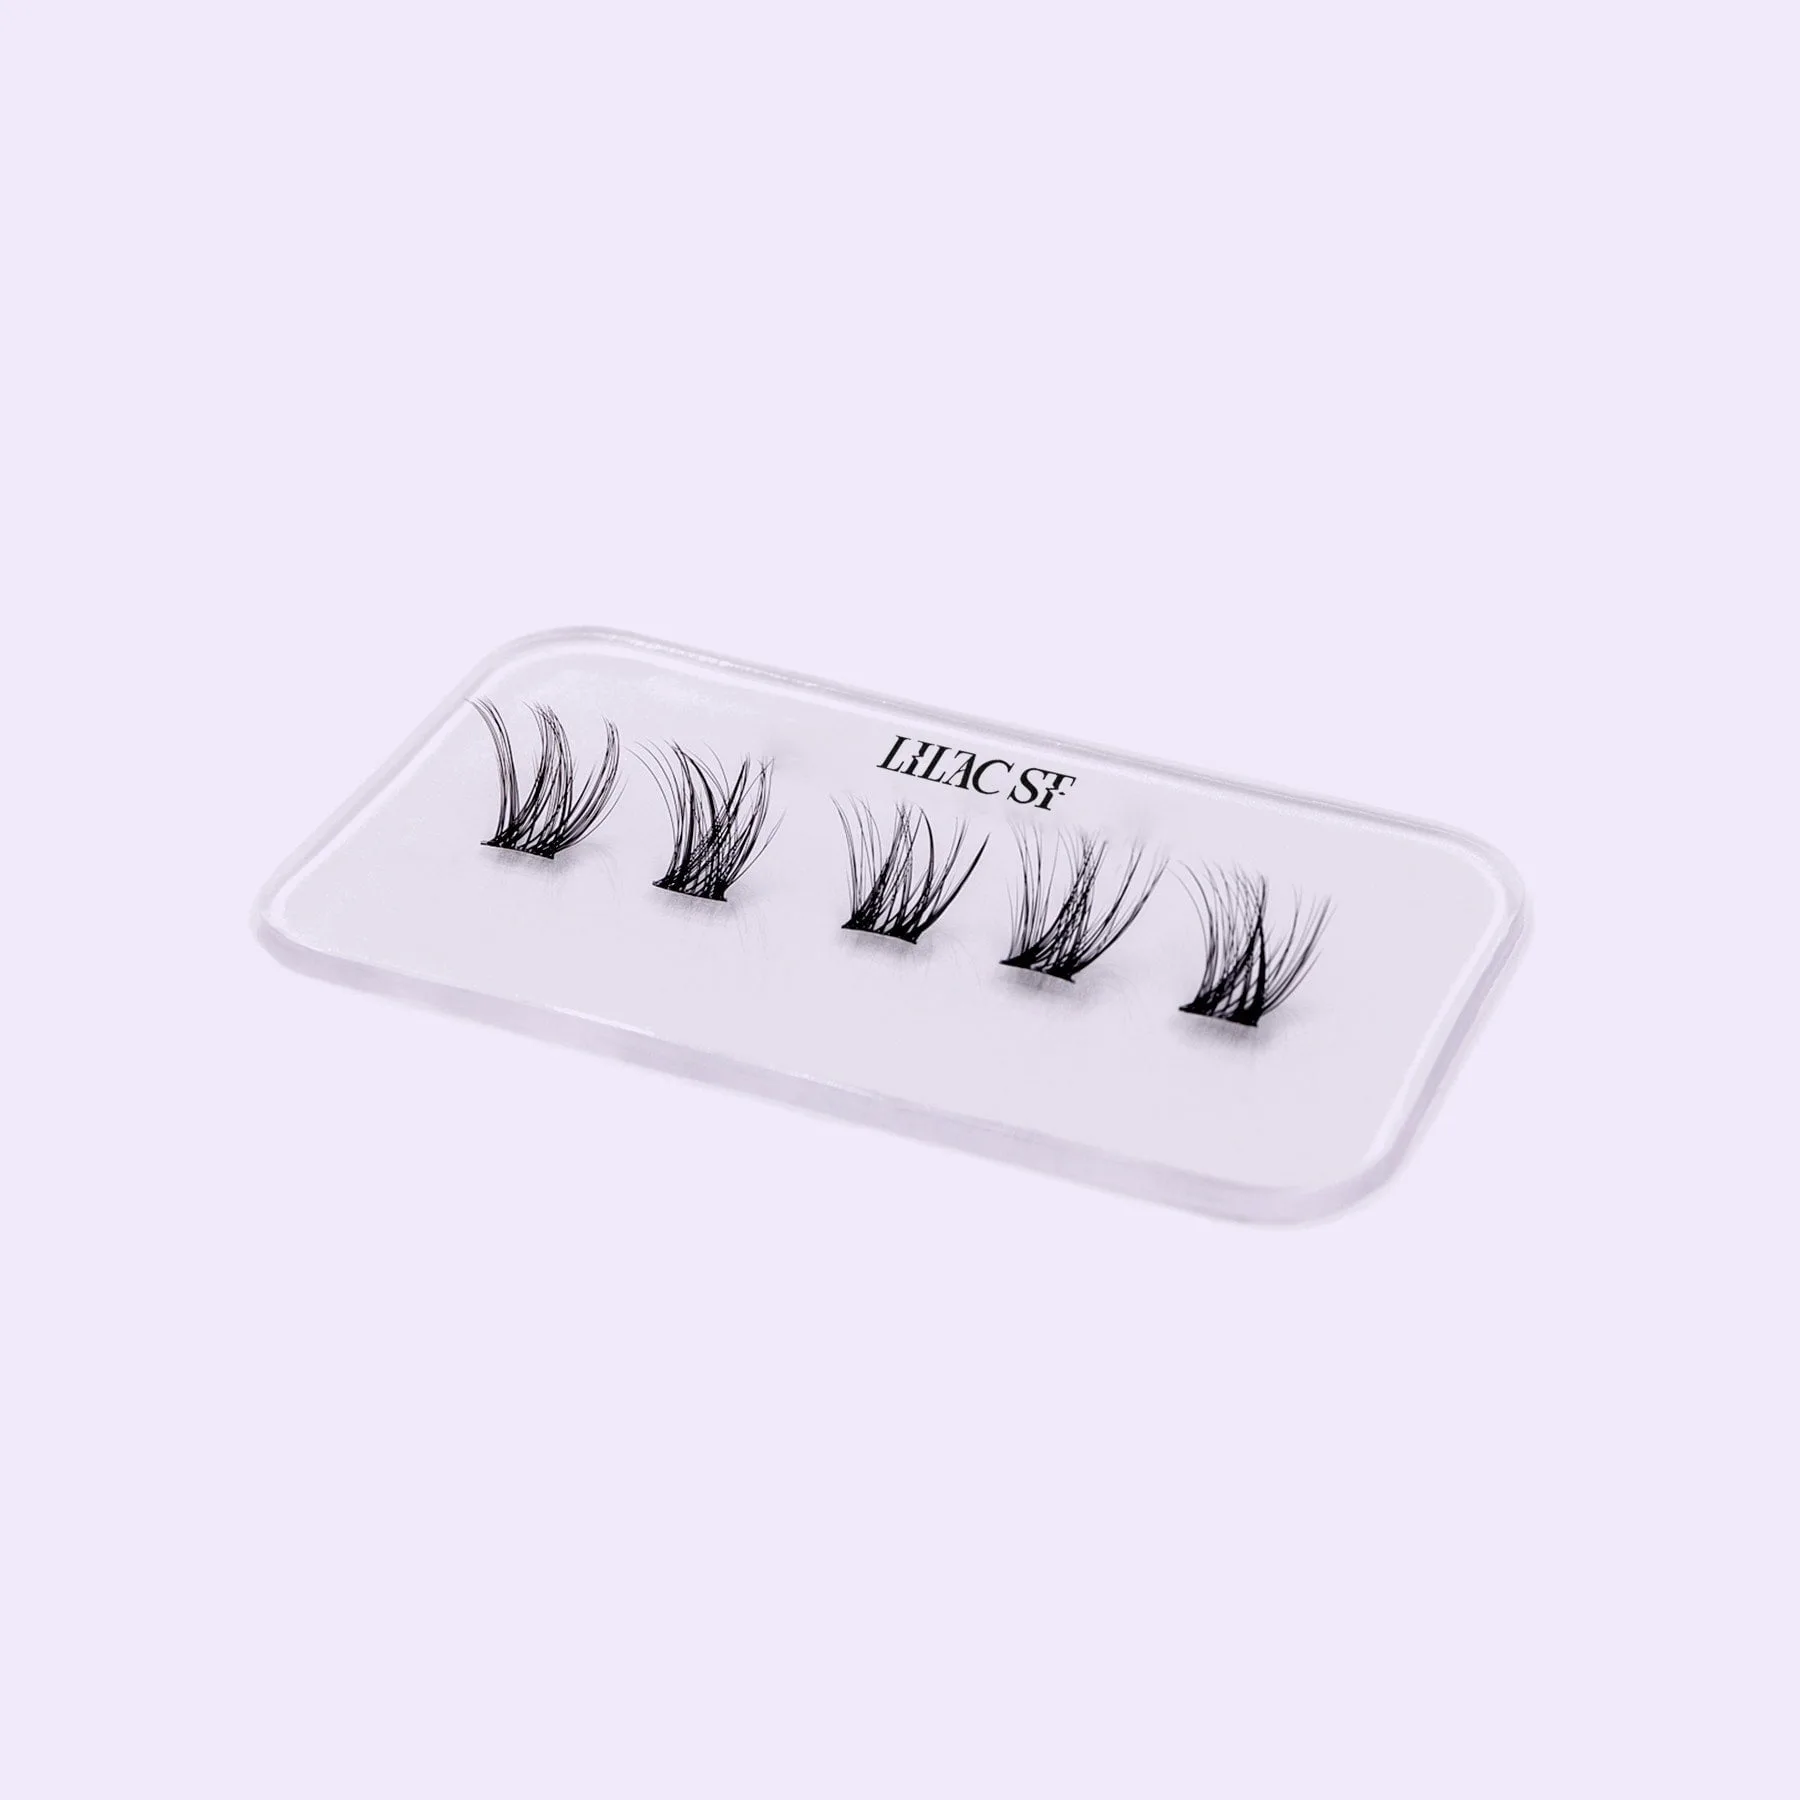
Lilac Lash Pad
- Use a lash pad to keep your extensions sorted by length or style, so you can grab the right one quickly.
Holding the Applicator Correctly
The way you hold your lash applicator affects your control and precision. Hold it like you would a pen, with your thumb and index finger near the middle of the tool. This gives you a balanced grip and allows for fine movements. Rest your other fingers on your cheek or forehead to steady your hand, which helps prevent shaking.
Avoid gripping the applicator too tightly, as this can cause your hand to tremble. A relaxed grip lets you move the applicator smoothly and place the lash exactly where you want it. If you're using a tool like the Lash Applicator from Lilac St., its compact design fits comfortably in your hand, making it easier to maintain a steady hold.
- Practice holding the applicator without any lashes to get a feel for the weight and balance.
Picking Up a Lash Extension
To pick up a lash extension, use the applicator to grip the lash near the base, not the tip. This gives you more control and prevents the lash from bending or losing its shape. If you're using individual lashes, you can also use the applicator to gently separate them from the tray.
After picking up the lash, dip the base into a small amount of adhesive. Be careful not to use too much; a thin, even layer is enough. If you get excess glue on the applicator, wipe it off with a lint-free cloth to keep the tool clean and prevent sticking.
- If the lash sticks to the applicator, let the adhesive dry for a few seconds before trying again.
Placing the Lash on Your Natural Lash
Now comes the key step: placing the lash. Look straight into a mirror, and use your other hand to gently lift your eyelid if needed. Position the lash extension on top of your natural lash, about 1-2 mm from the lash line. Gently press the lash down and hold for a few seconds to allow the adhesive to bond.
Make sure the lash is centered and follows the natural curve of your eye. Avoid placing it too close to the lash line, as this can cause irritation, or too far away, which can make the lash look unnatural. For beginners, it's helpful to start with the outer corners of your eyes, where placement is easier to see, and work inward.
- Check the placement in a magnifying mirror to ensure accuracy.
Common Mistakes and How to Avoid Them
One common mistake is applying too much pressure, which can cause the natural lash to bend or the extension to sit at an awkward angle. Use a light touch and let the adhesive do the work. Another mistake is not waiting for the adhesive to dry enough, causing lashes to slide out of place. Follow the drying time recommended by your adhesive product.
Skipping the lash pad is another error. Without an organized surface, you might mix up different lengths or styles, leading to an uneven look. Using a Lilac Lash Pad keeps your extensions sorted and your workspace clean, so you can focus on the application rather than hunting for the right lash.
- If you make a mistake, carefully remove the lash with a bond remover and try again—don't pull it off forcefully.
Step-by-Step Lash Applicator Guide for Beginners
- Prepare your lashes and workspace: Clean and dry your natural lashes, and organize your tools on a lash pad. Make sure you have good lighting and a mirror. A clean, organized setup prevents contamination and saves time.
- Hold the applicator like a pen: Grip the middle of the applicator with your thumb and index finger, and steady your hand on your cheek or forehead. A relaxed grip reduces shaking and improves precision.
- Pick up a lash extension: Grip the lash near the base with your applicator and dip it lightly into adhesive. Avoid excess glue. Gripping near the base prevents bending and gives you better control.
- Place the lash on your natural lash: Position the extension 1-2 mm from the lash line, press gently, and hold for a few seconds to bond. Proper placement ensures a natural look and long-lasting wear.
- Check and adjust: After placing each lash, check the alignment and spacing. Make adjustments before the adhesive fully dries. Early adjustments prevent the need for removal and reapplication.
Tools That Make Application Easier
- Lash Applicator: This Lash Applicator from Lilac St. is designed to help you apply DIY lash extensions at home with ease. It is a practical tool for anyone looking to achieve a professional-looking lash look without visiting a salon. Ideal for at-home lash extension application, compatible with DIY lash extension kits, simple and easy to use for precise placement, compact design for comfortable handling. A good applicator gives you the control and comfort needed for precise lash placement, which is especially important for beginners who are still developing their technique.
- Lilac Lash Pad: The Lilac Lash Pad from Lilac St. is a practical accessory designed to support your at-home DIY lash extension routine. It offers a dedicated surface to help organize your tools and materials during application. Ideal for use with DIY lash extension kits, helps keep your lash application area tidy, simple and functional design for home use. Keeping your lashes organized on a lash pad prevents mix-ups and speeds up your application, making the process less stressful and more efficient.
Mastering the lash applicator takes a little practice, but with the right technique and tools, you can achieve beautiful DIY lash extensions at home. Start slowly, use a quality applicator like the Lash Applicator from Lilac St., and keep your workspace organized with a Lilac Lash Pad. Before long, you'll be applying lashes with ease and confidence.