Quick Answer
To use a paring knife effectively, hold it with a pinch grip for control and use it for small, precise tasks like peeling, coring, and trimming. It's not a substitute for a chef's knife for large chopping jobs. Master the basic grips and techniques to elevate your prep work.
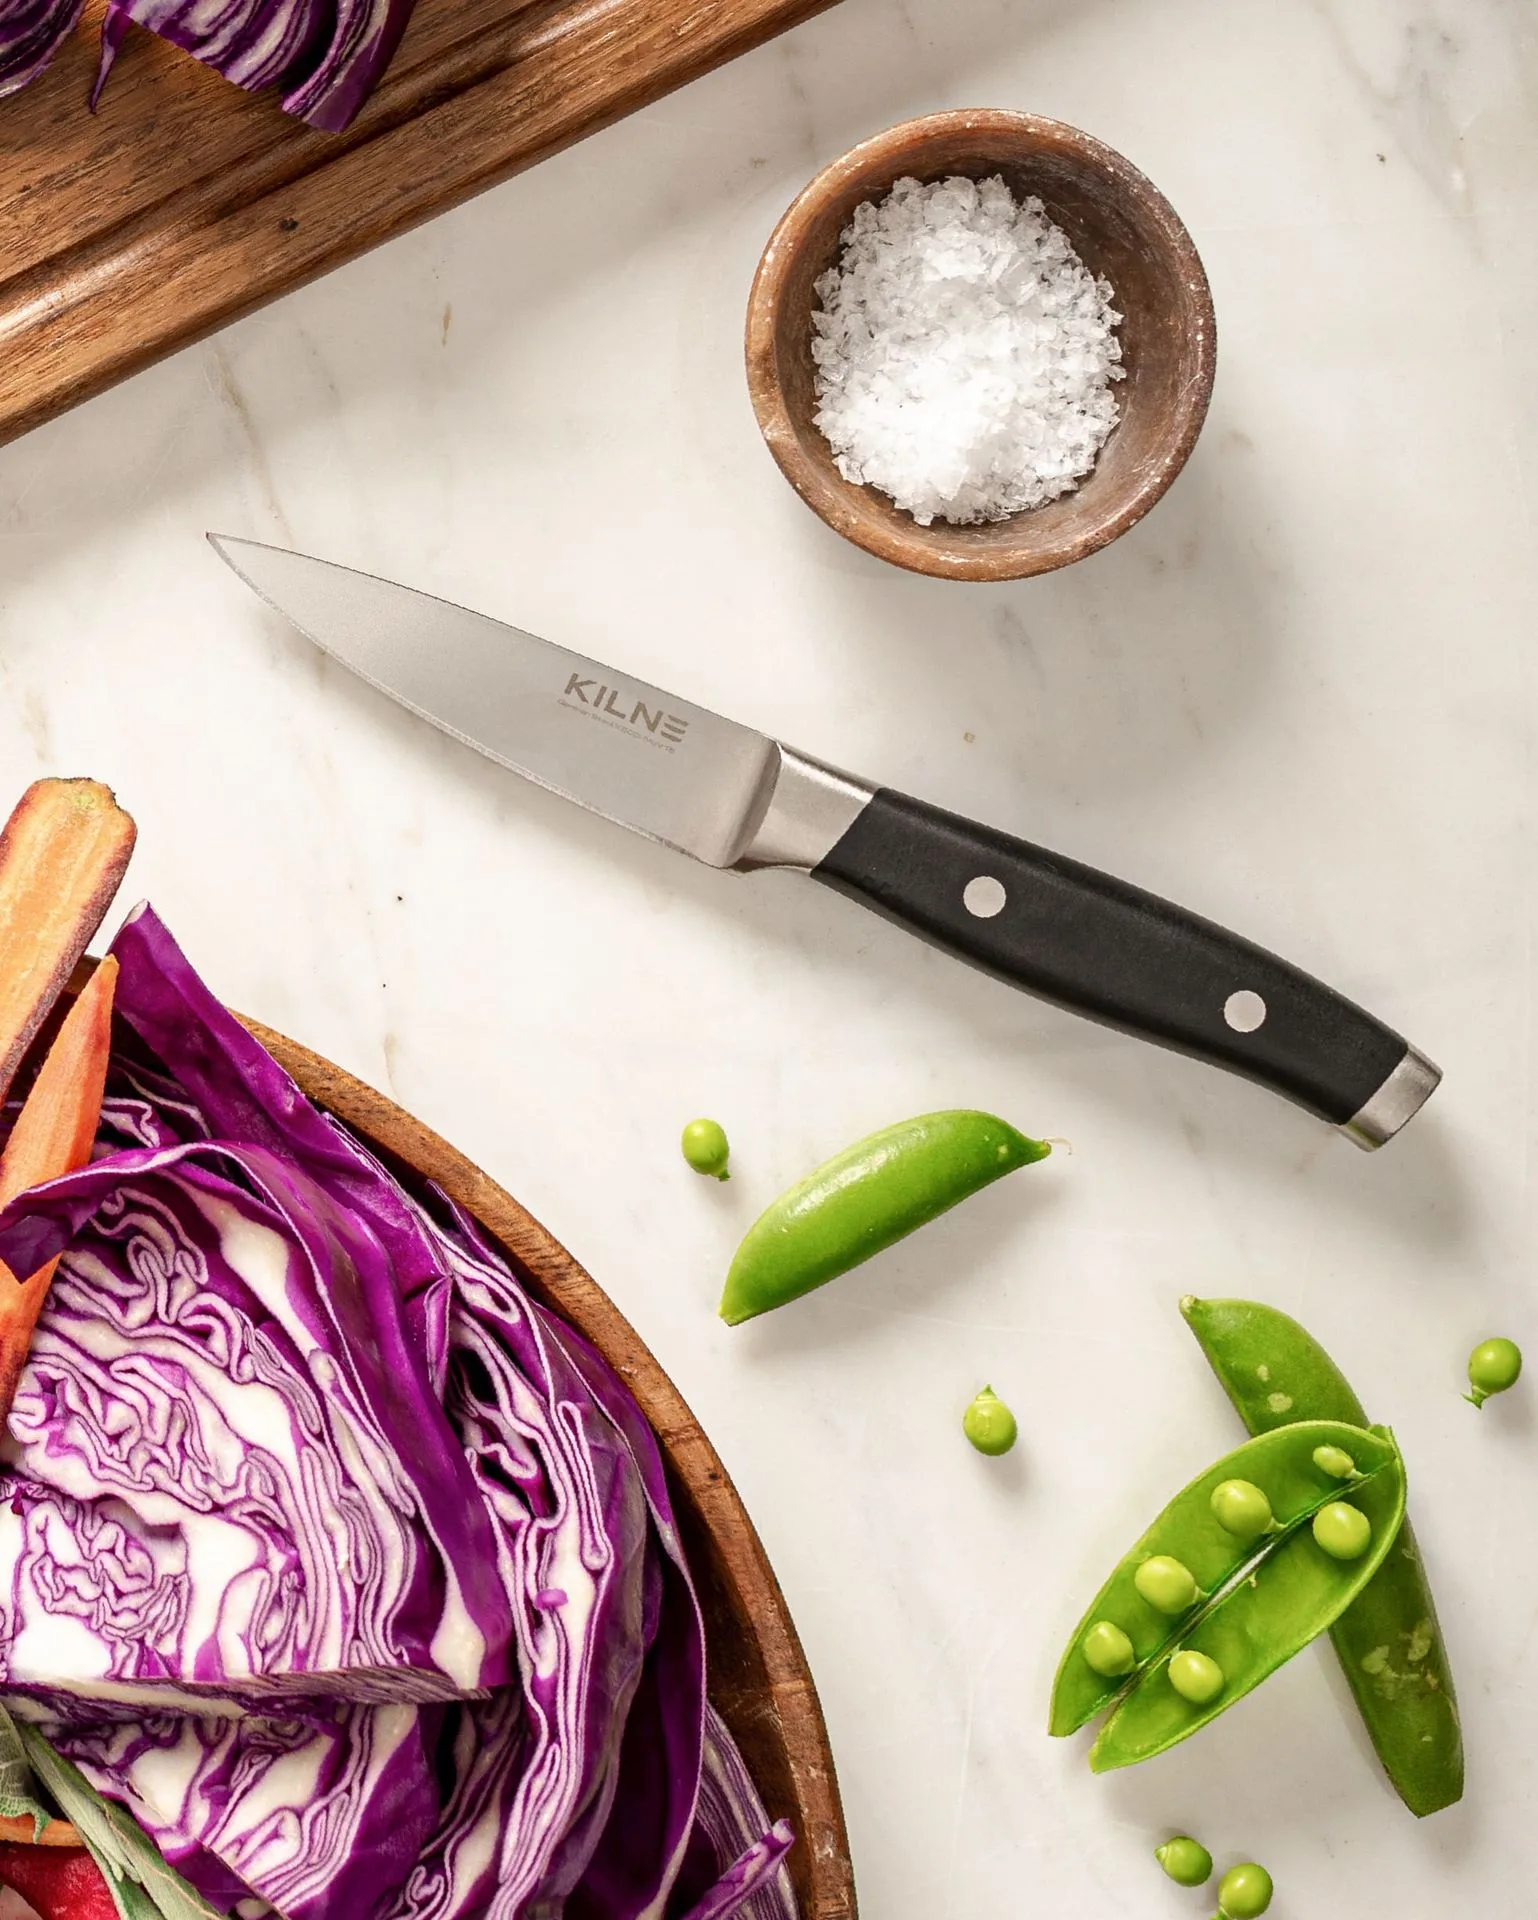
paring knife
A paring knife is often the unsung hero of the kitchen. While a chef's knife gets the glory, this small blade excels at intricate tasks that demand precision. From peeling an apple in one continuous spiral to deveining shrimp, the paring knife is your go-to tool for fine detail work. In this guide, we'll explore paring knife uses, techniques, and how to choose the right one for your needs.
Whether you're a home cook or a culinary enthusiast, mastering the paring knife can speed up your prep and improve your results. We'll cover the essential grips, step-by-step techniques, and common mistakes to avoid. Plus, we'll look at how a quality paring knife compares to other knives in your kit.
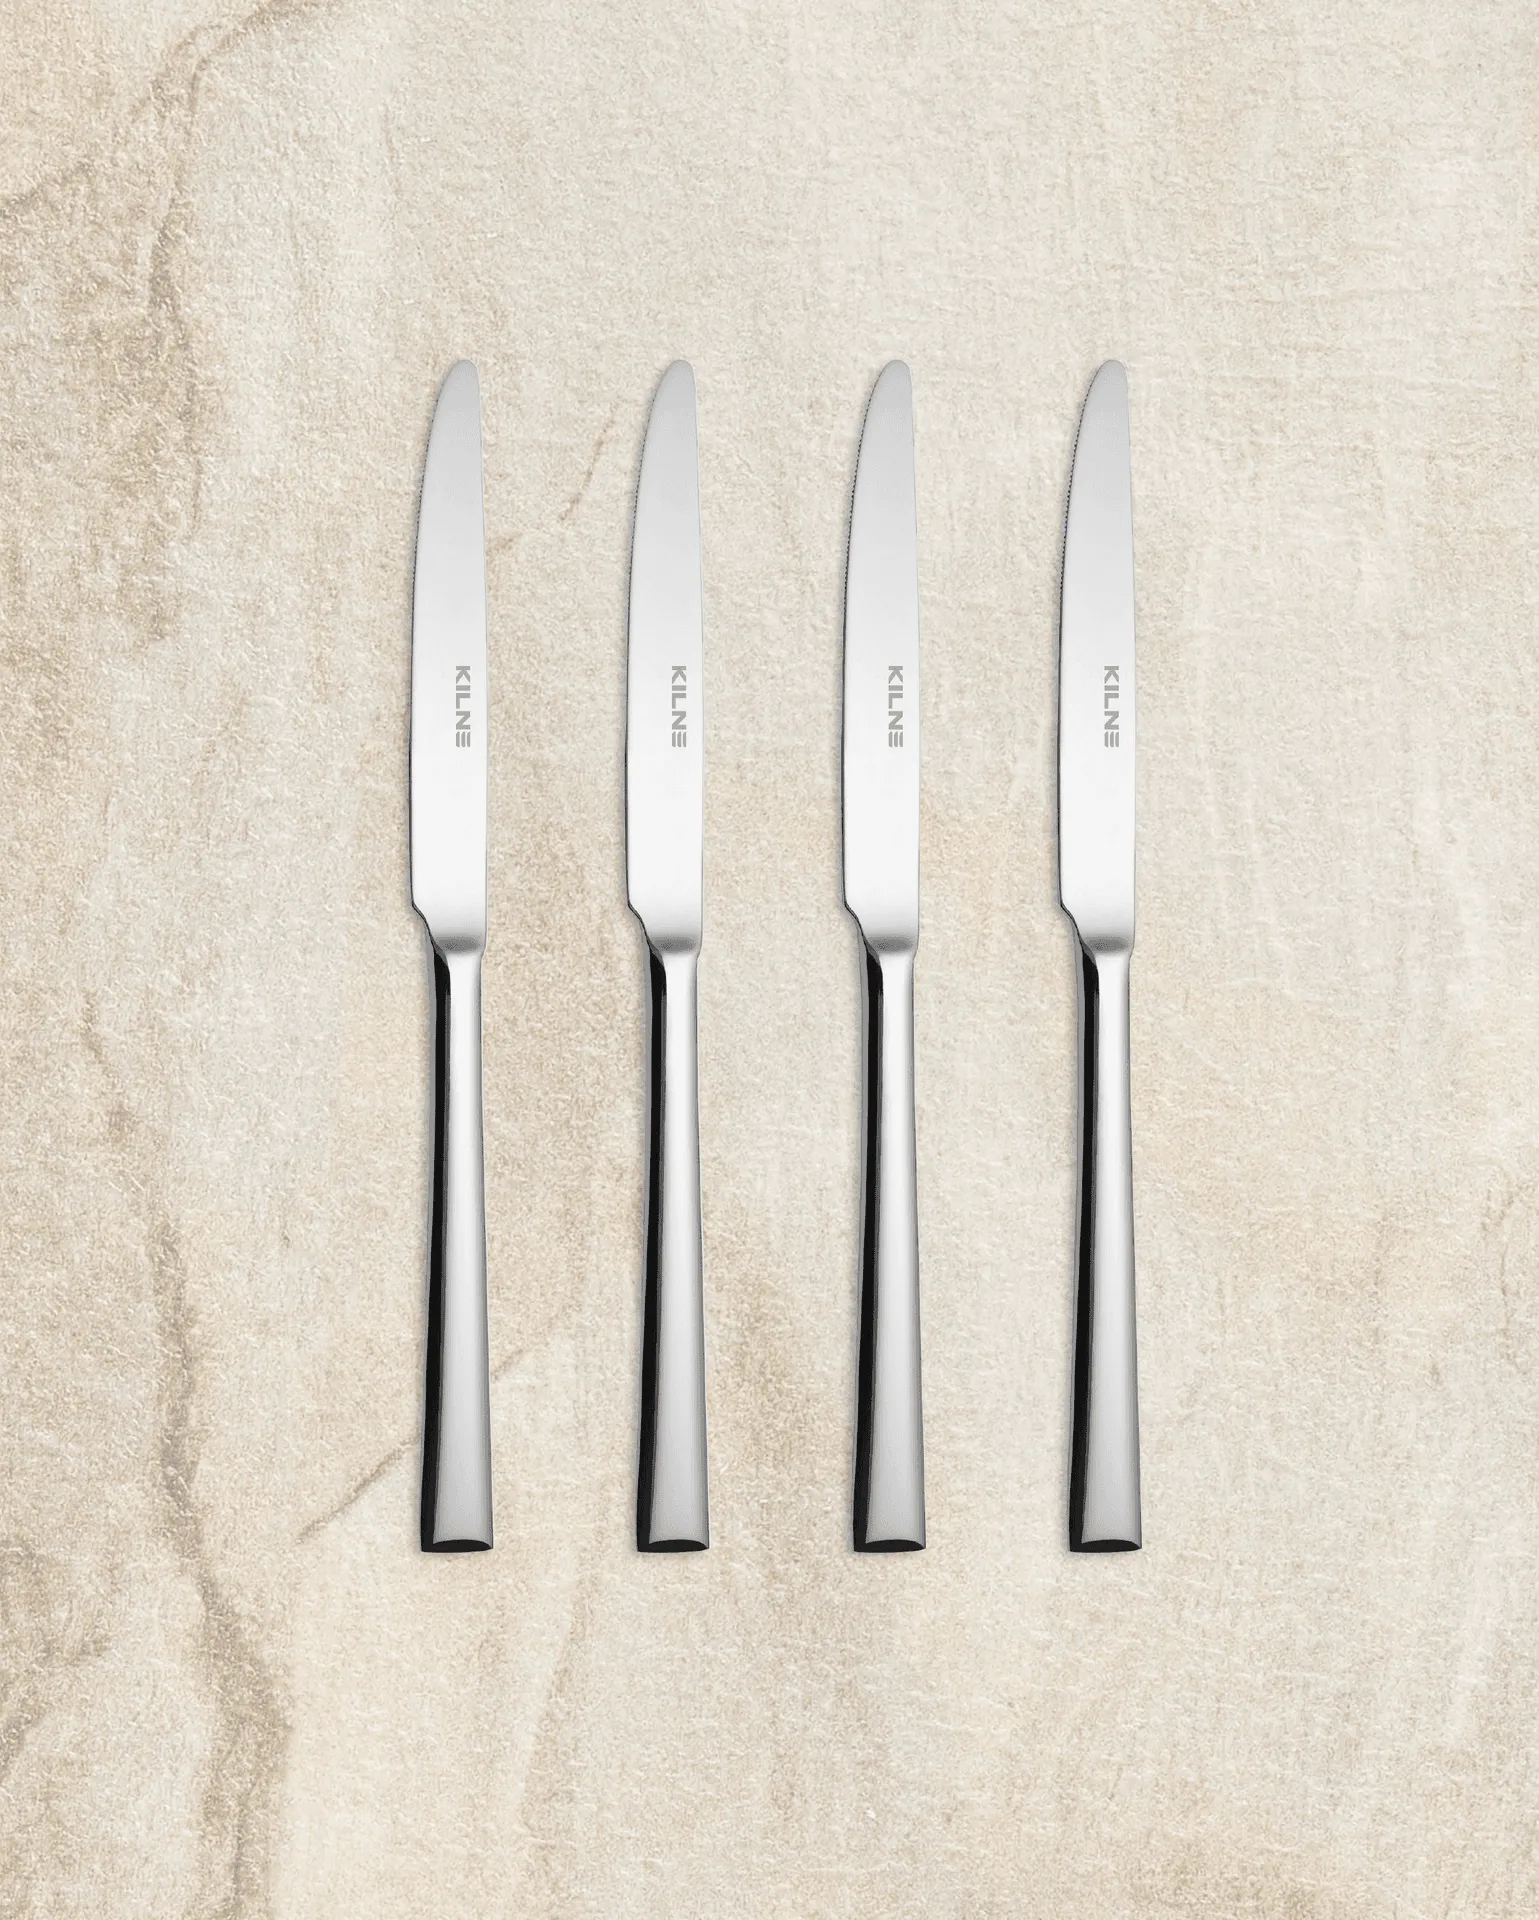
knives
Understanding the Paring Knife
A paring knife typically has a blade of 3 to 4 inches, making it ideal for tasks that require a delicate touch. Unlike a chef's knife, which is used for larger cuts, the paring knife excels at peeling, coring, and trimming. It's the tool you reach for when you need to remove the eyes from potatoes, segment citrus, or create garnishes.
The blade's size allows for better control and precision. It can be held in various grips to suit different tasks, which we'll explore below. Because of its versatility, a paring knife is often considered one of the top three knives every cook should own.
- Blade length: 3-4 inches for precision work
- Ideal for peeling, coring, and detailed cuts
- Complements a chef's knife for larger tasks
Paring Knife vs Chef's Knife: When to Use Each
The paring knife and chef's knife serve different purposes. A chef's knife, typically 8 inches or longer, is designed for chopping, slicing, and dicing larger ingredients. Its size and weight allow for efficient rocking motions. On the other hand, a paring knife is for small, precise work where a larger blade would be unwieldy.
For example, when preparing a meal, you might use a chef's knife to chop onions and a paring knife to peel garlic cloves. Using the right tool for the job not only speeds up your prep but also reduces the risk of accidents. A paring knife's smaller blade gives you more control, making it safer for intricate tasks.
- Use a chef's knife for large-scale chopping and slicing.
- Use a paring knife for peeling, coring, and trimming.
- Both are essential for a well-rounded knife kit.
Basic Paring Knife Grips
The way you hold a paring knife can make a significant difference in control and comfort. There are three primary grips: the pinch grip, the hammer grip, and the spear grip. Each has its place depending on the task.
The pinch grip involves holding the blade between your thumb and index finger while wrapping your other fingers around the handle. This offers maximum control for precise cuts. The hammer grip is similar to holding a hammer, with your hand wrapped around the handle, which is useful for tasks that require more force, like cutting through tough skins. The spear grip is used when you need to hold the knife like a pencil, ideal for very fine work like deveining shrimp.
- Pinch grip: for maximum control and precision.
- Hammer grip: for tasks requiring more force.
- Spear grip: for ultra-fine work like peeling or deveining.
Step-by-Step Techniques for Common Tasks
Now that you know the grips, let's put them into practice. Here are step-by-step techniques for common paring knife tasks: peeling, coring, and trimming.
Peeling: Hold the fruit or vegetable in your non-dominant hand and the knife in your dominant hand with a pinch grip. Use your thumb to guide the blade, making long, even strokes away from your body. For best results, keep the blade slightly angled to remove only the skin.
Coring: For apples or pears, cut the fruit in half, then use the tip of the knife to cut around the core in a V-shape. Remove the core and any seeds. This technique is also useful for tomatoes and peppers.
Trimming: Use the paring knife to remove blemishes, eyes, or any unwanted parts. Hold the knife with a hammer grip for more control and make small, precise cuts. Always cut away from your fingers.
- Peel with long, even strokes, keeping the blade angled.
- Core by cutting around the core in a V-shape.
- Trim blemishes with small, precise cuts.
Choosing the Right Paring Knife
When selecting a paring knife, consider the blade material and handle comfort. High-carbon stainless steel is a popular choice for its durability and edge retention. A full tang construction provides better balance and control.
At Love to Cook. - Kilne, we offer a range of knives that complement a paring knife. For instance, the The Knife Set includes essential knives and a sharpening steel, making it a great addition to your kitchen. If you're looking for a versatile knife for everyday tasks, the Santoku Knife is an excellent choice, though it serves a different purpose than a paring knife.
- Look for high-carbon stainless steel blades for durability.
- Choose a handle that feels comfortable and secure.
- Consider a full tang for balance and control.
Step-by-Step: Mastering Paring Knife Cuts
- Step 1: Choose the right grip: Assess the task: use a pinch grip for peeling and precise cuts, a hammer grip for more force, and a spear grip for fine work. Practice each grip to become comfortable. A proper grip ensures control and reduces fatigue.
- Step 2: Peel with even strokes: Hold the produce in your non-dominant hand and the knife in the other. Use your thumb to guide the blade, making long, even strokes away from your body. Keep the blade slightly angled to remove only the skin. Avoid pressing too hard; let the blade do the work.
- Step 3: Core and trim with precision: For coring, cut the fruit in half and use the tip to cut around the core in a V-shape. For trimming, use small, precise cuts to remove blemishes or eyes. Always cut away from your fingers. Take your time; precision beats speed.
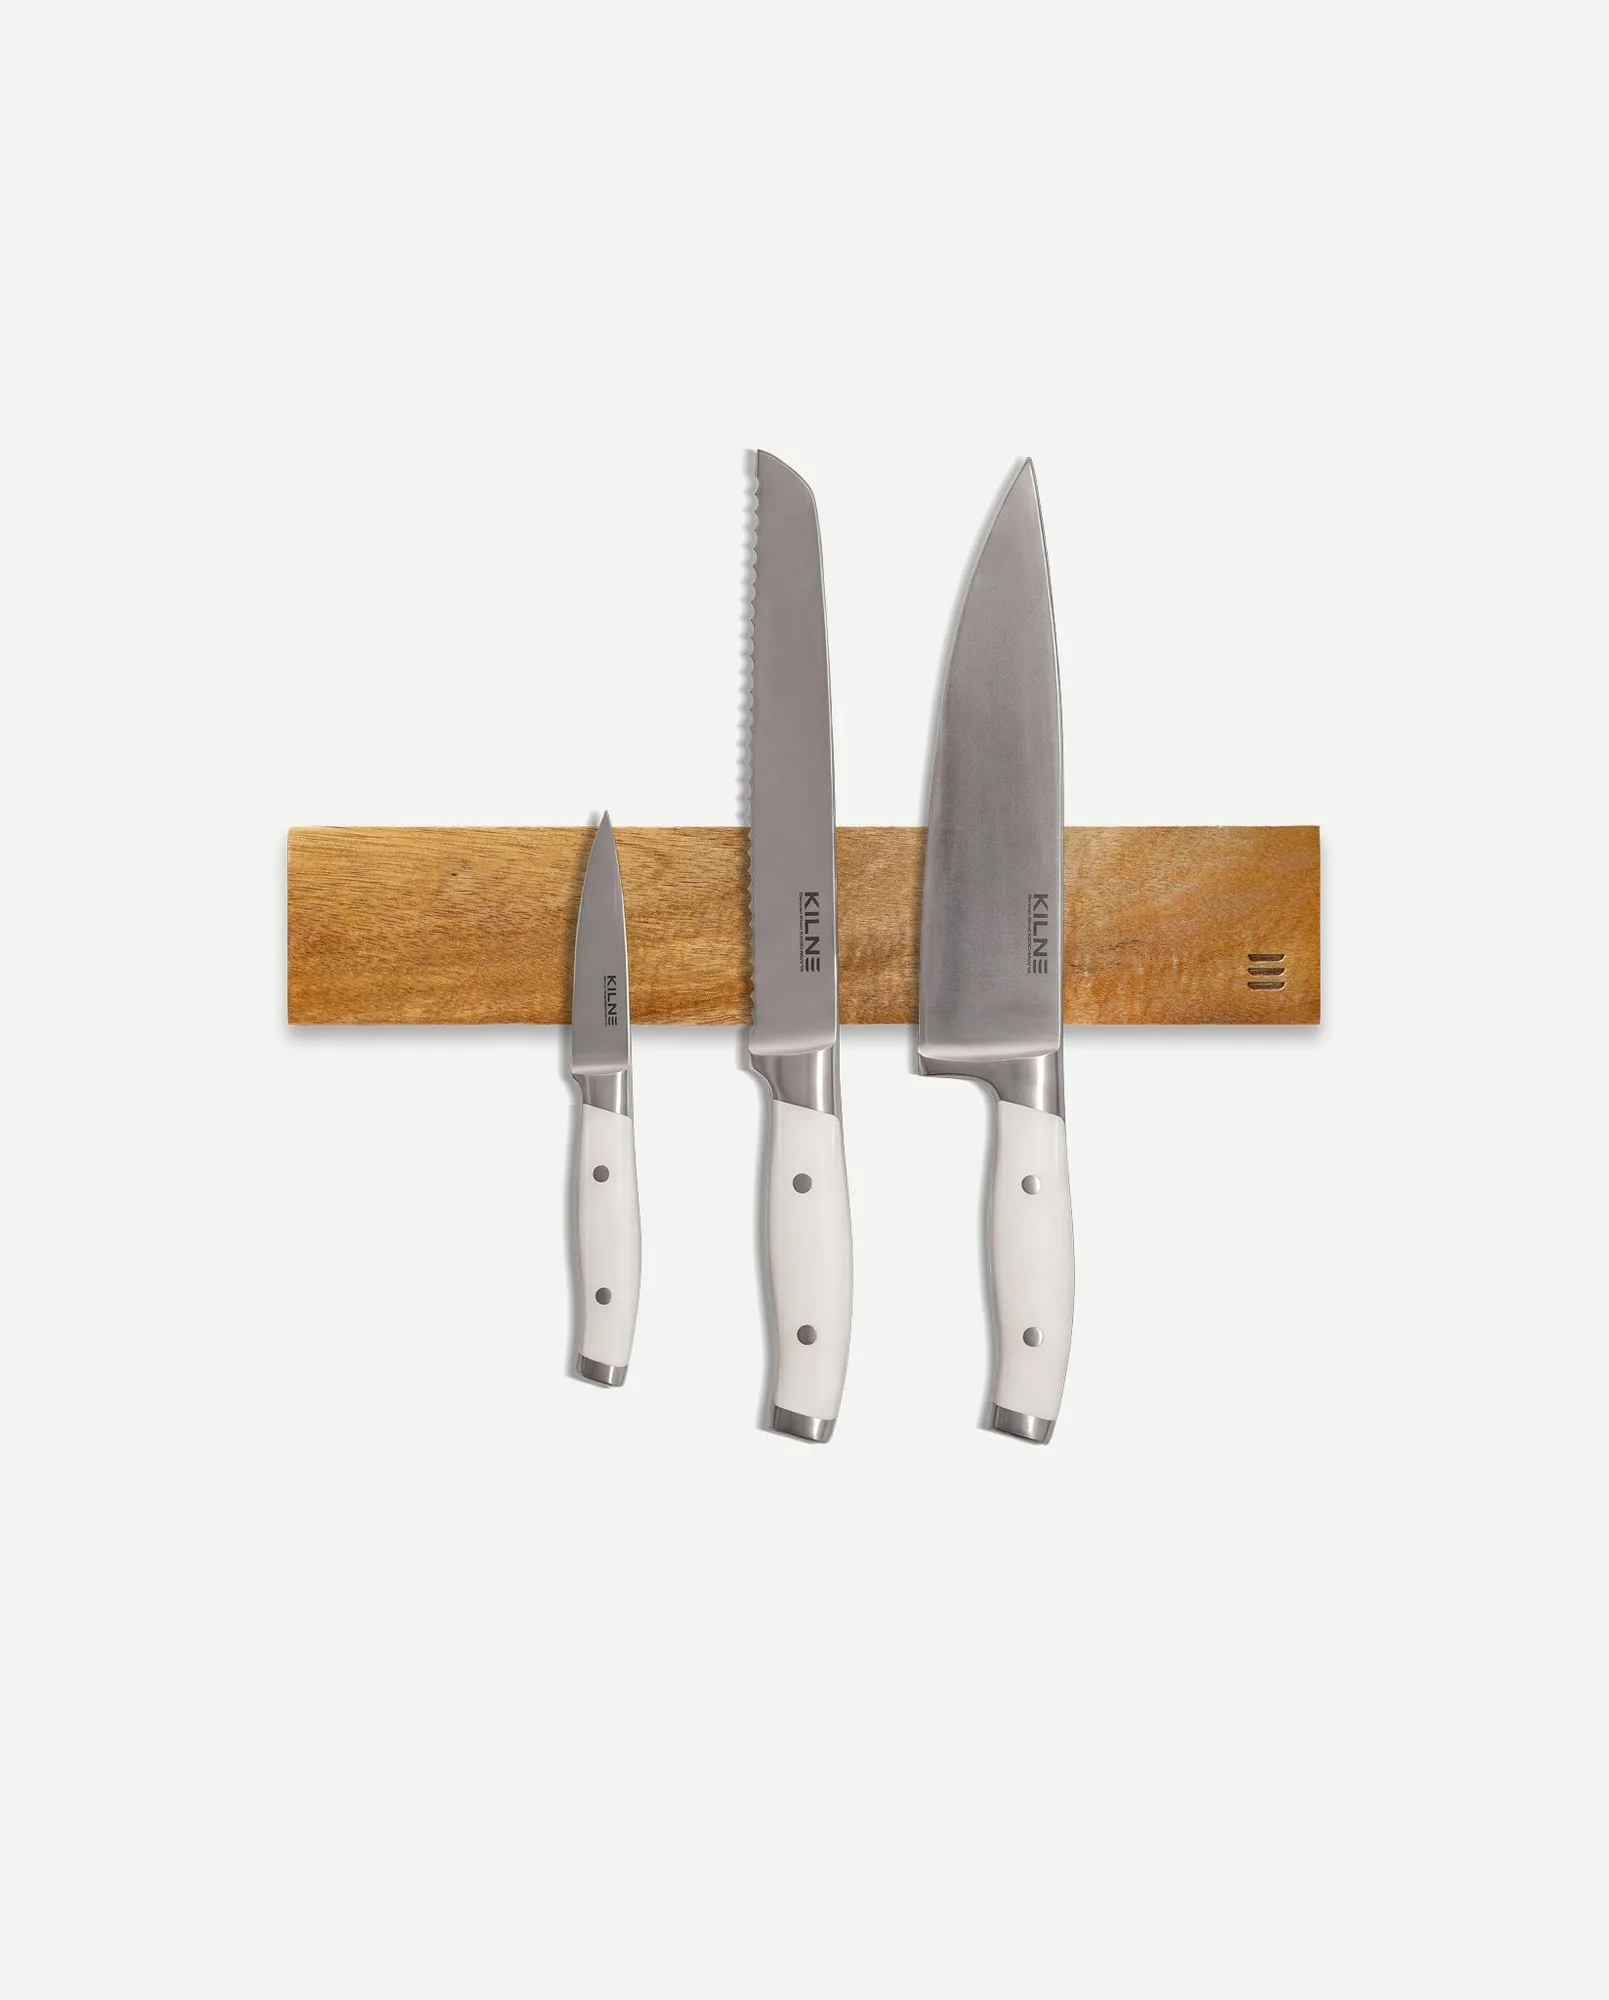
- Step 4: Maintain your knife: After each use, hand wash and dry your paring knife. Regularly sharpen it with a honing steel or sharpening stone to keep the edge sharp. Store it safely in a knife block or on a magnetic strip. A sharp knife is safer and more efficient.
Kitchen Tools That Complement Your Paring Knife
- The Knife Set: Lifetime Guarantee. Our essential knives, kitchen shears and a sharpening steel, stored in a magnetic block. Made of Chromium German steel. Sloped bolsters: Precise hold for maximum control. Ergonomic grip: Comfortable and secure hold, even when wet. Fully forged construction. Magnetic block: Attach our Steak Knife Set or extra knives to the sides. Space-saving: Small footprint. A complete knife set ensures you have the right tool for every task, and the magnetic block keeps your knives organized and within reach.
- Santoku Knife: Lifetime Guarantee. A multi-purpose knife suited for cuts big and small. Santoku can be translated to ‘three virtues’ or ‘three uses’, which means this knife is ideal for mincing, dicing and slicing. Made of chromium German steel. Granton Edge: Oval dimples along the knife blade form small air pockets between the blade and food when chopping to keep food from sticking. Ergonomic grip: Comfortable and secure hold. While a paring knife handles precision work, a Santoku knife is perfect for larger prep tasks, making it a great partner in the kitchen.
Mastering the paring knife is a small investment that pays off in every meal you prepare. With the right techniques and a quality knife, you'll find yourself reaching for it more and more. To build a complete knife collection, consider adding the The Knife Set to your kitchen arsenal. Happy cooking!