Quick Answer
To safely remove stitches, gather your suture removal kit, clean the area, and use sterile scissors and tweezers to cut and pull each stitch. Always follow your healthcare provider's instructions and seek medical help if you're unsure or if the wound shows signs of infection.
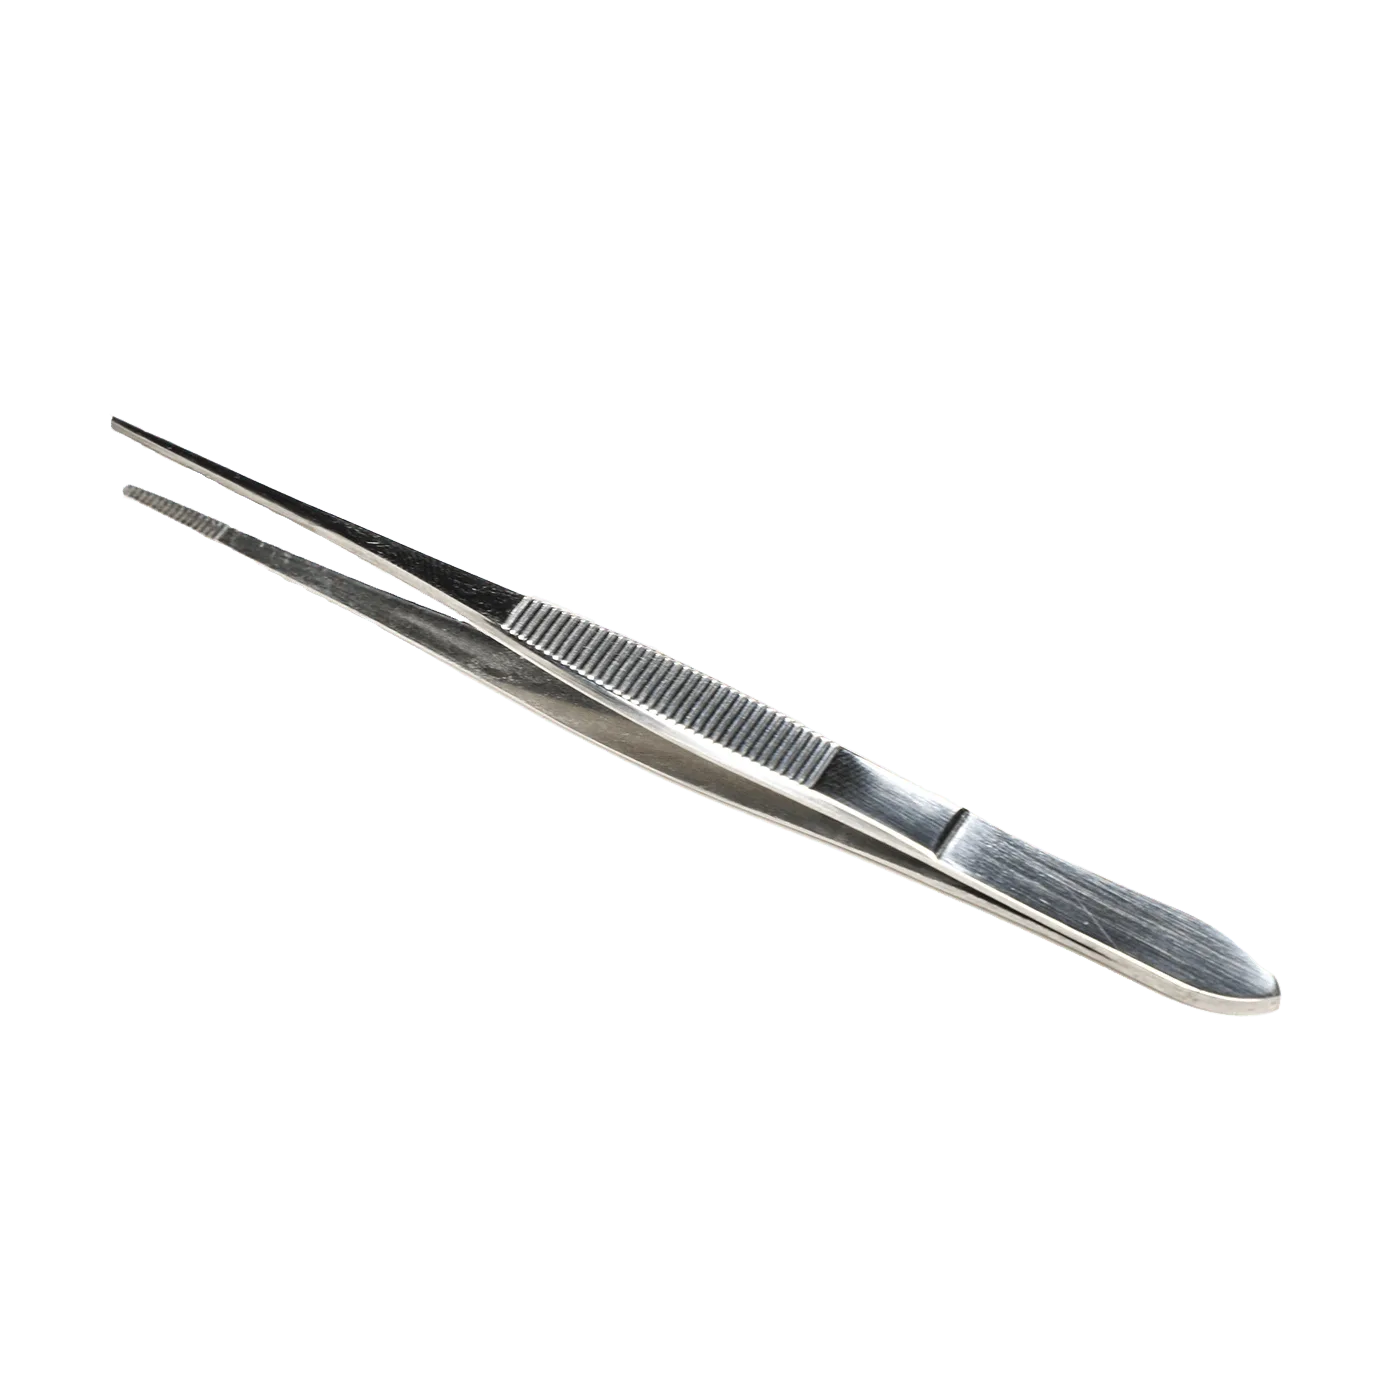
tweezers
When your wound has healed enough, your doctor may recommend removing the stitches at home. While it might seem daunting, with the right tools and technique, you can do it safely. This guide will walk you through the process step by step, ensuring you minimize discomfort and avoid complications.
Before you begin, it's crucial to have a proper suture removal kit. These kits typically include sterile scissors, tweezers, and sometimes a magnifying tool to help you see the sutures clearly. If you don't have one, you can purchase a kit or use sterilized household tools, but a dedicated kit is always safer and more convenient.
Preparing for Suture Removal
Start by washing your hands thoroughly with soap and water. This reduces the risk of introducing bacteria into the wound. Then, clean the area around the stitches with an antiseptic solution or alcohol wipes, working from the center outward. Allow the area to dry completely before proceeding.
Ensure you have good lighting and a comfortable position. If you're removing stitches from a hard-to-reach area, ask a friend or family member to help. It's also wise to have some sterile gauze and bandages on hand in case of minor bleeding.
- Check the wound for signs of infection (redness, swelling, discharge) before starting; if present, do not remove stitches and consult a doctor.
Step-by-Step Removal Process
Using the tweezers, gently lift the knot of the first stitch. This exposes the loop of the suture, making it easier to cut. Be careful not to pull the stitch out yet; just lift it slightly.
With the scissors, cut the suture close to the skin, on one side of the knot. It's important to cut only one side of the loop to avoid pulling the entire suture through the skin, which can cause trauma.
Once cut, use the tweezers to grasp the knot and gently pull the suture out in the direction of the wound. The suture should slide out smoothly. If you feel resistance, stop and reassess; you may have cut the wrong part or the stitch may be embedded.
Repeat this process for each stitch, working systematically. After all stitches are removed, clean the area again and apply a sterile bandage to protect the wound as it finishes healing.
- Never pull a stitch that doesn't come out easily; it might be a deep suture that requires professional removal.
Aftercare and Common Mistakes
After removing the stitches, keep the wound clean and dry. You may notice small gaps where the stitches were; this is normal. Apply an antibiotic ointment if recommended and cover with a bandage. Monitor for signs of infection, such as increased redness, swelling, or pus.
Common mistakes include using non-sterile tools, cutting the suture too far from the knot, or pulling the suture through the skin instead of lifting it out. Avoid these by following the steps carefully and using a proper suture removal kit.
- If you accidentally cut the suture too short, use the tweezers to grasp the end and pull it out gently.
Step-by-Step Removal Guide
- Clean and Prepare: Wash hands, clean the wound site with antiseptic, and dry thoroughly. A clean environment reduces infection risk.
- Lift the Stitch: Use tweezers to gently lift the knot of the first stitch. Lifting exposes the loop for cutting.
- Cut the Suture: Cut the suture close to the skin on one side of the knot. Cutting one side only prevents pulling the entire suture through.
- Remove the Suture: Grasp the knot with tweezers and gently pull the suture out. If resistance is felt, stop and reassess.
- Repeat and Aftercare: Repeat for all stitches, then clean and bandage the area. Monitor for signs of infection in the following days.
Tools You Might Need
- Needle Holder Smooth Jaw: Used to hold a suturing needle for closing wounds during suturing and other surgical procedures. While primarily for suturing, a needle holder with smooth jaws can also help grasp and stabilize sutures during removal, providing better control than tweezers.
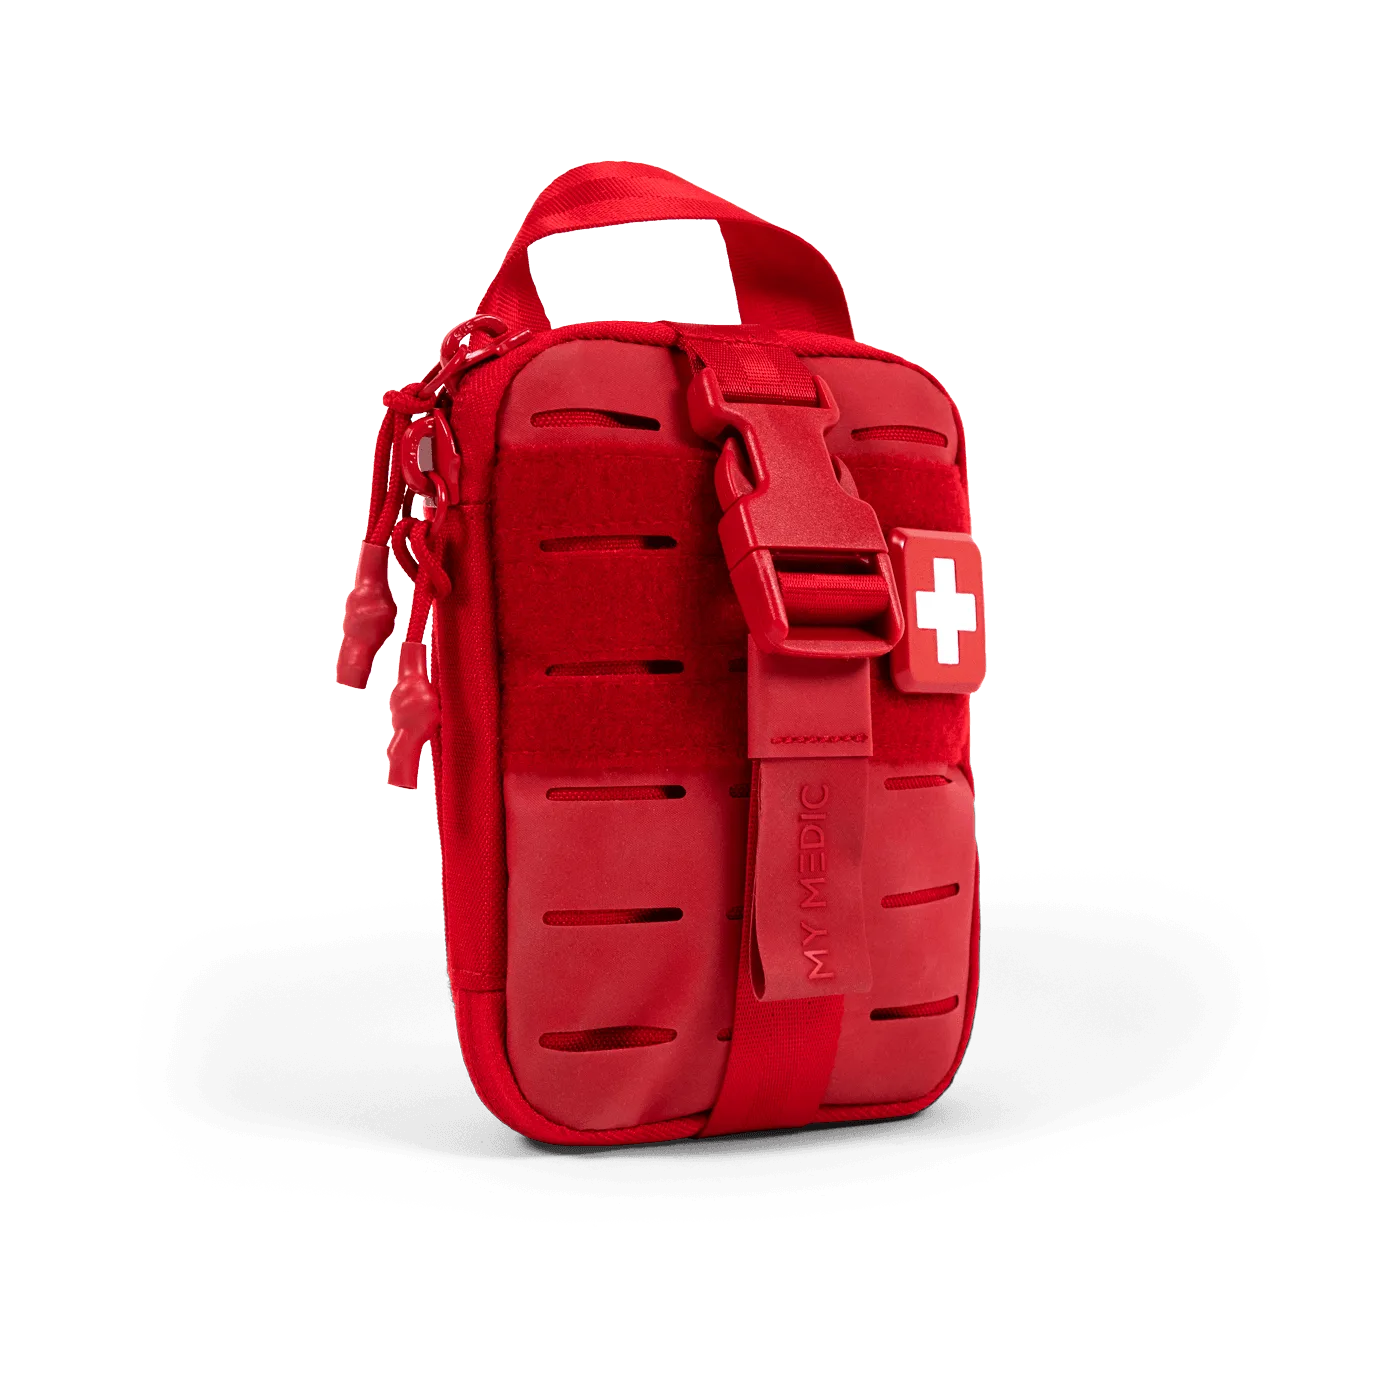
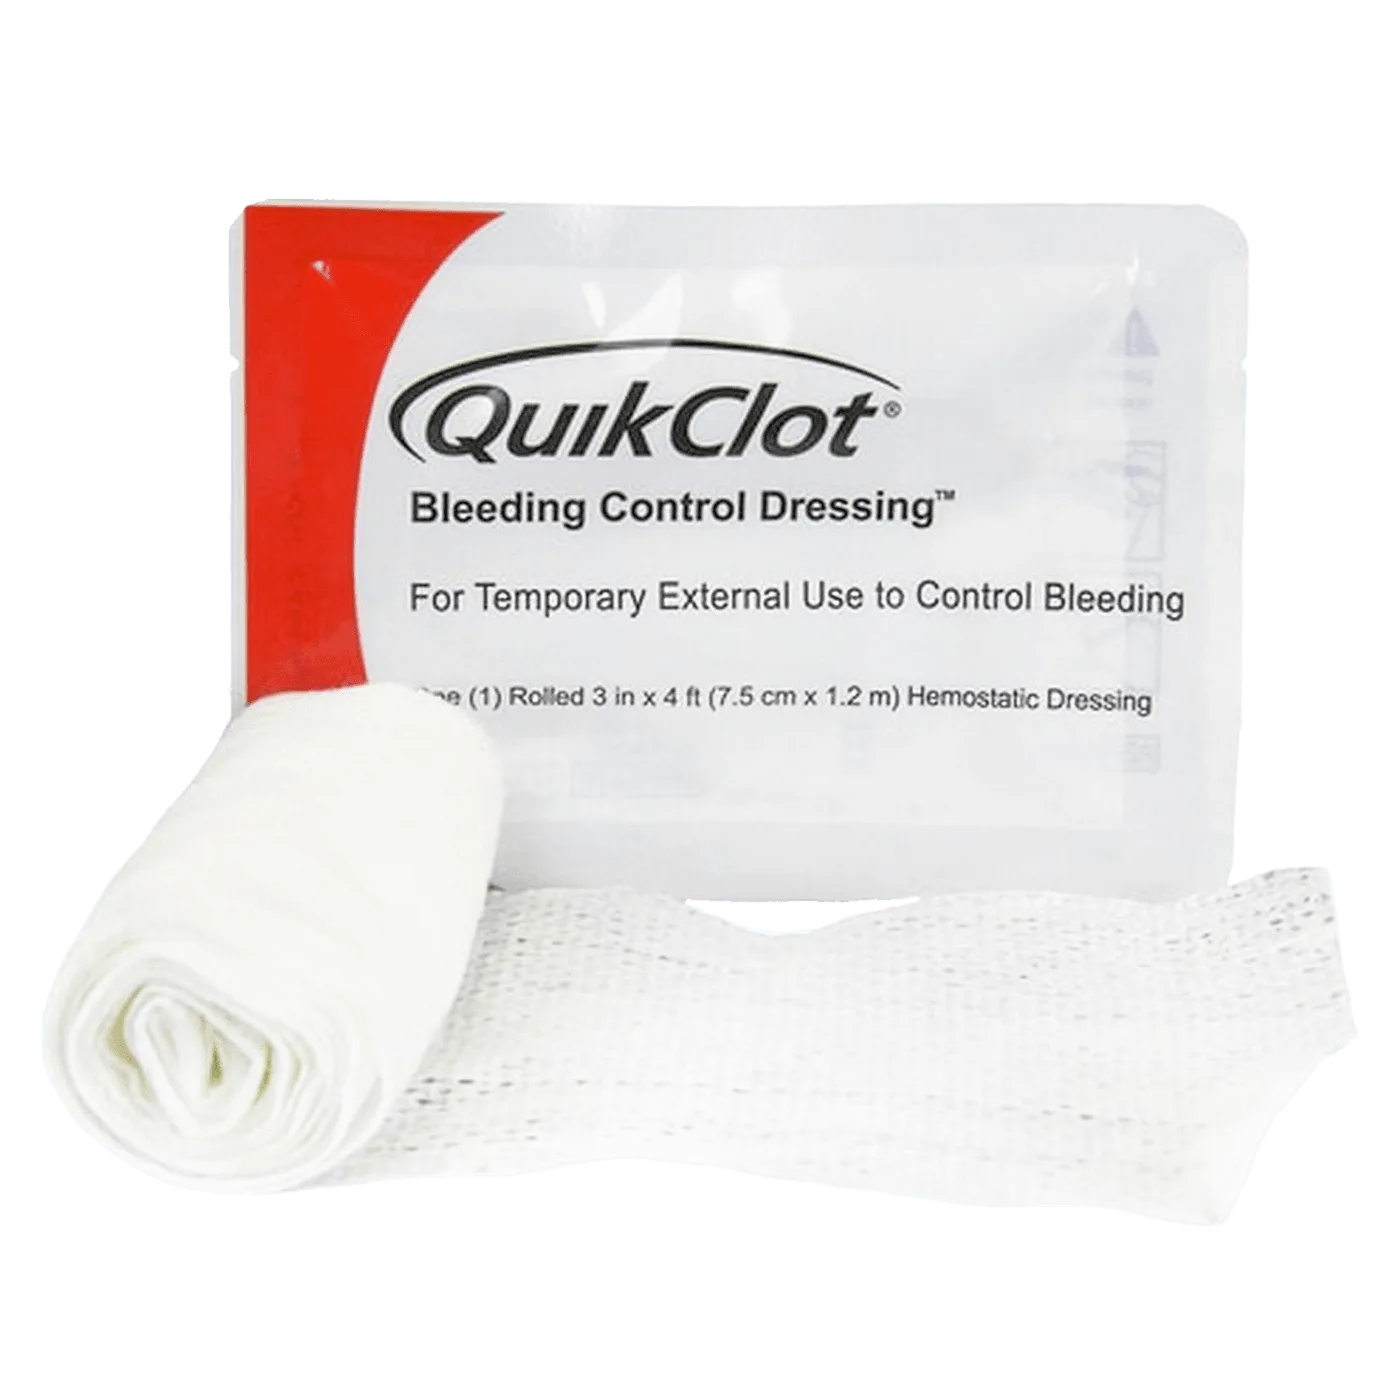
- Large Gauze | MOD: Large gauze pads to control bleeding. Our MOD system is the perfect solution to re-stock or upgrade your My Medic® First Aid Kit. After removing stitches, you may need gauze to apply pressure if minor bleeding occurs. Having sterile gauze on hand ensures you can manage any bleeding promptly.
Removing stitches at home can be done safely with the right tools and careful technique. Always follow your healthcare provider's advice and don't hesitate to contact them if you have any concerns. For a complete first aid setup, consider our Large Gauze | MOD to ensure you have sterile supplies on hand.