Quick Answer
To use a training knife safely for practice drills, start with a designated training knife that has a blunted edge and tip. Always wear appropriate eye protection and consider padded gloves. Establish clear rules with your partner, control your speed and force, and inspect your gear regularly for damage.
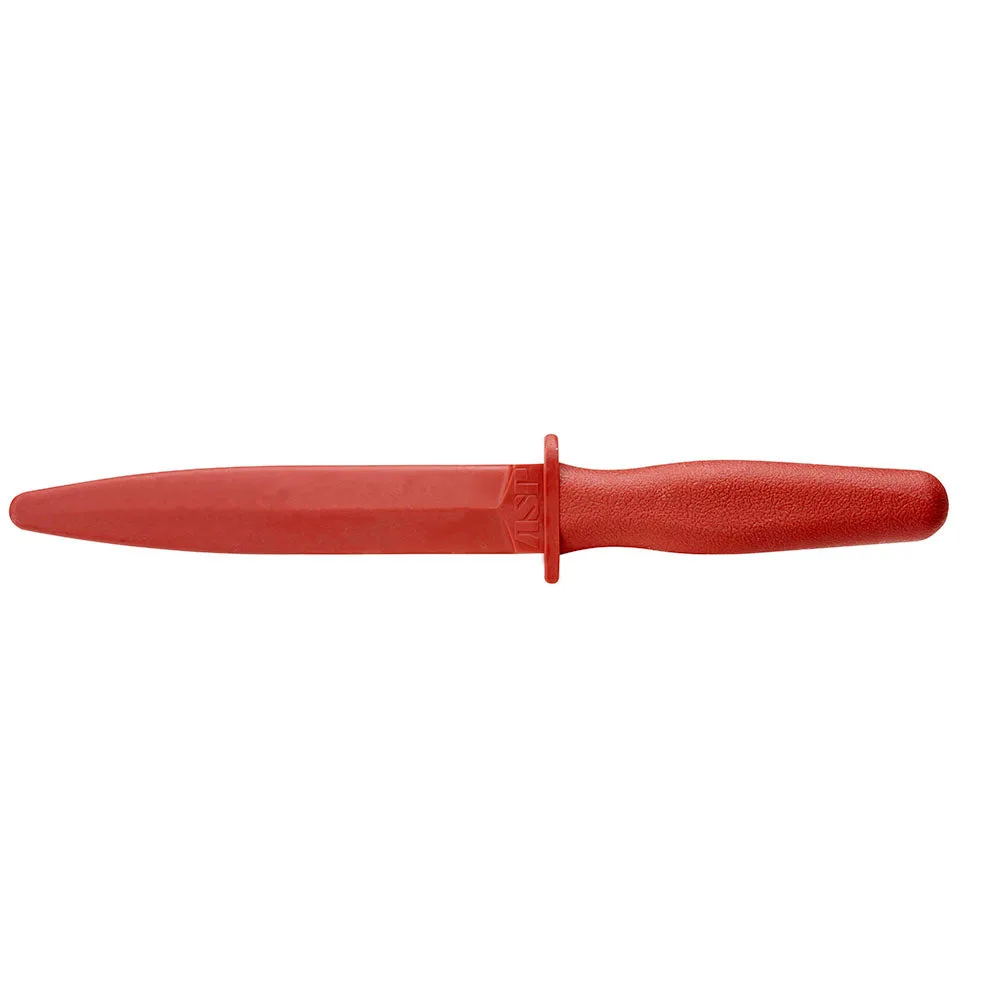
training knife
Practicing with a training knife is an excellent way to build realistic self-defense skills without the risks of a live blade. However, even inert trainers can cause injury if used carelessly. This guide walks you through the essential safety steps to ensure your drills are both effective and injury-free.
Whether you're a beginner or a seasoned practitioner, following a structured approach to training knife use will help you develop muscle memory and tactical awareness while keeping everyone safe.
Why Training Knife Safety Matters
Training knives mimic the weight and feel of real blades, allowing you to practice disarms, defense, and striking techniques. But their realistic design can lead to complacency. Many injuries occur when practitioners treat trainers as toys and neglect basic safety protocols.
By treating every training session with the same respect as live-weapon work, you build good habits that translate to real-world safety. This mindset is crucial whether you are training alone or with a partner.
- Always assume the training knife is real until you've confirmed it's a trainer.
- Never aim for the face or eyes, even with a rubber or plastic knife.
Essential Gear for Safe Training Knife Drills
Before you begin, ensure you have the right equipment. A proper training knife should have a rounded tip and dull edge—never modify a live knife into a trainer. Eye protection is non-negotiable, as accidental pokes can cause serious eye injury. Consider padded gloves and a groin protector for high-intensity drills.
Your training area should be clear of obstacles and have enough space for movement. If practicing outdoors, be aware of your surroundings and avoid hard surfaces that could cause slips or falls.
- Inspect your training knife before each session for cracks or sharp edges.
- Wear snug clothing that won't snag on the training knife or your partner's gear.
Partner Drills: Communication and Control
When training with a partner, establish a clear signal to stop immediately, such as saying 'stop' or tapping out. Agree on the intensity level before you start—slow and controlled is best for learning new techniques. As you progress, you can gradually increase speed but never at the expense of safety.
It's also important to define target areas. Avoid the neck, eyes, and groin unless specifically practicing defense against those attacks with appropriate protective gear. Remember, the goal is to learn, not to 'win' the drill.
- Use a safe word or gesture that both partners recognize.
- Start each drill at 50% speed and power, then build up.
Step-by-Step Safe Training Knife Use
- Step 1: Choose the Right Training Knife: Select a training knife that is specifically designed for practice, with a blunted tip and edge. Ensure it is made from durable material like rubber or polymer that won't splinter. Avoid using improvised items that could break or cause injury. Checkpoint: Confirm the knife is a trainer and has no sharp edges before each session.
- Step 2: Wear Protective Gear: Put on ANSI-rated eye protection, padded gloves, and a groin protector. For advanced drills, consider a padded jacket or chest protector. Do not skip gear, even for 'light' practice. Checkpoint: Adjust gear so it doesn't restrict movement or vision.
- Step 3: Set Up a Safe Training Area: Clear the area of obstacles and ensure you have at least 6 feet of open space in all directions. Use a non-slip mat if available. For outdoor practice, check for uneven ground or debris. Checkpoint: Mark boundaries with cones if training with multiple people.
- Step 4: Establish Communication Rules: Agree on a stop command (e.g., 'stop' or 'freeze') and a tap-out signal. Discuss the drill's objective and intensity before starting. Never surprise your partner with a new technique. Checkpoint: Practice the stop command a few times before the drill begins.
- Step 5: Start Slow and Controlled: Begin each drill at low speed and minimal force. Focus on proper form and distance management. Gradually increase intensity only as both partners become comfortable and competent. Checkpoint: If either partner feels unsafe, stop and reset the drill.
- Step 6: Inspect and Maintain Your Gear: After each session, check your training knife for cracks, chips, or deformation. Clean it according to the manufacturer's instructions. Replace any damaged gear immediately. Checkpoint: Store training knives separately from live blades to avoid mix-ups.
Recommended Training Tools
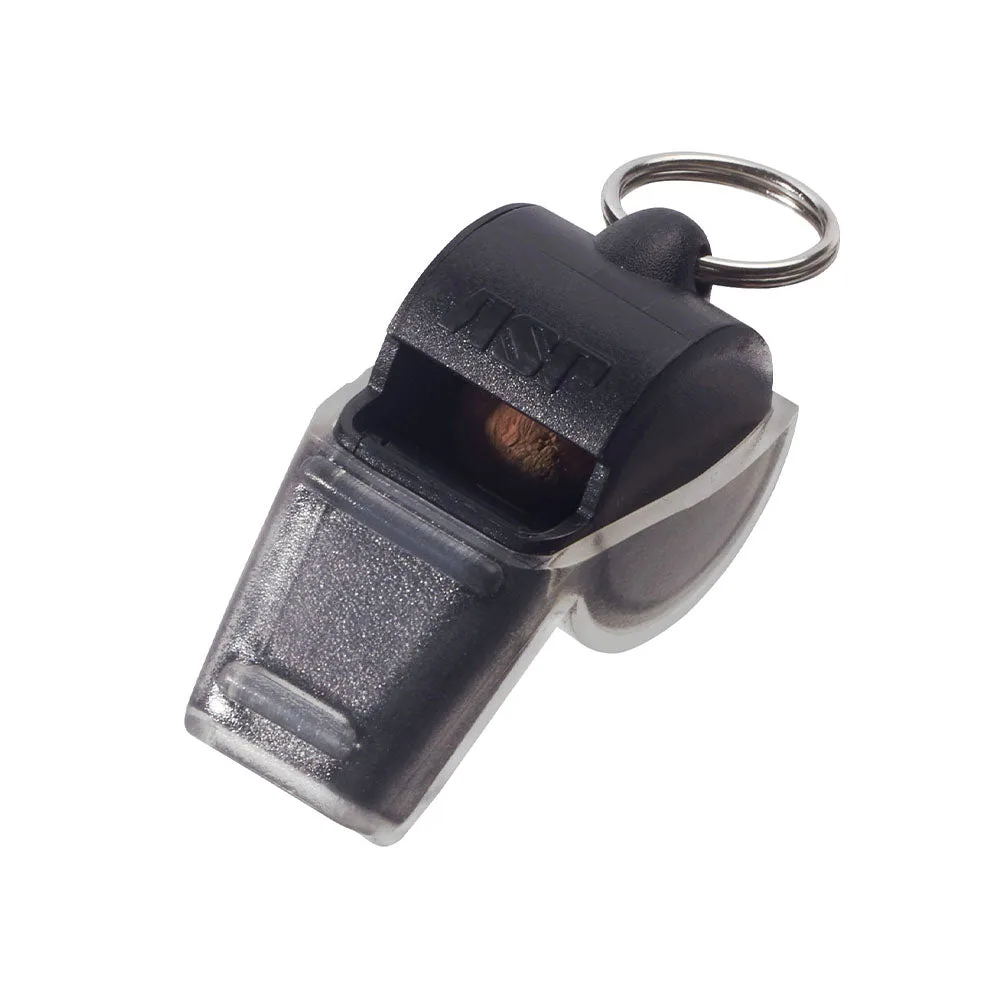
- Alert Whistle: ASP Whistles are molded from ordnance-grade polymer, and feature a Spanish cork ball that generates a piercing tone of incredible intensity. Whether for training or traffic control, there is no more effective means to signal a command. In partner drills, a whistle provides an unmistakable stop signal, ensuring immediate halts even in loud environments. Keep one on your training belt or lanyard to reinforce safety communication.
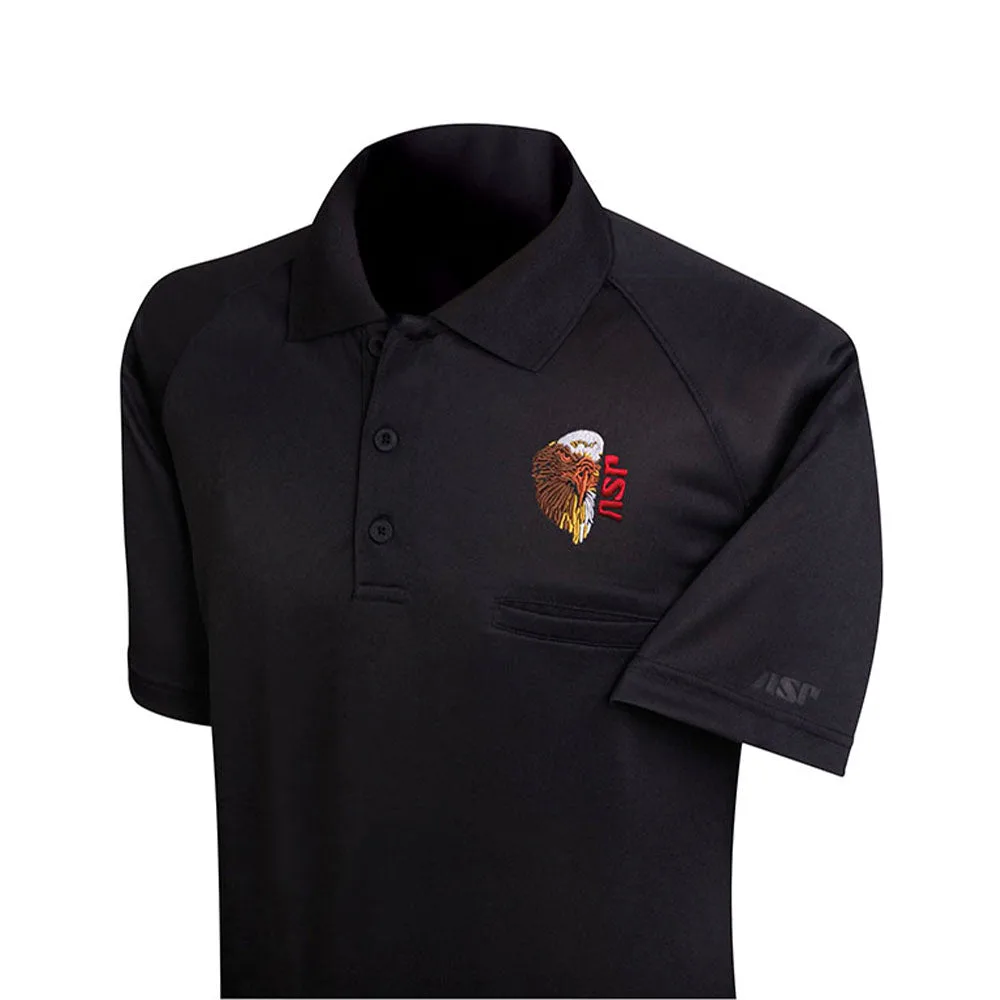
- ASP Eagle Shirt (Black) - Color Embroidery: The detailed layered design of the insignia is complemented by a garment that has been chosen for its durability during the rigors of daily training use. A durable, comfortable training shirt allows full range of motion and withstands repeated grabbing and pulling during knife defense drills, keeping you focused on technique rather than gear failure.
Training knife drills are a valuable addition to your self-defense practice, but they demand respect and discipline. By following these safety steps, you can enjoy realistic training while minimizing the risk of injury. Remember: safe training leads to effective skills.