Quick answer
Votive candles are small candles that must be burned in a snug holder to melt evenly and release scent safely. For best results, trim the wick to 1/4 inch, place the votive in a holder with a slight lip, and burn for 1–2 hours at a time. Use one votive per small room or two to three for larger spaces, and always keep them away from drafts.
Why Votive Candles Need a Holder
Votive candles are designed to be burned in a holder because they liquefy completely as they burn. Without a holder, the melted wax would pool and make a mess, and the flame could become unstable. A proper votive holder is typically made of glass or metal and has a slight taper or lip that keeps the candle upright. The holder also helps contain the melted wax, which allows the wick to draw up fuel efficiently. If you don't have a dedicated votive holder, a small glass jar or a clean tin can work in a pinch, but make sure it's heat-resistant and fits the candle snugly. Never burn a votive on a flat plate or directly on a surface—it will spread and could crack the surface or cause a fire hazard.
First Burn: Setting the Memory
The first burn is crucial for votive candles because it sets the melt pool. Unlike full-size candles, votives are small and should melt evenly across the entire top surface within the first 30–45 minutes. To achieve this, burn the votive for about 1–2 hours during the first use, or until the melted wax reaches the edge of the holder. If you extinguish it too early, you may create a tunnel that wastes wax and reduces burn time. However, never burn a votive for more than 2–3 hours at a time, as the holder can become too hot and the wax may overheat. Always keep an eye on it and extinguish if the flame becomes too large or flickers excessively.
Scent Throw: Votive vs Full-Size
Votive candles typically have a smaller scent throw than full-size candles because they contain less wax and have a shorter burn time. A single votive can scent a small area like a bathroom, powder room, or bedside table, but for larger rooms you'll need multiple votives or a full-size candle. If you want a strong, room-filling fragrance, a full-size candle is more efficient. However, votives are excellent for layering scents or for trying new fragrances without committing to a large candle. For a medium-sized room, two to three votives placed around the space can create a noticeable ambiance. Just remember that scent throw also depends on the fragrance oil quality and the size of the room—experiment to find what works for you.
How Many Votives Per Room?
The number of votives you need depends on the room size and your scent preference. As a rule of thumb, one votive is sufficient for a small space up to 50 square feet, like a bathroom. For a medium room (around 100–150 square feet), use two to three votives. In larger living areas, you may need four or more, or consider supplementing with a full-size candle. Keep in mind that votives burn for about 2–3 hours each, so if you want continuous scent for an evening, you'll need to replace them or use multiple at once. Also, avoid placing votives too close together—at least 3 inches apart—to prevent heat buildup and ensure each gets enough oxygen.
Safety Essentials for Votive Candles
Safety should always come first with any candle, but votives have specific risks because they melt completely. Always place votive holders on a heat-resistant surface, away from curtains, papers, and other flammable materials. Never leave a burning candle unattended, and keep them out of reach of children and pets. Trim the wick to 1/4 inch before each burn to prevent soot and uneven burning. If the flame becomes too high or starts to smoke, extinguish it, let it cool, and trim the wick again. When the wax is completely melted, the wick may become submerged—if that happens, extinguish the candle and let it cool before relighting. Finally, never use water to extinguish a candle; use a snuffer or gently blow it out.
Step-by-Step Votive Candle Guide
- Choose the right holder: Select a votive holder that fits the candle snugly and has a slight lip to contain melted wax. Common mistake: using a holder that's too wide, which causes the wax to pool and the wick to drown. Checkpoint: The candle should sit upright without wobbling.
- Trim the wick: Before each burn, trim the wick to 1/4 inch using a wick trimmer or scissors. Common mistake: skipping this step, which leads to a large flame, soot, and faster burn. Checkpoint: A properly trimmed wick keeps the flame steady and clean.
- Place and light: Set the holder on a heat-resistant surface away from drafts and flammables. Light the wick and let the candle burn for 1–2 hours until the melt pool reaches the edge. Common mistake: burning in a drafty area, causing uneven melting and tunneling. Checkpoint: The entire top surface should be liquid after the first burn.
- Monitor and extinguish: Never burn a votive for more than 2–3 hours at a time. Extinguish with a snuffer or by gently blowing. Common mistake: letting it burn too long, which overheats the holder and can crack it. Checkpoint: The holder should be warm, not too hot to touch.
- Clean and reuse: Once the candle is spent, let the holder cool, then remove leftover wax by freezing it for 30 minutes; the wax will shrink and pop out. Wash with warm soapy water. Common mistake: scraping hot wax, which can burn you or damage the holder. Next step: Store holders in a cool, dry place for future votives.
Votive Sets to Try
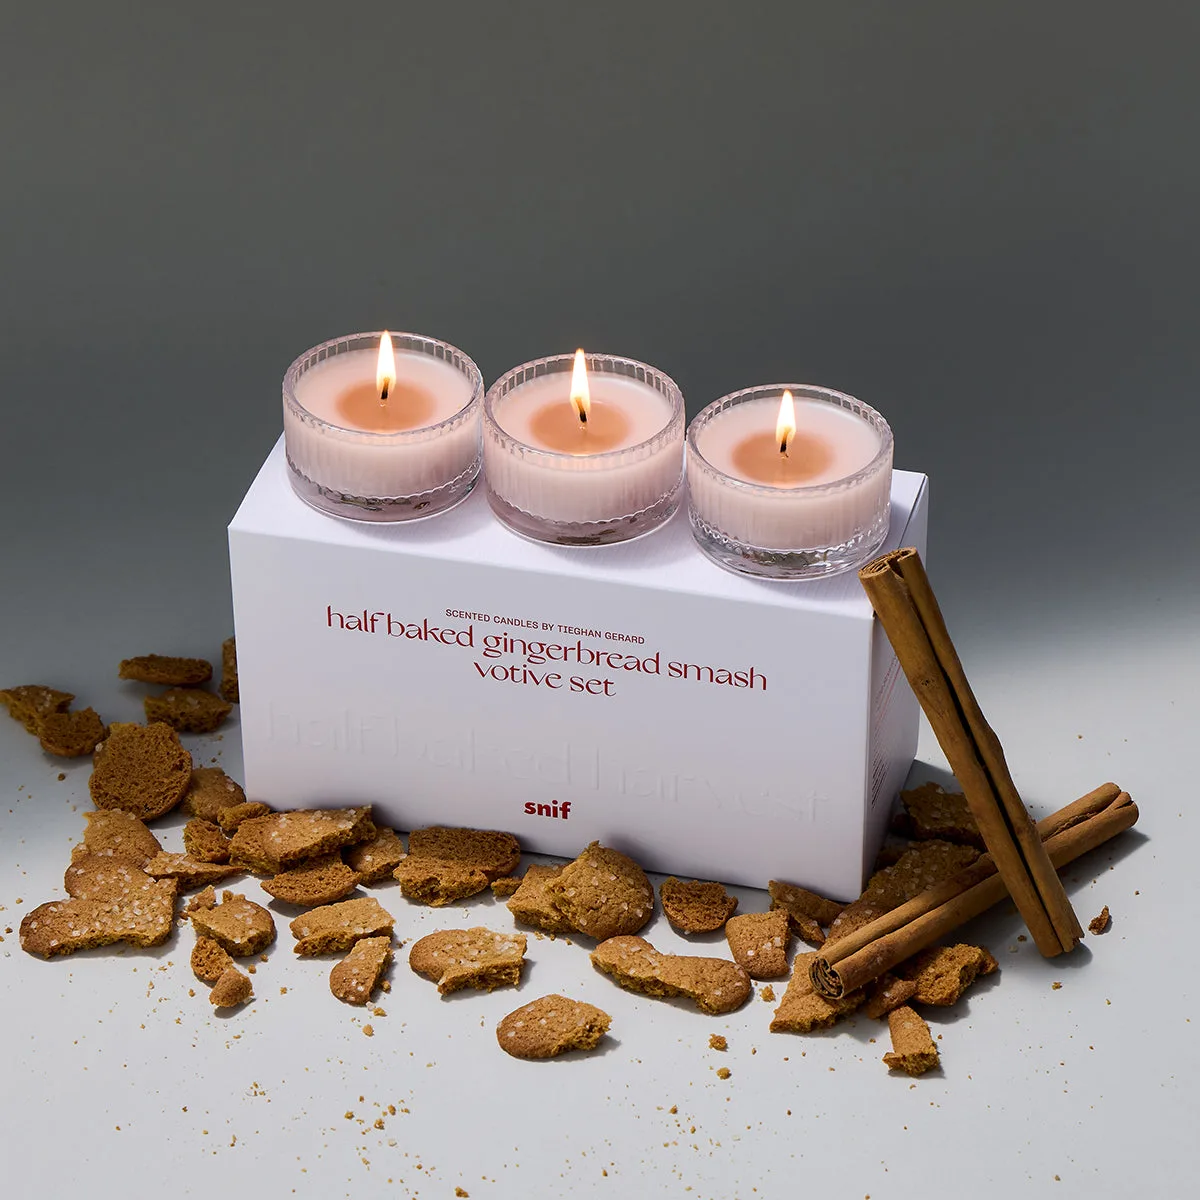
- Half Baked Apple Cider Smash Votive Set: Half Baked Apple Cider Smash Votive Set includes three mini candles with an apple cider inspired fragrance. This set is ideal for fall ambiance; use one votive in a small room or all three in a larger space to create a cozy atmosphere.
- Merry Mint Mocha Votive Set: Merry Mint Mocha Votive Set includes three mini votive candles with a mint mocha fragrance. Perfect for holiday scenting; the set allows you to distribute votives across multiple rooms or layer the scent.