Quick answer
To use a wax seal stamp for letters, melt sealing wax beads in a wax burner, pour or spoon the wax onto the envelope, then press the stamp firmly for about 20 seconds before lifting. Always test on scrap paper first to get the right wax amount and timing.
Why the right wax matters
The type of sealing wax you use affects how easily it melts and how cleanly it releases from the stamp. Wax beads are the most consistent option for beginners because they melt evenly and are easy to measure. Traditional wax sticks require a flame and more practice to control, so they may be better suited for experienced users.
For a polished finish, choose a wax that is flexible enough to avoid cracking when the envelope bends. Some waxes are more brittle and may crack in the mail, so consider a softer formula if you are sending letters through the post.
Setup and preparation
Before you start, protect your work surface with a silicone mat or scrap paper. This catches any drips and makes cleanup easy. If you are using a wax burner, place it on a heat-safe surface and keep it away from edges.
Ensure your envelopes are flat and dry. If you are sealing a stack of envelopes, prepare them all before melting wax so you can work while the wax is at the right temperature.
Step-by-step: How to seal a letter with a wax stamp
- Melt the wax: Add wax beads to a wax burner spoon or melting pot. Heat until fully melted, stirring occasionally. Do not overheat, as this can cause bubbles or a dull finish. If using a wax stick, hold it over a flame and rotate to melt evenly. Check that the wax is smooth and free of lumps before pouring.
- Apply the wax to the envelope: Pour or spoon the melted wax onto the envelope flap, aiming for a circle about the size of your stamp. For a larger seal, pour in a spiral or add a second layer. Leave a small gap between the wax and the edge of the envelope to prevent overflow. Start with a smaller amount of wax; you can always add more, but excess wax is hard to remove cleanly.
- Press the stamp: Wait 2-3 seconds for the wax to cool slightly, then press the stamp straight down without twisting. Hold firmly for about 20 seconds. Twisting can smear the design. If the stamp sticks, it may be too hot or the wax too soft. Lift the stamp straight up; if it resists, wait a few more seconds before trying.
- Let the seal cool and set: Allow the seal to cool completely before handling or stacking envelopes. This usually takes 1-2 minutes. Do not blow on it, as this can cause cracking. Once set, the seal should be firm and slightly flexible. Test the seal by gently pressing a fingernail into the edge; it should be hard, not tacky.
- Clean the stamp and work area: Wipe the stamp head with a soft cloth while it is still warm to remove any wax residue. For stubborn bits, gently warm the stamp and wipe again. Clean your burner and spoon according to the manufacturer's instructions. Regular cleaning prevents wax buildup that can blur future impressions.
A wax seal stamp to consider
-
Wax Seal Stamp - Vase of Flowers: The Wax Seal Stamp - Vase of Flowers features a brass head and a wooden handle, and comes in a gold foil printed FSC-certified box. The brass head conducts heat well and releases cleanly, while the wooden handle stays cool, giving you a comfortable grip for a firm, even press.
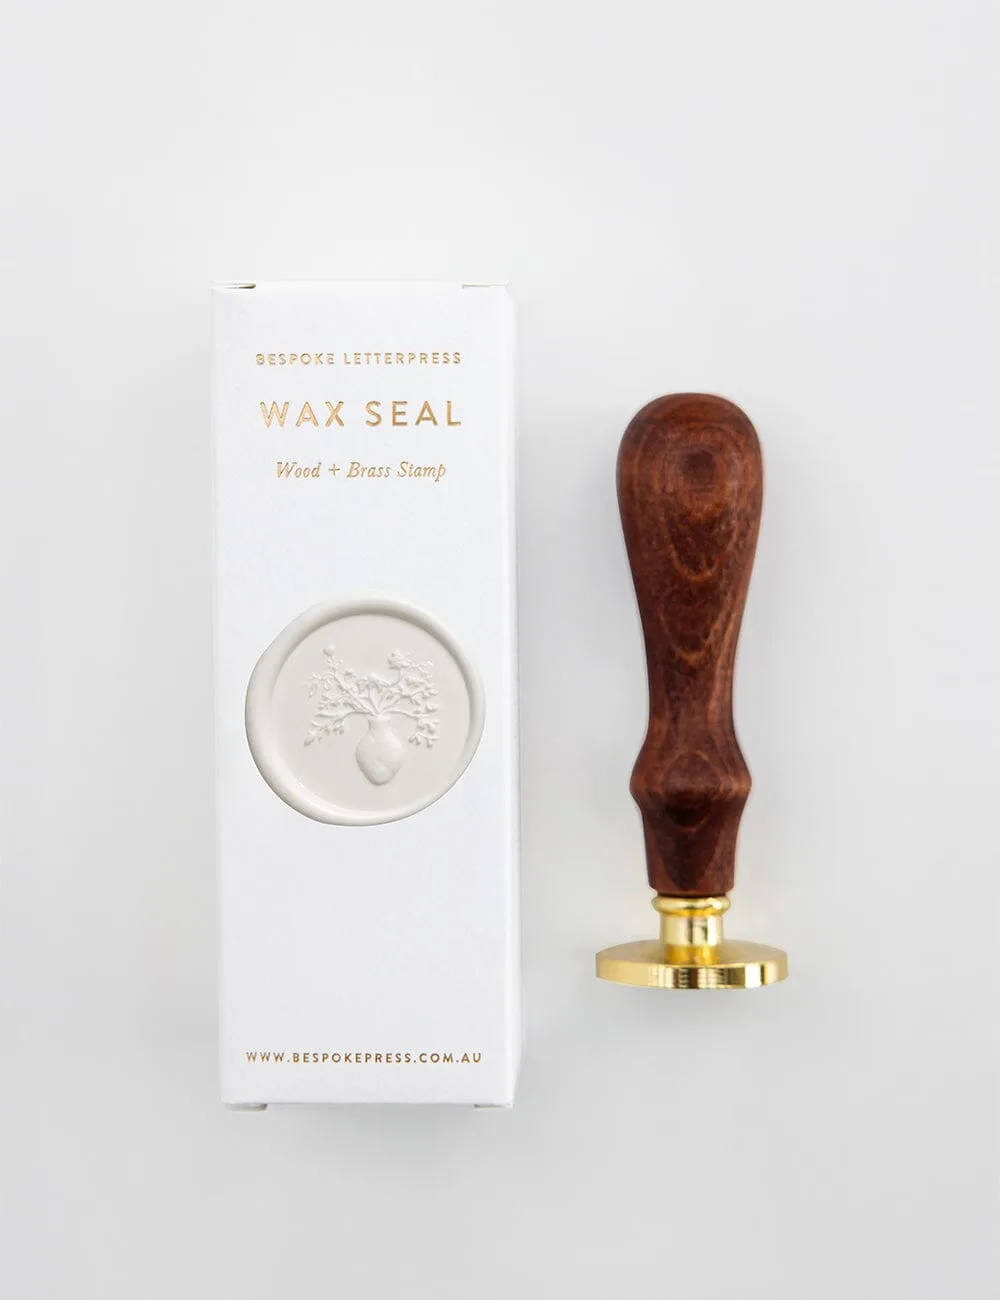
Wax Seal Stamp - Vase of Flowers