Acne patches have become a staple in modern skincare routines, offering a targeted, overnight solution for breakouts. But not all patches are created equal, and your skin type plays a crucial role in determining which patch will work best for you. Whether you have sensitive, oily, dry, or combination skin, this guide will help you navigate the world of acne patches and achieve clearer, healthier skin.
From hydrocolloid patches that absorb excess oil to microneedling patches that deliver active ingredients deep into the skin, there's a patch designed for every concern. In this article, we'll break down the best types of acne patches for each skin type, how to apply them correctly, and common mistakes to avoid. Let's dive in!
Understanding Acne Patches: Types and How They Work
Acne patches are small adhesive stickers that you place directly on a pimple. They work by creating a protective barrier that prevents bacteria from entering the wound while absorbing excess fluid and oil. The most common type is the hydrocolloid patch, which is made from a gel-forming agent that draws moisture out of the pimple, flattening it over time.
Other types include microneedling patches, which contain tiny dissolvable needles that penetrate the skin to deliver active ingredients like salicylic acid or hyaluronic acid. There are also day patches, which are thinner and more discreet, and overnight patches, which are thicker and more potent. Understanding these differences is key to choosing the right patch for your skin type.
- Hydrocolloid patches: Best for oily and acne-prone skin, as they absorb excess oil and fluid.
- Microneedling patches: Ideal for dry and mature skin, as they deliver hydrating ingredients deep into the skin.
- Day patches: Lightweight and invisible, suitable for all skin types, especially for daytime use.
Acne Patches for Sensitive Skin
Sensitive skin requires extra care when using acne patches. Look for patches that are fragrance-free, hypoallergenic, and made with gentle ingredients. Hydrocolloid patches are generally well-tolerated, but you should avoid patches with added acids or active ingredients that could cause irritation. Instead, opt for simple, pure hydrocolloid patches that focus on healing and protection.
When applying a patch to sensitive skin, ensure the area is clean and dry. Gently press the patch on and leave it on for the recommended time, usually 6-8 hours. If you experience redness or itching, remove the patch immediately and consult a dermatologist. Always do a patch test on a small area of skin first.
- Choose fragrance-free and hypoallergenic patches.
- Avoid patches with high concentrations of acids or active ingredients.
- Perform a patch test before full application.
Acne Patches for Oily Skin
Oily skin produces excess sebum, which can clog pores and lead to breakouts. Hydrocolloid patches are a game-changer for oily skin because they not only absorb fluid from the pimple but also help control oil in the surrounding area. The Acne Treatment 20 Dots are a popular choice, as they are designed to adhere well to oily skin and provide effective absorption.
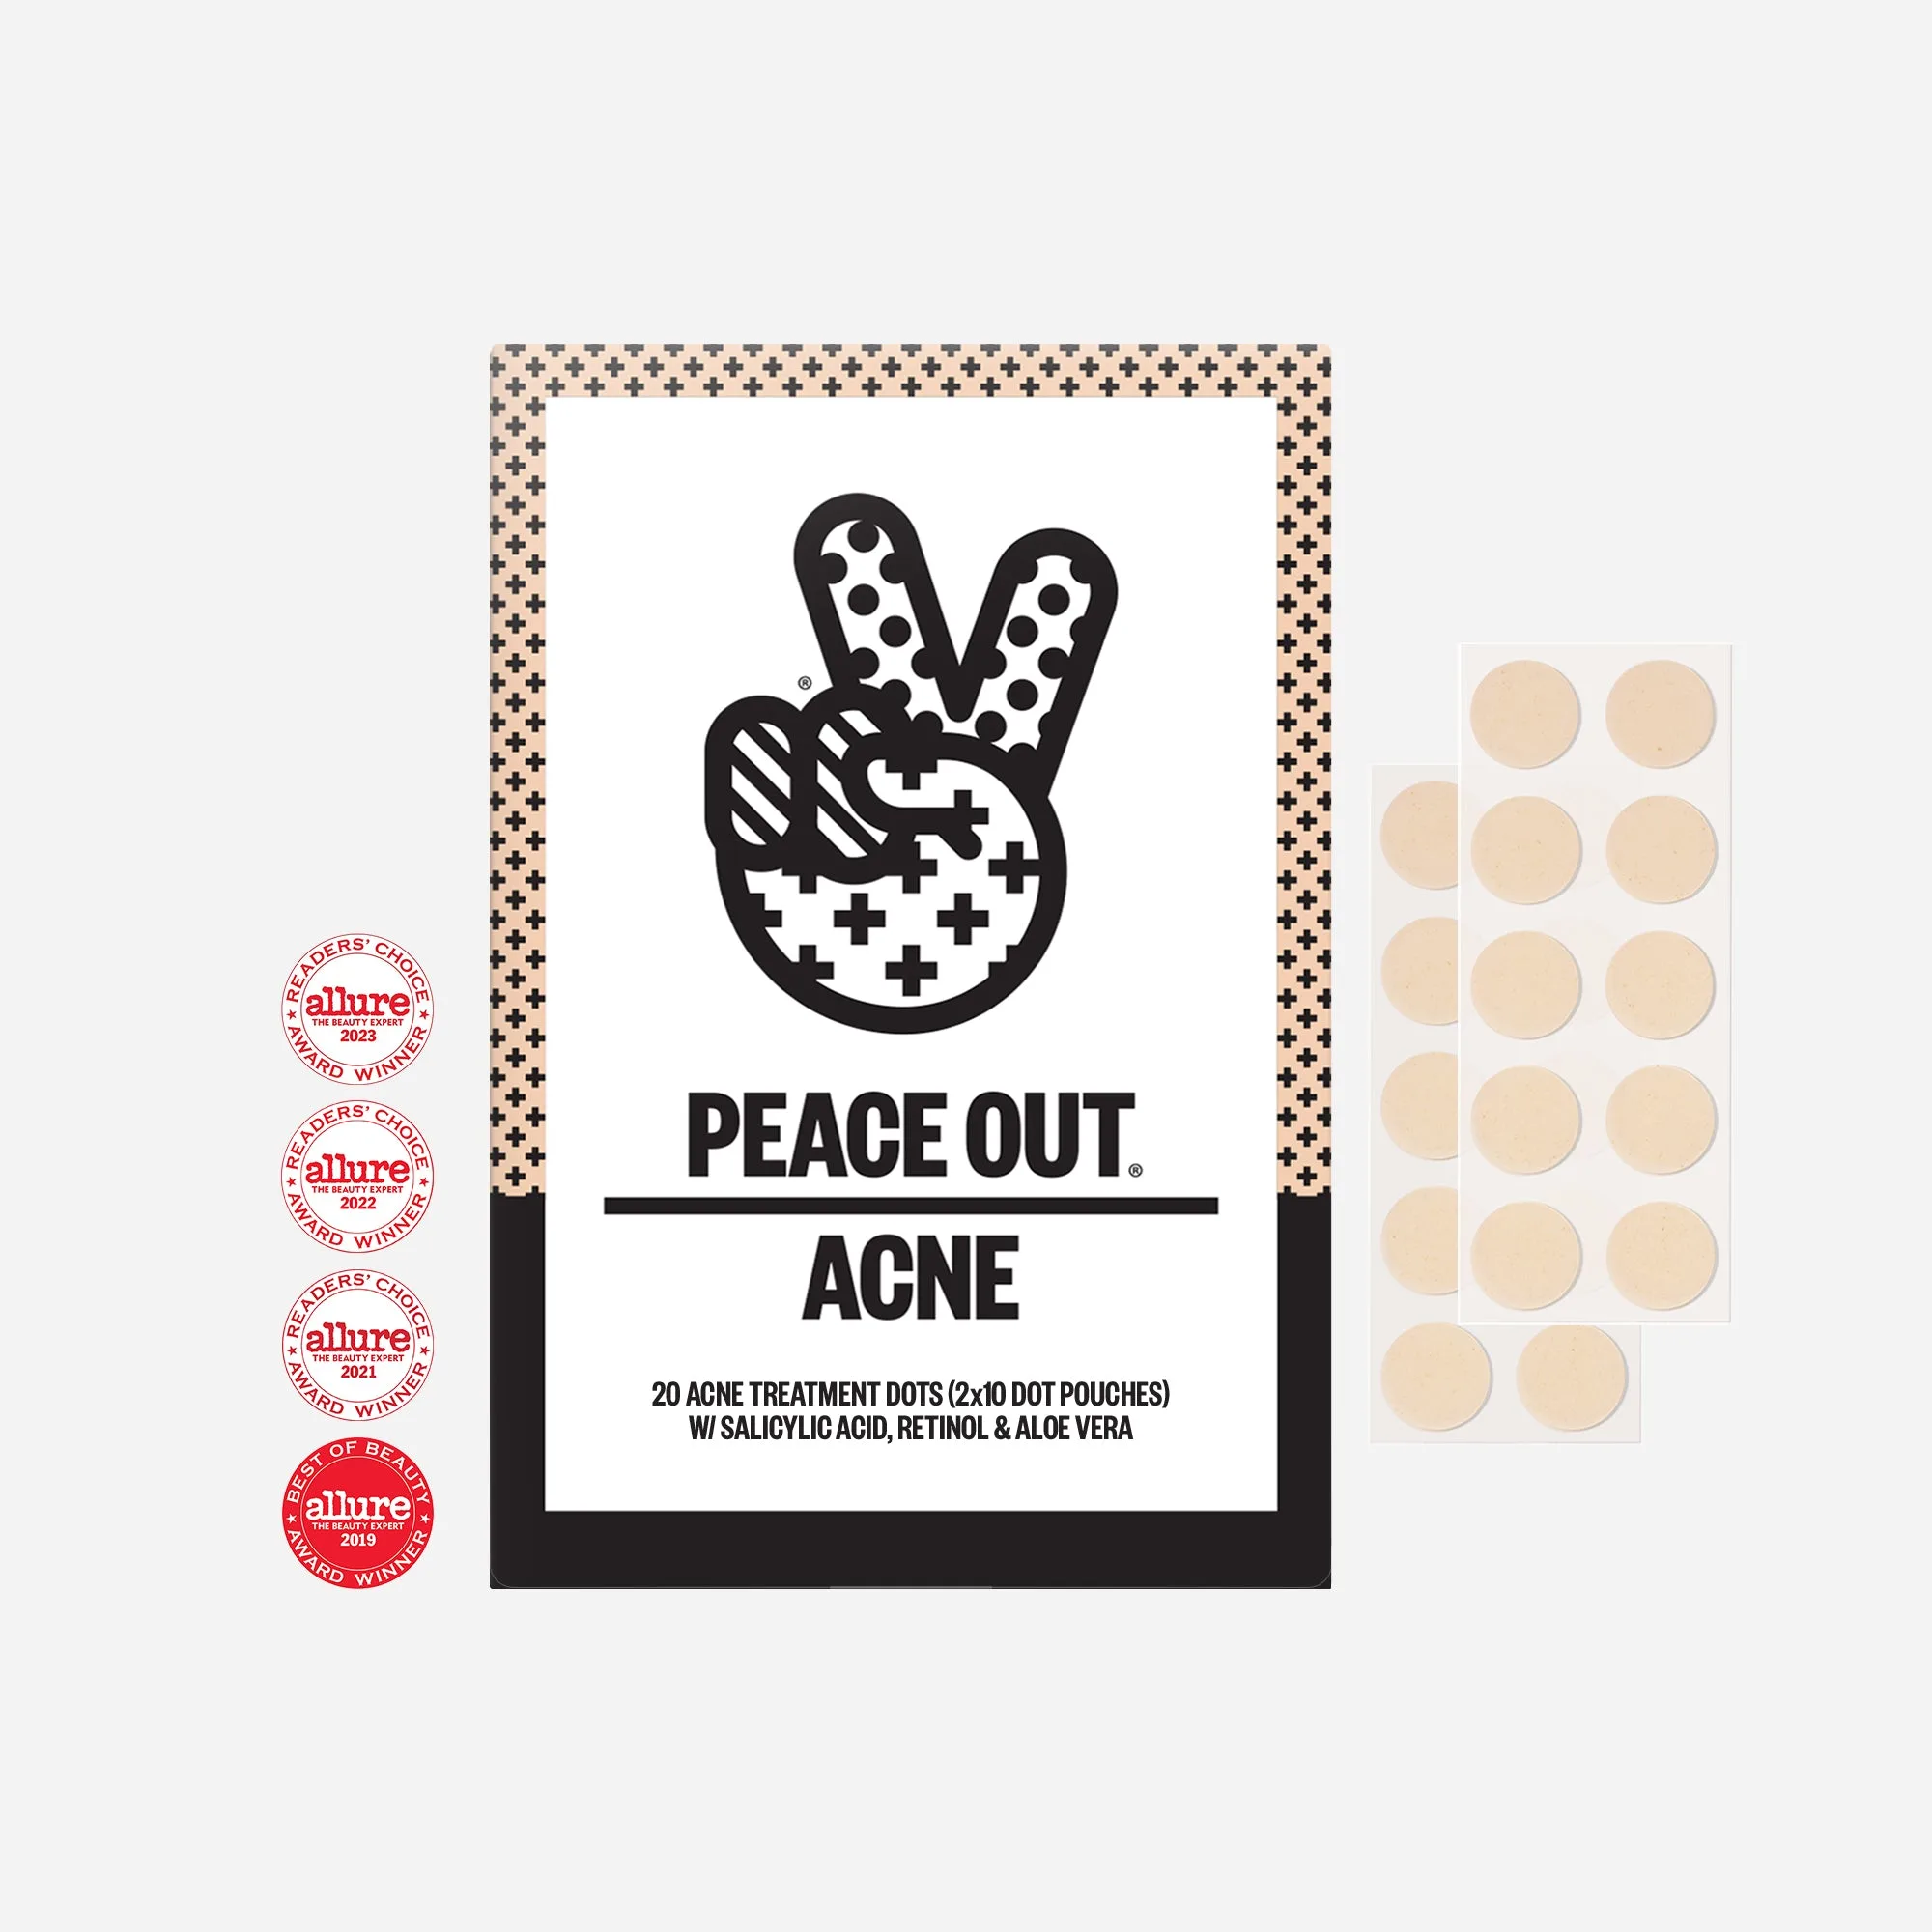
Acne Treatment 20 Dots
For best results, apply the patch to clean, dry skin before bed. Leave it on overnight to allow maximum absorption. In the morning, you'll notice the patch has turned white, indicating it has absorbed the impurities. Remove it gently and follow with your regular skincare routine. You can also use hydrocolloid patches during the day if you prefer, but make sure to choose a discreet option.
- Use hydrocolloid patches to absorb excess oil and fluid.
- Apply on clean, dry skin for better adhesion.
- For severe oiliness, consider using a clay mask before applying the patch.
Acne Patches for Dry Skin
Dry skin can be flaky and sensitive, making it tricky to use acne patches. Microneedling patches are an excellent option for dry skin because they deliver hydrating ingredients like hyaluronic acid directly into the skin, helping to moisturize while treating the pimple. These patches also stimulate collagen production, which can improve skin texture over time.
Before applying a microneedling patch, ensure your skin is well-hydrated. You can apply a light moisturizer first, but make sure the area is dry before placing the patch. Leave it on for the recommended time, usually 4-6 hours. After removal, follow with a rich moisturizer to lock in hydration. Avoid using microneedling patches on broken or irritated skin.
- Choose microneedling patches with hydrating ingredients like hyaluronic acid.
- Moisturize before applying to prevent dryness.
- Avoid using on broken or irritated skin.
Acne Patches for Combination Skin
Combination skin has both oily and dry areas, so you need a versatile approach. You can use different types of patches on different areas of your face. For example, use hydrocolloid patches on the T-zone (forehead, nose, chin) where oiliness is prevalent, and microneedling patches on the cheeks or other dry areas.
The key is to listen to your skin and adjust accordingly. If you have a breakout on an oily area, opt for a hydrocolloid patch. If the breakout is on a dry area, choose a microneedling patch. You can also use a gentle cleanser and toner to balance your skin before applying any patch.
- Use hydrocolloid patches on oily areas, microneedling on dry areas.
- Customize your patch choice based on the location of the breakout.
- Maintain a balanced skincare routine to manage combination skin.
How to Apply Acne Patches for Best Results
Proper application is essential for the effectiveness of acne patches. Start by cleansing your face with a gentle cleanser to remove dirt, oil, and makeup. Pat your skin dry completely, as moisture can prevent the patch from adhering. If you have any open wounds or broken skin, avoid applying patches until it heals.
Peel the patch from its backing and place it directly over the pimple. Press down gently for a few seconds to ensure it sticks securely. Leave the patch on for the recommended time, usually 6-8 hours for overnight patches and 2-4 hours for day patches. When removing, do so gently to avoid irritating the skin. Follow with your regular skincare routine, but avoid using harsh exfoliants immediately after.
- Always apply on clean, dry skin.
- Press firmly to ensure good adhesion.
- Follow the recommended wear time for best results.
Common Mistakes to Avoid When Using Acne Patches
One of the most common mistakes is applying patches on skin that isn't clean or dry, which reduces adhesion and effectiveness. Another mistake is leaving patches on for too long, which can over-dry the skin or cause irritation. Always follow the instructions on the package.
Avoid using patches on blackheads or whiteheads that are not raised, as they are not effective on non-inflamed blemishes. Also, don't pick or squeeze your pimples before applying a patch, as this can introduce bacteria and worsen the breakout. Instead, apply the patch directly on the pimple to let it work its magic.
- Don't apply on dirty or damp skin.
- Don't exceed the recommended wear time.
- Don't use patches on non-inflamed blemishes.
Acne patches are a versatile and effective solution for treating breakouts, but choosing the right type for your skin type is crucial. Whether you have sensitive, oily, dry, or combination skin, there's a patch that can help. Remember to always apply on clean, dry skin and follow the instructions for best results. For a reliable and gentle option, consider trying the Acne Treatment 20 Dots or the Acne Serum from Peaceoutskincare to complement your acne-fighting routine.
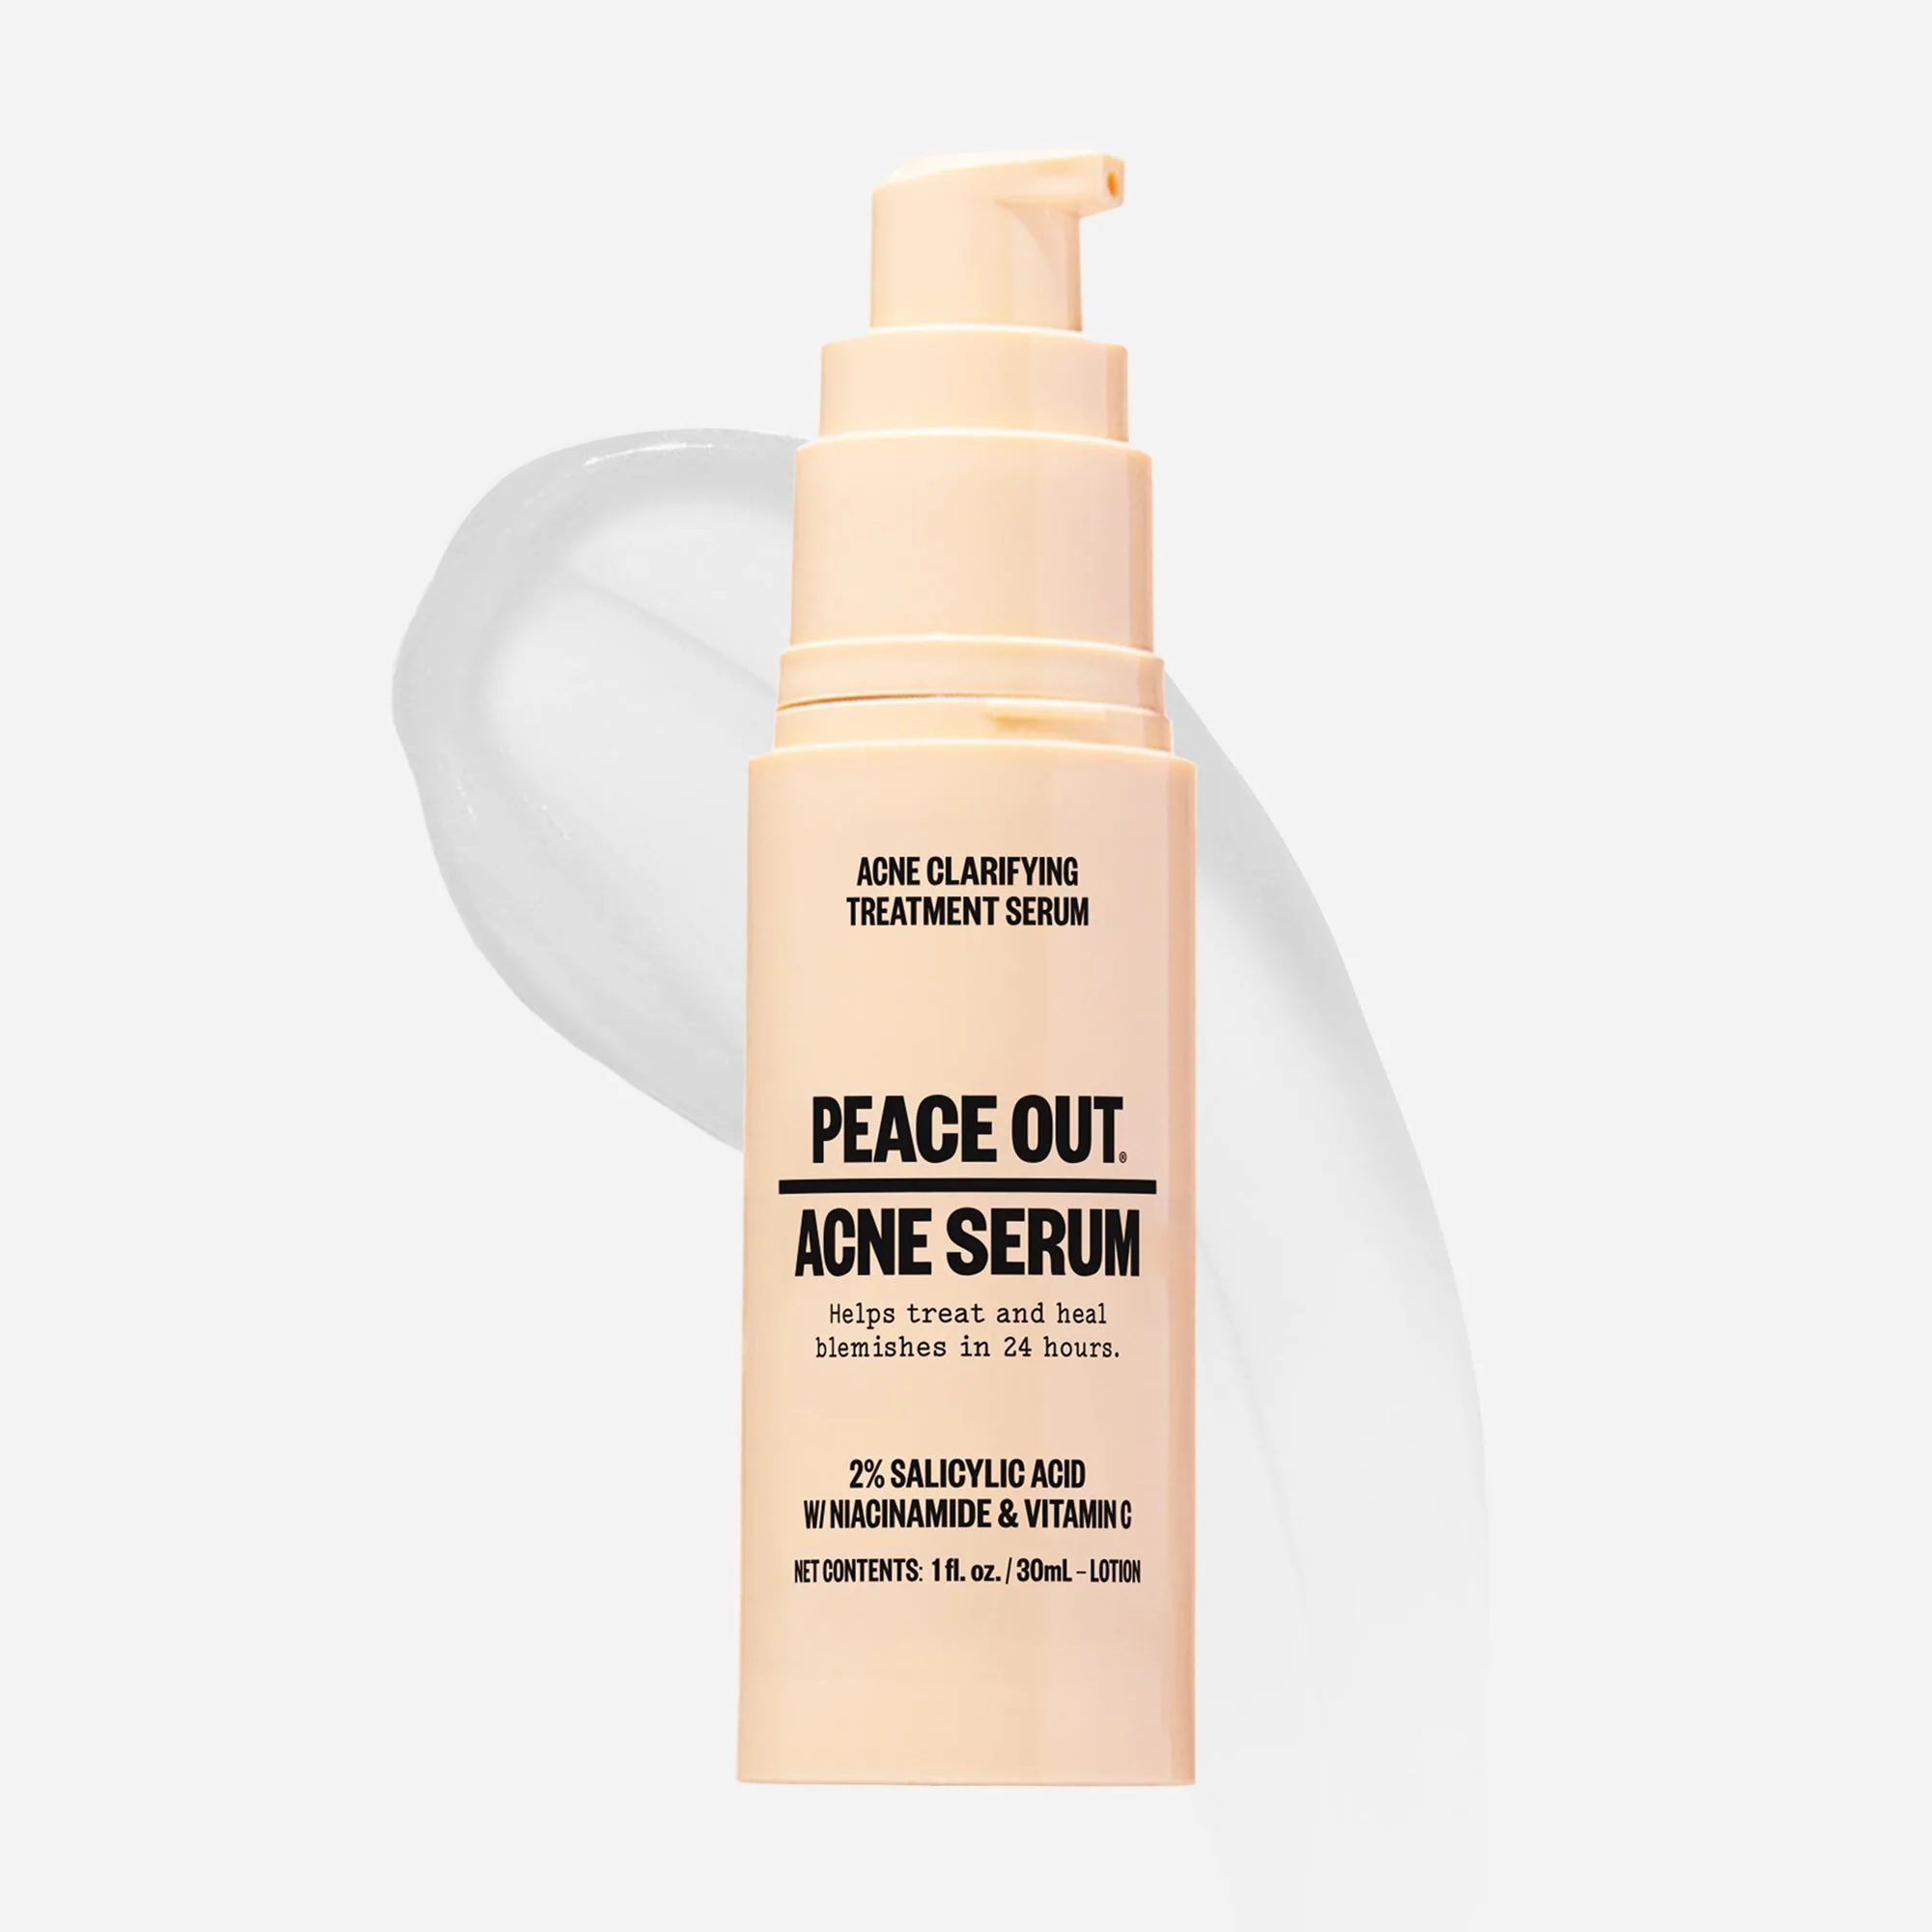
Acne Serum