Quick answer
Melt beeswax pellets in a double boiler, then combine with carrier oils and butters for skincare, or with wicks and fragrance for candles. Always use a dedicated pot and thermometer to avoid overheating.
Why beeswax pellets are ideal for DIY projects
Beeswax pellets melt evenly and quickly because of their small, uniform size—no chopping or grating required. Unrefined pellets like Amour Natural Pure Beeswax Pellets 160g retain natural honey scent and color, which can add character to balms and candles. For unscented projects, opt for refined pellets if available.
Skincare vs. candle making: key differences
Skincare recipes typically use 5–15% beeswax by weight to thicken and stabilize balms without making them too hard. Candle recipes often use 100% beeswax or a blend with coconut oil for a cleaner burn. Beeswax has a high melting point (144–147°F / 62–64°C), so it takes longer to melt than soy or paraffin, but it also burns longer and drips less.
Step-by-step guide to using beeswax pellets
- 1. Set up a double boiler: Fill a saucepan with 1–2 inches of water and bring to a gentle simmer. Place a heatproof bowl or metal pitcher on top, making sure it doesn’t touch the water. Beeswax is flammable if overheated, so never melt it directly on a stove burner. Use a dedicated beeswax pot—once wax hardens, it’s nearly impossible to clean for food use.
- 2. Melt the beeswax pellets gently: Add the desired amount of beeswax pellets to the double boiler. Stir occasionally with a wooden or silicone spatula until fully liquid. Keep the temperature below 170°F (77°C) to prevent discoloration and loss of beneficial properties. If you see smoke or a burnt smell, remove from heat immediately—the wax has degraded.
- 3. Combine with other ingredients (skincare): For lip balm: melt 1 part beeswax with 2 parts carrier oil (e.g., jojoba or coconut) and 1 part butter (e.g., shea). Remove from heat, stir in optional essential oils, then pour into containers. For lotion bars: use equal parts beeswax, oil, and butter. Always add oils and butters after the wax is fully melted to avoid scorching the butters.
- 4. Prepare the candle wick and container: Center a wick in a heat-safe container using a wick holder or two chopsticks. For a 2-inch diameter container, use a wick size meant for beeswax—it burns hotter than paraffin. Secure the wick base with a dab of melted wax. Beeswax candles benefit from a longer wick trim (about 1/4 inch) to reduce soot and mushrooming.
- 5. Pour and cool the candle: Once the beeswax is fully melted and mixed with any fragrance oil (use 1 oz per pound of wax), pour slowly into the prepared container at 160°F (71°C). Let it cool undisturbed for 6–8 hours. Do not move the container while cooling—cracks can form. Beeswax shrinks as it cools; expect a slight sinkhole around the wick. A second pour with leftover wax fixes this.
- 6. Cure and store your creations: Skincare products are ready once solid (about 1 hour), but candles benefit from a 24–48 hour cure for better scent throw and burn quality. Store finished items in a cool, dark place away from direct sunlight to prevent melting or fading. Label each batch with the date and recipe ratio so you can replicate or adjust next time.
Product spotlight
-
Pure Beeswax Pellets 160g: Amour Natural Pure Beeswax Pellets 160g are unrefined and unbleached, free from synthetic ingredients. This means they retain natural honey aroma and a warm yellow color, which can complement natural skincare recipes but may overpower delicate candle scents.
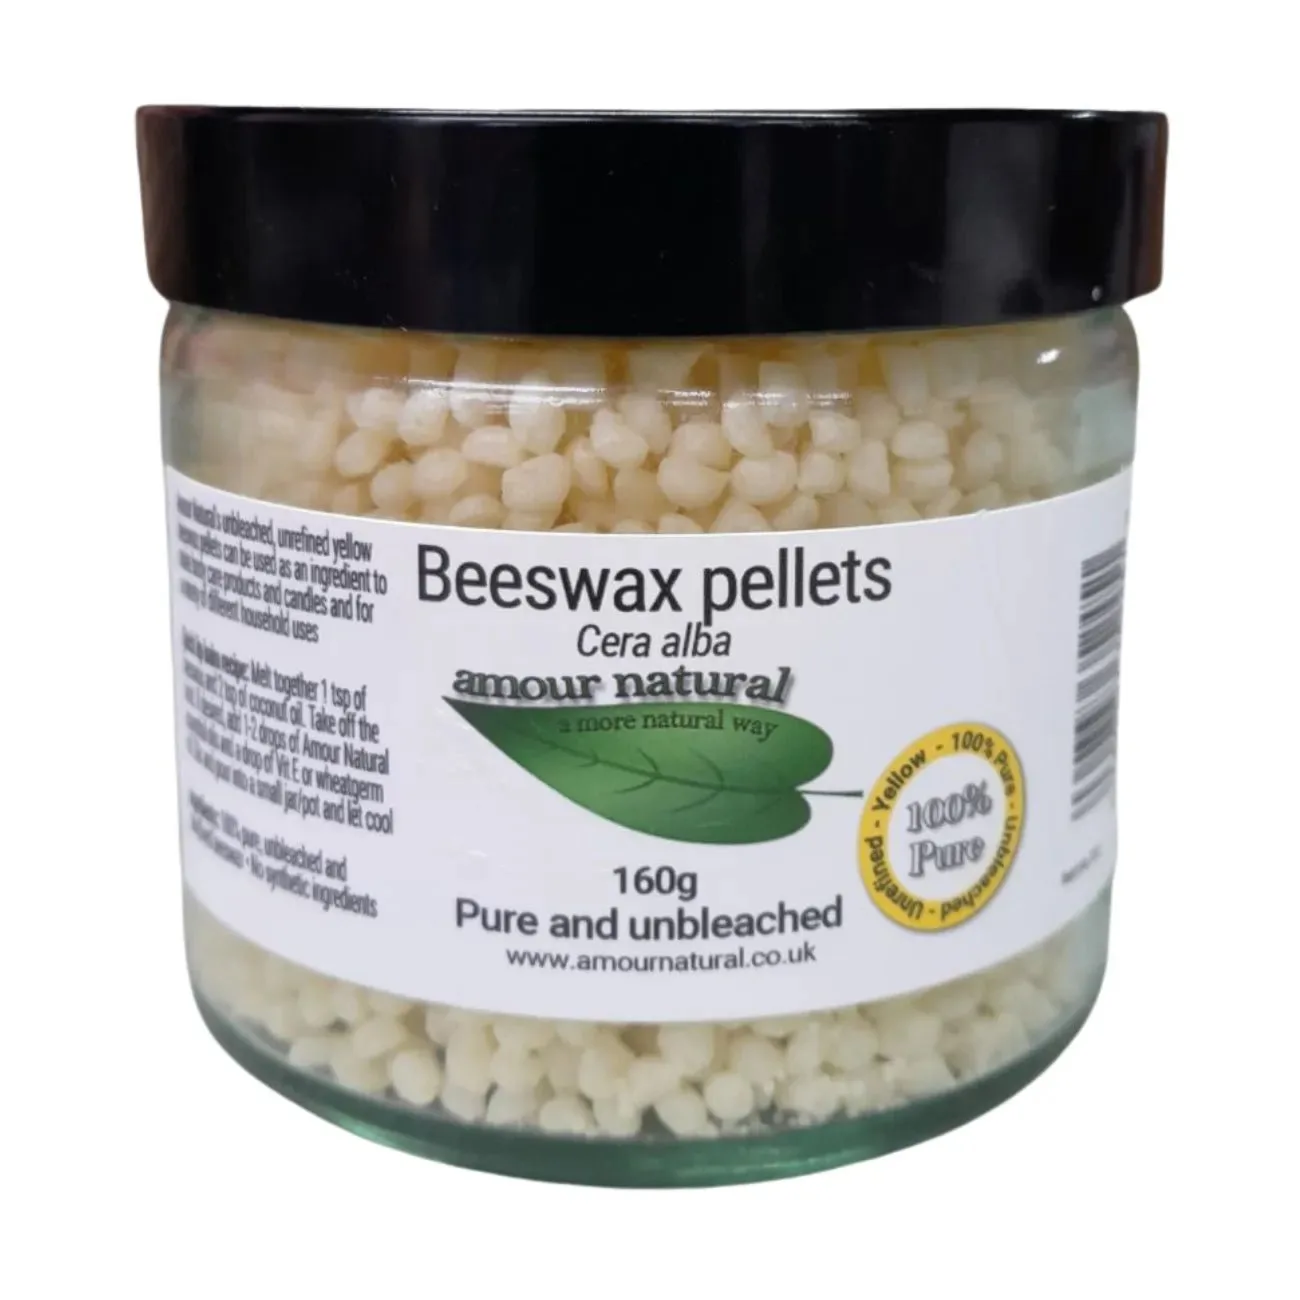
Pure Beeswax Pellets 160g