Quick answer
Use booty bands first for glute activation, then switch to resistance bands for full-body tension work. Keep the loop band above your knees or around your ankles for short, high-tension sets, and use longer resistance bands for rows, presses, and stretches. The order matters more than the number of bands you own.
Why the order of bands changes your results
Your glutes respond best when they are switched on before you ask them to carry load. Booty bands create horizontal tension that targets the glute medius and minimus, the muscles that stabilize your hips during every Pilates movement. If you skip that step and go straight to standing resistance band rows or presses, your larger hip flexors and lower back tend to take over. A two-to-three minute activation block with a loop band changes the pattern for the rest of the session.
Set up your space and check your bands
You need enough floor space to lie down with arms extended and enough standing room to anchor a long band under one foot. Check each band for nicks, sticky spots, or lost elasticity before you start. A band that has gone cloudy or stays stretched out after you release it will not give you reliable tension and should be replaced.
Pick the right band for each job
Loop-style booty bands sit above the knees or around the ankles and work best for side steps, clamshells, and glute bridges. Longer resistance bands with handles or plain ends work best for standing rows, chest presses, and assisted stretches. If you only have one loop band and one long band, you can still complete the full sequence below.
Your step-by-step band combo routine
- Warm up with a loop band above the knees: Lie on your back with knees bent and the loop band just above your knees. Perform 10 slow glute bridges, pressing your knees outward against the band at the top of each rep. Keep your ribs down and avoid arching your lower back. Checkpoint: you should feel this in your outer hips, not your lower back.
- Add side steps and clamshells: Stand with the loop band above your knees and take 10 controlled side steps in each direction, keeping your toes forward. Then lie on one side and open your top knee 12 times against the band before switching sides. Mistake to avoid: letting your top hip roll backward as you open the knee.
- Switch to a long resistance band for rows: Anchor the band under one foot and hold the ends with both hands. Hinge forward slightly and pull the band toward your ribs, squeezing your shoulder blades together for 12 to 15 reps. Use the mild or medium band from a three-pack so you can complete the reps with control. Checkpoint: your shoulders should stay away from your ears throughout the pull.
- Press overhead or forward with the same band: Stand on the band with both feet and press the handles overhead for 10 reps, or turn away from the anchor and press forward for chest work. Keep your wrists straight and your core braced so your lower back does not take over. Mistake to avoid: shrugging your shoulders to finish the last few reps.
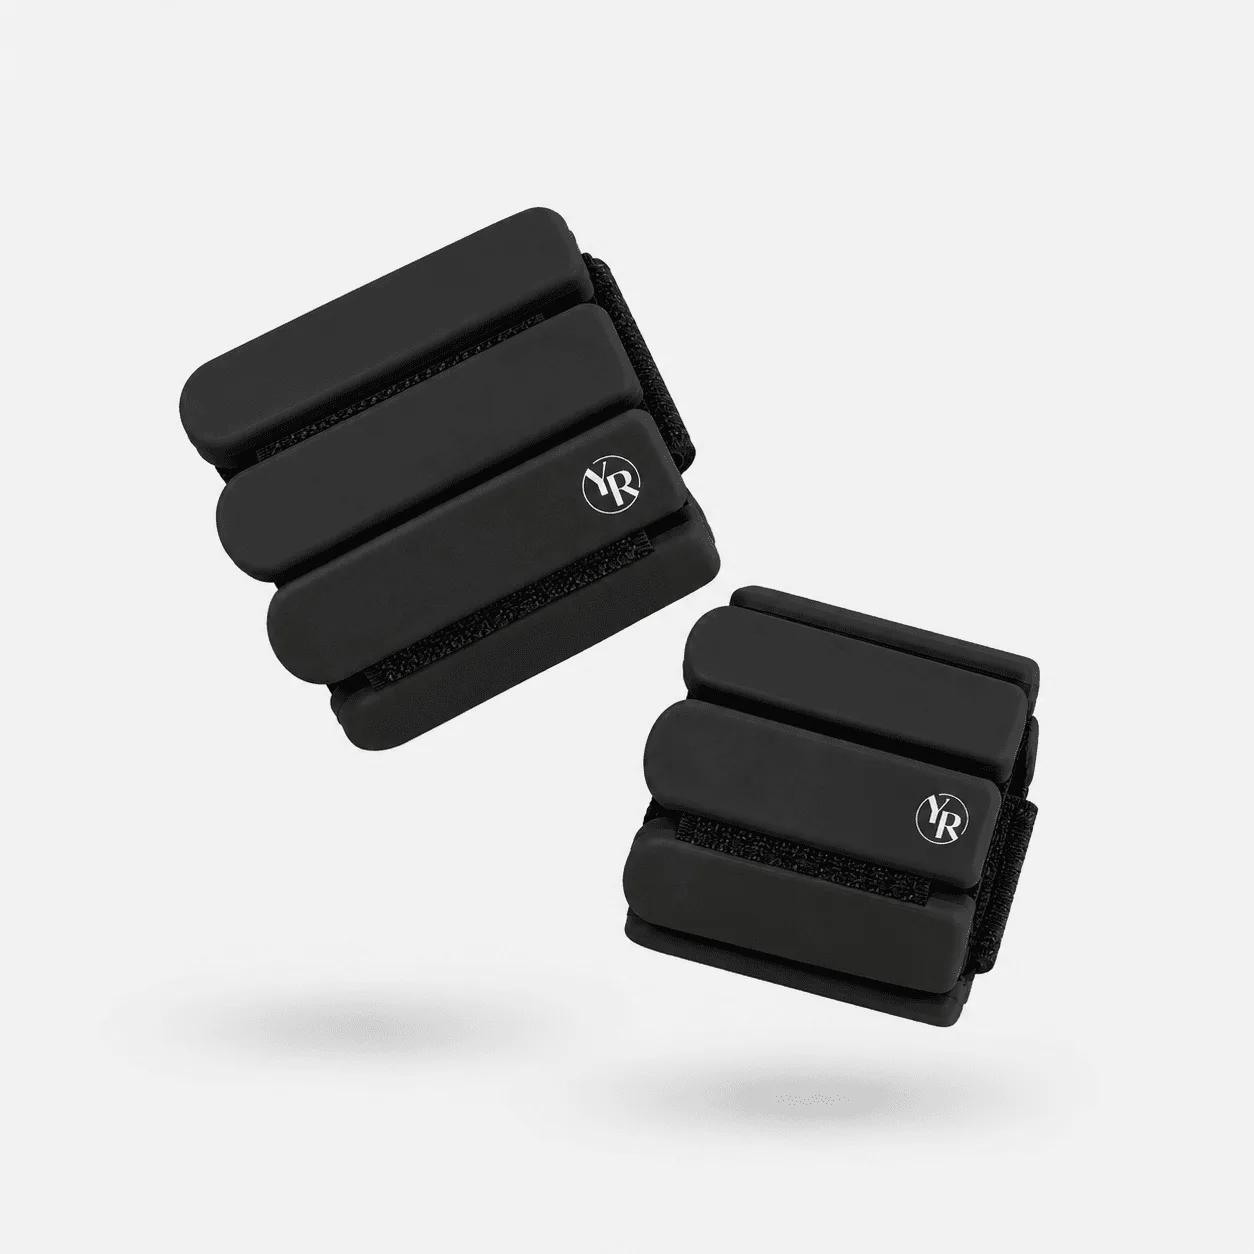
- Finish with ankle band work: Loop a booty band or a curved weighted band around your ankles and perform 10 slow leg lifts to each side while standing tall. Hold a wall or chair if balance is a factor. Checkpoint: your standing hip should not shift as the working leg moves.
- Stretch with the long band: Sit with one leg extended and loop the long band around your foot. Gently pull the band toward you for a hamstring stretch, holding for 20 to 30 seconds per side. Use the mild band so you can relax into the stretch rather than fight the tension. Next step: note which band level felt right for each exercise so your next session is faster to set up.
Bands that support this sequence
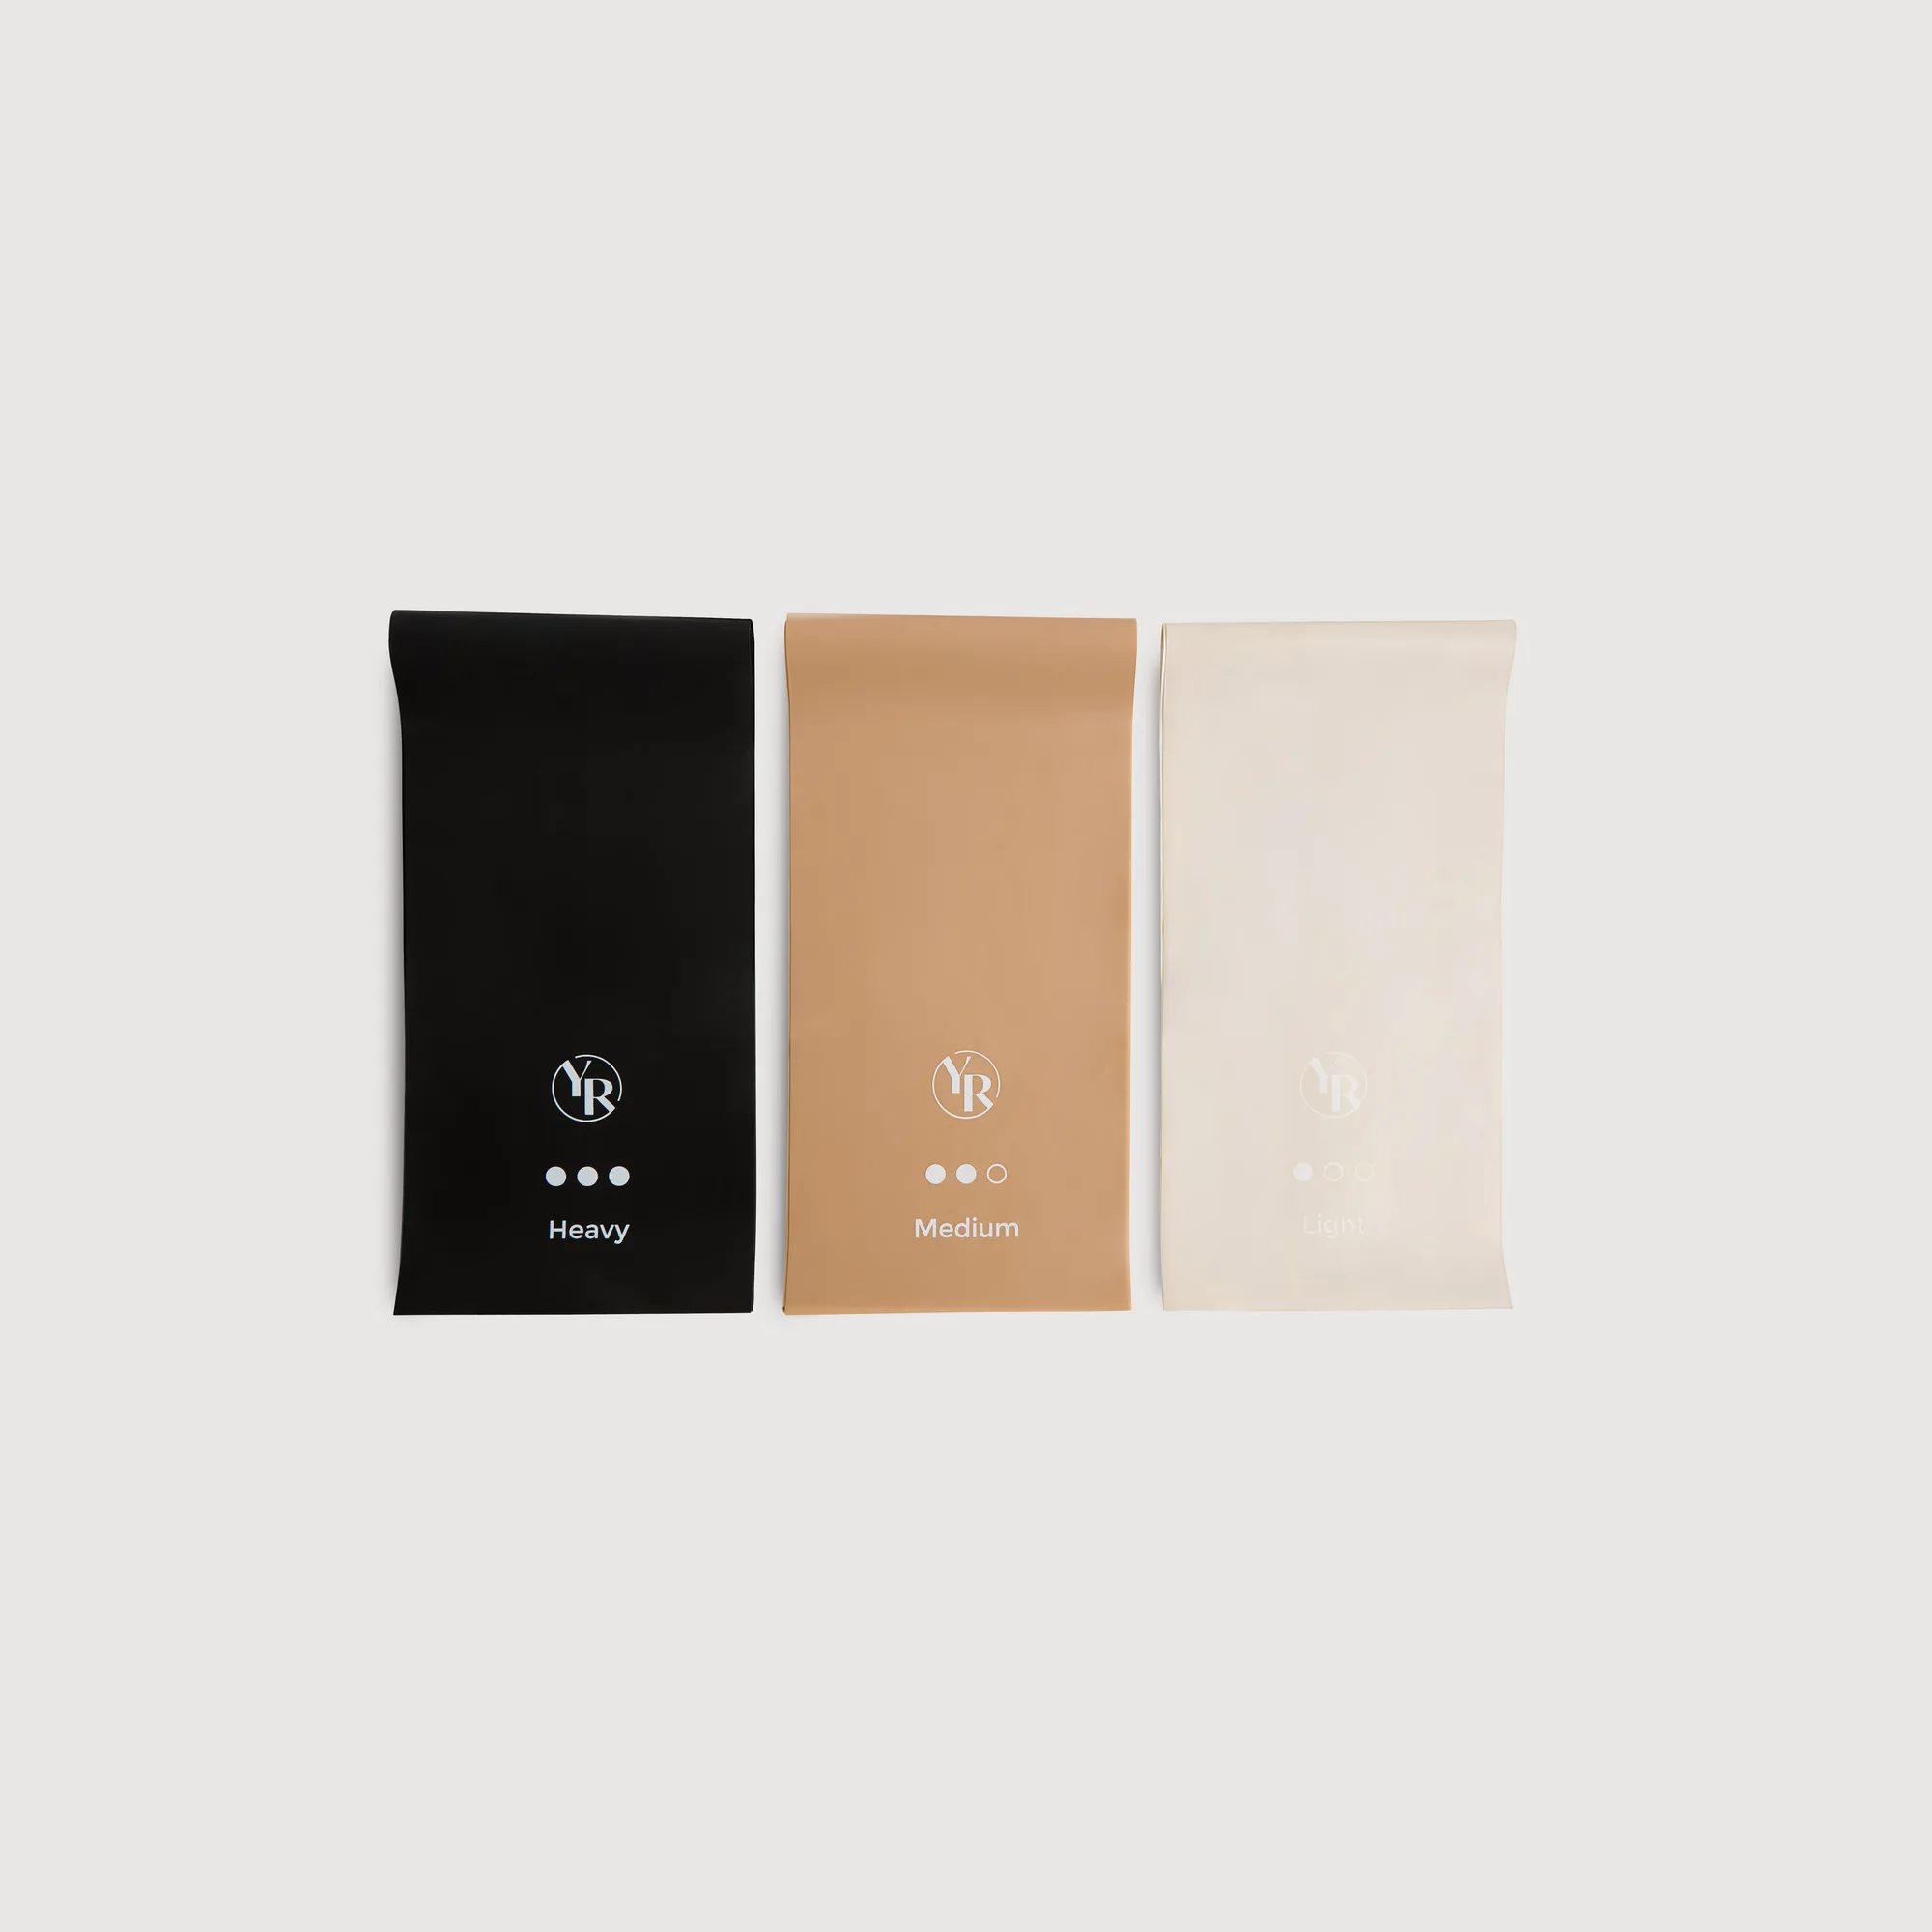
- Stretch Resistance Bands: Sold as a pack of three latex resistance bands with one mild, one medium, and one strong level. Lets you match tension to each exercise without guessing which band is which.
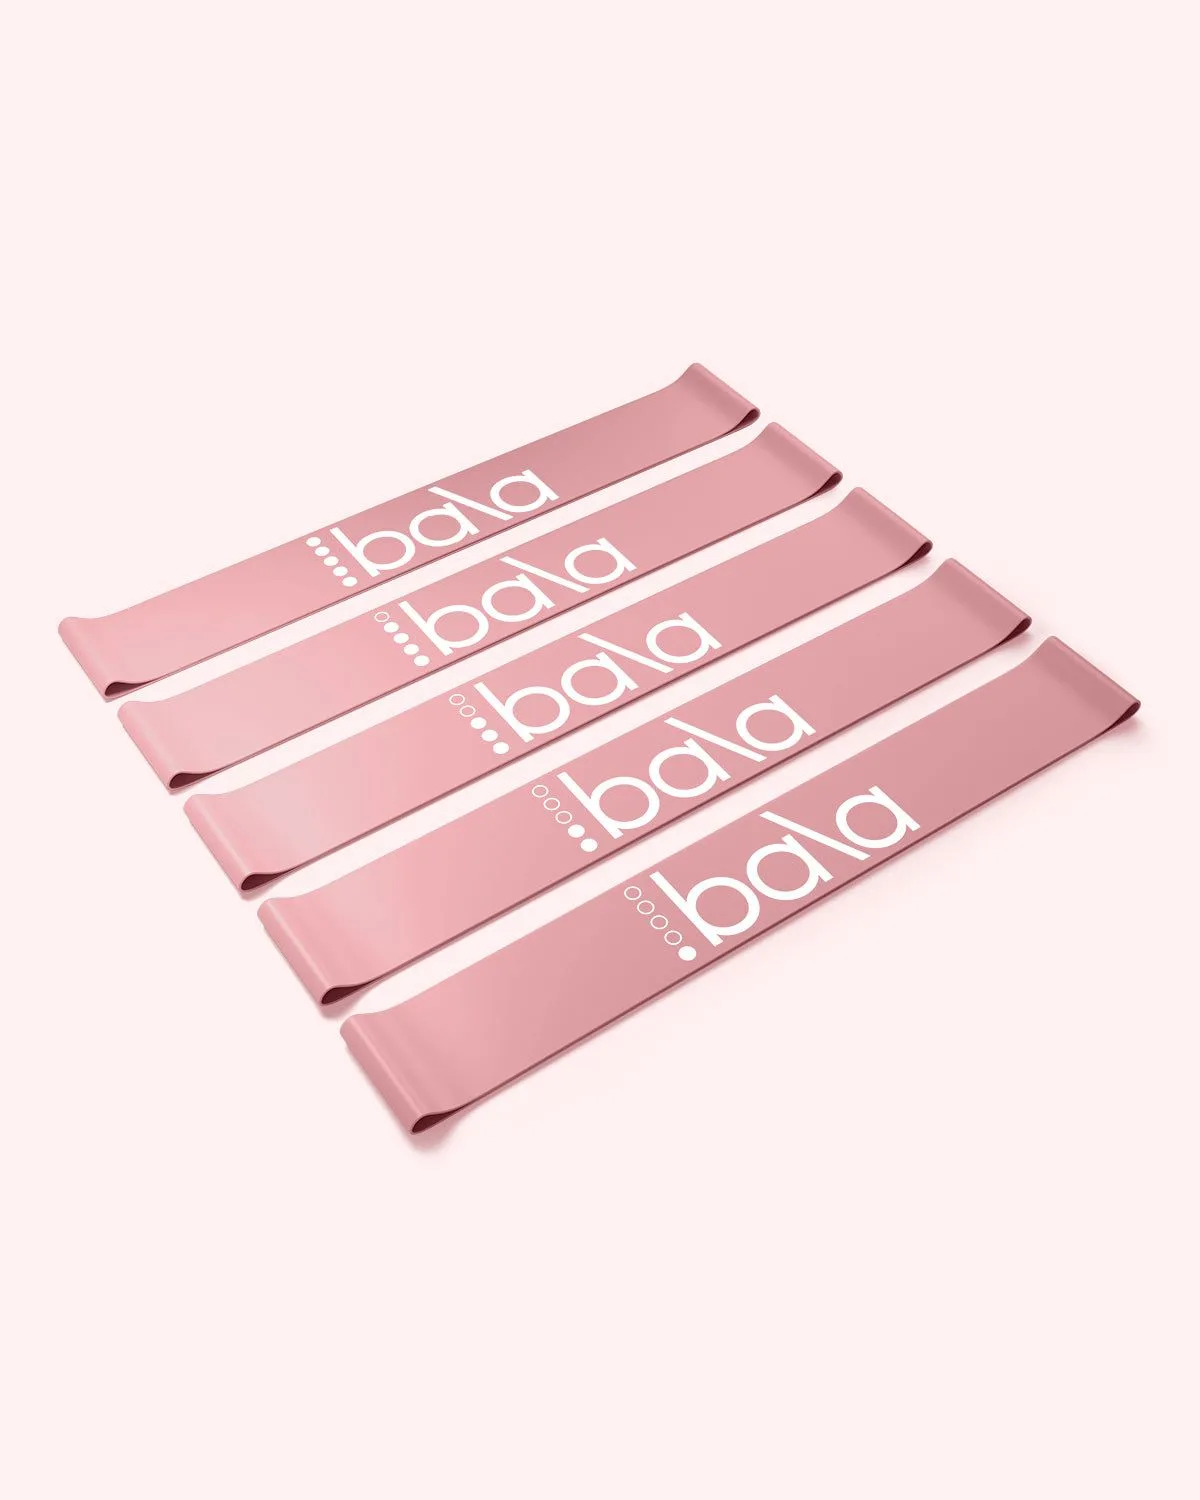
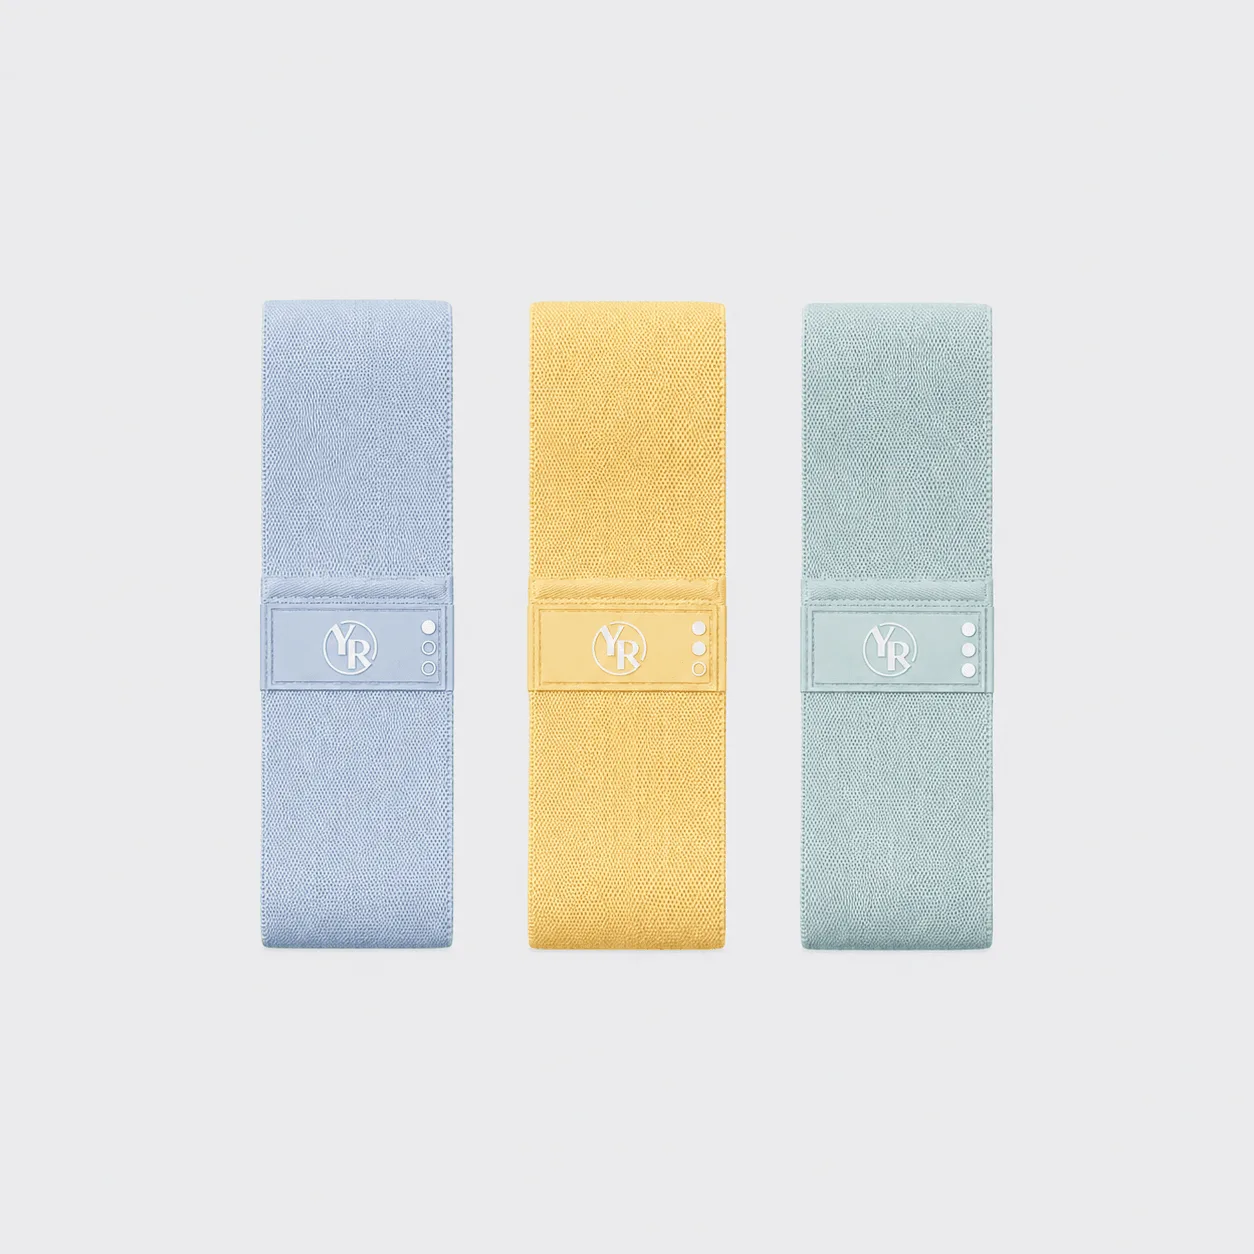
- Booty Bands Set: A booty band set with multiple bands in six color options, designed for glute-focused exercises and warm-ups. Gives you a dedicated loop band for activation so your long bands stay clean for the main workout.
- Curved Weighted Bands: Curved weighted bands for wrists and ankles with an ergonomic shape that stays in place during movement. Adds load to ankle and wrist positions once bodyweight band work feels easy.