Quick answer
Loop a 6ft buckled stretch strap around the arch of your foot, lie on your back, and use the strap to gently draw your straight leg toward you until you feel a mild stretch—not pain—in the back of your thigh. Hold for 30–60 seconds, breathe, then switch sides. The strap extends your reach so you can relax instead of straining to grab your foot.
Why a strap changes hamstring stretching
Tight hamstrings often make it hard to keep your back flat and your hip relaxed when you reach for your toes. A strap removes that struggle by adding length to your arms, so you can stay in proper alignment while the stretch does the work. The buckled design lets you cinch the loop to the exact size you need, then release it quickly when you switch legs.
Set up your space and strap
You need a mat or a non-slip surface, a strap, and enough floor space to lie down fully. Sit on your mat, slip the arch of your right foot into the strap loop, and tighten the buckle so the strap sits snugly but does not pinch. Lie back and bend your left knee with the foot flat on the floor for low-back support.
Step-by-step hamstring stretch with the strap
Follow these steps in order. Move slowly, and stop if you feel sharp pain, tingling, or numbness.
- Hold the strap handles or the strap ends with both hands, elbows slightly bent, and extend your right leg toward the ceiling.
- Gently pull the strap until you feel a mild stretch behind your right thigh. Keep your left knee bent and your lower back pressed lightly into the mat.
- Hold for 30–60 seconds while breathing steadily. Do not bounce or pull harder as the stretch eases.
- Lower the leg with control, remove the strap, and repeat on the left side. Complete 2–3 rounds per leg.
Common mistakes and how to fix them
The most common mistake is pulling the strap so hard that your hips lift off the floor or your back rounds. That usually means you are forcing range instead of letting the muscle lengthen. Another mistake is holding your breath; slow exhales help your nervous system relax into the stretch. If you feel a pinching sensation in the front of your hip, bend the raised knee slightly or reduce how far you pull the strap.
How to progress safely over time
Once you can hold the stretch for 60 seconds with a flat back and relaxed shoulders, you can gradually straighten the raised leg more or bring the strap closer to your foot. Progress by increasing hold time or range—not by adding force. If you stretch daily, keep sessions short and consistent rather than long and aggressive.
Your 6ft stretch strap routine at a glance
- Loop and buckle: Sit on your mat, slip the arch of one foot into the strap, and tighten the buckle so the loop is snug but not tight. Checkpoint: you should be able to slide one finger under the strap.
- Lie back and align: Lie on your back, bend the other knee with the foot flat, and press your lower back gently into the mat. Checkpoint: your back stays flat; if it arches, bend the raised knee a little.
- Draw the leg up: Hold the strap ends and pull until you feel a mild stretch behind the thigh. Hold 30–60 seconds, breathing slowly. Checkpoint: no bouncing, no sharp pain, no hip lifting.
- Switch sides and repeat: Lower the leg with control, release the buckle, and repeat on the other side. Do 2–3 rounds per leg. Next step: after a week, add 10–15 seconds to each hold if you can keep your back flat.
Product facts
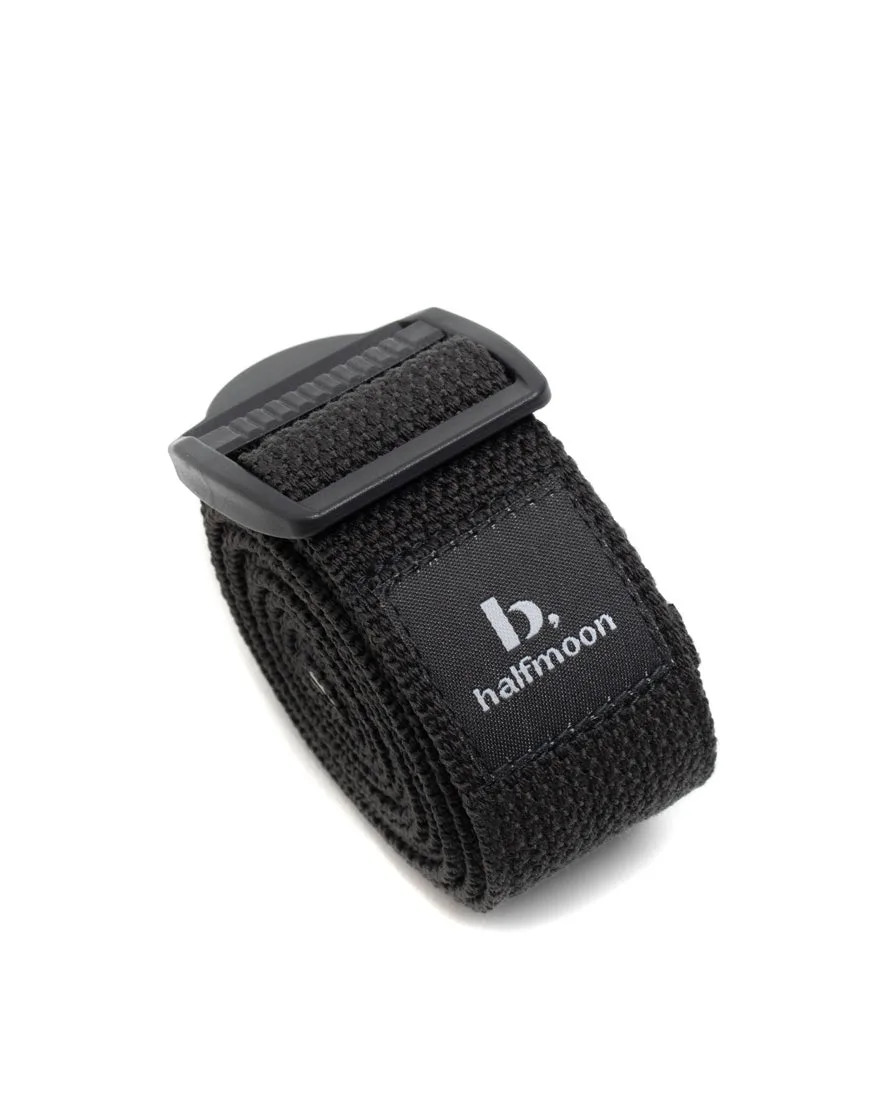
- buckled stretch strap 6ft: buckled stretch strap 6ft is 6 feet long with a cinchable buckle for easy adjustment. The length gives you room to loop around your foot and still hold the ends comfortably, while the buckle lets you set the loop size once and release it quickly between legs.
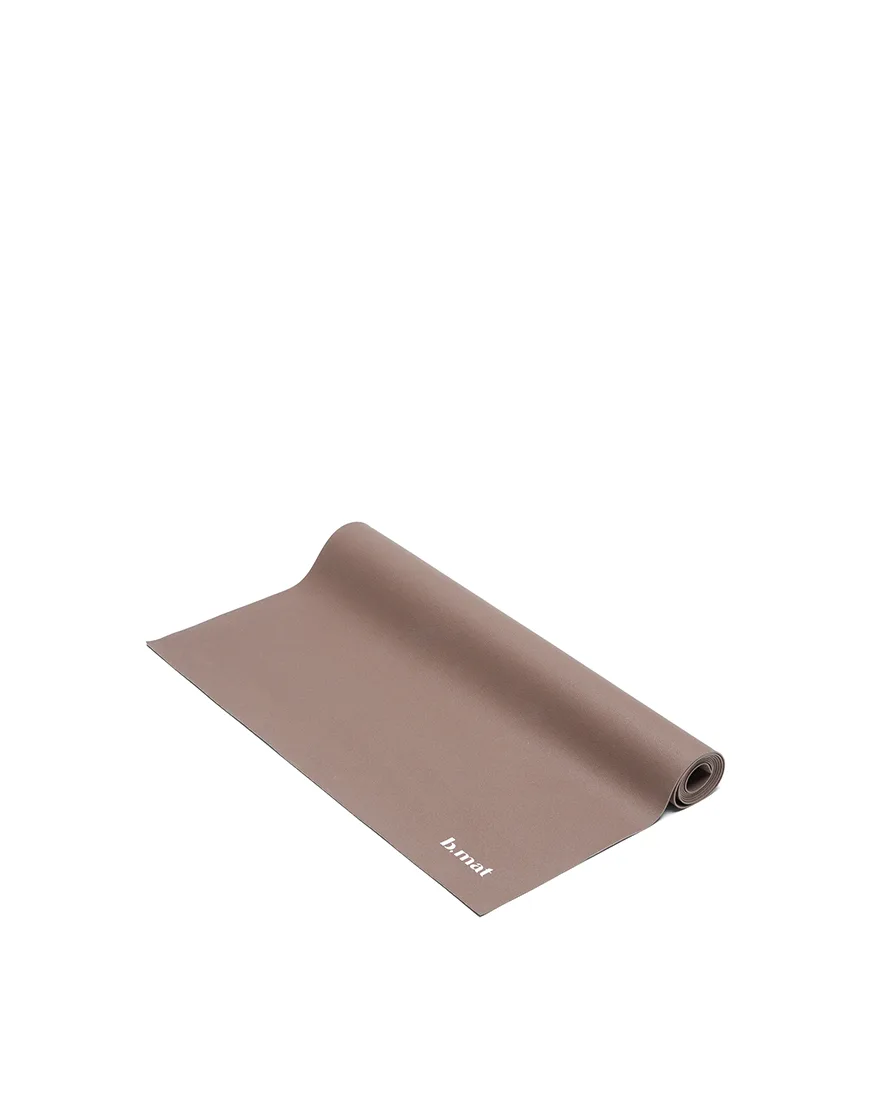
- b, mat traveller 2mm: b, mat traveller 2mm is compact and lightweight, designed to roll or fold for travel. If you stretch away from home, this mat packs into a bag or carry-on, so you can keep your hamstring routine consistent on trips.