Quick Answer
To use a car vent mount safely, choose a horizontal vent vane in a location that doesn't obstruct your view or airbag deployment. Attach the mount securely, insert your phone, and adjust the angle for easy visibility. Always ensure the mount is firmly clipped and the phone is within your reach without stretching.
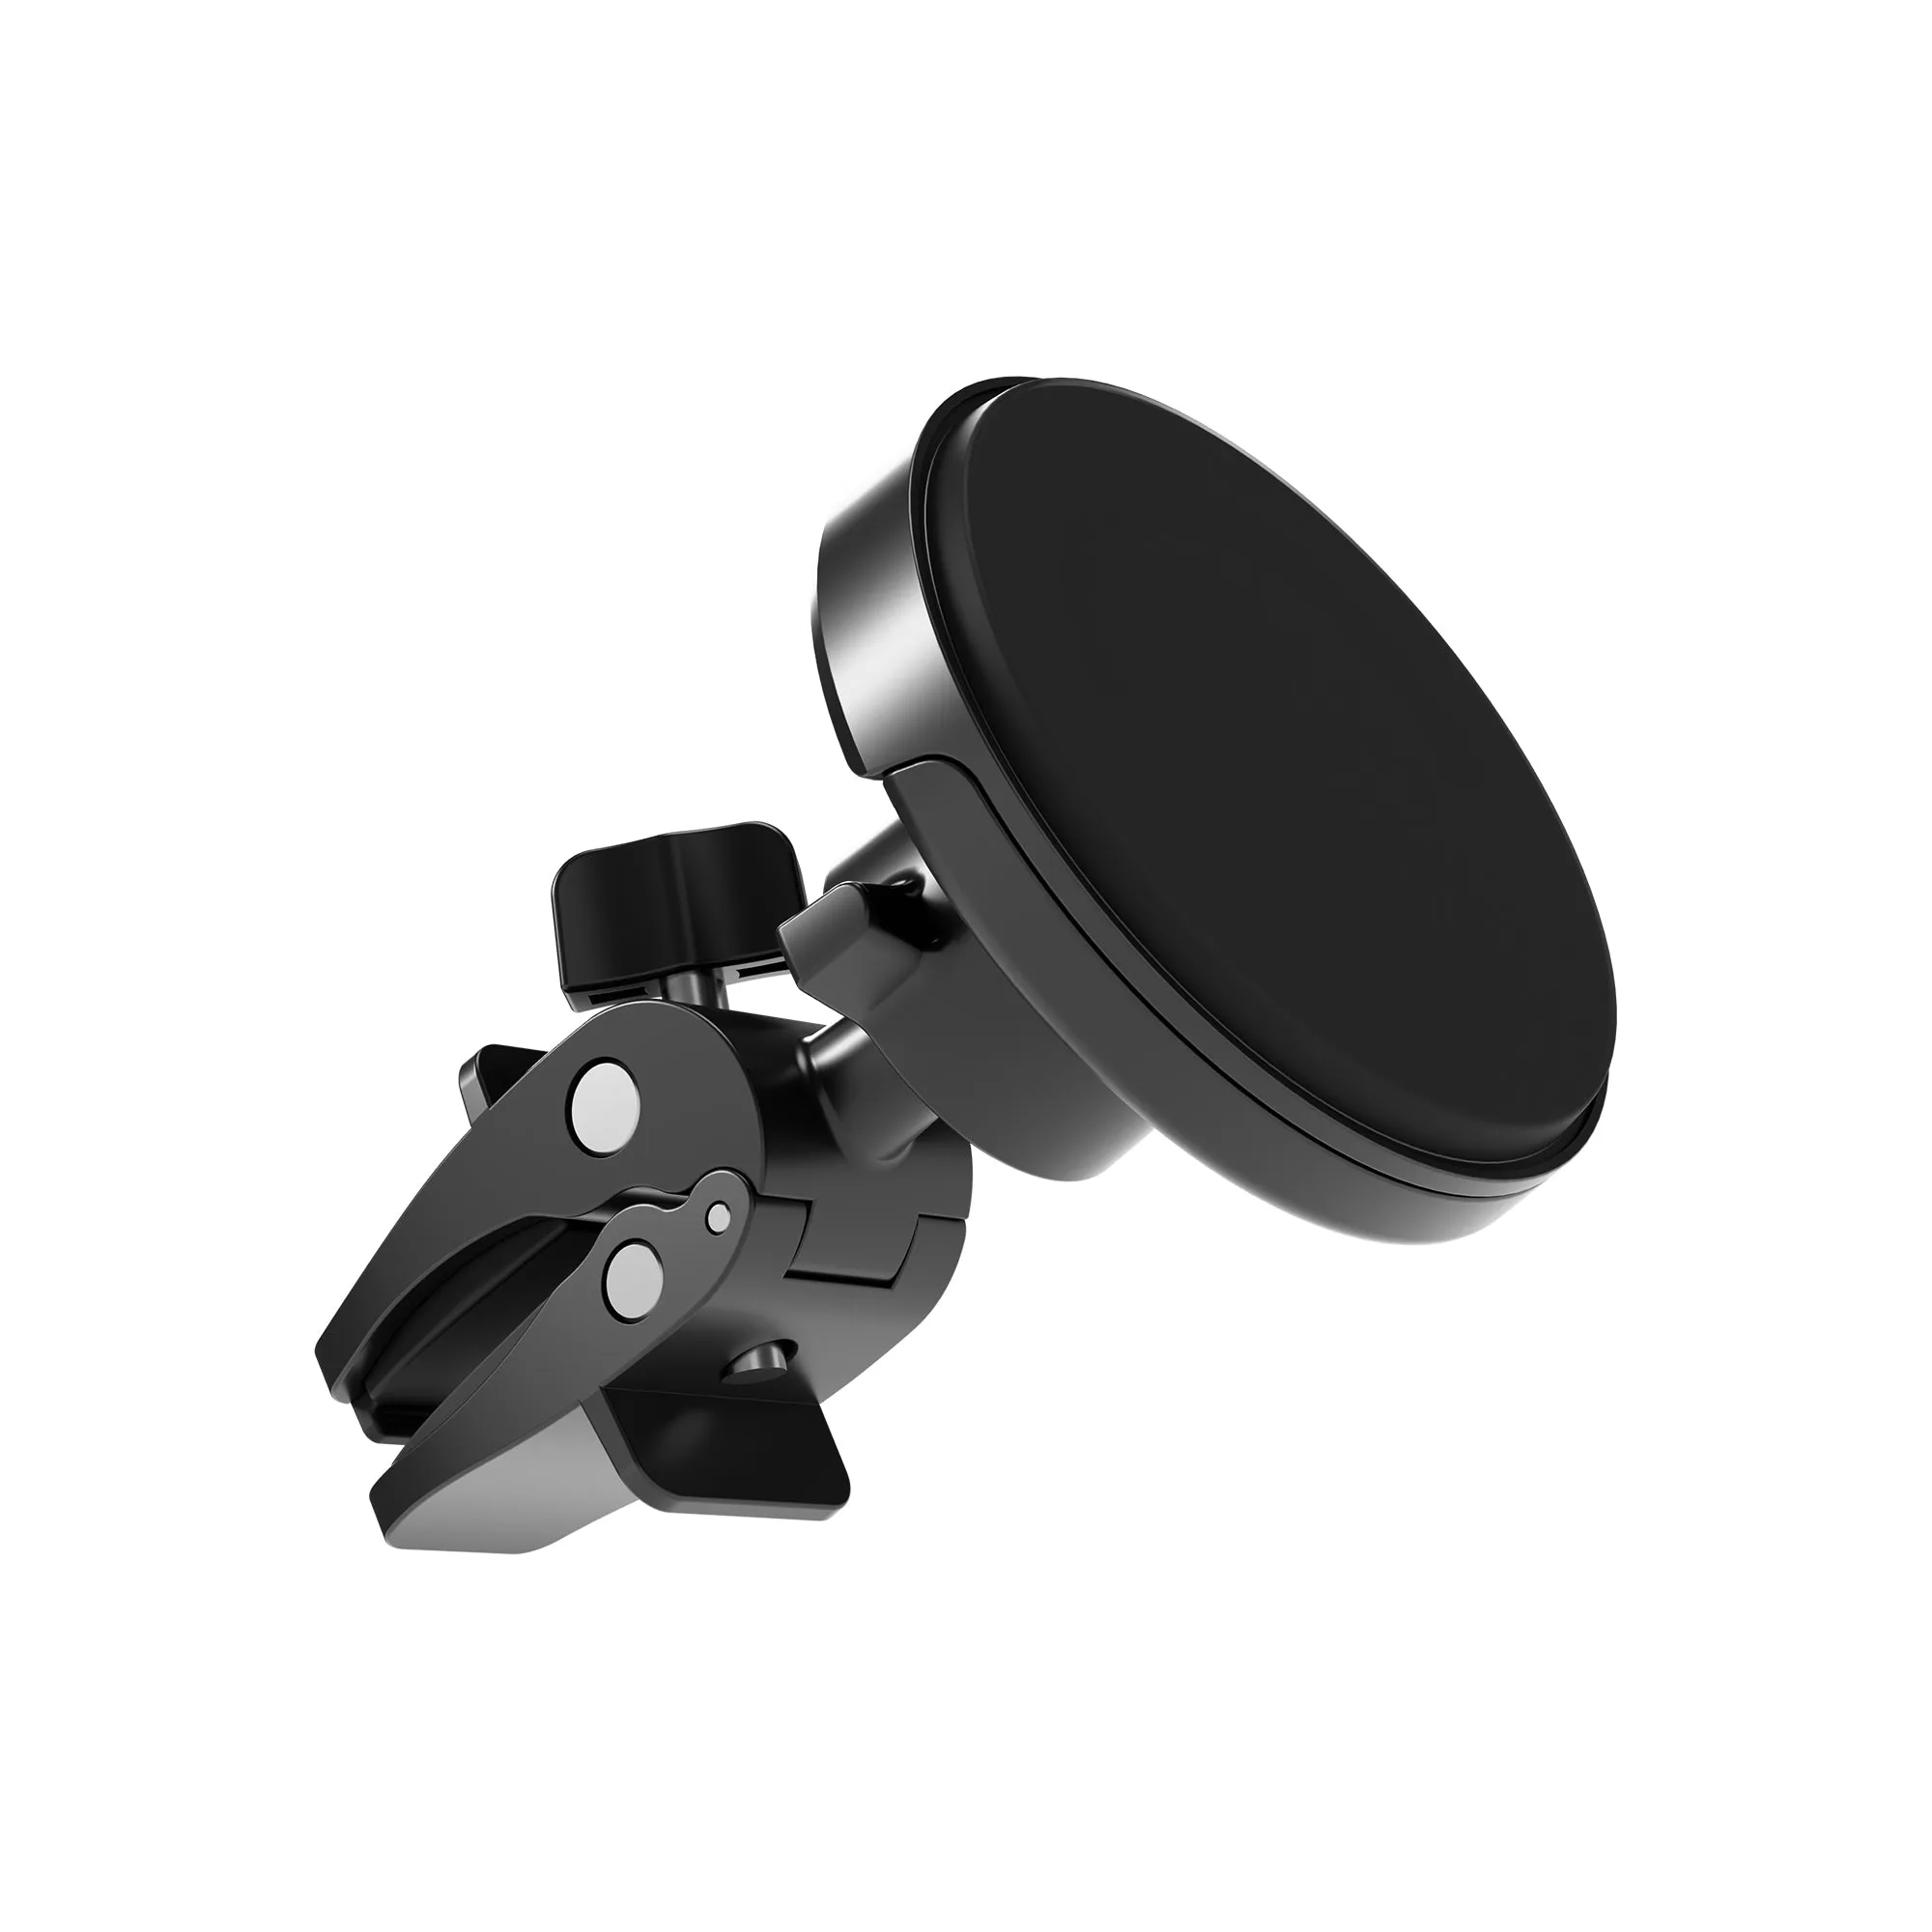
car vent mount
Car vent mounts are a popular choice for hands-free driving, offering easy access to your phone for navigation, calls, and music. However, using them safely requires more than just clipping them onto a vent. In this guide, we'll walk you through the step-by-step process of installing and using a car vent mount, highlighting common mistakes and best practices to ensure both safety and functionality.
Whether you're a seasoned user or new to vent mounts, these tips will help you get the most out of your device while keeping your attention on the road. From choosing the right vent to adjusting the angle, we cover everything you need to know.
Why Choose a Car Vent Mount?
Car vent mounts offer a convenient way to keep your phone visible and accessible without cluttering your dashboard or windshield. They are typically easy to install and remove, making them a flexible option for drivers who switch between vehicles. Unlike dashboard mounts that use adhesive, vent mounts don't leave residue and can be repositioned instantly.
However, vent mounts have limitations. They may not be compatible with all vent designs, and the airflow can be obstructed, affecting your car's heating or cooling. Additionally, in some vehicles, vent placement may not be ideal for visibility. Weighing these pros and cons helps you decide if a vent mount is right for you.
- Ensure your vent has horizontal vanes for a secure grip; vertical vanes may not hold the mount properly.
- Avoid vents that are directly in your line of sight or that blow directly on your phone, as this can cause overheating or glare.
Step-by-Step Installation Guide
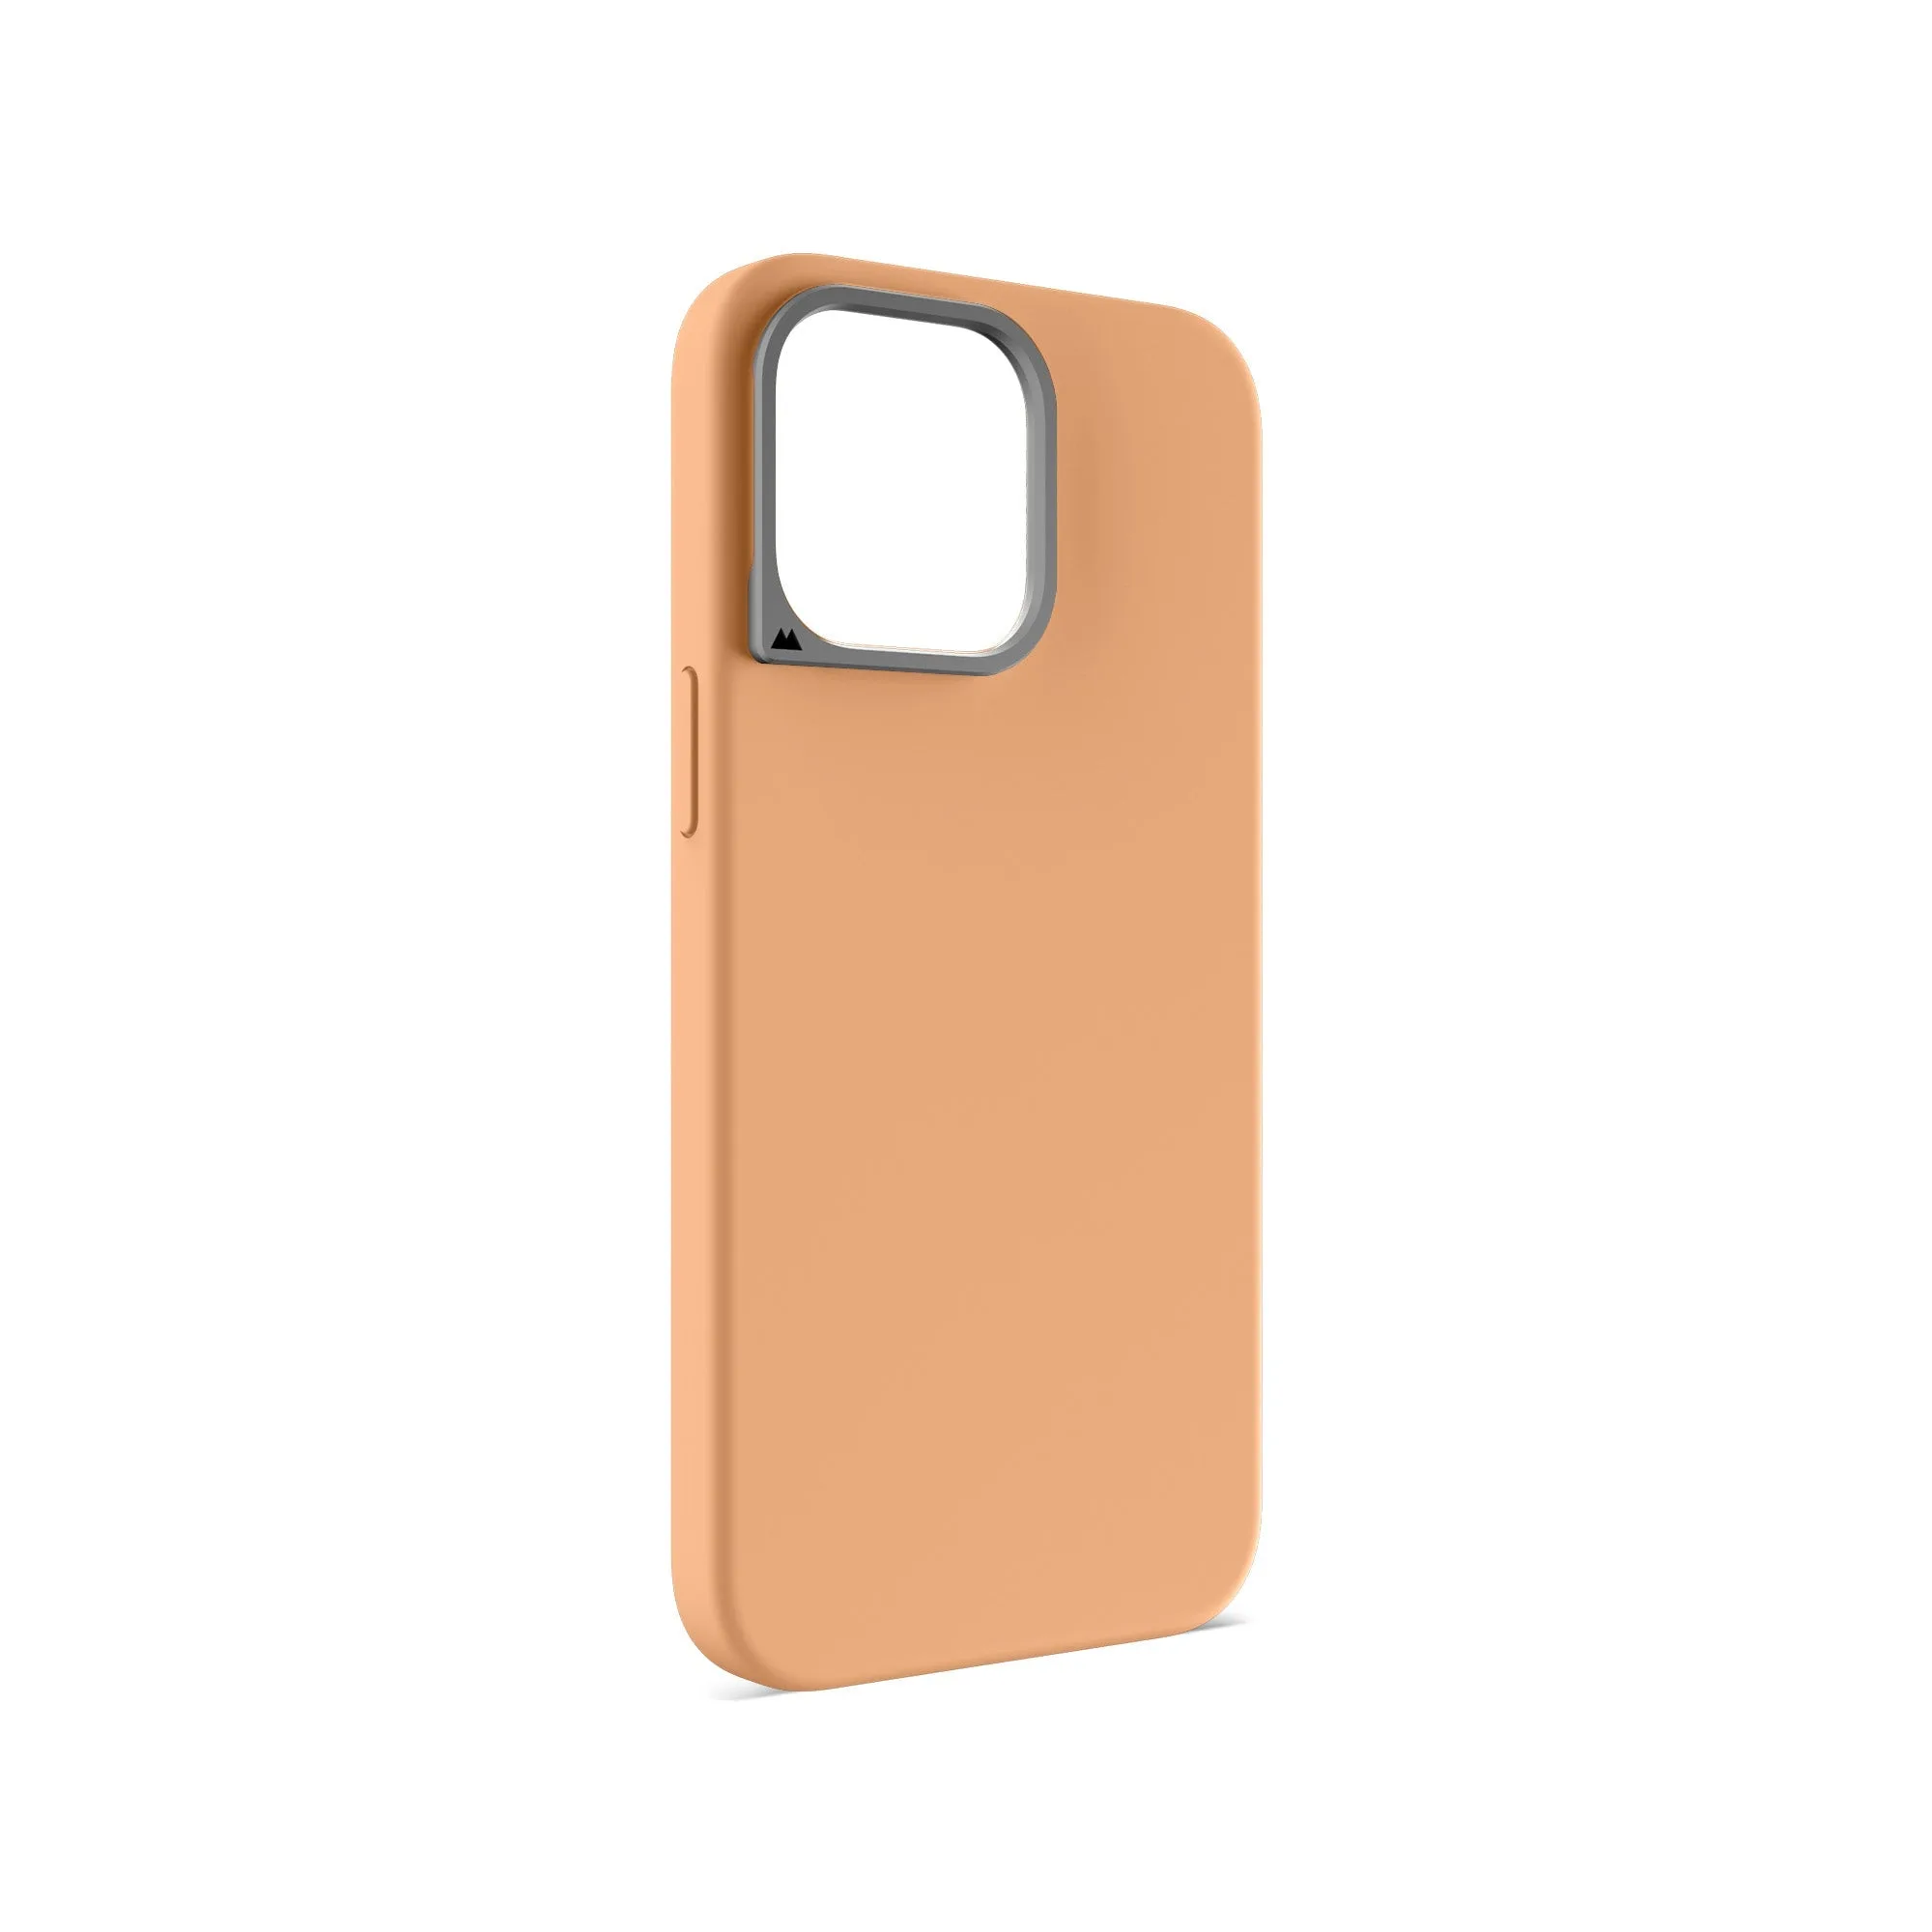
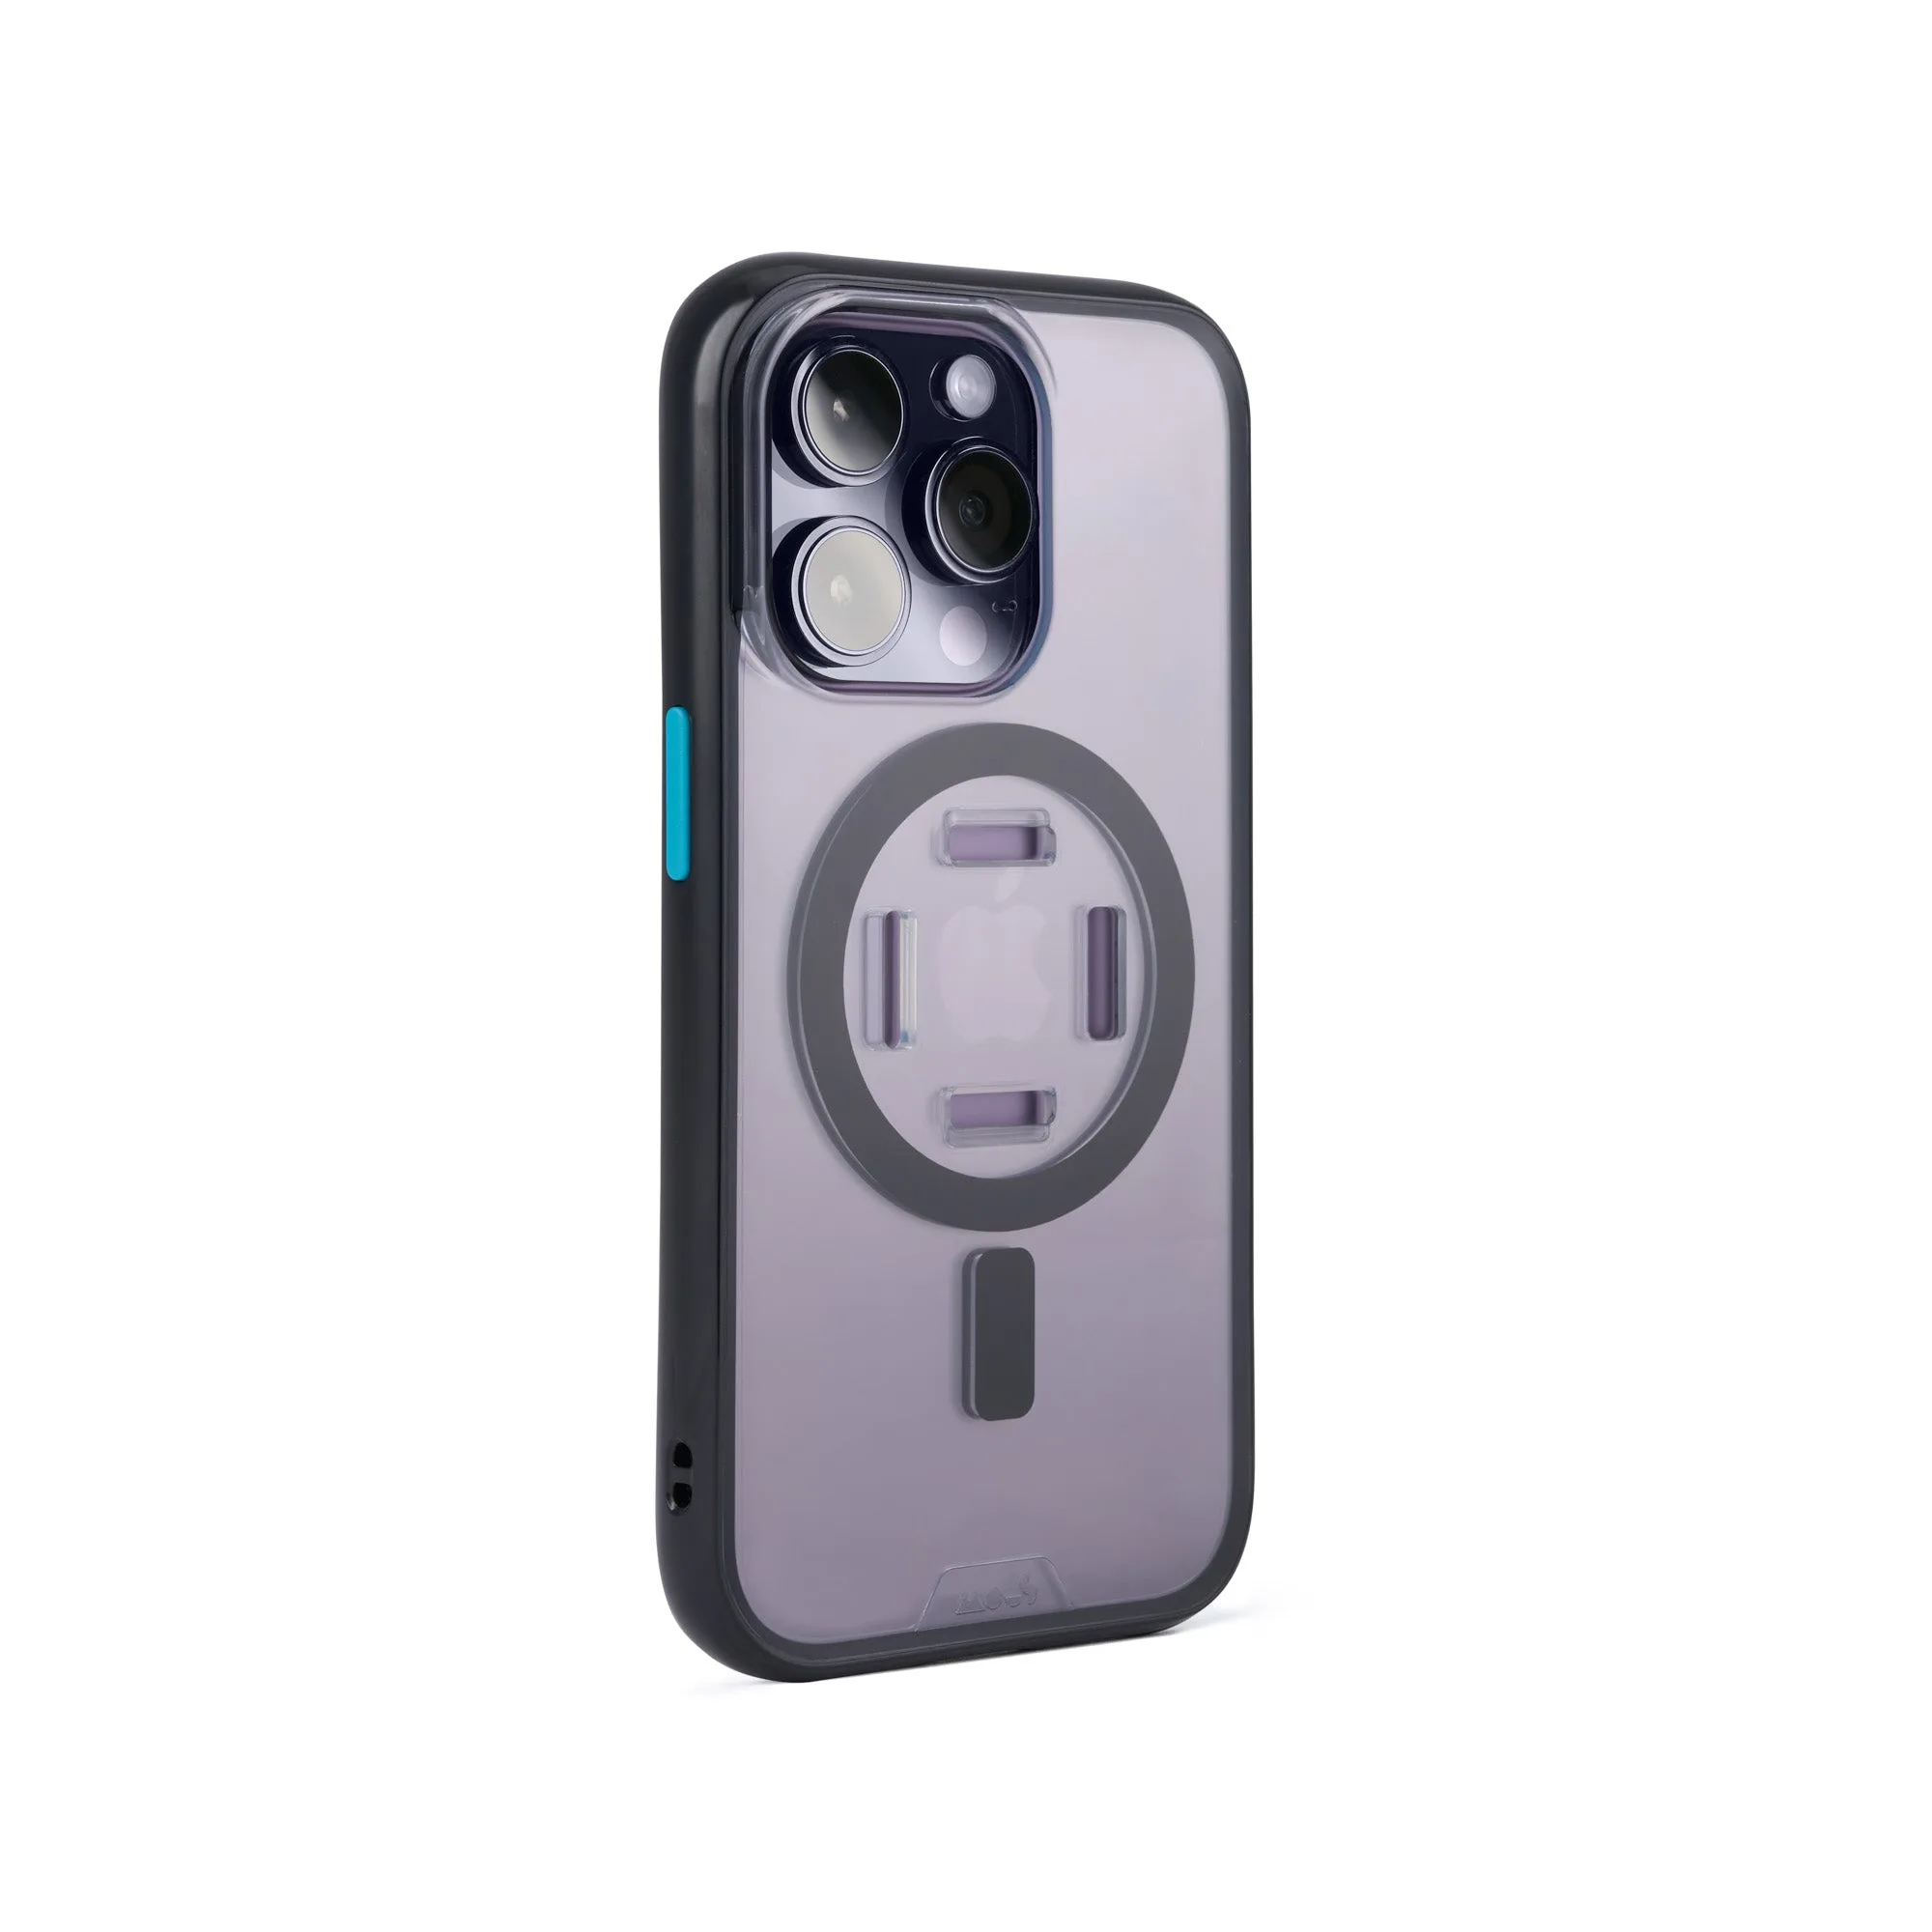
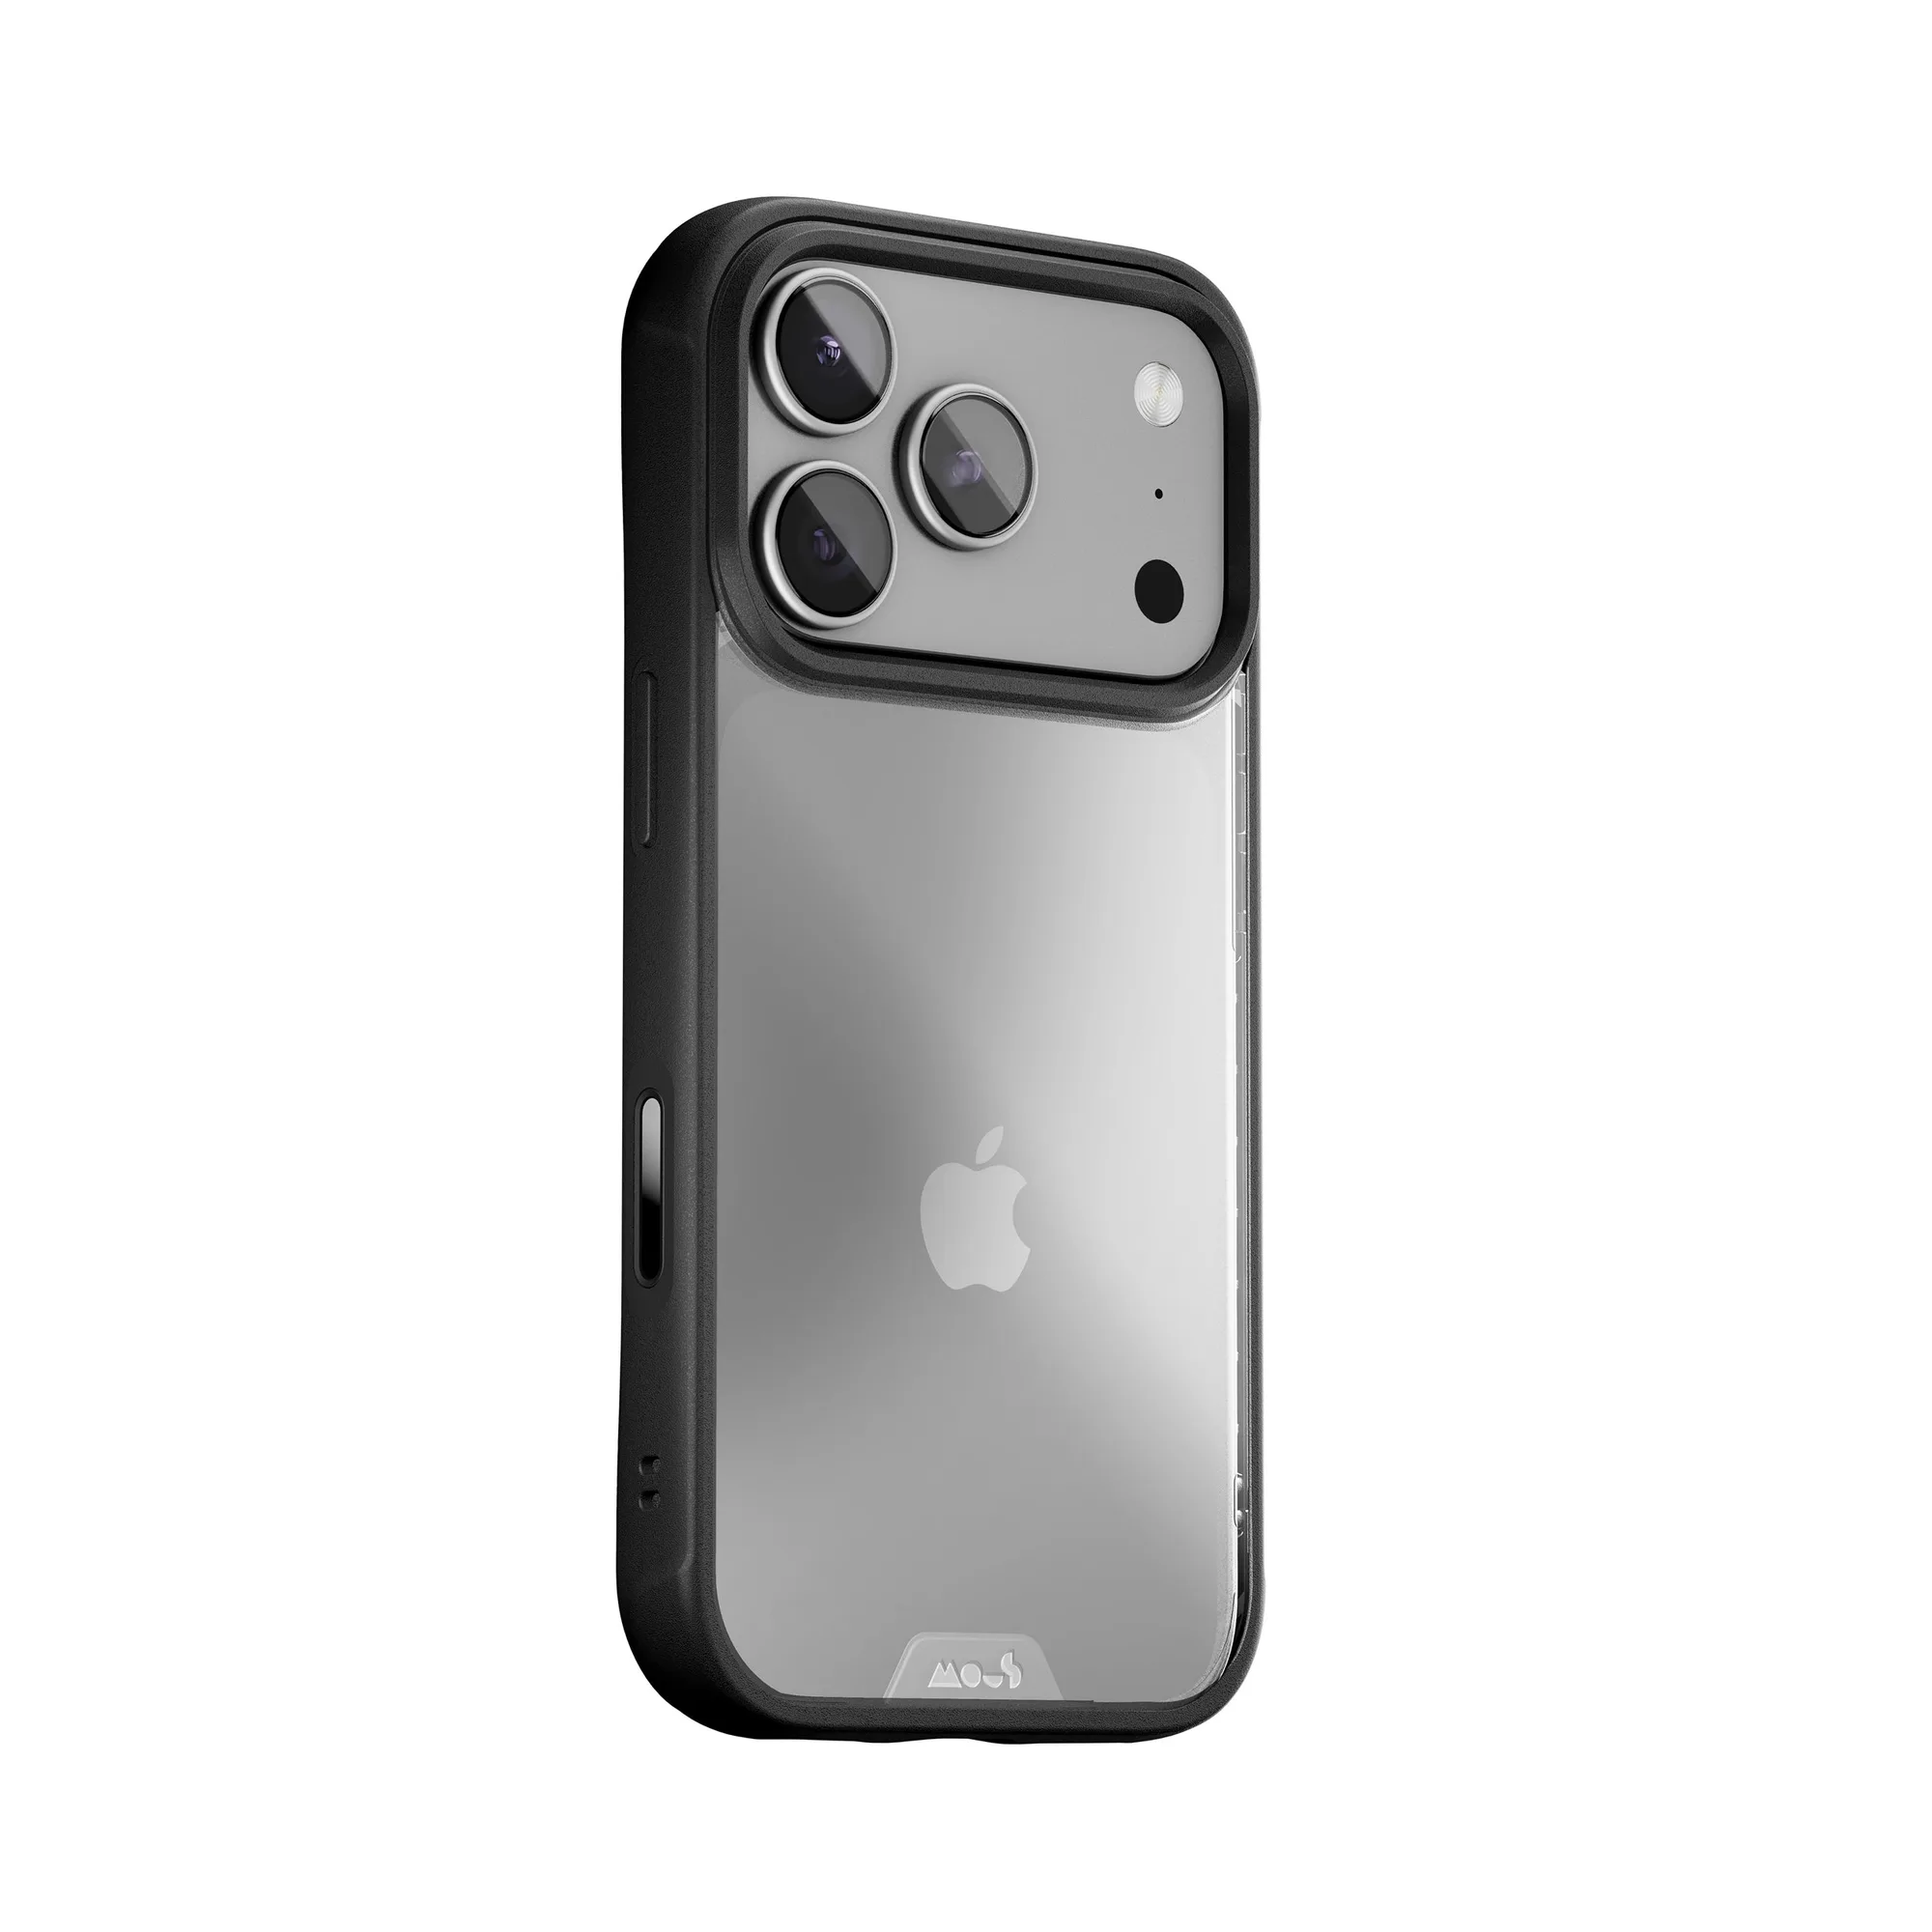
Before you begin, make sure your vent mount is compatible with your phone and case. Some mounts are designed for specific case systems, like the Mous Limitless series, which feature built-in magnets for secure attachment. If you're using a universal mount, ensure it can accommodate your phone's size and weight.
Start by selecting the ideal vent. The best position is typically the vent closest to your natural line of sight, such as the left or right side of the dashboard, but not one that obstructs your view of the road or mirrors. Also, avoid vents that are in the path of airbags – in a collision, the airbag could deploy and turn the mount into a projectile.
- For Mous cases, consider using a magnetic mount like the Magnetic Phone Ring and Stand for easy one-handed attachment.
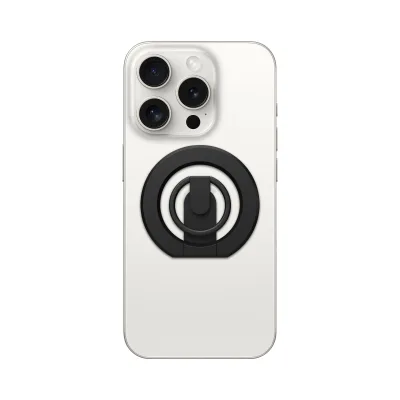
Magnetic Phone Ring and Stand
Step 1: Choose the Right Vent
The first step is to identify a vent that has horizontal vanes. Most vent mounts are designed to clip onto horizontal slats. If your car has vertical vanes, you may need a different type of mount. Also, check that the vent is not too loose or too tight – the mount should fit snugly without damaging the vanes.
Consider the location: the vent should be at or below eye level to minimize the need to take your eyes off the road. Also, ensure the vent doesn't have a dial or control that would be blocked by the mount.
- Test the vent by gently pulling on the mount after installation to ensure it's secure.
Step 2: Attach the Mount Securely
Hold the vent mount with the clip facing the vent vanes. Align the clip with the horizontal slats and push it in until you feel it click. Some mounts have a tightening knob or screw – if yours does, turn it clockwise to secure the clip firmly against the vanes.
A common mistake is not pushing the clip deep enough, which can cause the mount to fall off when you insert your phone. Ensure the clip is fully engaged and the mount doesn't wobble. If your mount has a locking mechanism, engage it for extra security.
- Check that the mount doesn't obstruct the vent's airflow completely – you may want to adjust the vent direction to still allow some air to pass.
Step 3: Insert Your Phone
If you're using a magnetic mount, simply place your phone with a compatible magnetic case or a metal plate attached to the back (if your case doesn't have built-in magnets). For clamp-style mounts, open the arms, place your phone, and release to let it grip securely. Ensure the phone is centered and doesn't cover any essential buttons or ports.
Adjust the phone's angle for optimal viewing. Tilt it so it's facing you without excessive glare. The phone should be positioned so you can see the screen at a glance without turning your head too much. For navigation, a portrait orientation is often best, but you can switch to landscape if you prefer.
- If your phone case is thick or has a pop socket, you may need to remove it for a secure fit in a clamp mount. For magnetic mounts, ensure the magnet is strong enough to hold your phone, especially on bumpy roads.
Step 4: Adjust for Visibility and Accessibility
Once your phone is mounted, adjust the mount's angle so the screen is clearly visible without straining your neck. The ideal position is to have the phone just below your line of sight, similar to where a car's infotainment screen sits. This allows you to glance at it without taking your eyes off the road for more than a moment.
Also, consider the reach: you should be able to touch the screen without leaning forward. If you find yourself stretching, reposition the mount to a closer vent. Remember, the goal is to minimize distraction – if the phone is hard to see or reach, it becomes a safety hazard.
- Use voice commands or steering wheel controls to interact with your phone while driving, reducing the need to touch the screen.
Step 5: Test Before You Drive
Before starting your journey, give the mount a gentle shake to ensure it's secure. Also, test the phone's stability by tapping the screen – it shouldn't wobble excessively. If you notice any movement, re-tighten the mount or reposition it.
Take a short test drive to see how the mount performs on bumpy roads or sharp turns. If it slips or the phone falls, adjust the mount or consider a different vent. It's better to discover any issues in your driveway than on the highway.
- Check that the mount doesn't interfere with the vent's adjustment dials or the operation of your car's climate controls.
Step-by-Step Safety Checklist
- Choose the right vent: Select a horizontal-vane vent that doesn't obstruct your view or airbag deployment. Ensure the vent is sturdy and accessible. Avoid vents with vertical vanes or those that are directly in your line of sight.
- Attach the mount securely: Push the clip onto the vanes until it clicks, and tighten any locking mechanisms. Ensure the mount doesn't wobble. Test the grip by pulling gently – if it moves, re-seat it.
- Insert your phone properly: For magnetic mounts, ensure your case has a strong magnet. For clamps, center the phone and release to grip. Adjust the angle for clear visibility. Make sure the phone doesn't cover essential controls or obstruct the vent's airflow.
- Adjust for visibility and reach: Position the phone just below your line of sight and within easy reach. Tilt to reduce glare and ensure you can see the screen at a glance. If you have to stretch or move your head, reposition the mount.
- Test before driving: Shake the mount to ensure it's secure, and take a short drive to check stability on bumps and turns. If the phone falls or the mount slips, re-adjust or consider a different mounting solution.
Enhance Your Vent Mount Experience with Mous Accessories
- https://mouse-m.com/products/wireless-charging-suction-mount-351279Wireless Charging Suction Mount: Get rapid charge speeds and hands-free functionality wherever you are with this charging suction mount. Features unhindered MagSafe compatibility, high-speed charging, adjustable mount head, portrait or landscape viewing, and a bespoke suction cup connection. This mount offers a versatile alternative to vent mounts, providing adjustable viewing angles and fast charging without occupying a vent. Its suction cup allows for placement on dashboards or windshields, which might be preferable in some vehicles.
- Magnetic Phone Ring and Stand: Experience total phone freedom with our versatile phone ring and stand – secure grip and hands-free convenience. Built with a super-strong MagSafe® compatible connection. This accessory adds a secure grip and stand to your phone, making it easier to handle and prop up when using a vent mount. The MagSafe compatibility ensures a strong magnetic connection with compatible mounts.
By following these steps, you can safely and effectively use a car vent mount, keeping your phone accessible without compromising your safety. Remember to choose the right vent, secure the mount properly, and adjust for optimal visibility. For a reliable and versatile mounting solution, consider the Wireless Charging Suction Mount from Mous, which offers hands-free functionality and rapid charging. Drive safely!