Quick answer
To use a ceramic egg poacher pan, add water to the base, bring it to a gentle simmer, place the lightly oiled insert on top, and crack in your eggs. Cover and cook over medium-low heat until the whites are set but the yolks still wobble.
Why ceramic non-stick changes the poaching process
Ceramic non-stick surfaces release eggs more cleanly than bare metal, but they are not indestructible. Avoid sudden temperature shocks—never plunge a hot pan into cold water—and use only silicone, wooden, or plastic utensils to protect the coating.
Because ceramic coatings can lose their release over time if overheated, keep the heat at a gentle simmer rather than a rolling boil. That also prevents water from splashing into the insert and making the eggs watery.
Water level and pan size: the details that decide success
A 20cm egg poacher pan is sized for two to four eggs, depending on the insert design. The water level matters more than the exact volume: it should sit below the base of the insert so the eggs cook by steam, not by boiling water. If water touches the insert, the eggs will turn rubbery and may leak into the pan.
Check the level before you set the insert in place. A common mistake is filling the pan as if you were boiling pasta—too much water defeats the poaching insert entirely.
Step-by-step: poaching eggs in a ceramic non-stick pan
- Fill the base with water: Pour water into the pan base until it is about 1–2 cm deep—enough to create steam but below the insert. Check by setting the insert in place: water should not touch its underside. If you see water bubbling up through the insert holes, pour some out before continuing.
- Prep the insert: Lightly grease each cup of the lift-out insert with a little oil or butter. This is especially helpful with ceramic non-stick, which can stick to delicate egg whites if the insert is new or has been scrubbed. Do not use cooking spray; it can leave a sticky film on ceramic coatings.
- Bring water to a gentle simmer: Set the pan over medium heat and let the water come to a gentle simmer—small bubbles, not a rolling boil. A rolling boil can splash water into the eggs and overcook the bottoms. If the water starts boiling hard, reduce the heat and wait a minute before adding eggs.
- Add the eggs: Crack each egg into a small bowl first, then slide it into an insert cup. This lets you remove shell fragments and keeps the yolk intact. Cover the pan with a lid. Cracking directly into the hot insert risks broken yolks and shells in the pan.
- Cook and check: Cook covered over medium-low heat for 3–5 minutes, depending on how set you like the whites. Start checking at 3 minutes: the whites should be opaque and the yolks still soft. Set a timer; eggs can go from perfect to rubbery in under a minute.
- Lift out and serve: Remove the insert with oven mitts or a towel, then slide a silicone spatula around each egg to release it. Serve immediately. If the eggs resist releasing, let them sit for 30 seconds—they often loosen as steam escapes.
Product facts
-
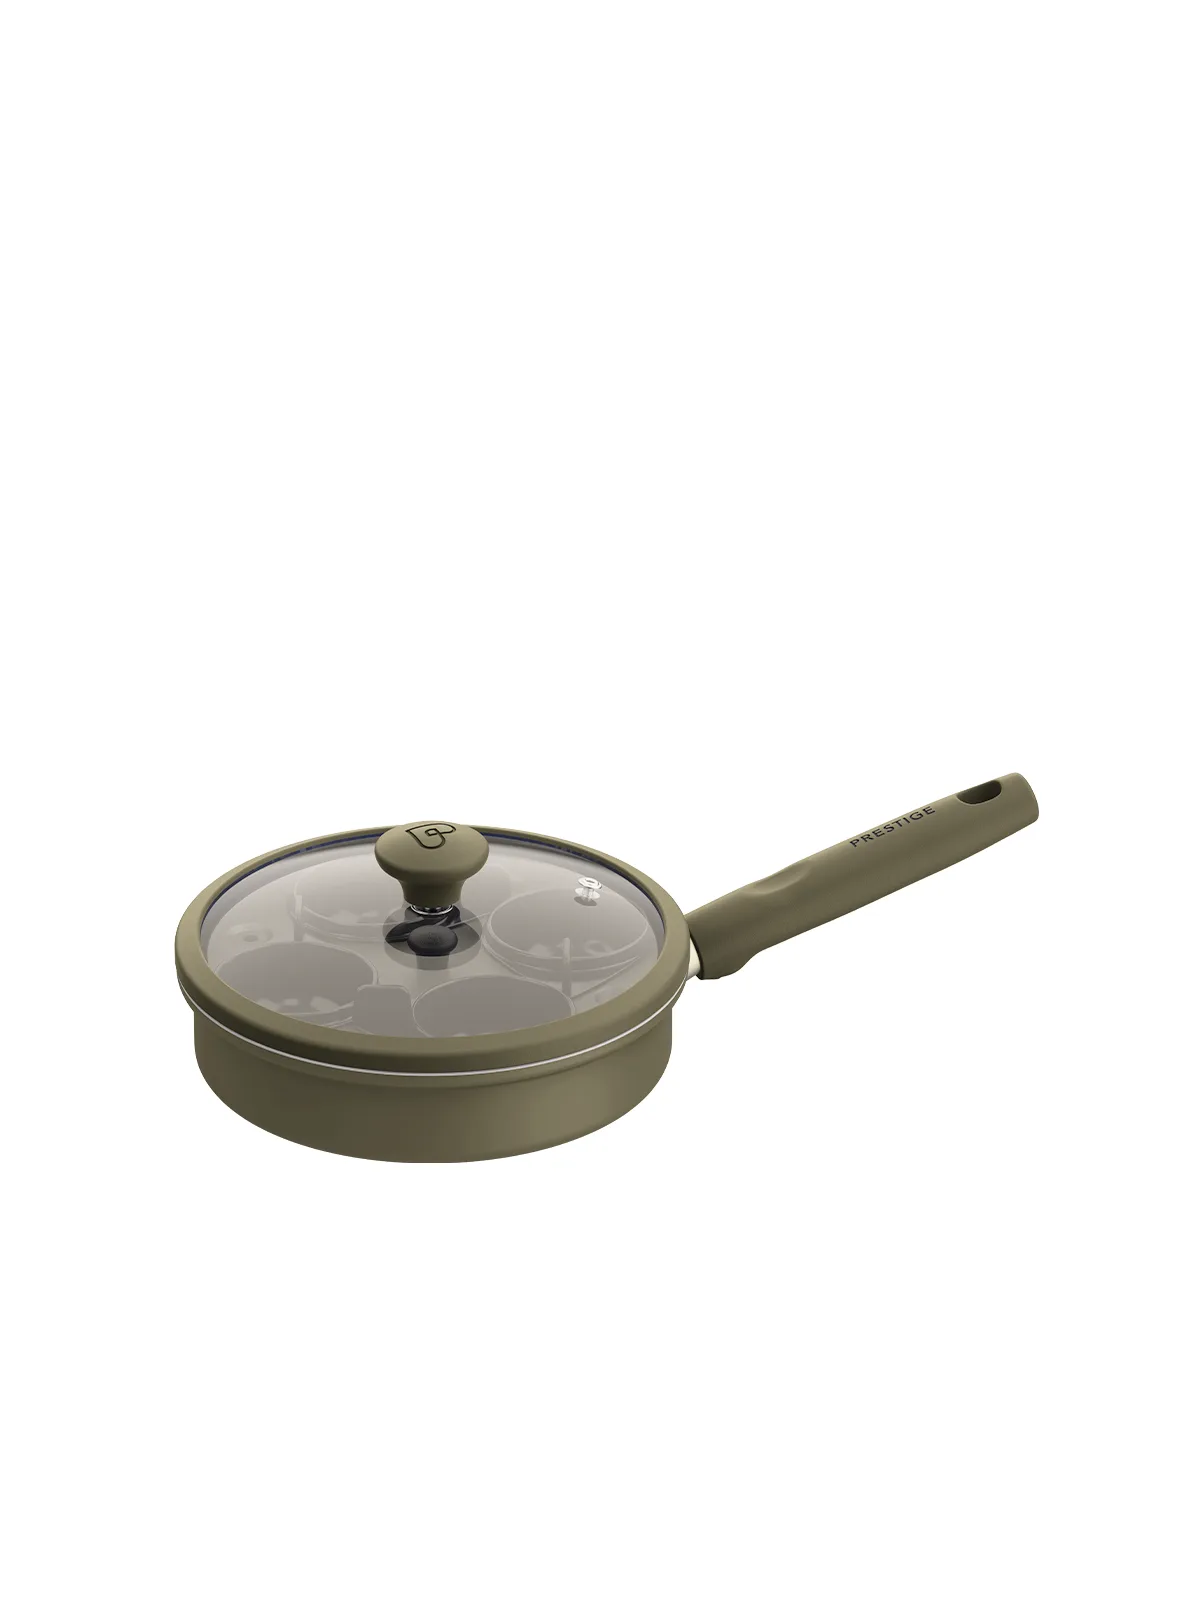
Ceramic Non-Stick Egg Poacher Pan - 20cm: The lift-out insert shapes poached eggs and removes so the pan can handle smaller frying tasks. You get two pans in one: a poacher for brunch and a compact fry pan for everyday eggs.
Ceramic Non-Stick Egg Poacher Pan - 20cm