Quick answer
A CO2 inflator lets you refill a flat tire in under a minute without a pump. The key is matching the cartridge size to your tire volume and using the inflator head correctly to avoid losing gas.
Why use CO2 instead of a mini pump?
CO2 inflators are faster and more compact than most mini pumps, making them ideal for trail repairs where every second counts. The trade-off is that CO2 cartridges are single-use, so you need to carry spares for multiple flats.
Choosing the right cartridge size
Road tires (typically 23-32mm) need a 16g cartridge to reach around 100 psi. Mountain bike tires (2.0-2.5 inches) require a 25g cartridge to get to about 30 psi. Using a 16g on an MTB tire may not provide enough volume to fully inflate it.
Step-by-step trail repair with a CO2 inflator
- 1. Remove the wheel and locate the puncture: Flip your bike over or use a stand. Release the brake if needed (disc brakes are fine). Remove the wheel and take the tire off one side. Pull out the tube and find the hole by inflating it slightly or listening for air. Check the tire casing for debris before reinstalling the tube to avoid a second flat.
- 2. Patch or replace the tube: If you have a patch kit, rough up the area around the hole, apply glue and a patch, and wait 2-3 minutes. Alternatively, install a new tube. For a quick fix without removing the tube, use an instant puncture repair canister like Muc-Off B.A.M! which injects latex foam and air. A patch is lighter to carry, but a new tube is faster and more reliable on the trail.
- 3. Attach the CO2 inflator head to the cartridge: Screw the inflator head onto the threaded CO2 cartridge until you feel resistance. Do not overtighten. If your inflator uses a puncture pin, push it into the cartridge until you hear a small hiss, then quickly attach to the valve. Common mistake: screwing too far can pierce the cartridge prematurely, wasting gas.
- 4. Inflate the tire in short bursts: Press the inflator head onto the valve stem (Presta or Schrader depending on your head) and open the valve. Let the CO2 flow in 2-3 second bursts, checking pressure by squeezing the tire. Stop when the tire feels firm but not rock hard. CO2 expands as it warms up, so inflate slightly below your target pressure on a cold day.
- 5. Remove the inflator and check for leaks: Quickly detach the inflator head and listen for hissing around the valve. Spin the wheel to make sure the tire is seated evenly on the rim. If it's seated, reinstall the wheel and tighten the quick-release or thru-axle. If the tire won't seat, deflate completely and reseat the tire bead before trying again.
- 6. Pack up and ride on: Dispose of the empty cartridge responsibly (metal recycling if available). Stow the inflator head and any remaining cartridges in your pack. Ride carefully for the first few minutes to confirm the repair holds. CO2 cartridges are single-use; always carry at least one spare for the return trip.
Recommended products for trail repair
-
Muc-Off CO2 Inflator Kit - MTB: Muc-Off CO2 Inflator Kit - MTB includes a 25g cartridge and inflator head, inflating MTB tires up to 30 psi from flat. This kit is purpose-built for mountain bikes, so you don't have to guess the right cartridge size for your trail rig.
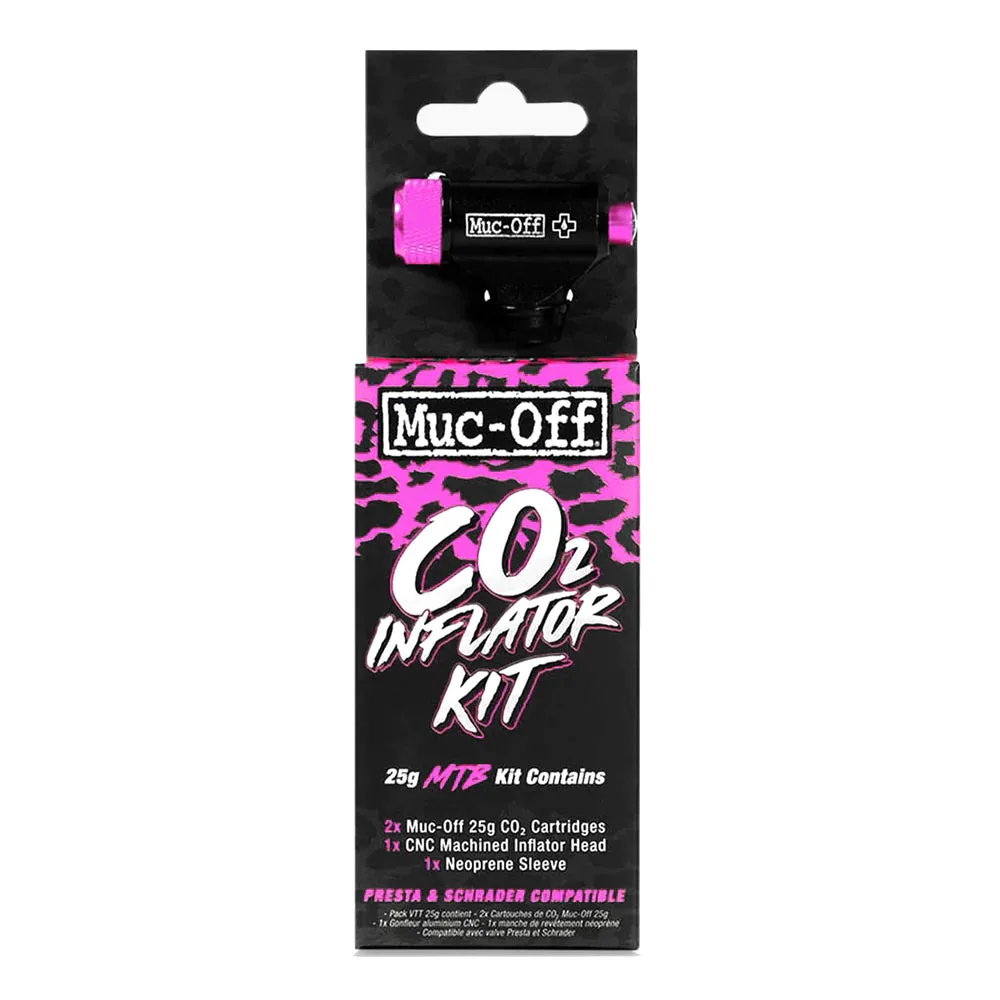
Muc-Off CO2 Inflator Kit - MTB
-
Muc-Off 16g Threaded CO2 Cartridge: Muc-Off 16g Threaded CO2 Cartridge is designed for road bikes and works with CO2 inflators to quickly inflate inner tubes. Carry a few of these as backups for road or gravel rides where a 16g cartridge is the right fit.
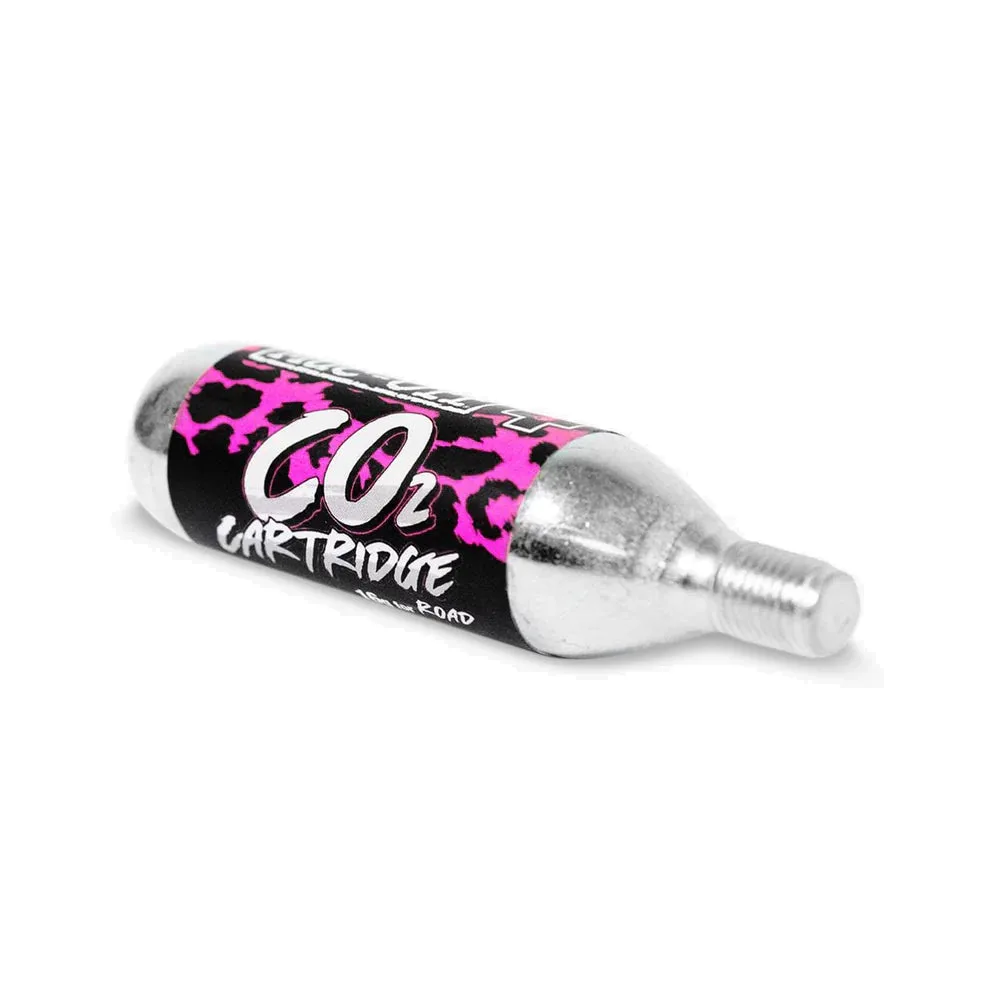
Muc-Off 16g Threaded CO2 Cartridge