Quick Overview
Shaking a cocktail properly combines ingredients, chills the drink, and adds the right dilution. Follow these steps to build balanced, professional-quality cocktails at home.
Why Shake Instead of Stir?
Shaking is ideal for cocktails that contain citrus juice, cream, eggs, or syrups—the agitation emulsifies and aerates the ingredients, creating a smoother texture. Stirring works better for spirit-only drinks like Manhattans or Martinis, where you want a silky, clear result without cloudiness or tiny ice shards.
One trade-off: shaking dilutes a drink slightly faster than stirring. For shaken drinks, use larger ice cubes and a shorter shaking time (10–15 seconds) to control dilution.
Choosing a Shaker Type
Most home cocktail shakers fall into two styles: Boston shaker (two separate tins that seal together) and cobbler shaker (three-piece with built-in strainer and cap). The Snowe Cocktail Shaker follows a classic cobbler design, featuring a seamless stainless steel body and an airtight shaker top that prevents leaks during vigorous shaking. Its built-in strainer eliminates the need for a separate tool, making it beginner-friendly while still offering the control experienced mixers appreciate.
How to Shake a Cocktail: Step-by-Step
- Step 1: Build the Cocktail: Add your ingredients into the shaker tin. Start with ice cubes (not crushed—they melt too fast) then pour in your spirits, juices, syrups, or any other components. A standard full-size shaker holds about 300–400 ml of liquid, so leave room for ice and movement. Common mistake: overfilling the tin. Leave at least 2–3 cm of empty space at the top so the ingredients can move and aerate.
- Step 2: Secure the Lid: Place the shaker cap (and strainer if using a cobbler type) firmly on the tin. Tap the top lightly to create a seal. Hold the shaker with one hand on the base and the other on the lid—this prevents the lid from flying off during the shake. Common mistake: holding only the base. Use two hands to maintain control and avoid a cold, slippery shaker slipping from your grip.
- Step 3: Shake with Purpose: Shake vigorously for 10–15 seconds—aim for a vigorous motion that moves the liquid from end to end, not a gentle sway. The key is to hear the ice hitting both ends. This chills the drink to the ideal temperature (approx. 20°F / -6°C) and creates the desired dilution. Common mistake: shaking too long. Once condensation forms on the shaker (usually around 10 seconds), the drink is ready. Over-shaking can over-dilute the cocktail.
- Step 4: Strain into a Glass: Hold the shaker at a 45° angle and pour the liquid through the built-in strainer or a separate Hawthorne strainer. For cobbler shakers like the Snowe Cocktail Shaker, the strainer is integrated—just tilt and pour. Avoid pouring through the gap between the lid and tin, which would let ice into your glass. Common mistake: double-straining when unnecessary. Use a fine-mesh strainer only for drinks with fresh citrus pulp or herbs. Otherwise, the built-in strainer works perfectly.
- Step 5: Garnish and Serve: Add your garnish—citrus twist, cherry, or herb sprig—immediately after pouring. Garnishes add aroma and visual appeal, but wait until the drink is in the glass to prevent them from falling in during shaking. Checkpoint: Always taste a small sip before serving. If the drink feels warm or flat, you may have under-shaken or used too little ice.
Featured Product
-
Cocktail Shaker: Gleaming stainless steel meets classic contours for a timeless form to mix and strain your signature drinks. Finished with an air-tight shaker top, so your shimmy-shake move won’t spill a drop. The airtight seal and integrated strainer simplify the shaking process, reducing mess and letting you focus on technique.
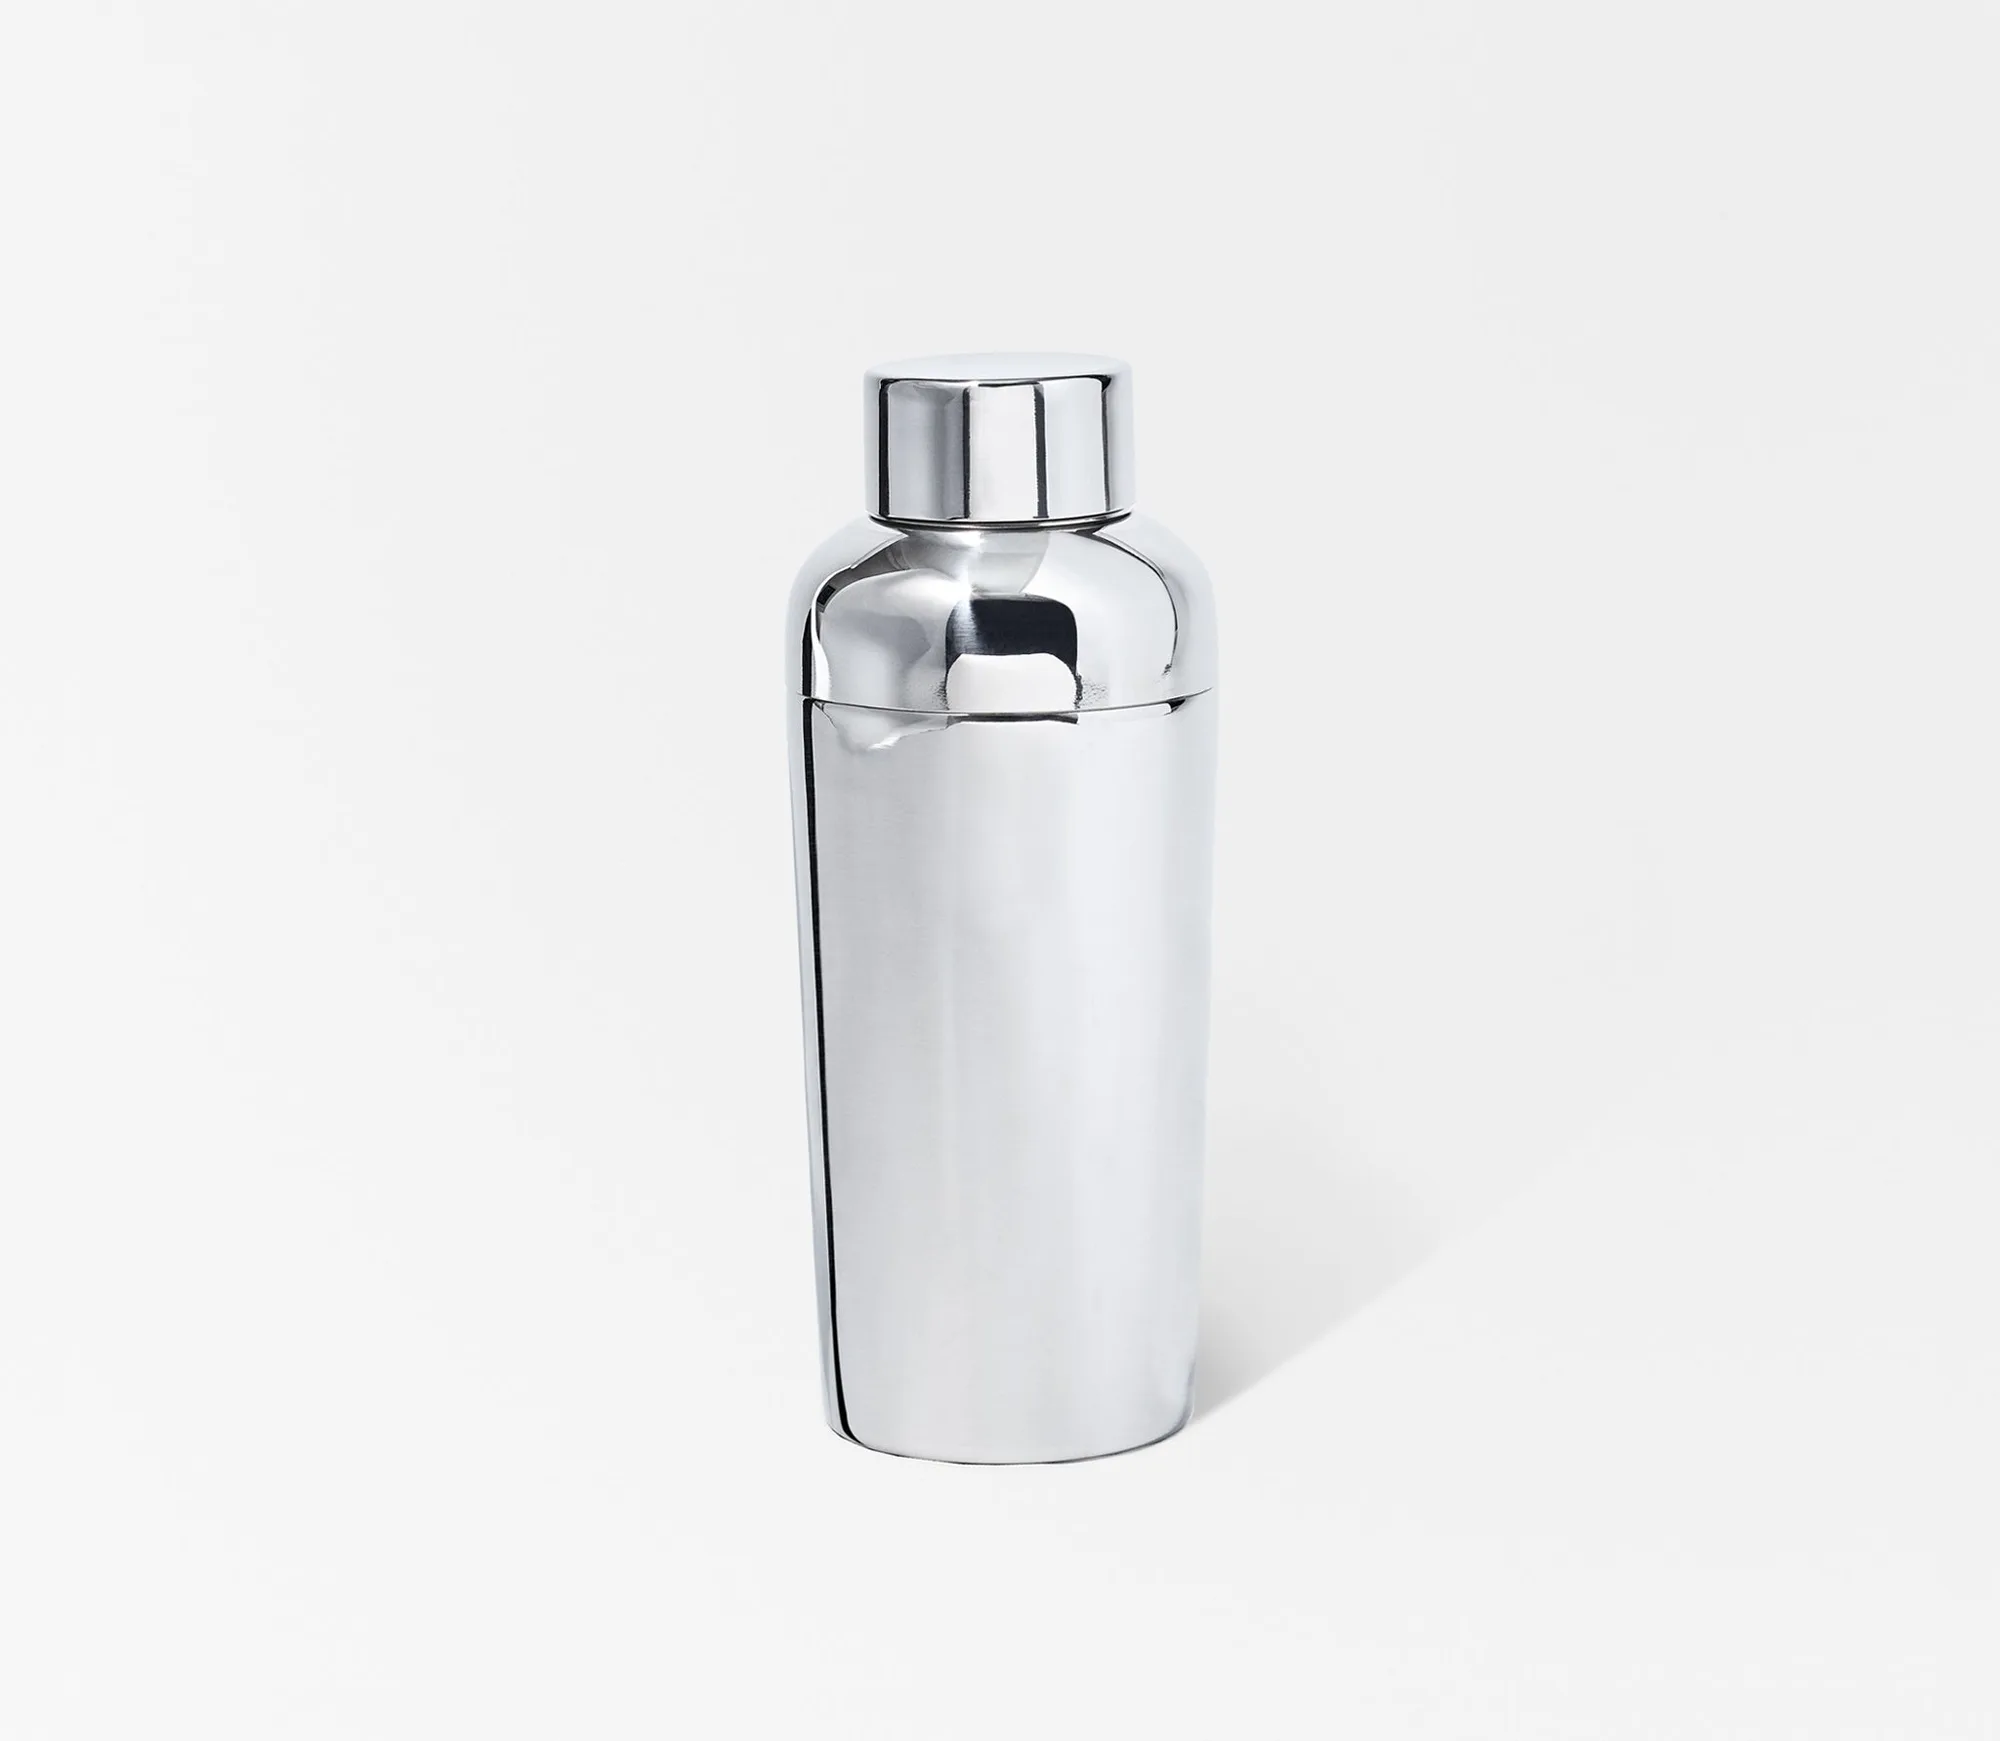
Cocktail Shaker