Start with the collar, not the clamps
The order you put this setup on matters. The collar is the anchor point for the chain, so it needs to sit correctly before you add any tension to the clamps. A loose collar can slide; a collar that is too tight can become uncomfortable before the clamps are even attached. The supplied product details say the nickel-free iron chain is attached to both nipple clips and the central collar ring, and that the setup offers an adjustable fit for most body sizes. That adjustability is your first checkpoint: set the collar so it rests securely without pinching, then check that the central ring sits where you want the chain to hang before you attach the clips.
What the collar and clamp set includes
-
collar with chained adjustable nipple clamps: A nickel-free iron chain is attached to both nipple clips and the central collar ring. Knowing the chain connects to the collar ring helps you plan the order of fitting: collar first, then clamps, so the chain hangs naturally.
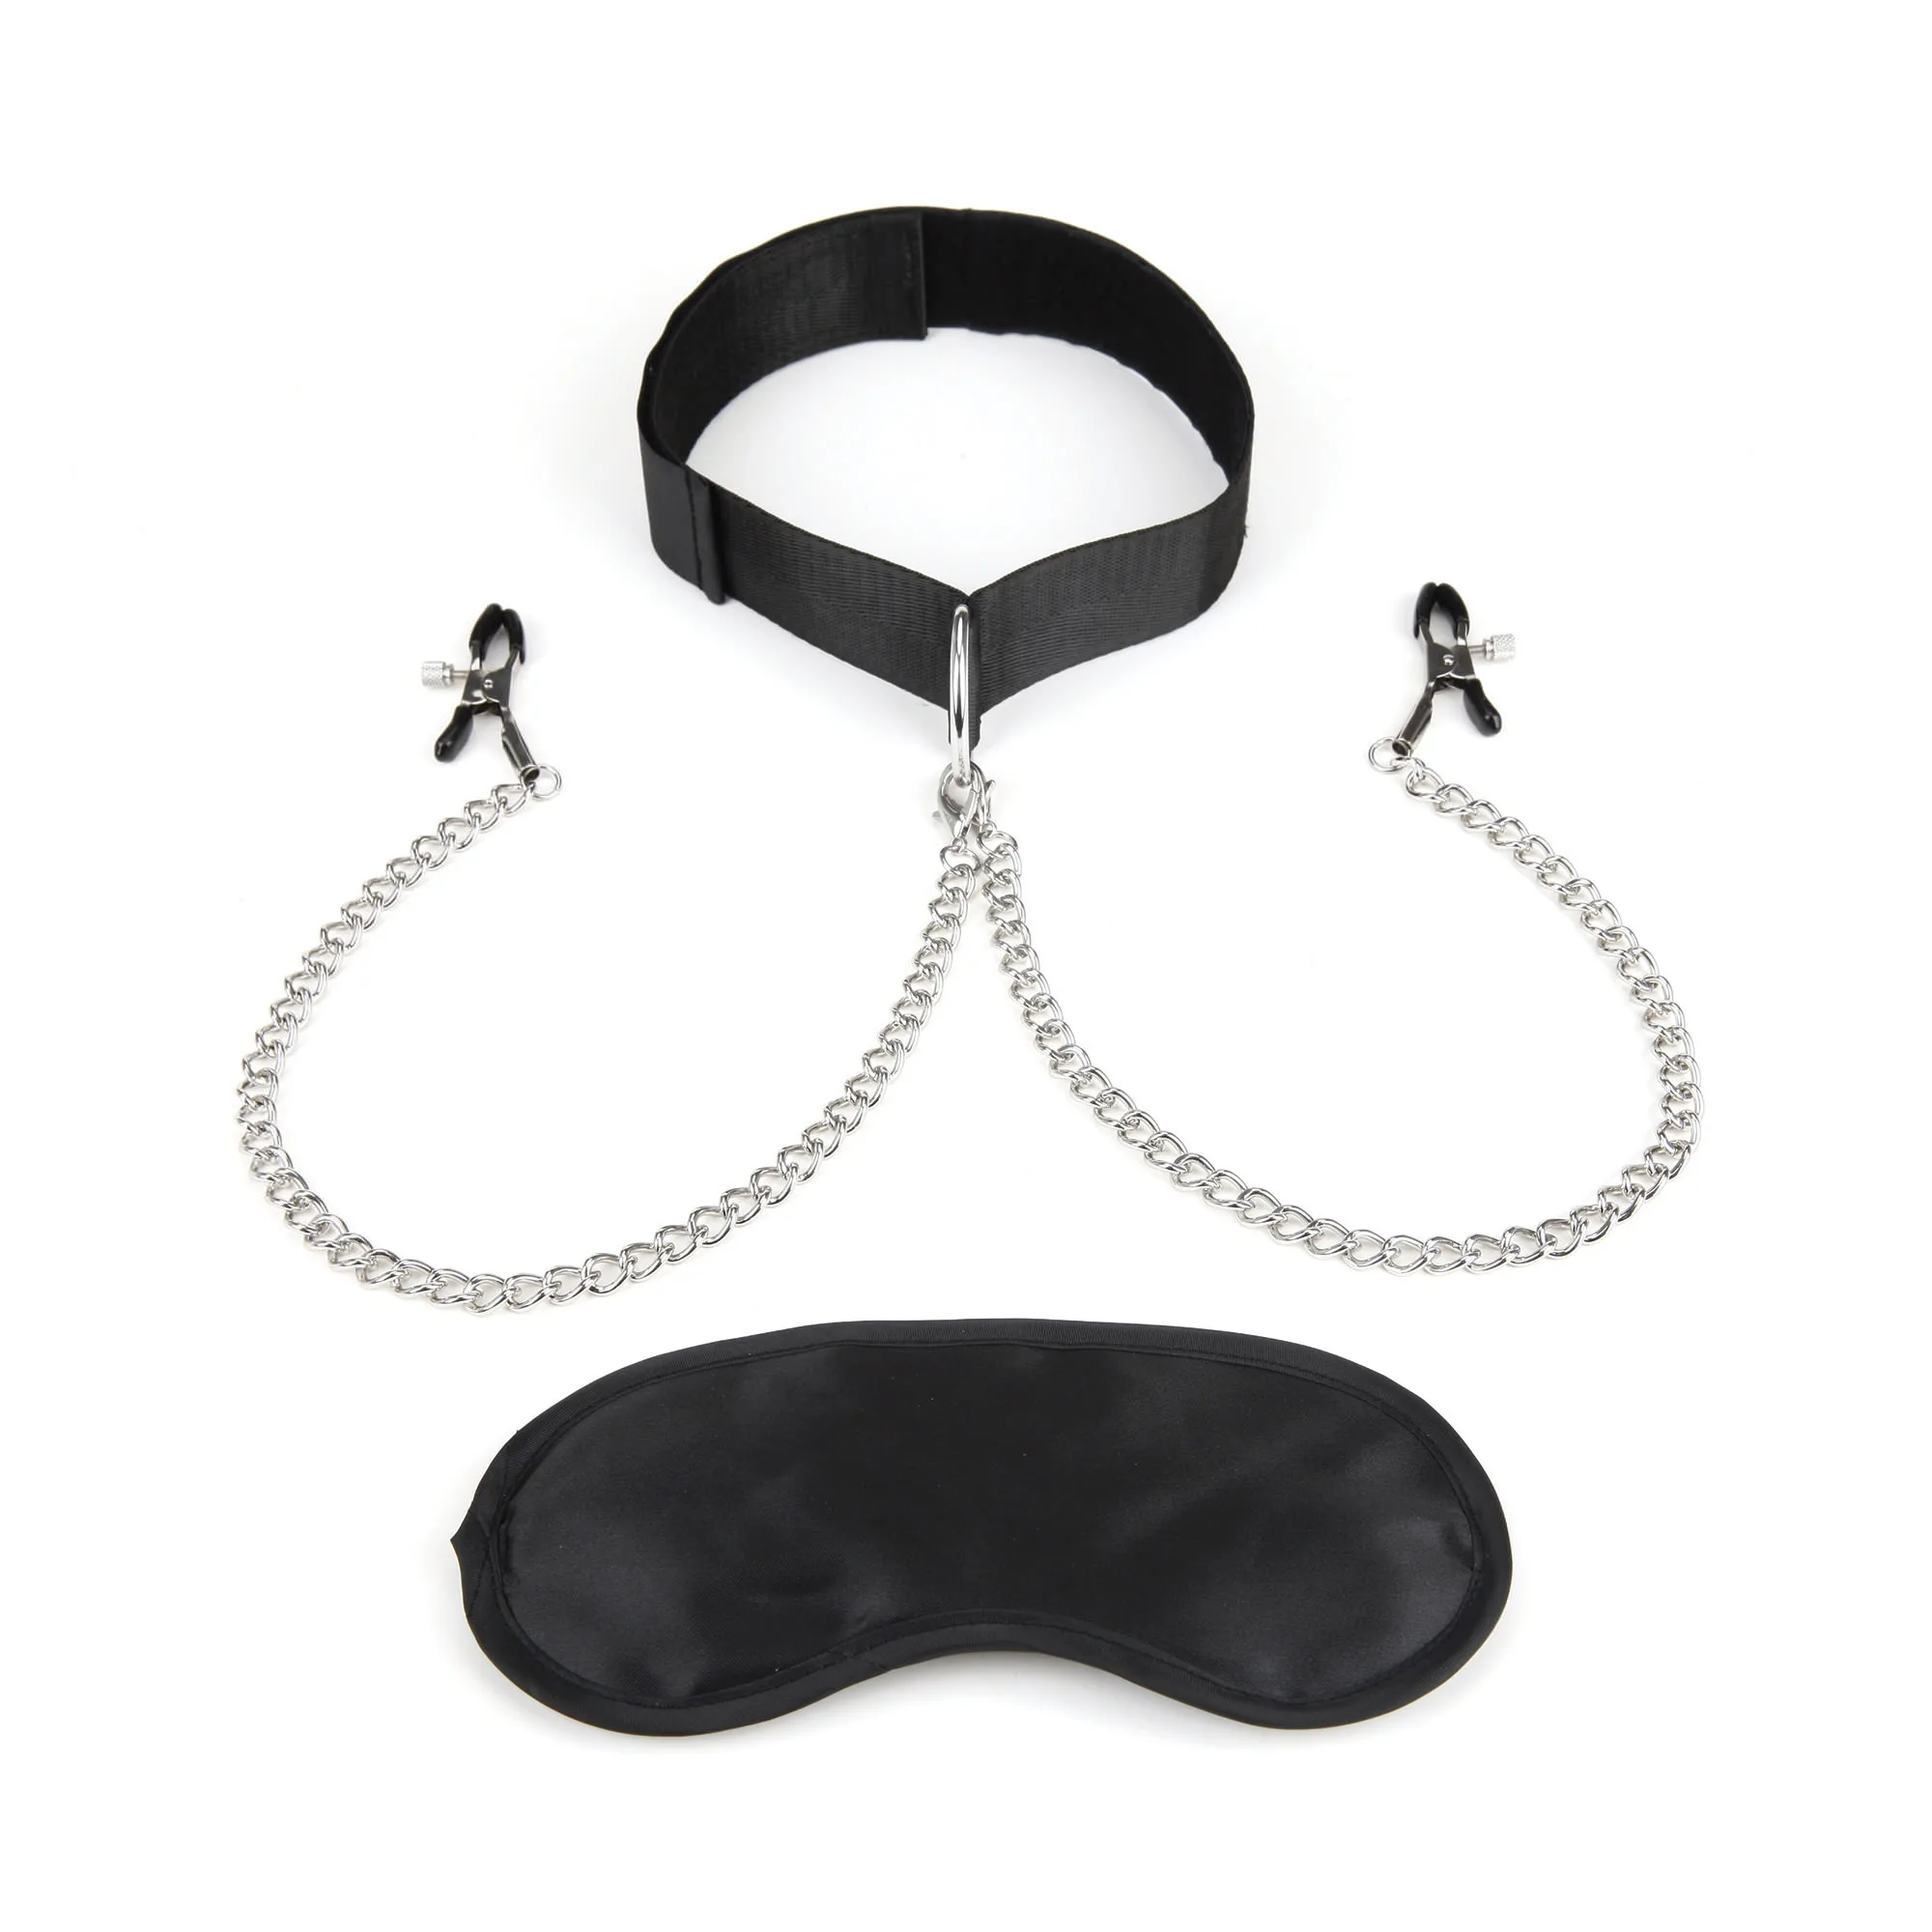
collar with chained adjustable nipple clamps
-
collar with chained adjustable nipple clamps: The set offers an adjustable fit for most body sizes. Adjustability is the main fit control; use it to keep the collar stable without overtightening.
-
collar with chained adjustable nipple clamps: The nipple clips are adjustable, and the product description says you can control the amount of pressure along your partner’s sensitive nipples. Pressure control is central to comfort and consent; start low and increase only with clear feedback.
-
collar with chained adjustable nipple clamps: The set comes with a free gift of a satin blindfold for added sensory play. If you use the blindfold, agree on a verbal check-in signal before play, since visual cues will be unavailable.
Putting it on: a supported sequence
The supplied product details describe the collar and clamps but do not include step-by-step operating instructions. The sequence below is a practical, consent-first approach based on the product’s described features—not a manufacturer protocol. Pause at each step to check comfort and agreement.
- 1. Agree on limits and a check-in signal: Before any gear goes on, decide what pressure is acceptable, where the clamps should sit, and how your partner will signal discomfort. If you use the included satin blindfold, a spoken word or hand squeeze works better than a visual cue.
- 2. Fit the collar first: Use the adjustable fit to set the collar so it stays in place without pressing into the neck. The central ring should sit comfortably at the front, because the chain hangs from it.
- 3. Attach the clamps at low tension: The clips are adjustable, so start with the least pressure that keeps them in place. The product description emphasizes controlling pressure; treat the lowest setting as your starting point, not a warm-up to rush through.
- 4. Check the chain’s hang: With both clips attached, look at how the nickel-free iron chain falls from the collar ring. It should hang without pulling the clips sideways or tugging the collar. Adjust the collar or clip position before adding any deliberate chain tension.
- 5. Use the chain gently and check in: The product description mentions gently pulling on the chain during oral and enhancing new feelings while the partner is on top. Keep any pull slow and light, and ask for feedback often. The chain connects the clips to the collar, so a tug affects both the clips and the collar’s fit.
Tension and fit: what to watch for
The product record gives you two adjustment points—the collar’s fit and the clips’ pressure—but it does not supply recommended tension levels, wear times, or body-compatibility guidance. That means your checkpoints have to come from your partner’s feedback, not from a number on the package. Start with the collar secure but not tight, and the clips at the lowest pressure that holds. If the chain starts pulling the collar out of place, reduce clip tension or refit the collar rather than tightening the clips further.
Because the chain links the clips to the central ring, movement in one area shows up in the other. A partner who shifts position can change how the chain hangs and how the clips feel. Recheck both after any change in position, and treat any pinching, numbness, or sharp discomfort as a signal to stop and reset. The supplied information does not confirm material details for the collar or clip surfaces beyond the nickel-free iron chain, so if you have known sensitivities, keep that gap in mind and proceed cautiously.
Care and compatibility: what is confirmed and what is not
- Chain material: The chain is described as nickel-free iron. That is the only material detail supplied for the metal components; the collar and clip surface materials are not specified in the supplied record.
- Cleaning instructions: No cleaning or care instructions are included in the supplied evidence. Do not assume the set is waterproof or that a particular cleaner is safe. If you need cleaning guidance, ask the retailer or check the packaging before use.
- Lubricant compatibility: The supplied record does not state lubricant compatibility for the collar, clips, or chain. Avoid applying lubricant to the metal chain unless the manufacturer confirms it is appropriate.
- Storage: No storage guidance is supplied. A simple approach is to keep the chain untangled and the clips at low tension between uses, but confirm any specific storage claims with the manufacturer.
A realistic beginner checkpoint
For a first session, plan to spend more time fitting than playing. Put the collar on, attach the clips at low tension, and check the chain’s hang before any movement. Then try one small change—a shift in position or a light pull on the chain—and ask your partner what changed. The goal is not to reach a certain pressure; it is to find the setting where the collar stays put and the clips feel secure without pinching. If that setting is hard to find, the adjustable fit may need a different starting point, or the setup may not suit your bodies as well as you hoped. Stop and reassess rather than pushing through.