There's almost nothing better than gathering around a campfire with friends or family, roasting hot dogs and marshmallows on a stick. But even a simple tradition like this can go wrong—burnt exteriors, raw centers, or a marshmallow that slides off into the flames. The key to perfect results lies in using the right roasting stick and a little technique.
Whether you call them cowboy grill roasting sticks or campfire forks, these long-handled tools give you control and safety. In this guide, we'll walk you through choosing a good stick, preparing your fire, and nailing both hot dogs and s'mores—plus a few tips on gear that makes the whole experience better.
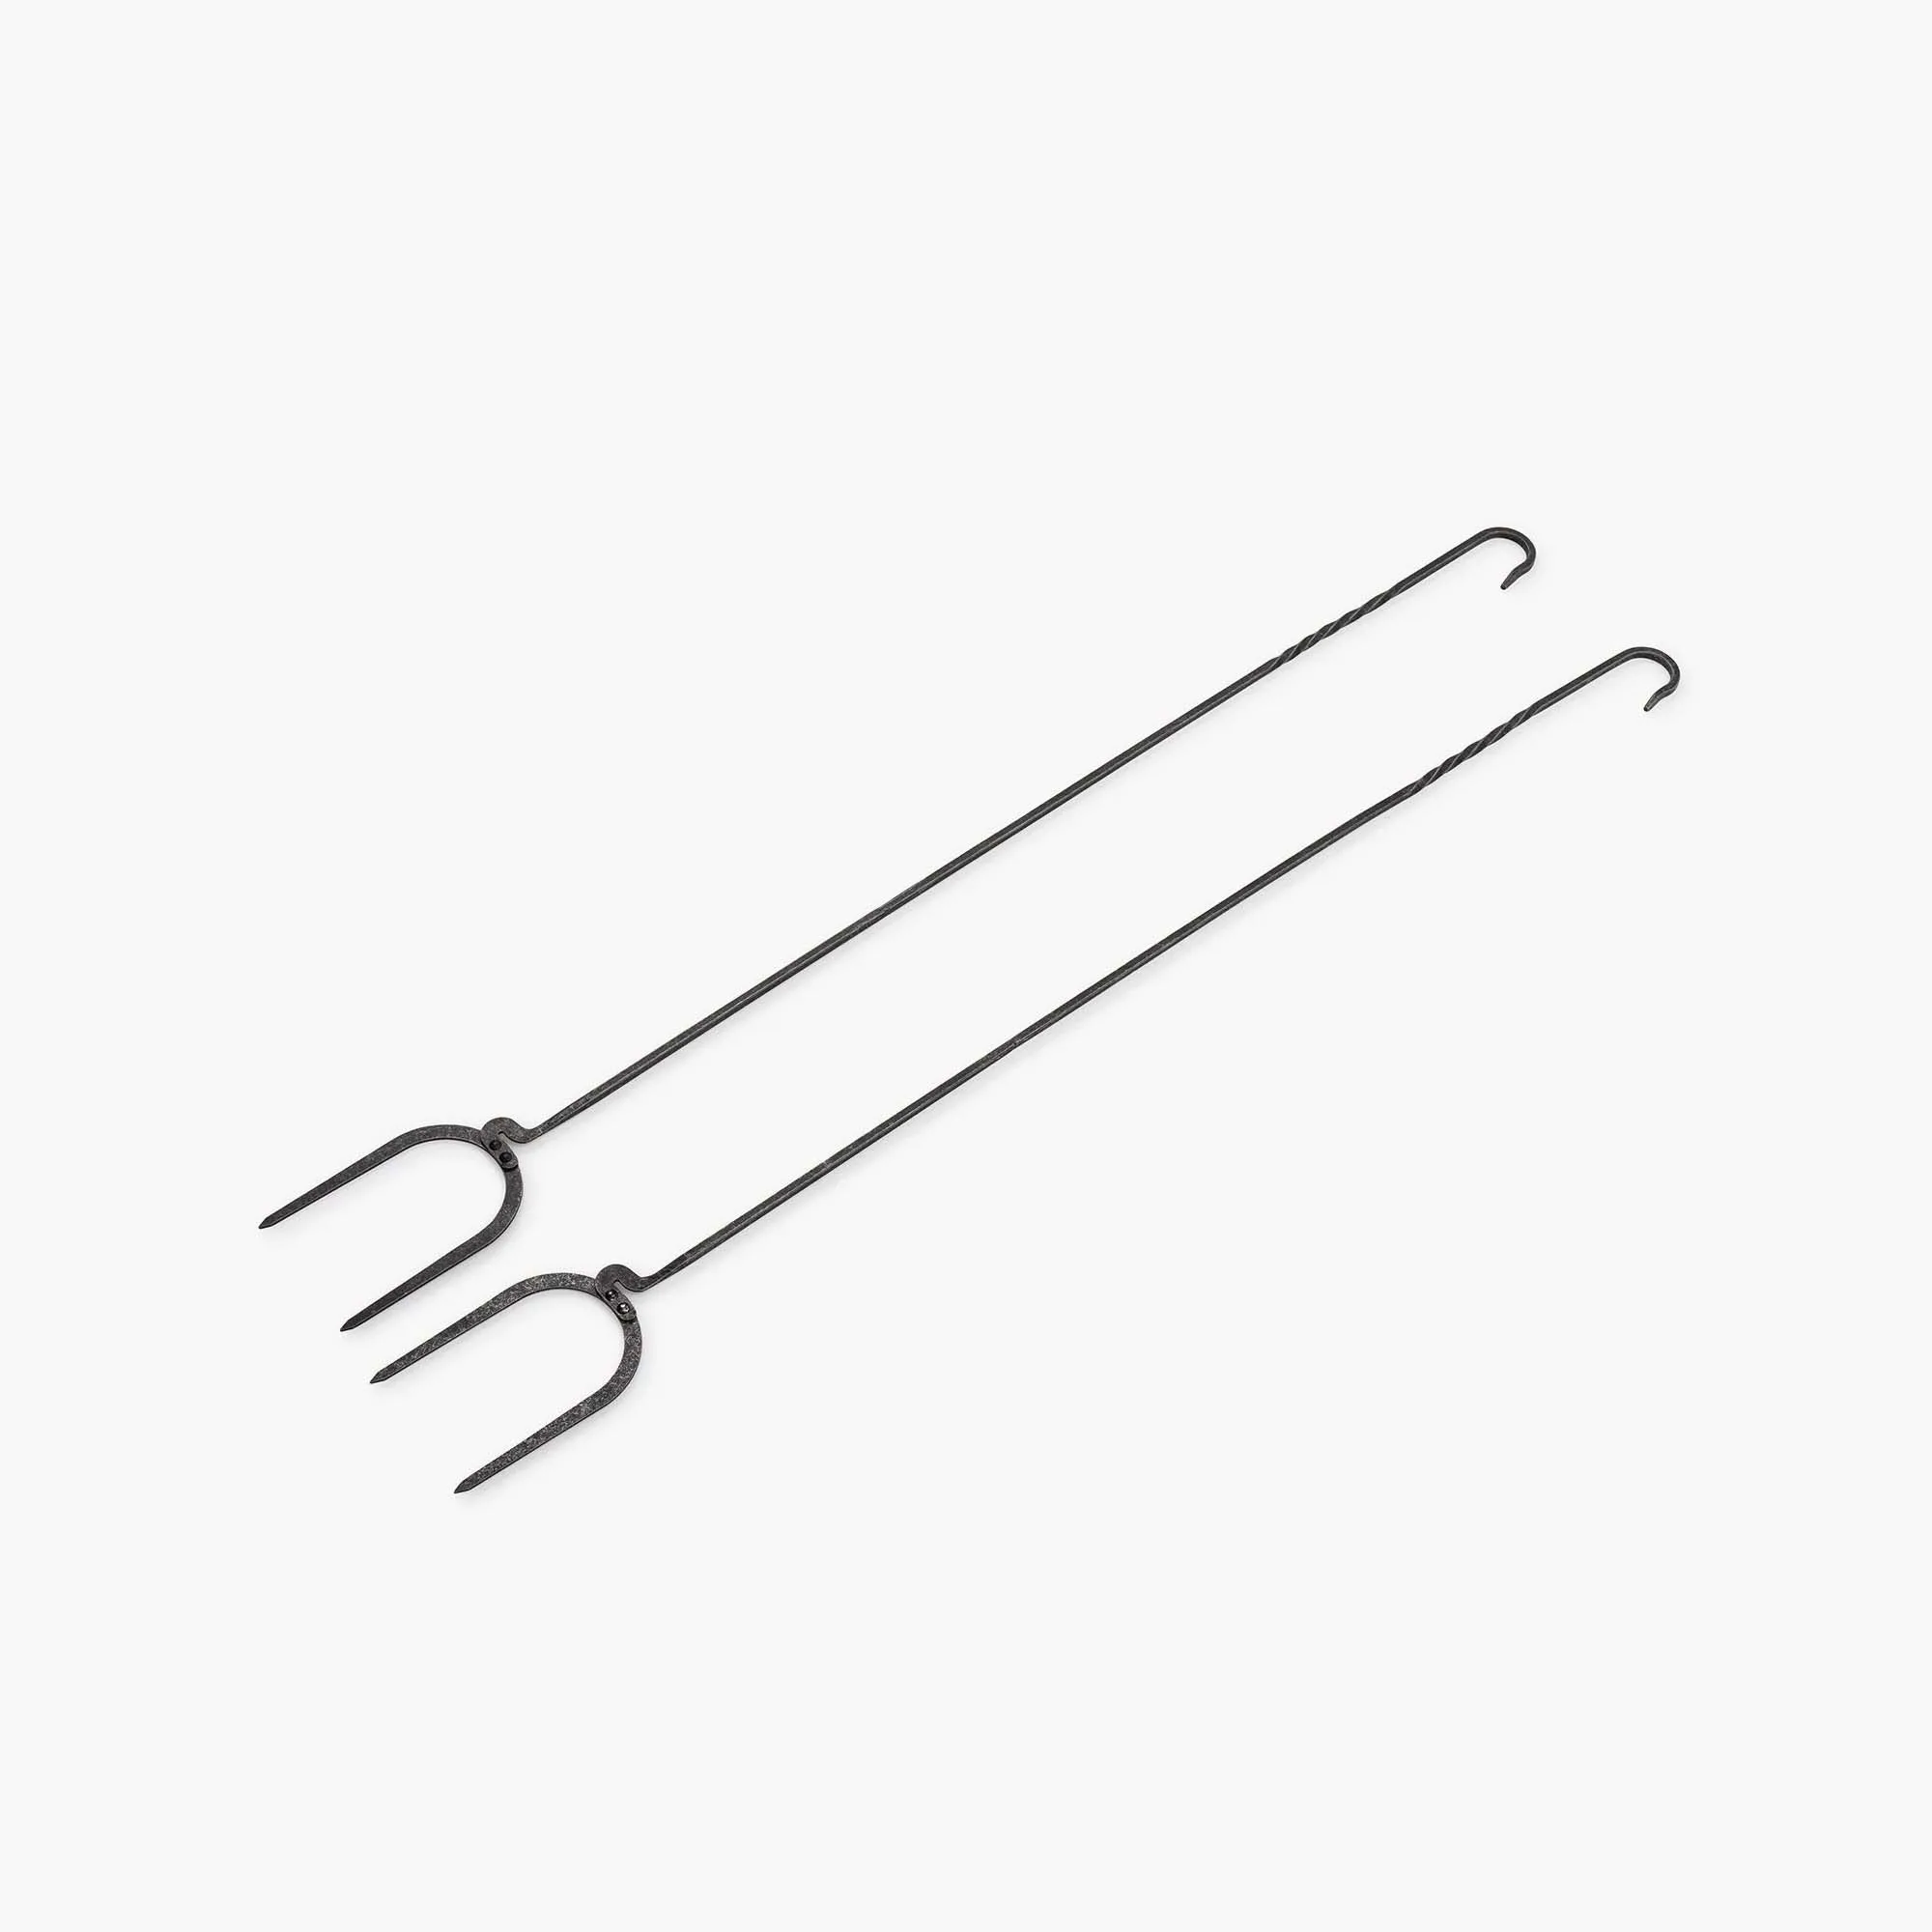
cowboy grill roasting sticks
Choosing the Right Roasting Stick
Not all sticks are equal. A good roasting stick should be at least 30 inches long to keep your hands safely away from the heat. Look for a forked end or a prong that can hold food securely without spinning. Many metal roasting sticks have a wooden or insulated handle, which helps prevent burns. Avoid thin wire or flimsy rods that bend under the weight of a hot dog or a heavy marshmallow.
If you're buying a set, check that the prongs are stainless steel for easy cleaning and rust resistance. Some designs come with a rotating mechanism to cook evenly, but a simple fixed fork works fine as long as you turn it manually. For family trips, having multiple sticks means everyone can roast at once without sharing.
- Look for a minimum 30-inch length for safety.
- Stainless steel prongs resist rust and are easy to wipe clean.
- Insulated or wooden handles stay cooler longer than all-metal rods.
Preparing Your Campfire for Roasting
A good roasting fire isn't a roaring blaze. You want a bed of glowing coals with low, steady flames. Build your fire at least 30 minutes before you plan to cook so the wood burns down to embers. Softwoods like pine create too much smoke and flare-ups; hardwoods like oak or hickory give a clean, even heat. If you're using a fire pit or a cowboy grill, adjust the grate height so the food is about 4–6 inches above the coals.
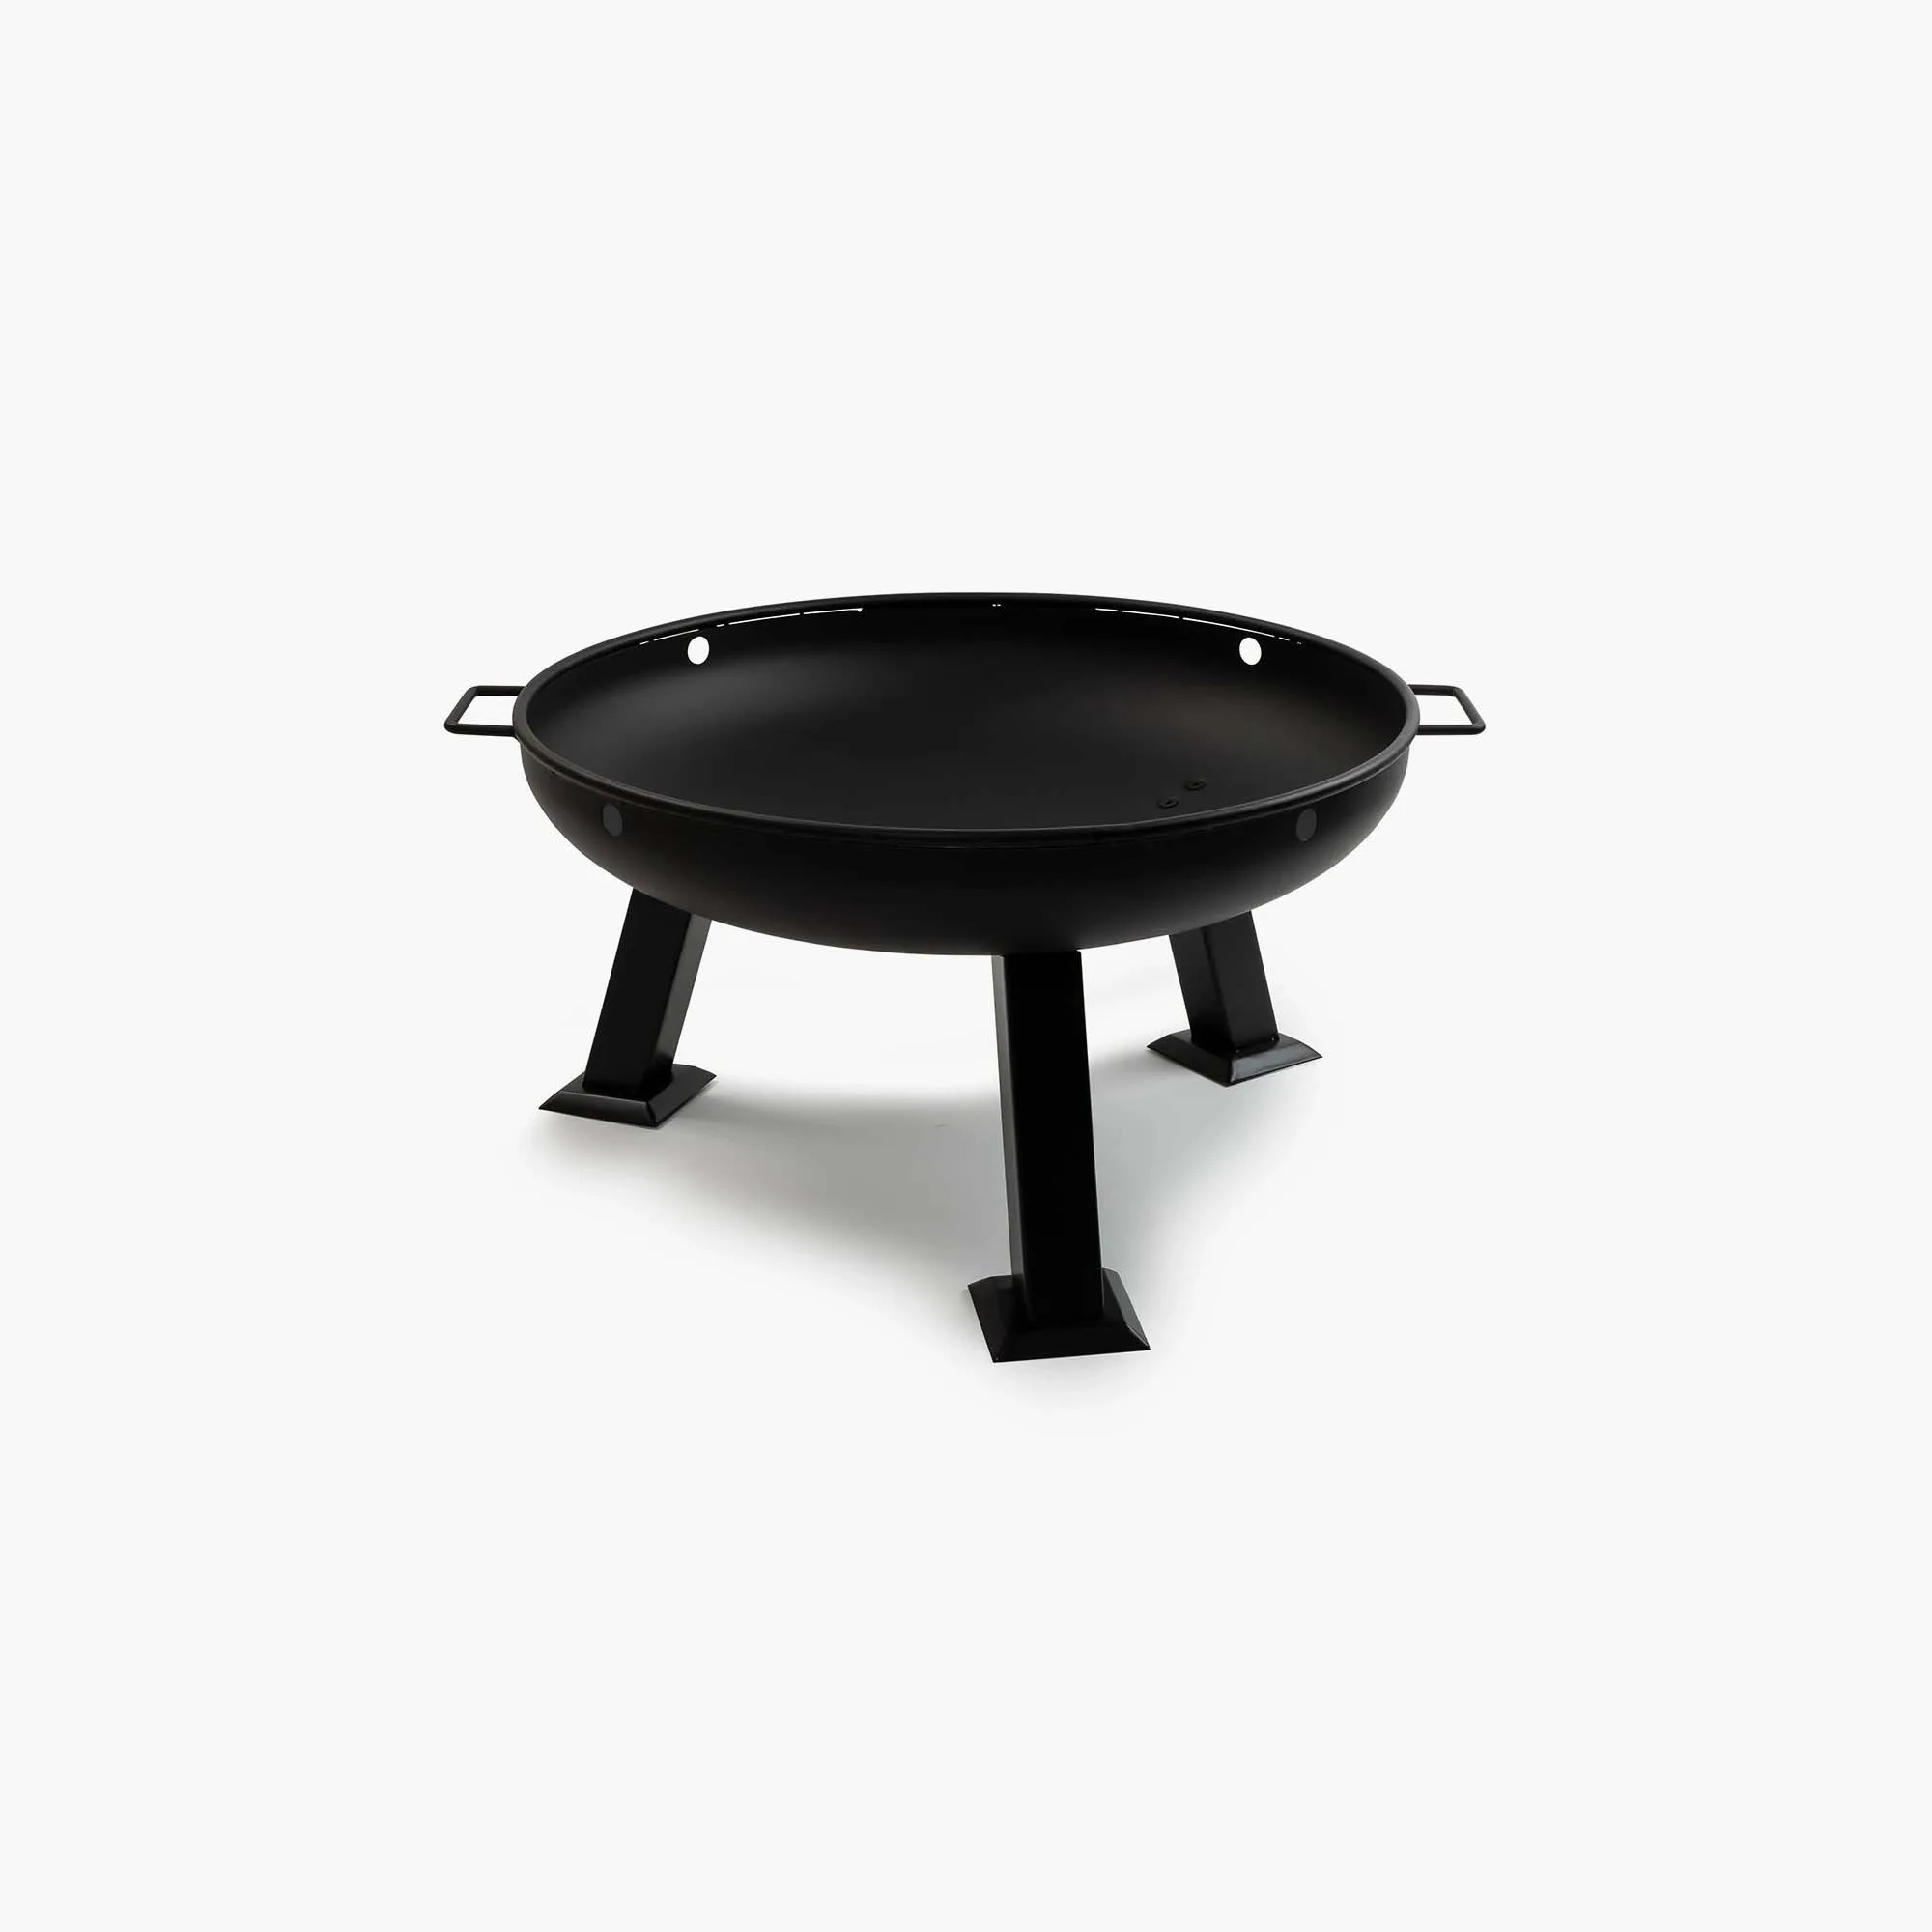
fire pit
Place your fire pit in an open area away from tents, dry grass, and low-hanging branches. Always have a bucket of water or a fire extinguisher nearby. Once the flames die back and the coals are covered in white ash, you're ready to start roasting.
- Roast over low coals, not open flames, to avoid charring.
- Hardwood coals burn longer and more evenly than softwood.
- Keep a safe distance from flammable materials and have water ready.
Mastering Hot Dogs over the Fire
The goal is a hot dog that's warmed through with a lightly charred skin, not a burnt hockey puck. Spear the hot dog lengthwise through the center, not at an angle, so it stays balanced. Hold it just above the coals—not in the flame—and rotate slowly every 20–30 seconds. This gradual, even heating cooks the inside without torching the outside. Expect about 5–8 minutes depending on heat and thickness.
For a crispier skin, move the hot dog closer to the coals near the end of cooking. If you're using a roasting stick with a rotating handle, let it spin slowly in your hand. Once the skin splits slightly and juices start to bubble, it's done. Slide it into a bun, add your favorite toppings, and enjoy.
- Avoid stabbing through the same hole twice—it weakens the hold.
- Rotate continuously for even cooking.
- If it starts to blacken in spots, raise it higher above the coals.
Perfecting Campfire S'mores
S'mores are all about timing. You want the marshmallow golden and puffed on the outside, warm and gooey on the inside, without catching fire. Push the marshmallow onto the stick so it's firmly seated but not squashed. Hold it about 3–4 inches above the coals and rotate slowly. A good rotation speed is about one full turn every 10 seconds.
For a toasted exterior, keep it moving—stopping creates a hot spot that turns into a flare-up. If you prefer a charred marshmallow, let it dip into the flame for a split second at the very end, then blow it out immediately. Once golden, sandwich the marshmallow between two graham crackers with a piece of chocolate. The heat will melt the chocolate perfectly. Let it sit for a few seconds before biting.
- Don't rush—slow rotation gives even browning.
- Keep the marshmallow away from direct flames unless you want it blackened.
- Use a thick piece of chocolate so it melts but doesn't drip.
Essential Accessories for a Better Roasting Experience
A few extra pieces of gear can turn a messy campfire meal into a polished outdoor dinner. After roasting, you'll need a clean surface to assemble s'mores and serve hot dogs. The Enamelware Dining Collection - Eggshell provides lightweight, durable plates that won't break like plastic or weigh down your pack like ceramic. The enamel finish is easy to wipe clean and holds up to repeated camp use.
As the sun sets, good lighting keeps you safe and extends the fun. The Block Tower Lantern offers adjustable light output—dim it for a warm glow while you roast, or brighten it to see what you're doing when assembling s'mores. Its sturdy design stands up to wind and accidental knocks, so you don't have to worry about it tipping over near the fire.
- Use enamelware plates for a classic, durable serving option.
- A portable lantern with dimmable settings helps you see without ruining the campfire ambiance.
- Keep a small cutting board and a sharp knife (like the No. 8 Chef Knife) for prepping toppings or slicing fruit.
With the right technique and a few well-chosen tools, campfire cooking becomes a highlight of any outdoor trip. Focus on fire management, steady rotation, and don't rush—your hot dogs and s'mores will reward you. Grab your roasting sticks, gather around the fire, and enjoy the simple pleasure of cooking under the stars.