Quick Answer
The Create Your Own Party Sash is your canvas for bachelorette fun—personalize it with markers or iron-on letters, then wear it to announce the bride-to-be's status and spark conversation.
Why a Custom Sash Works for Bachelorette Parties
A sash is more than a piece of fabric—it's a conversation starter and a photo magnet. When you create your own, you can tailor the message to the bride's personality, the party theme, or an inside joke that only the group understands. This makes it a memorable keepsake that guests will remember long after the party ends.
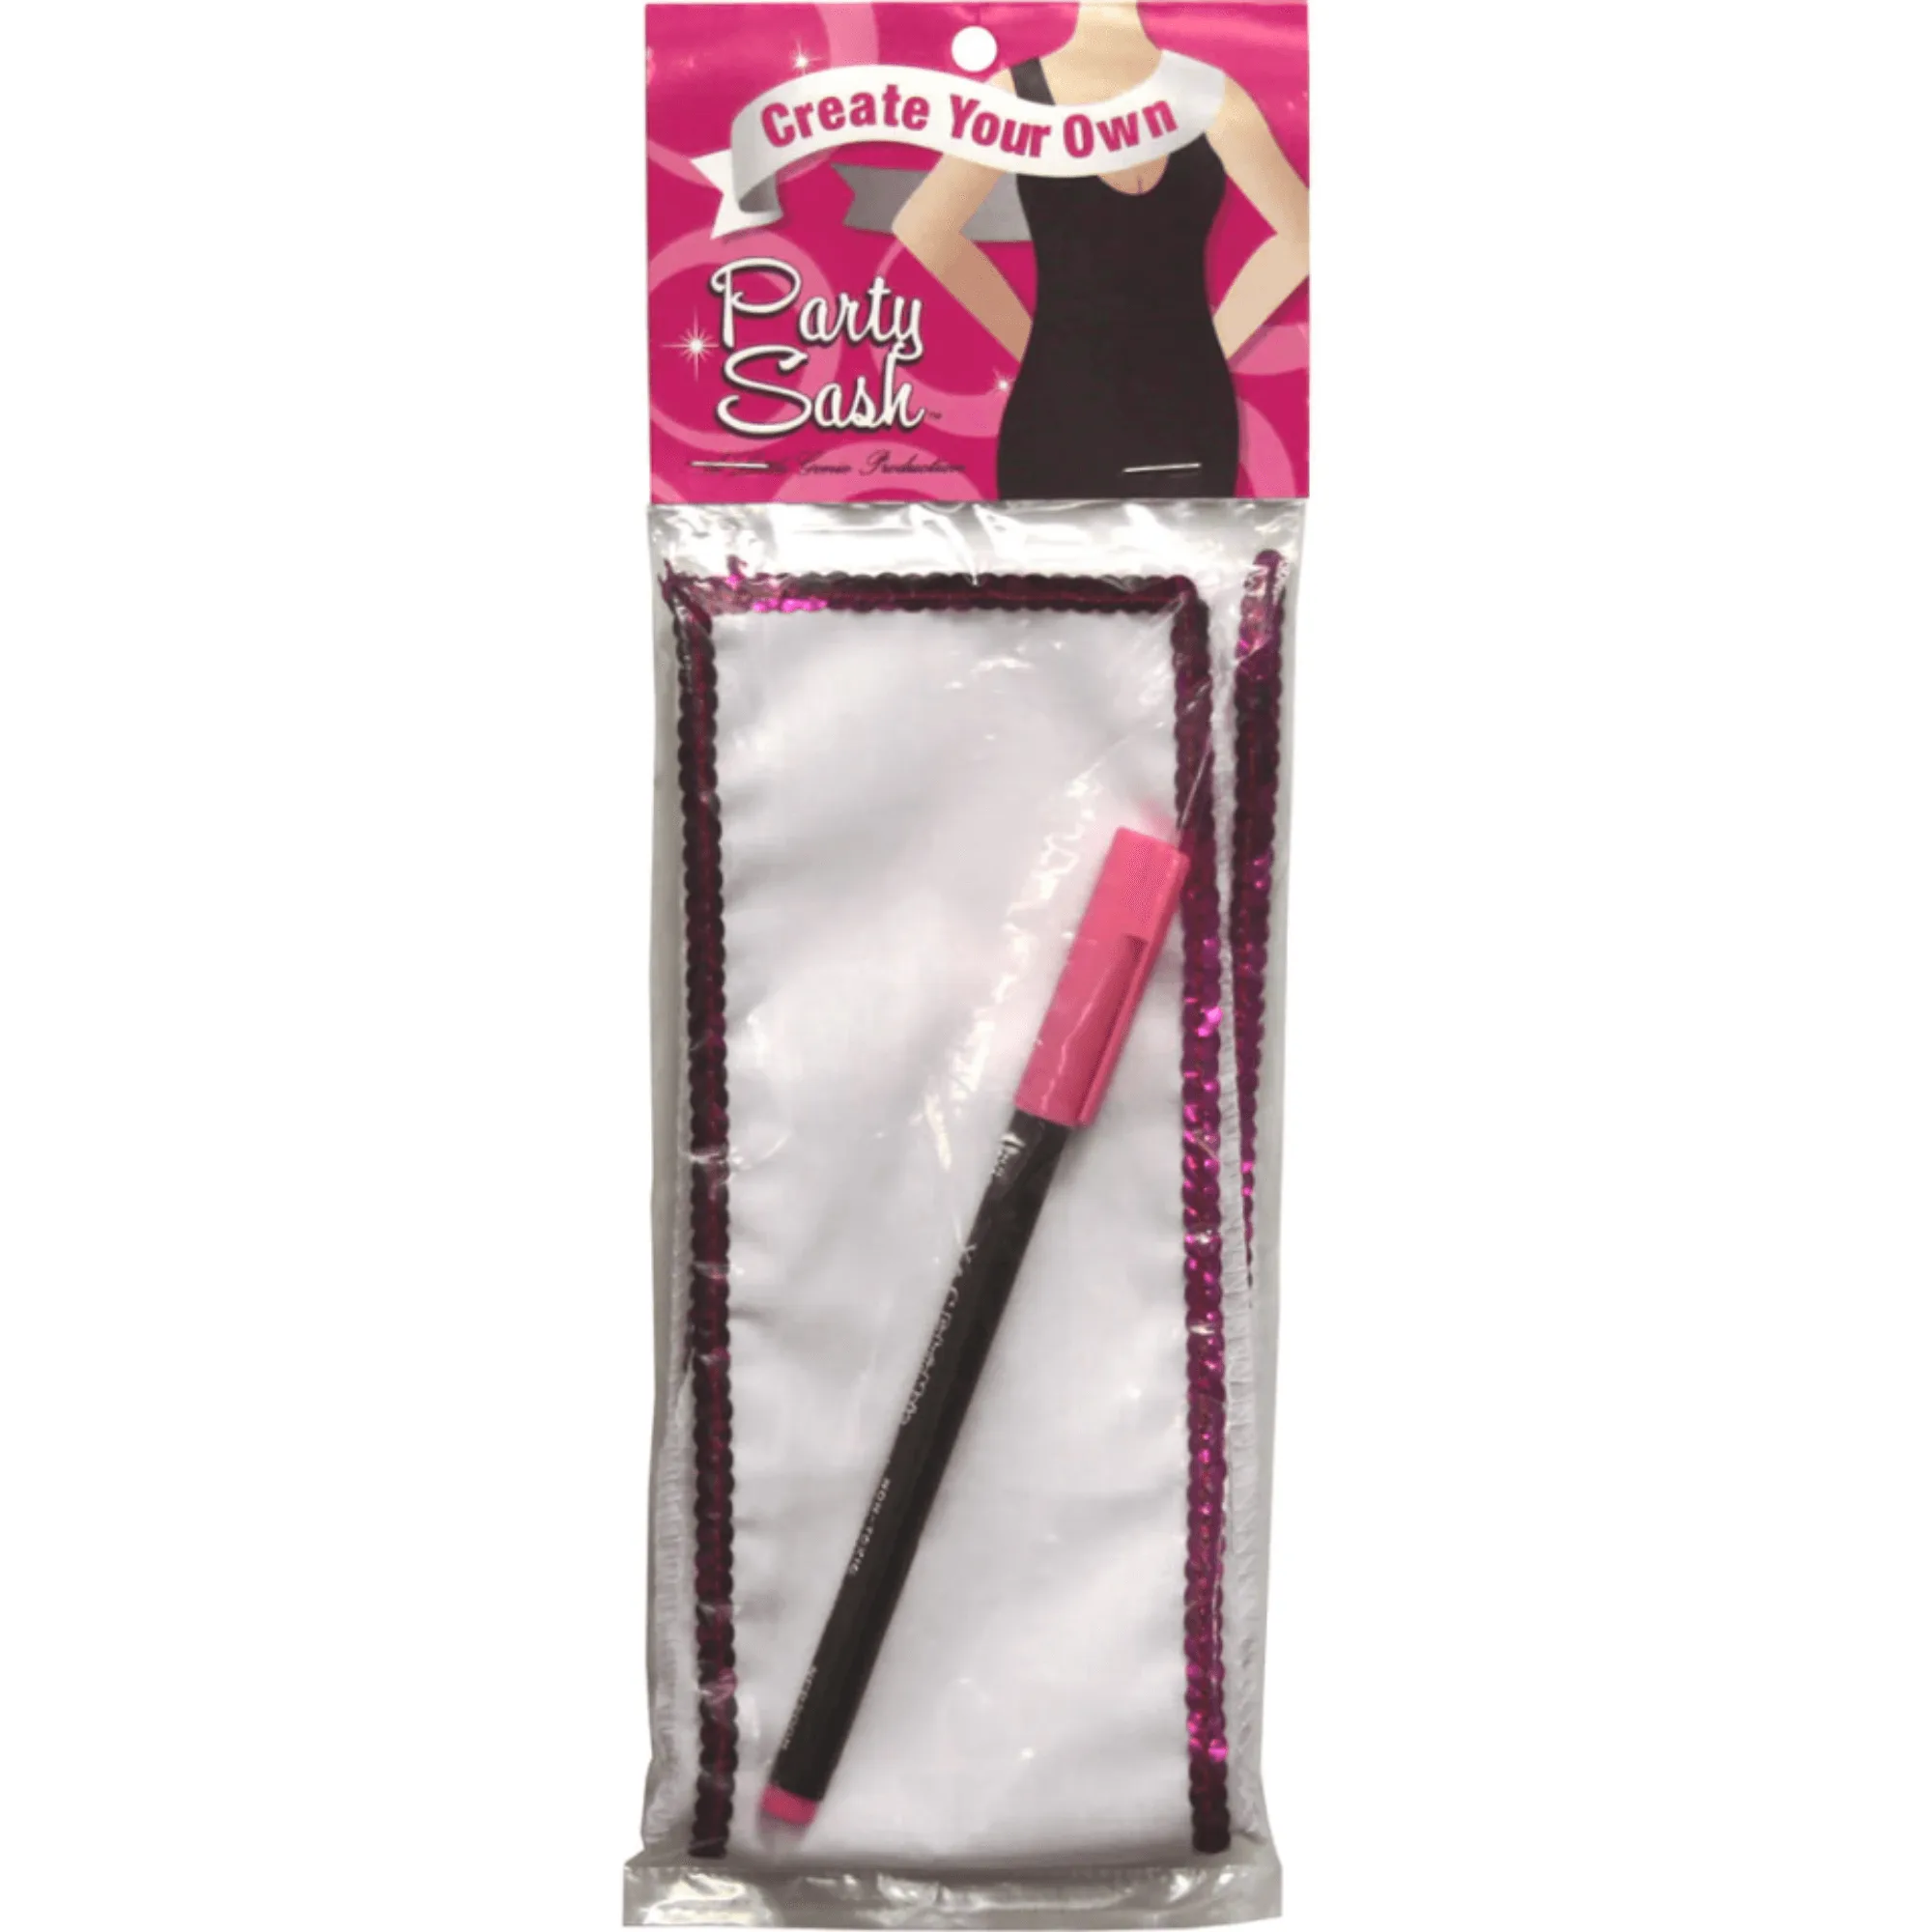
The Create Your Own Party Sash comes in a sexy white design with pink glitter, so it already fits the bachelorette vibe. The blank canvas means you can add names, dates, or cheeky phrases without clashing with the existing style.
Personalization Options and Trade-offs
You have full creative freedom with this sash. Use fabric markers for a hand-drawn look, or iron-on letters for a cleaner finish. Keep in mind that glitter can make some markers skip, so test on a small area first. If you're short on time, a simple 'Bride' or 'Future Mrs.' in bold letters is quick and effective.
The sash is made for parties, so it's not meant for heavy daily wear. It's a statement piece for the event, not a wardrobe staple. Plan to wear it during the main festivities and consider bringing a backup if you expect dancing or spills.
How to Personalize and Wear Your Party Sash
- Plan Your Message: Decide what you want the sash to say. Keep it short and punchy—like 'Bride-to-Be' or 'Last Fling Before the Ring'—so it's readable in photos and from across the room. A common mistake is overloading the sash with too many words; stick to 2-4 key phrases.
- Gather Your Materials: Use fabric markers or iron-on letters. Fabric markers are easier for freehand designs, while iron-on letters give a polished look. Make sure you have a flat, clean surface to work on. Test your marker on a hidden corner first to ensure it writes smoothly on the glitter fabric.
- Write or Apply Your Design: Lay the sash flat and write your message. If using iron-on letters, follow the package instructions and press firmly. Let any marker ink dry completely before folding or wearing. Avoid touching the ink while it's wet—smudges are hard to fix once they set.
- Wear It with Confidence: Drape the sash over one shoulder and across the body. Adjust it so the message is visible and centered on your chest. Pair it with a white outfit or the bride's favorite color to make it pop. Check the sash in a mirror to ensure it's straight and not twisted before you head out.
- Use It as a Conversation Starter: Let the sash do the talking. Encourage the bride to wear it during games, bar crawls, or photo sessions. It's a fun way to get strangers to congratulate her and join in the celebration. Have a backup plan if the sash gets dirty or torn—bring a spare or be ready to fix it with safety pins.
Product Facts
-
Create Your Own Party Sash: Made with a sexy white design with pink glitter, and you have full creative freedom when it comes to this party accessory. The pre-existing design saves you time, while the blank space lets you add a personal touch that matches the bride's style or the party theme.
Create Your Own Party Sash