Quick answer
Place the curved edge where your body needs support, such as under your hand, neck, or back, and use the straight edge for stable grounding. Adjust the block's height and angle to bring the floor closer without forcing your joints.
Why the curved edge changes your setup
A curved edge follows the natural line of your palm, neck, or spine, so you can rest into the block instead of gripping it. That reduces wrist extension in poses like Triangle and lowers neck pressure in supported backbends. The straight edge still gives you a flat, stable base for standing poses or when you need a firm push-off.
If you are used to a rectangular block, start with the curved side facing you for hand support and the flat side down for stability. This small rotation often removes the wrist pinch that makes people skip blocks altogether.
Step-by-step: using a curved yoga block for alignment
- 1. Choose the right edge for the pose: For hand support in standing poses, set the block with the curved edge facing you and the flat edge on the floor. For neck or back support in reclined poses, place the curved edge against your body. If your wrist feels pinched, rotate the block so the curve cradles your palm.
- 2. Position the block before you enter the pose: Place the block where your hand, foot, or back will land, then move into the pose slowly. Adjusting after you are in the pose often leads to misalignment. Check that the block does not wobble before you put weight on it.
- 3. Use the block to bring the floor closer: In poses like Triangle or Half Moon, rest your bottom hand on the block instead of reaching for the floor. This keeps your spine long and prevents rounding. If you still round your back, try the next height up or move the block slightly forward.
- 4. Support your neck in reclined poses: For supported backbends, place the curved edge under your neck or upper back, letting your head rest in the curve. Keep the flat edge on the mat. Never place the curved edge under your lower back; use the flat side for lumbar support.
- 5. Press evenly and avoid gripping: Spread your fingers and press down through the block. Your hand should rest on the curve, not grip the edges. This reduces forearm tension. If your fingers turn white, you are gripping too hard; relax and let the block do the work.
- 6. Check your alignment in a mirror or with a friend: Use a mirror to see if your shoulders, hips, and knees are square. A block can hide misalignment if you lean into it instead of using it as a guide. If one hip hikes up, lower the block height or widen your stance.
- 7. Store and care for your block: Wipe the block with a damp cloth after sweaty sessions. Keep it out of direct sun to prevent cracking. Cork blocks may need occasional airing to prevent odor. A clean block lasts longer and stays non-slip.
Product facts
-
Curved Yoga Block - Black: Curved Yoga Block - Black has a curved and straight edge for versatility, and is lightweight and durable. You can flip it between comfort and stability without switching props, which is handy during a single flow.
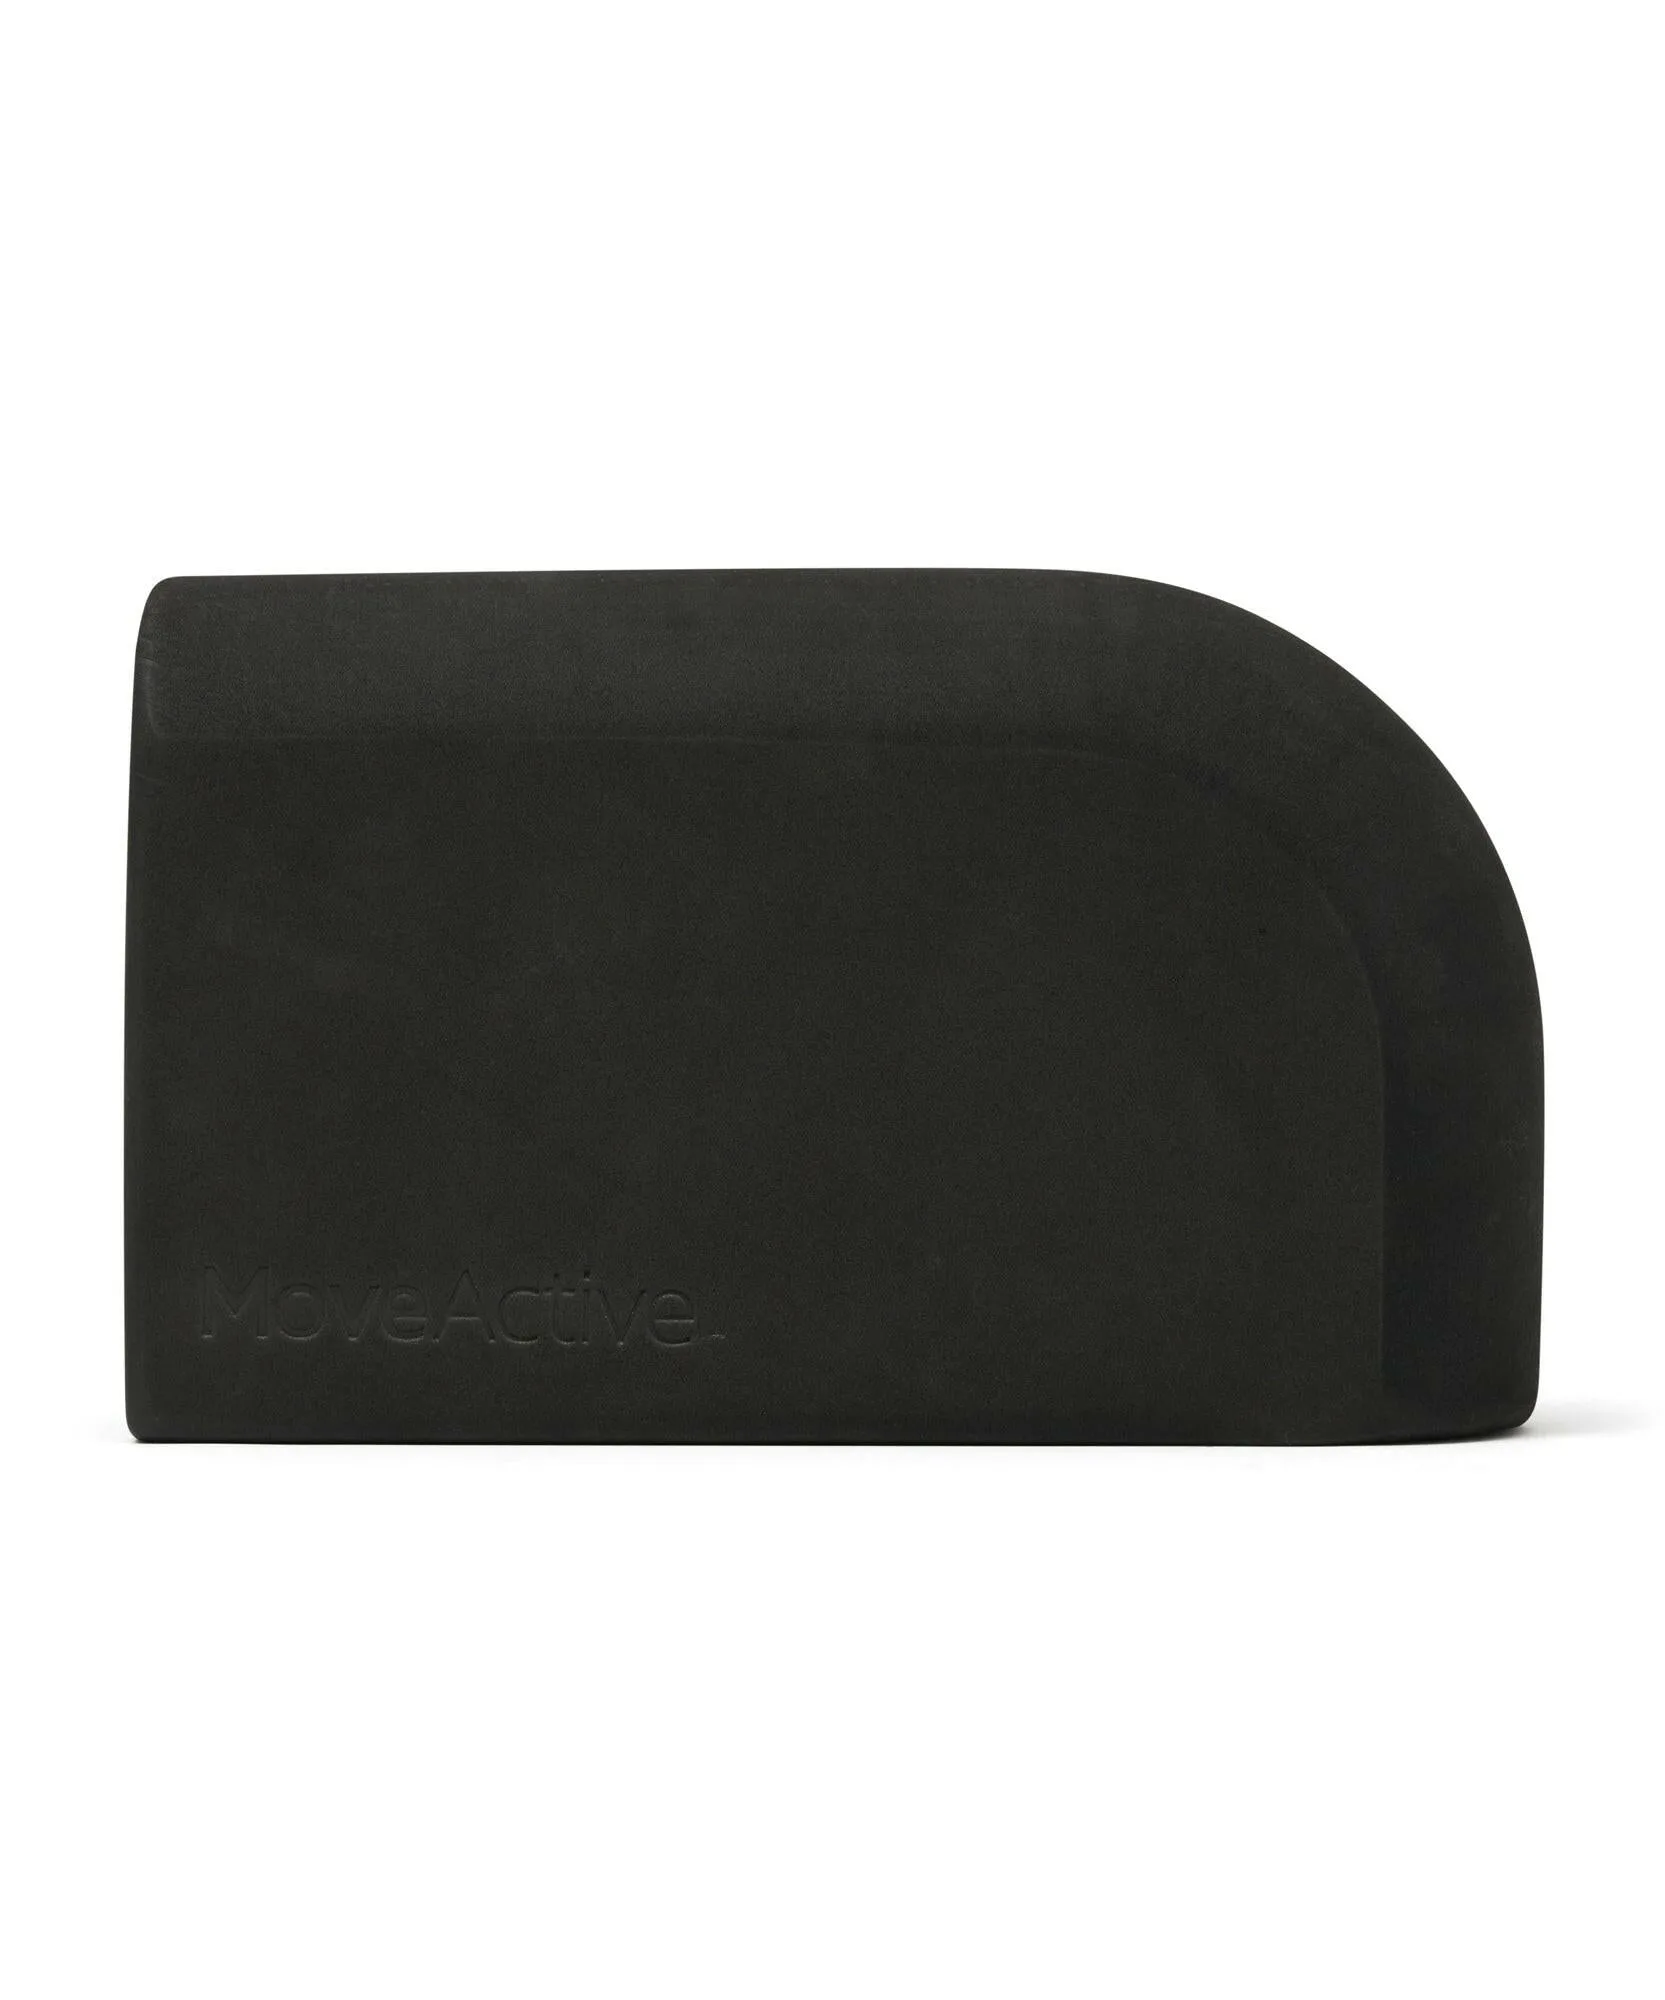
Curved Yoga Block - Black
-
Cork Curved Yoga Block: Cork Curved Yoga Block is heavier for more durable support. The extra weight keeps the block from sliding during standing poses or when you press down firmly.
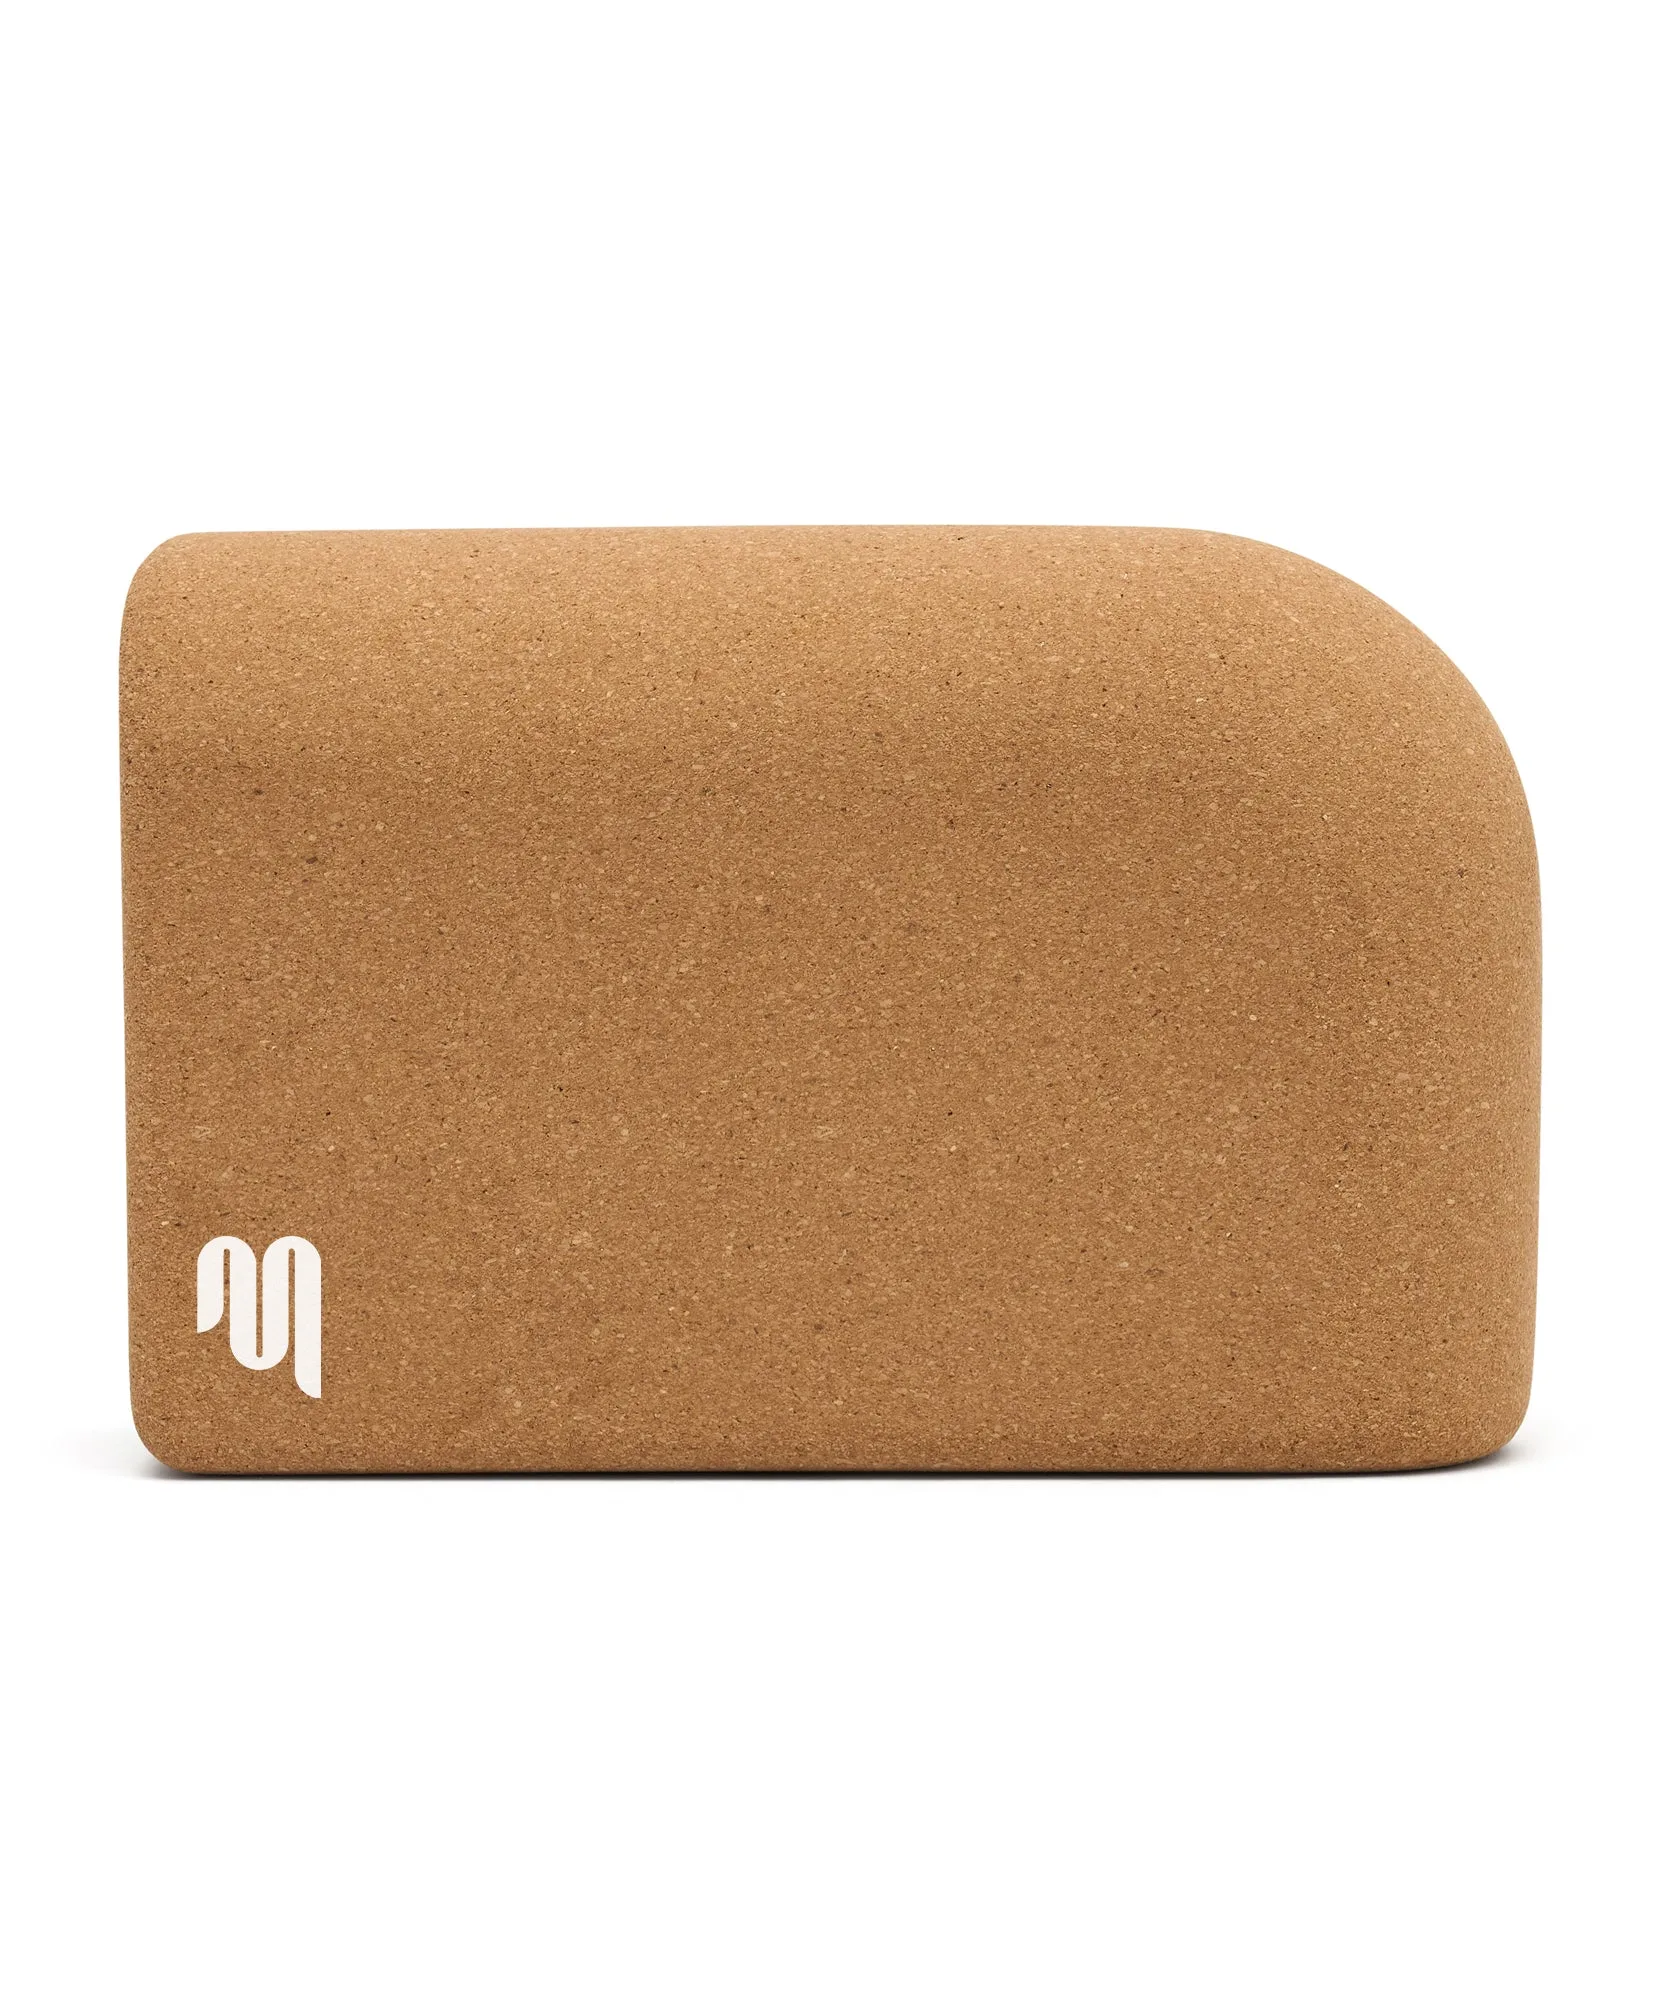
Cork Curved Yoga Block