Quick answer
Yes, you can convert a fixed height desk into a standing desk using a desk riser (or standing desk converter). Choose a riser with enough surface area and adjustability, set it up correctly, and alternate between sitting and standing to maximize comfort and productivity.
Small home offices often come with a fixed height desk that doesn't adjust. But you don't need to replace your entire desk to enjoy the benefits of standing. A desk riser—also known as a standing desk converter—sits on top of your existing desk and lifts your monitor and keyboard to standing height when needed.
In this guide, we'll walk you through the step-by-step process of choosing and setting up a desk riser for a fixed height desk, including practical tips for small spaces and common mistakes to avoid.
Why Use a Desk Riser Instead of a New Standing Desk?
A desk riser is a cost-effective and space-saving alternative to buying a new standing desk. It transforms your existing fixed height desk into a sit-stand workstation without the hassle of assembly or the expense of a full desk replacement. For small home offices, a riser also preserves floor space and keeps your setup compact.
Desk risers come in various sizes and weight capacities. Some feature gas springs for smooth height adjustment, while others use a crank mechanism. When choosing a riser, consider the weight of your monitor and keyboard, the available desktop space, and the height range you need.
For example, the Omnidesk Mystic is a full standing desk if you're ready to upgrade, but a riser like the Titus Premium Desk Mat can complement your riser setup by protecting your desk surface and adding a professional feel.
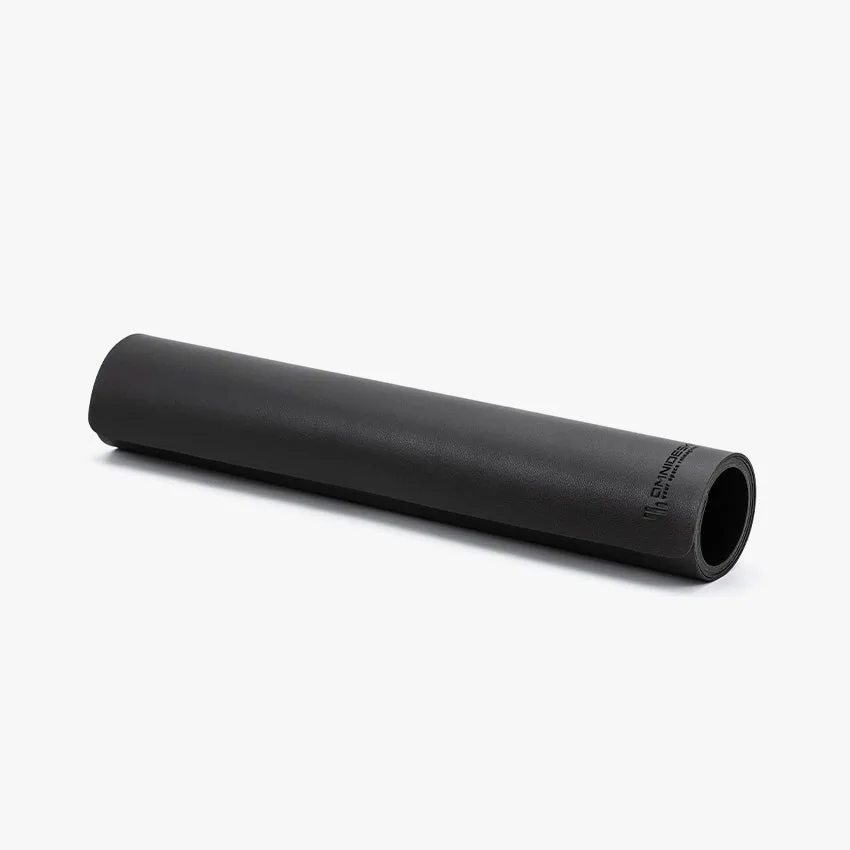
Titus Premium Desk Mat
- Measure your desk height and the riser's height range to ensure it reaches a comfortable standing position.
- Check the weight capacity of the riser against your monitor and keyboard setup.
- Consider a riser with a keyboard tray to keep your arms at a natural angle.
Step-by-Step Setup Guide for Your Desk Riser
Setting up a desk riser is straightforward, but following a few key steps ensures safety and ergonomics. Start by clearing your desk and measuring the available space. Then, place the riser on the desk and adjust it to your preferred sitting height before adding your equipment.
Once the riser is positioned, connect your monitor and keyboard. Make sure cables are managed to avoid tangling and to keep your workspace tidy. Finally, test the height adjustment to ensure smooth operation and that the riser stays stable.
Remember to alternate between sitting and standing throughout the day. A good rule of thumb is to stand for 30-60 minutes at a time, then sit. Use a timer or a standing desk app to remind you.
- Use a cable management solution to keep wires out of the way and prevent accidents.
- Place the riser at the center of your desk for balanced weight distribution.
- Adjust the riser to your elbow height when standing to avoid shoulder strain.
Common Mistakes to Avoid with Desk Risers
One common mistake is choosing a riser that is too small for your monitor and keyboard, leading to a cramped workspace. Another is setting the riser at a height that doesn't match your natural arm position, causing discomfort.
Also, avoid overloading the riser beyond its weight capacity, which can cause instability or damage. And don't forget to periodically check the riser's screws and mechanisms for wear and tear.
If you're using a riser with a fixed height desk, ensure the desk itself is sturdy enough to support the added weight. A wobbly desk can make the riser unstable.
- Always read the manufacturer's weight limit and stay within it.
- Position the riser so that your monitor is at eye level and about an arm's length away.
- If you experience wrist pain, adjust the keyboard tray height to keep your wrists straight.
Desk Riser vs. Standing Desk: Which Is Right for You?
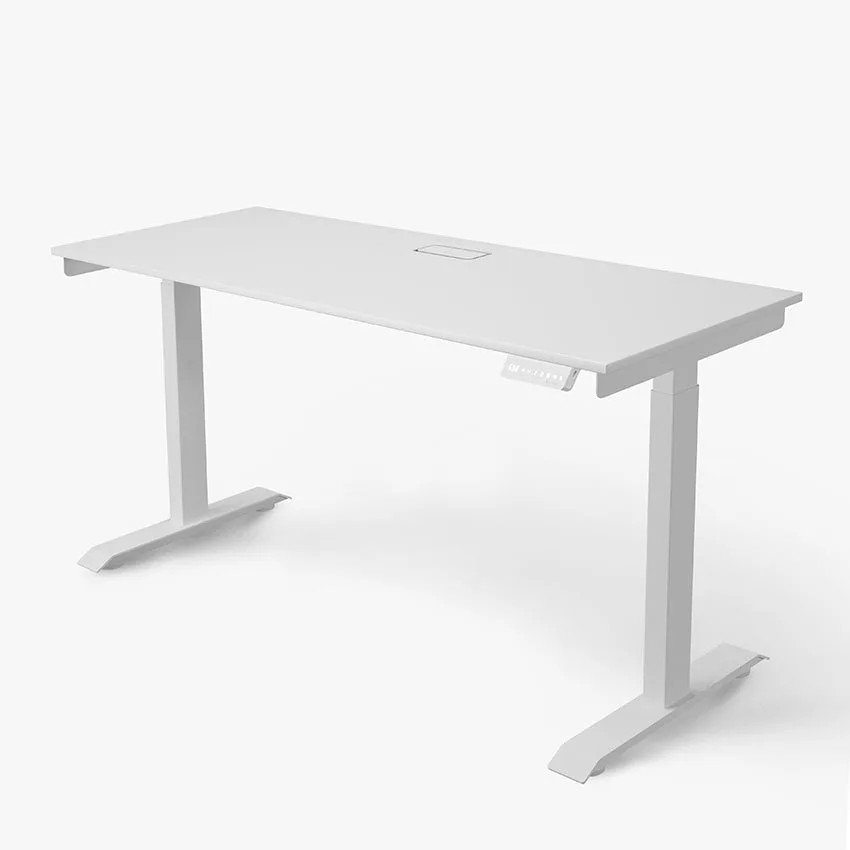
A desk riser is ideal for those who want to test the waters of standing desks without a big investment. It's also great for renters or anyone who can't modify their existing desk. However, a full standing desk like the Omnidesk Classic offers more stability and a wider height range, making it a better long-term solution.
If you have the budget and space, a standing desk provides a seamless transition between sitting and standing. But for small home offices, a riser can be just as effective and much more affordable.
Consider your needs: if you rarely change positions, a riser might suffice. If you plan to stand frequently, a dedicated standing desk could be worth the investment.
- Desk risers are portable and can be moved between desks.
- Standing desks offer a cleaner look with no extra equipment on top.
- For heavy setups, a standing desk with a dual motor, like the Classic, provides better support.
Step-by-Step: Setting Up Your Desk Riser
- Measure your desk and riser: Measure the height of your fixed desk and the height range of the riser. Ensure the riser can reach a comfortable standing height for you. Checkpoint: The riser should allow your elbows to be at a 90-degree angle when typing.
- Clear and prepare your desk: Remove all items from your desk. Clean the surface to ensure the riser sits flat and stable. Checkpoint: A clean, clutter-free surface prevents slips and scratches.
- Position the riser on your desk: Place the riser at the center of your desk, or slightly to one side if you need space for other items. Ensure it's stable and doesn't overhang. Checkpoint: The riser should not wobble or slide when you apply pressure.
- Adjust the riser to sitting height: Set the riser to your preferred sitting height. Place your monitor and keyboard on the riser, making sure they are within easy reach. Checkpoint: Your monitor should be at eye level, and your keyboard should be at elbow height.
- Connect and manage cables: Connect your monitor and keyboard cables. Use cable ties or a cable management tray to keep wires neat and out of the way. Checkpoint: No cables should dangle or create a trip hazard.
- Test the height adjustment: Raise the riser to standing height and test the stability. Adjust the height if needed to ensure a comfortable standing position. Checkpoint: The riser should be stable at all heights, and you should be able to type comfortably.
- Alternate sitting and standing: Set a timer to remind you to change positions every 30-60 minutes. Start with shorter standing intervals and gradually increase. Checkpoint: Listen to your body; if you feel discomfort, adjust your posture or take a break.
Product Facts: Desk Risers and Accessories
- Omnidesk Mystic: The Mystic is a stable single-motor standing desk that supports up to 90kg, perfect for minimalist setups to dual-monitor configurations. If you decide to upgrade from a riser, the Mystic offers a smooth height adjustment and enough capacity for most home office setups.
- Classic: The Classic is a premium two-column, dual motor standing desk with a touchscreen controller and four memory presets. For those who want a full standing desk with advanced features, the Classic provides a robust and convenient solution.
- Titus Premium Desk Mat: The Titus is handmade from premium PU leather, double-layered for durability, with a waterproof coat to protect against spills. A desk mat like the Titus protects your desk surface and adds a polished look to your riser setup, making it a practical accessory.
A desk riser is a smart, budget-friendly way to bring the benefits of standing to your existing fixed height desk. By following these steps, you can create an ergonomic and productive workspace even in the smallest home office. Remember to choose a riser that fits your needs, set it up correctly, and listen to your body as you transition between sitting and standing.