Quick Answer
Use a tray large enough for your print, set up three trays in a row for developer, stop, and fixer, and agitate gently but consistently to ensure even development.
Why Tray Size Matters
A tray that is too small forces you to crease or bend the paper, which causes uneven chemical coverage and permanent marks. For 20 x 24" prints, choose a tray with extra margin, like the Paterson Plastic Developing Tray, which is sized 24 x 28" to give you room to grip the edges without touching the emulsion.
Chemical Order and Temperature
Always arrange trays in the order: developer, stop bath, fixer. Keep chemicals at the temperature recommended by the paper manufacturer, typically around 68°F (20°C). Use a thermometer to check each bath before starting.
Agitation Without Damaging the Print
For large prints, rocking the tray gently side-to-side is more practical than constant shuffling. Avoid lifting the print too frequently, as this can cause uneven development and increase the risk of scratching the wet emulsion.
Step-by-Step Tray Development
- Set up your trays: Place three trays in a row: developer, stop bath, fixer. Ensure each tray is large enough for your print with at least 2 inches of margin on all sides. Check that the tray is flat and stable before pouring chemicals.
- Mix chemicals to temperature: Prepare developer, stop bath, and fixer according to instructions. Adjust the temperature to the paper's recommended range, usually 68°F (20°C). Use a thermometer to verify each bath; don't rely on touch.
- Pre-soak the print: If your paper allows, pre-soak in plain water for 30 seconds to ensure even chemical absorption. This step is optional but helps prevent streaks. Skip pre-soak if the paper manufacturer advises against it.
- Develop with gentle agitation: Slide the print into the developer emulsion-side up. Rock the tray gently in a figure-eight or side-to-side motion for the full development time. Don't lift the print frequently; use tongs or gloves to avoid fingerprints.
- Stop and fix: Transfer the print to the stop bath for 30 seconds, then to the fixer for the recommended time (usually 2-5 minutes). Agitate gently in each. Use a separate tong for each bath to avoid cross-contamination.
- Wash and dry: Wash the print in running water for the recommended time (often 10-20 minutes) to remove all chemicals. Hang or lay flat to dry. Check that no fixer residue remains; use a hypo-clearing agent if available.
Recommended Darkroom Tray
-
Paterson Plastic Developing Tray for 20 x 24" Prints (24 x 28", White): The Paterson Plastic Developing Tray is sized 24 x 28" and is listed for 20 x 24" prints. The extra margin gives you a safe grip area, so you can handle large prints without bending or touching the image area.
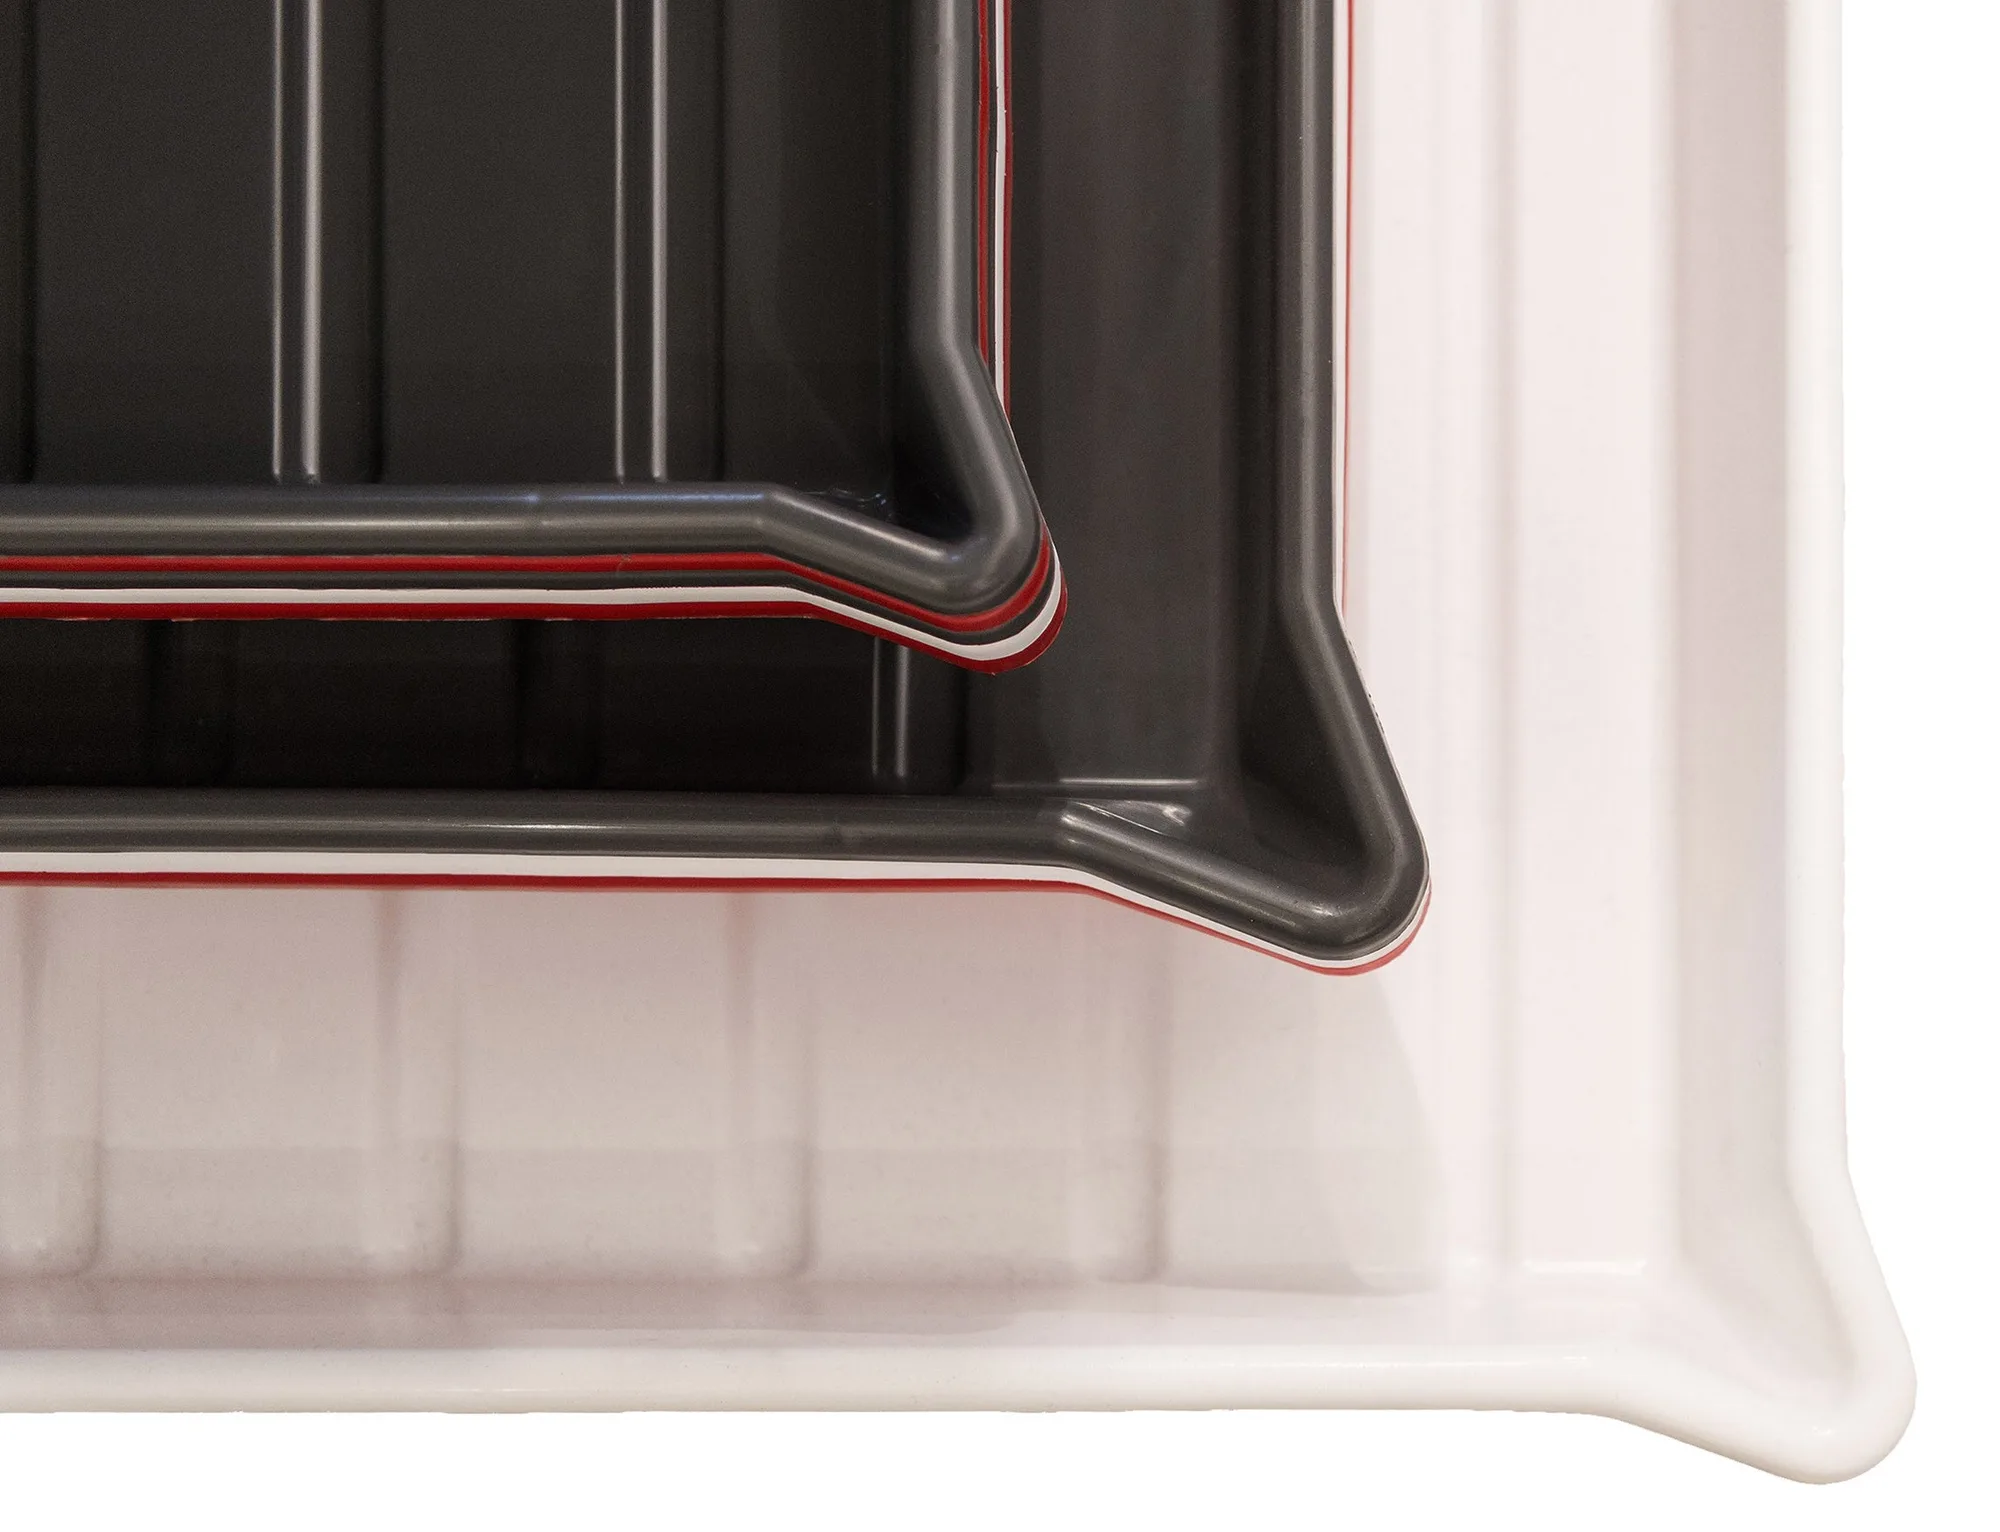
Paterson Plastic Developing Tray for 20 x 24" Prints (24 x 28", White)