What the Dome Gen 2 Series Stand Brings to Your Pizza Workflow
The Dome Gen 2 Series Stand is designed as more than just a platform for your oven. With two wooden side wings, adjustable shelves, and integrated gas bottle storage, it turns your outdoor cooking area into a practical pizza prep station. This guide walks you through using the stand to streamline your pizza-making process, from setup to serving.
Stand Features That Support Pizza Prep
-
Dome Gen 2 Series Stand: Two wooden side wings for prep, garnishing, or plating. These wings give you dedicated space to stretch dough, add toppings, and plate finished pizzas without leaving the oven.
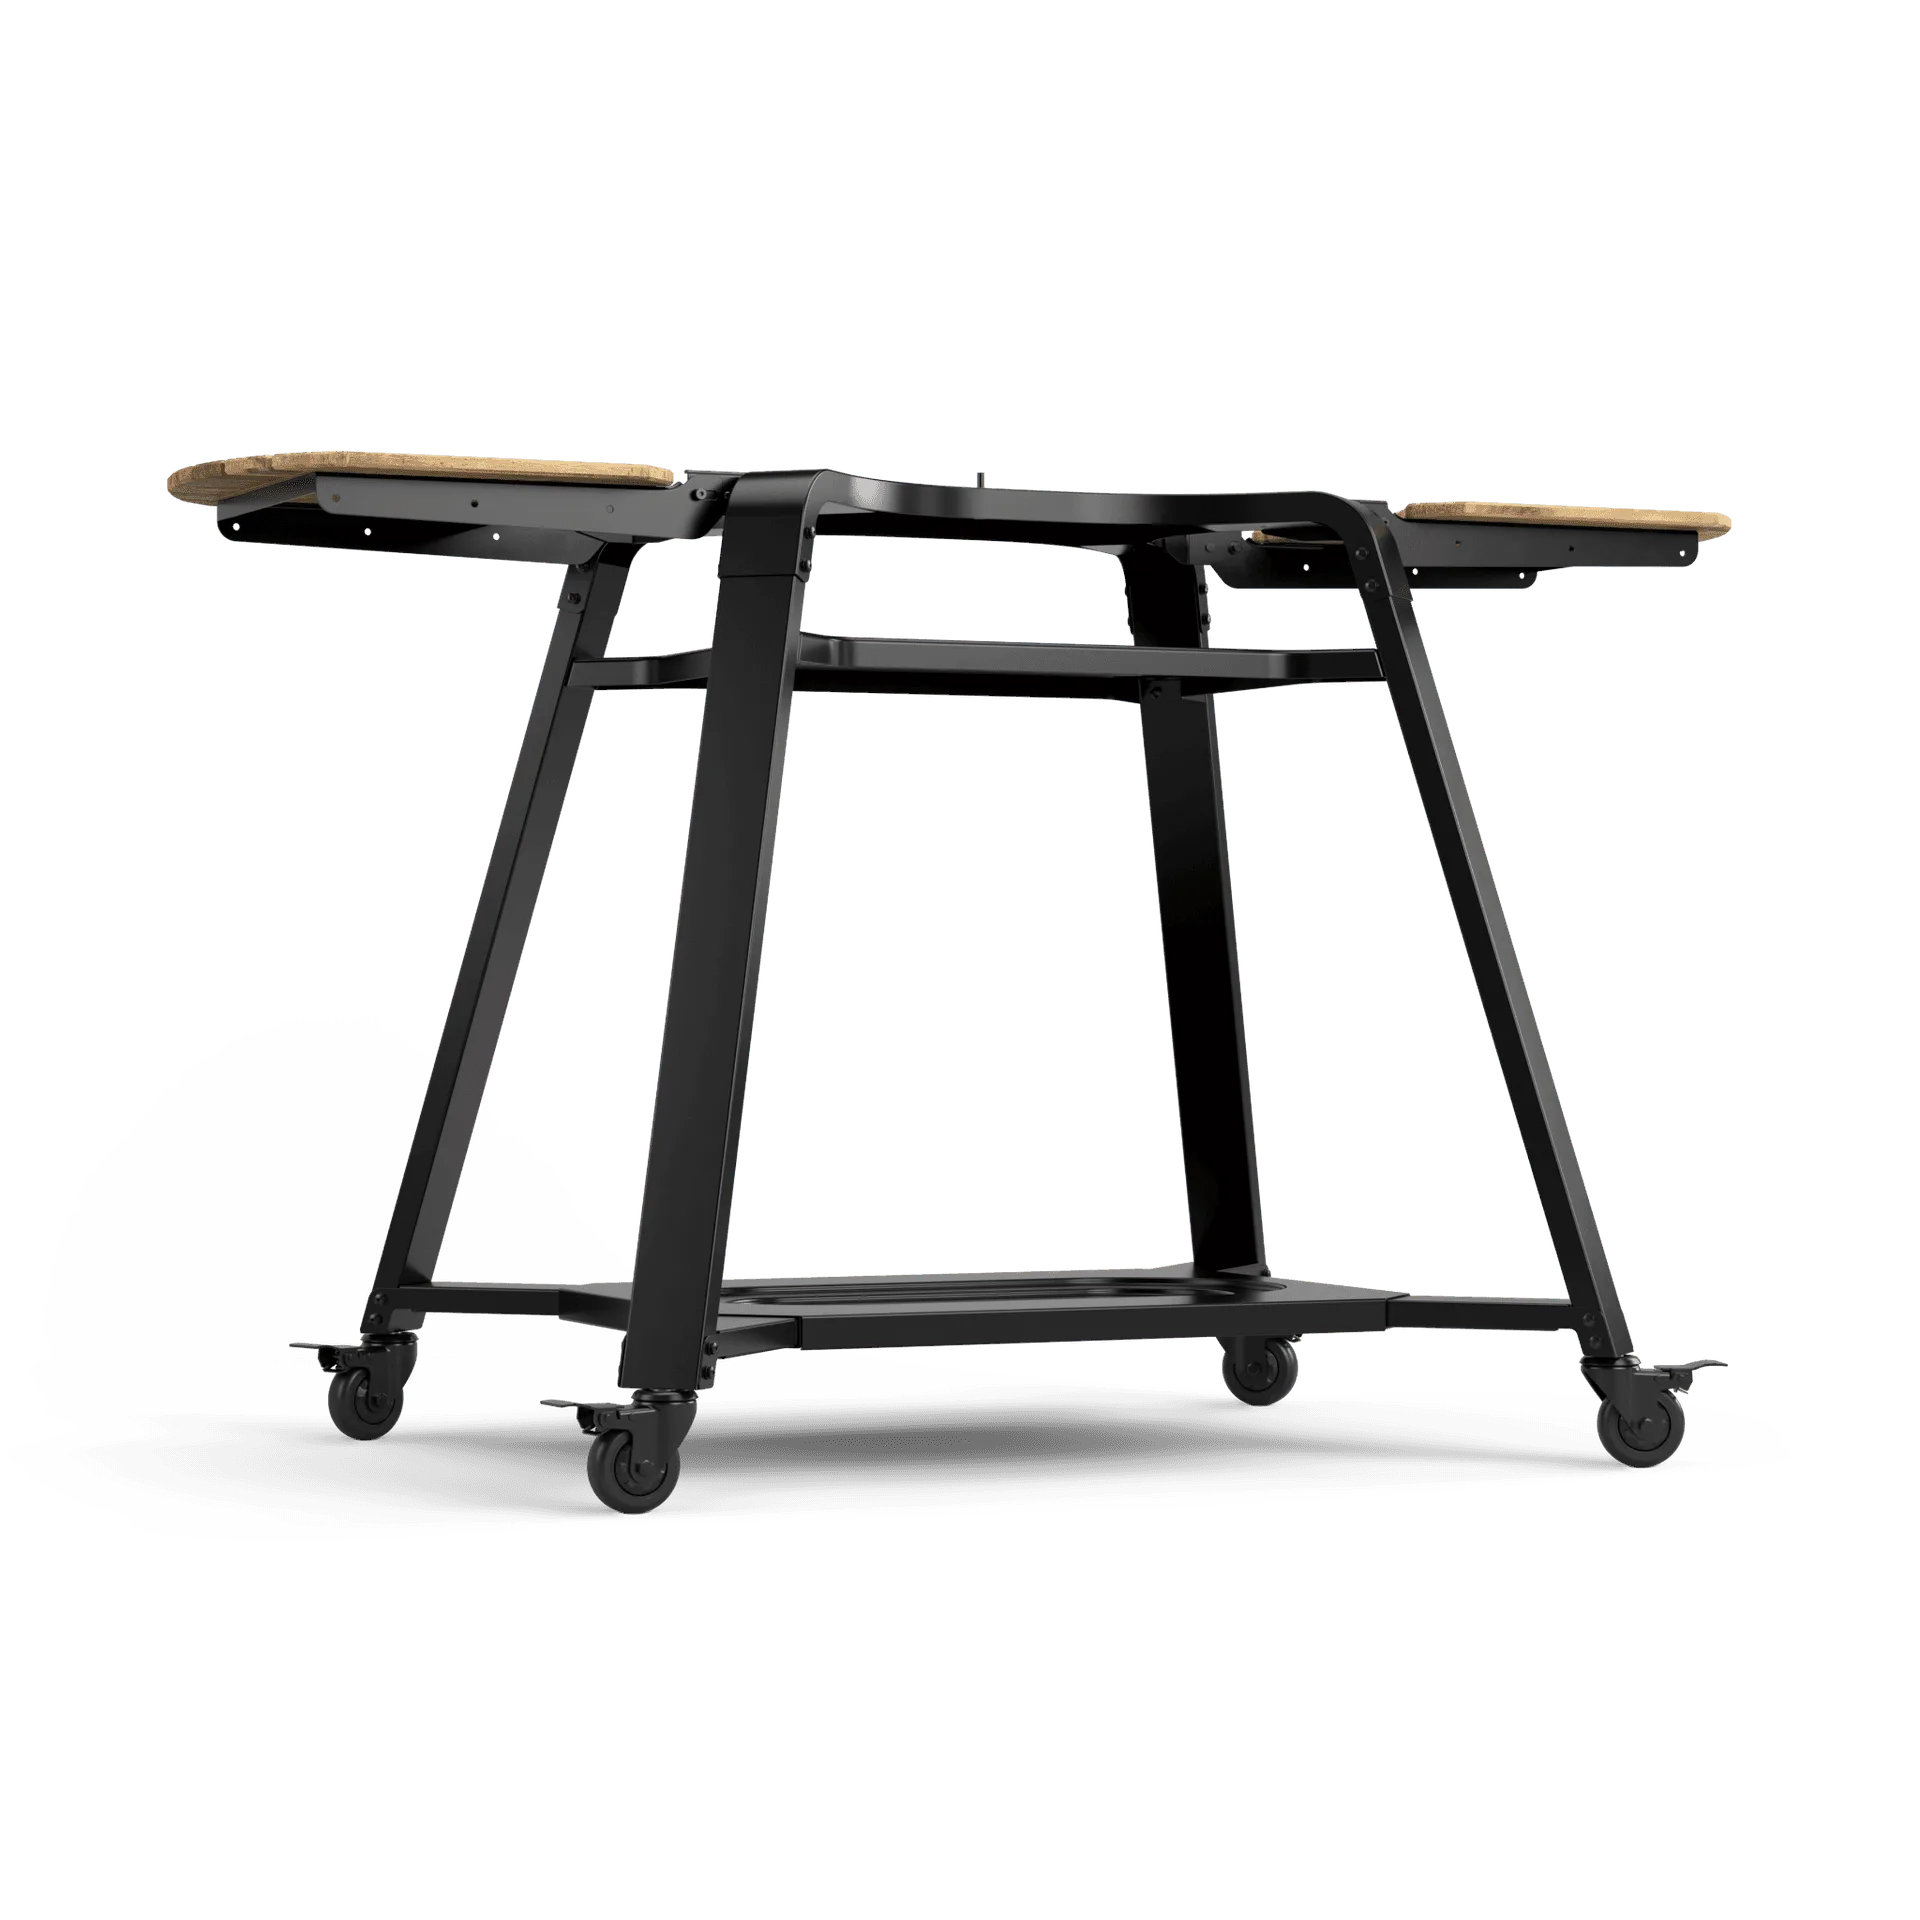
Dome Gen 2 Series Stand
-
Dome Gen 2 Series Stand: Adjustable wings for ingredients and tools. You can reposition the wings to fit your workflow, keeping ingredients and tools within easy reach.
-
Dome Gen 2 Series Stand: Two acacia shelves for accessories and wood storage, plus pegs for cookware. Store peels, cutting boards, and fuel underneath, freeing up the top surface for prep work.
Setting Up Your Pizza Prep Station
Before your first cook, position the stand on a level surface. The four large castor wheels with orientation locking and foot brakes let you move the stand into place and keep it stable during use.
- Position and lock the stand: Roll the stand to your chosen location, then press the foot brakes on the wheels to prevent movement. Lock the orientation of the front wheels if you need the stand to stay put during prep.
- Mount your Dome or Dome XL oven: Your oven securely connects to the stand with an easy turn fastener. The stand is compatible with both Dome (Gen 2) and Dome XL (Gen 2). Once attached, the oven sits at the perfect height for cooking.
- Arrange the adjustable wings: Extend the wooden side wings to your preferred angle. Use one wing for a prep surface (dough, sauce, toppings) and the other for tools (peel, brush, thermometer).
- Organize the lower cabinet and shelves: The lower cabinet houses two gas bottles for a seamless setup. Place accessories like your pizza peel, cutting board, and extra wood on the acacia shelves. Use the pegs to hang cookware.
A Practical Pizza Prep Workflow
With the stand set up, here’s a typical sequence for pizza night:
1. Stretch your dough on one wing, keeping flour and a bench scraper nearby. 2. Add sauce and toppings on the same wing, or use the second wing as a staging area for topped pizzas. 3. Launch the pizza into the oven using a peel stored on the lower shelf. 4. While the pizza bakes, use the other wing to plate or garnish finished pizzas. 5. After cooking, clean the acacia shelves with a damp cloth and store accessories on the shelves and pegs.
What the Supplied Information Doesn’t Cover
The catalog does not specify a maximum load for the side wings or shelves, so avoid placing heavy objects like full gas bottles or large cutting boards on the wings. Assembly steps and safety ratings are not provided in the available records—refer to the product manual for detailed installation instructions.