Quick answer
Use the dual ended sponge tool to dab and blend nail polish onto your nails for a smooth ombre effect. Start with a light base coat, apply polish to the sponge, and build up layers for a seamless gradient.
Why the dual ended sponge tool works for gradients
The dual ended sponge tool is designed for nail artists of all levels to achieve effortless nail powder application, ombré gradients, and more. Its rounded tip covers larger areas for base blending, while the pointed tip lets you add precise color near the cuticle or edges.
Unlike a standard makeup sponge, this tool is lightweight and easy to control, giving you the accuracy needed for clean gradient transitions. The two tips attached to one handle mean you can switch between blending and detailing without reaching for another tool.
One trade-off: because the sponge tips are small, you'll need to work in short dabs rather than sweeping strokes. This takes a little patience but gives you more control over where the color lands.
Step-by-step gradient nails tutorial
- Prep your nails: Start with clean, dry nails. Apply a base coat and let it dry completely. This gives the sponge something to grip and prevents staining. Checkpoint: If your base coat is still tacky, the sponge will pick it up and create streaks.
- Apply polish to the sponge: Paint two or three stripes of your chosen colors side by side on a flat surface, then press the rounded tip of the sponge into the polish to pick it up. Alternatively, paint directly onto the sponge tip. Checkpoint: Don't overload the sponge—too much polish will flood the nail and muddy the gradient.
- Dab the color onto your nail: Gently dab the sponge onto your nail, starting from the tip and working toward the cuticle. Use light, even pressure and overlap the colors slightly where they meet. Checkpoint: Avoid dragging the sponge; dabbing only prevents smearing.
- Build the gradient in layers: Let the first layer dry for a minute, then reapply polish to the sponge and dab again. Repeat until the gradient looks smooth and opaque. Checkpoint: Two or three thin layers give a softer blend than one thick coat.
- Clean up the edges: Use the pointed tip of the sponge to add a touch of color near the cuticle or to refine the gradient edge. Then dip a small brush in acetone to remove any polish on your skin. Checkpoint: Clean the brush between swipes so you don't spread color onto the nail.
- Seal with a top coat: Once the gradient is dry, apply a generous layer of top coat to smooth out the sponge texture and lock in the design. Checkpoint: Use a quick-dry top coat to avoid smudging your work.
What to know about the tools
-
Dual Ended Sponge Tool: Comes with 1 rounded sponge tip and 1 pointed sponge tip on a dual-ended plastic handle. You can blend broad areas with the rounded tip and refine edges with the pointed tip, so you don't need extra tools for a clean gradient.
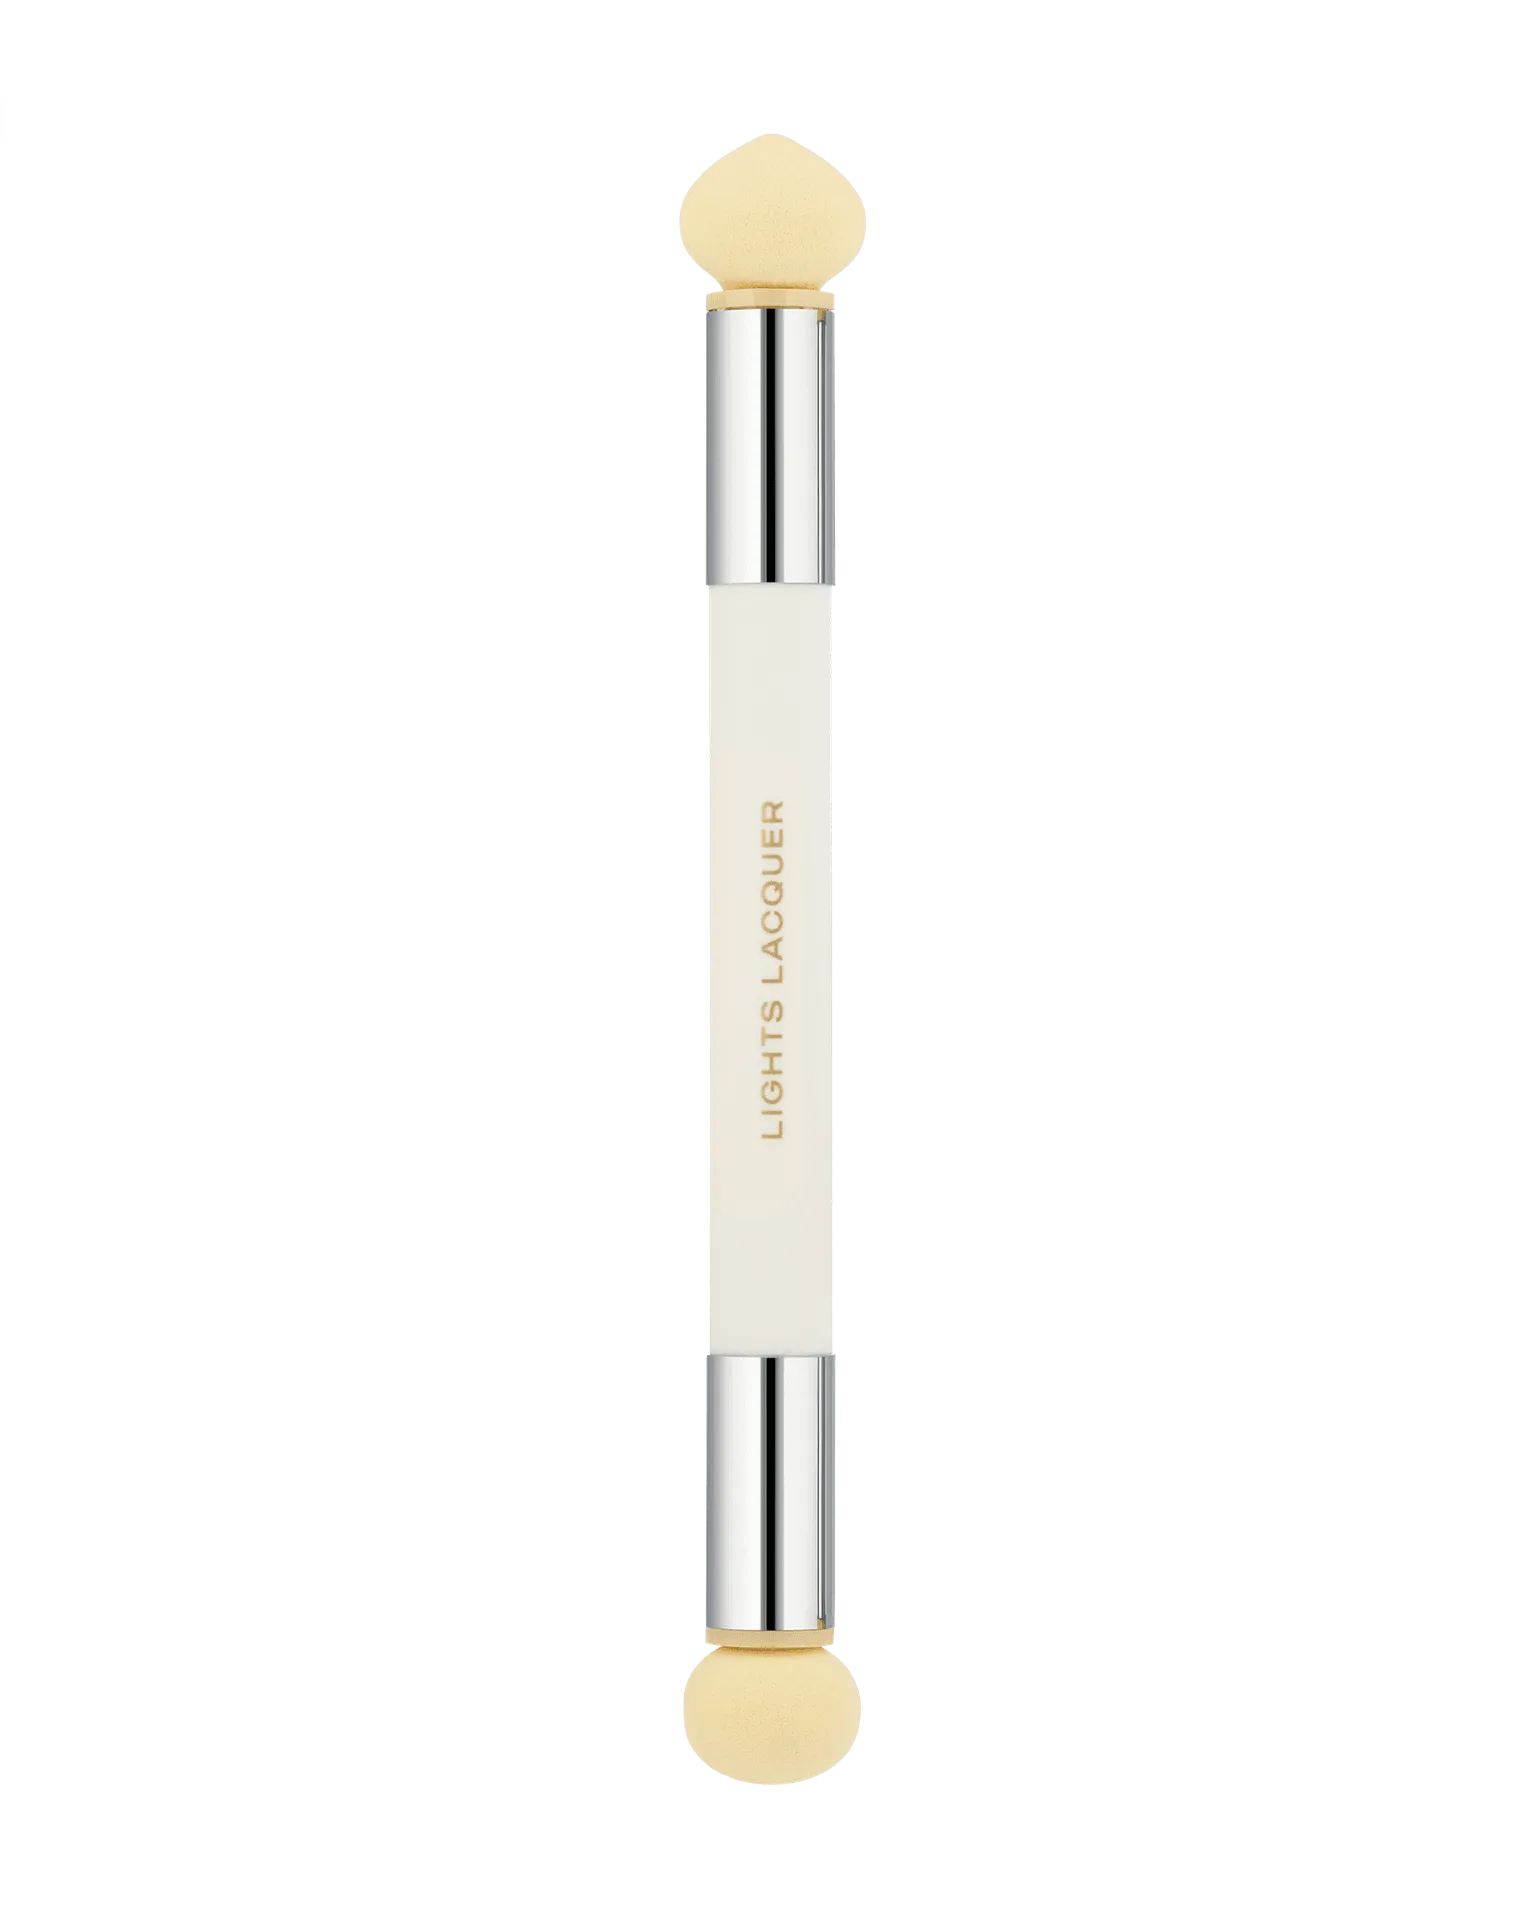
Dual Ended Sponge Tool
-
Dual Sponge Tip Replacements: Includes 2 rounded and 2 pointed replacement tips that fit the dual ended sponge tool. Keep a spare set on hand so you can swap tips between colors or when one gets stained, keeping your gradients crisp.
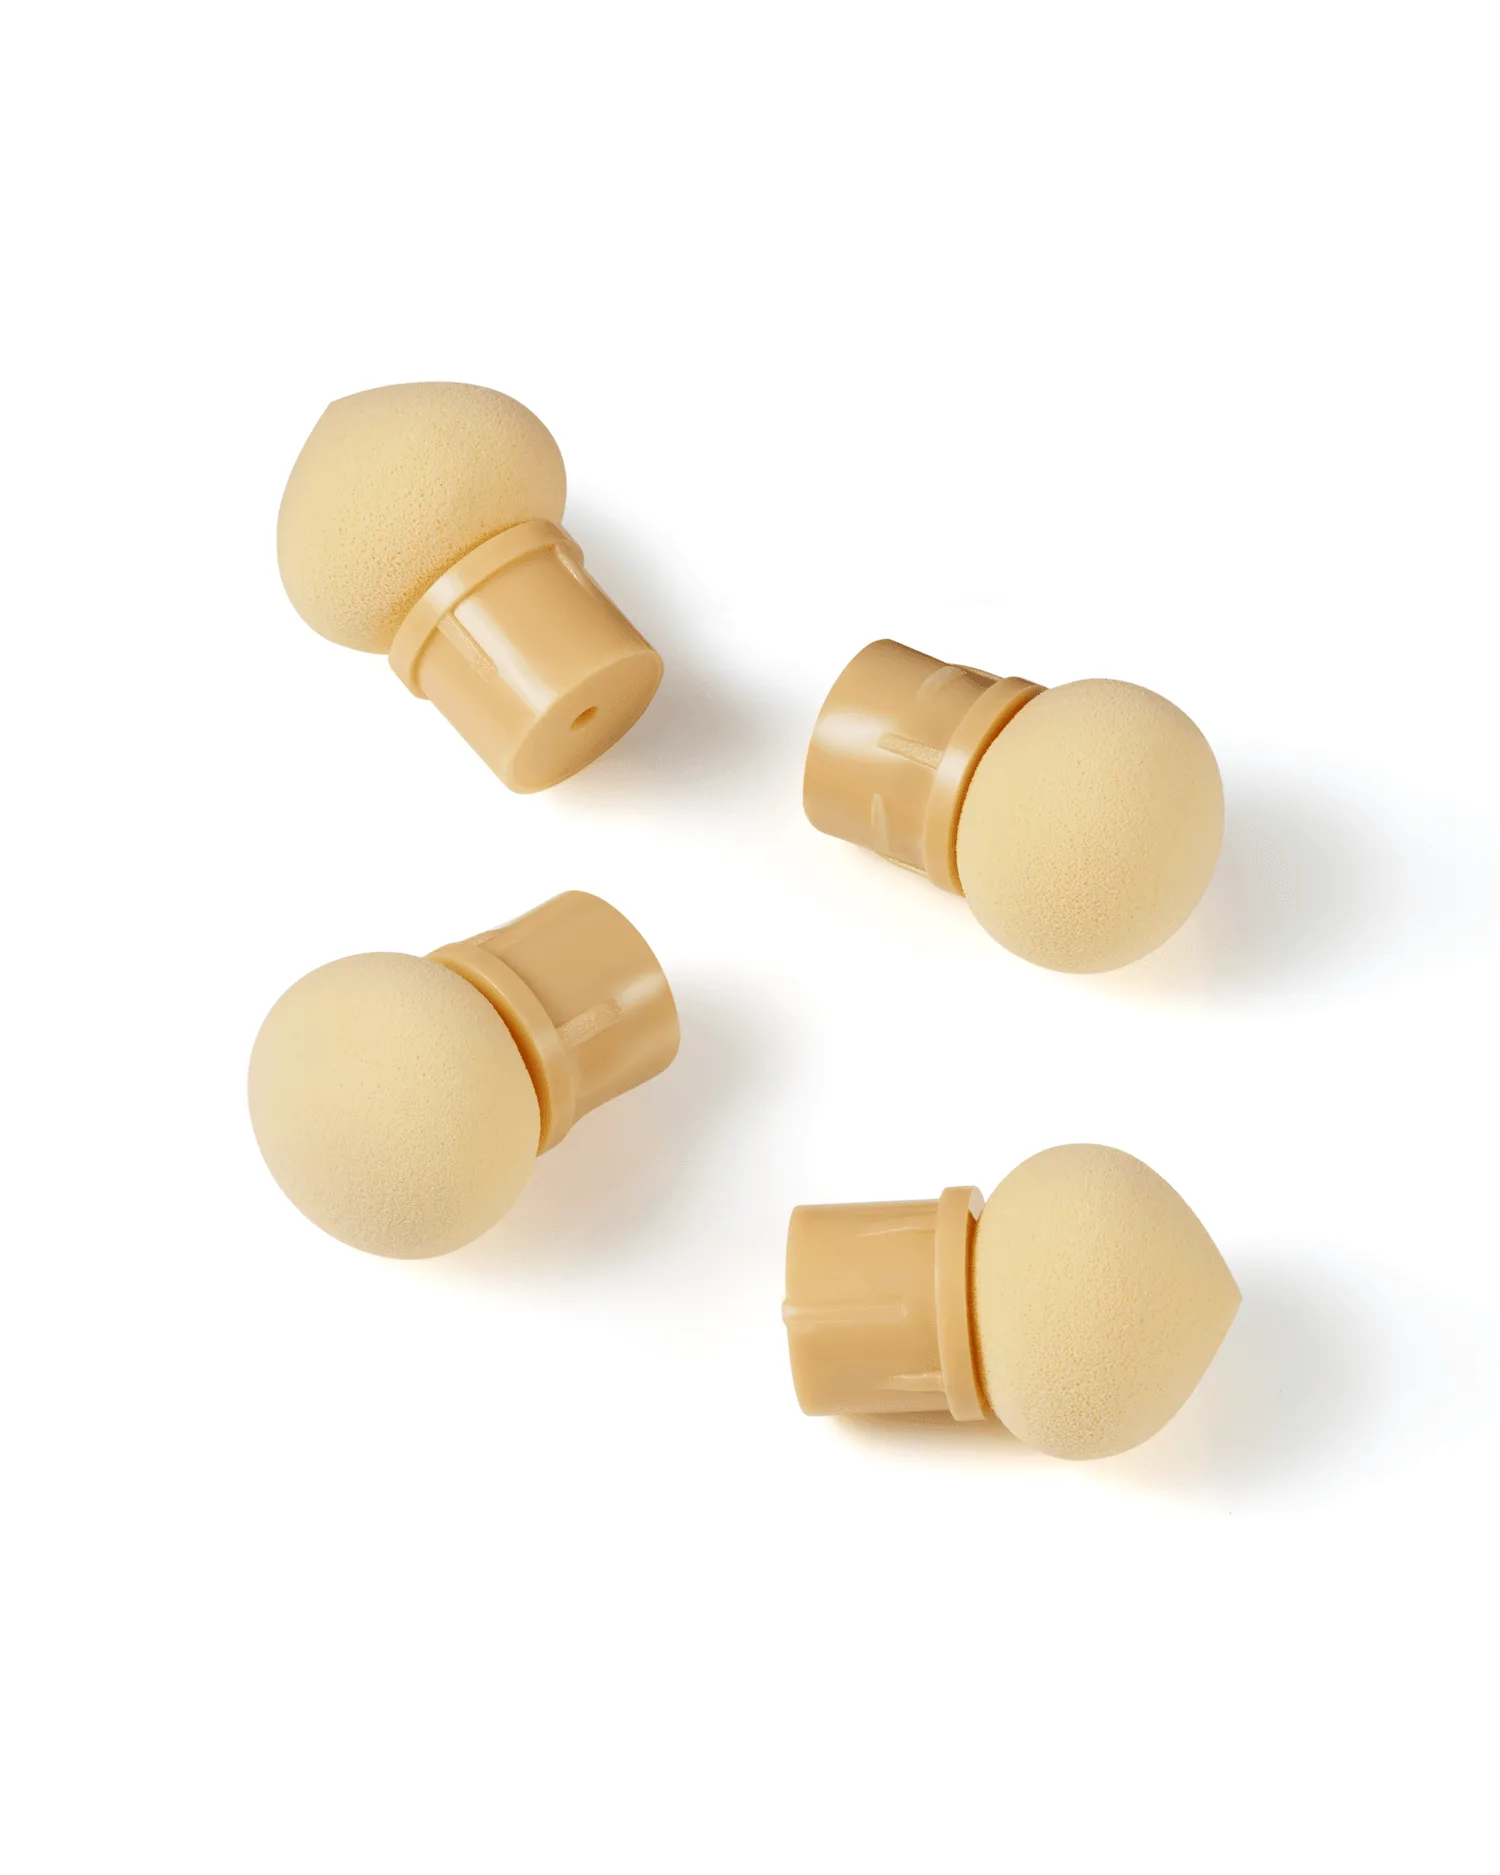
Dual Sponge Tip Replacements