Quick answer
To get accurate quilt cuts, use a fabric measuring tape to measure twice, mark clearly, and cut with a rotary cutter and ruler. The soft, flexible tape conforms to fabric, ensuring precise measurements every time.
Why a fabric measuring tape beats a rigid ruler for some tasks
A fabric measuring tape is ideal for measuring curved or irregular shapes, like quilt borders or appliqué pieces, where a rigid ruler can't bend. Its soft body allows it to follow the fabric's contours, giving you a true measurement without stretching the material.
For straight cuts, a quilting ruler is still your best friend. But for checking the dimensions of a finished quilt top or measuring fabric that's folded or bunched, a tape measure is more practical and less likely to distort the fabric.
Choosing the right tape: retractable vs. soft body
A retractable measuring tape keeps the tape tidy and protected when not in use, making it easy to store in a sewing kit or pocket. A soft body ruler, on the other hand, lies flat and doesn't roll up on its own, which can be handy when you need to keep a measurement visible while you cut.
Both types have clear markings, but check that the numbers are large enough for you to read easily, especially if you're working in low light or with patterned fabric.
Step-by-step: Measuring and cutting with a fabric tape
- Press and flatten your fabric: Iron your fabric to remove wrinkles and folds. Lay it on a flat, hard surface like a cutting mat. Smooth it with your hands, but don't pull or stretch it. Wrinkles cause inaccurate measurements, so always press first.
- Measure twice with the tape: Place the end of the tape at the starting edge. Run it across the fabric, keeping it flat and straight. Read the measurement at eye level to avoid parallax error. Write down the number, then measure again from the opposite direction to confirm. If the two measurements differ, your fabric may be skewed—re-press and re-measure.
- Mark the cut line clearly: Use a fabric marker or chalk to make a small dot at the measured point. Then use a quilting ruler to draw a straight line from that dot to the edge. This gives you a visible guide for your rotary cutter. Mark on the wrong side of the fabric to avoid visible marks on the right side.
- Cut with a rotary cutter and ruler: Align your quilting ruler with the marked line. Hold it firmly with your non-dominant hand, keeping your fingers away from the edge. Run the rotary cutter along the ruler with steady pressure, away from your body. Never cut freehand with a rotary cutter—always use a ruler as a guide.
- Check your cut with the tape: After cutting, use the fabric measuring tape to check the dimensions of the cut piece. Compare it to your intended measurement. If it's off by more than 1/8 inch, re-measure and recut if necessary. A quick post-cut check catches mistakes before you sew pieces together.
Product spotlight
-
Retractable Fabric Measuring Tape 59inch (150cm) - Soft Body Ruler: The 59-inch (150cm) retractable fabric measuring tape has a soft, flexible design and clear markings for precision. The soft body conforms to fabric without stretching, and the retractable case keeps it clean and ready for accurate measurements every time.
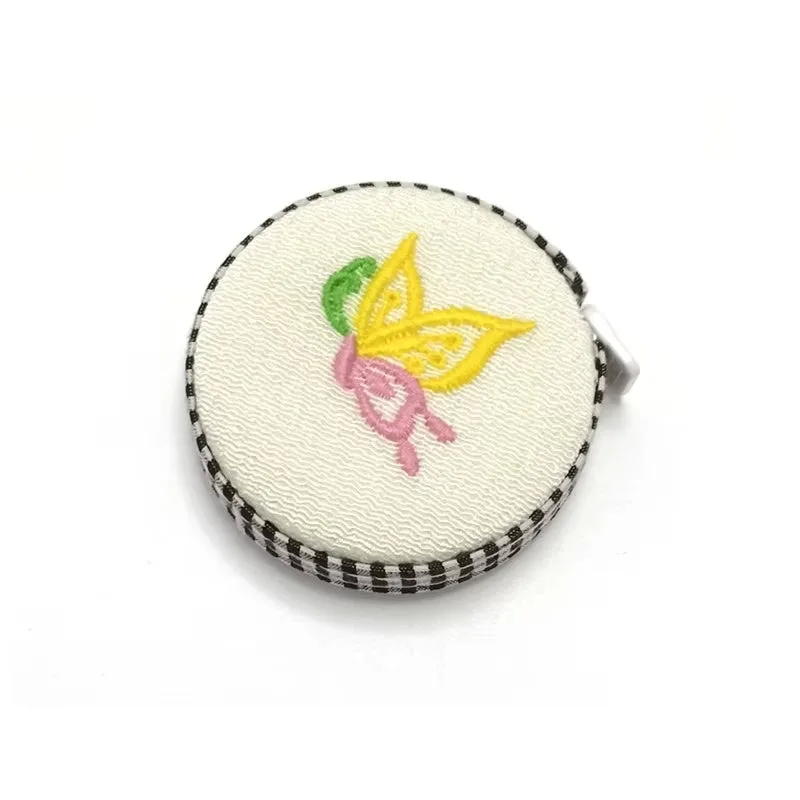
Retractable Fabric Measuring Tape 59inch (150cm) - Soft Body Ruler