Quick answer
Put your boots on first, then pull the gaiter over the boot so the top sits snug against your calf and the bottom hooks or straps under the boot. Fasten every closure before you start walking. A gaiter that is not fully attached will ride up, gap at the ankle, and let in the exact debris you are trying to block.
Gaiters are one of the few pieces of gear that do their job silently. When they are fitted right, you forget they are there. When they are fitted wrong, you spend the day stopping to shake rocks and seed heads out of your socks. The difference is almost never the gaiter itself. It is the order you put them on, how you close the top, and whether the bottom is actually anchored to the boot.
This guide walks through the process in the order you will do it on a trailhead or a tailgate. Each step includes the mistake that causes most of the failures, so you can catch it before you start climbing.
What gaiters actually block
Gaiters prevent debris from entering over the top of your boot collar and through the tongue and lace area. That debris is usually small: pine needles, grass seed, grit, snow, and twigs. Once it is inside, it works its way down to the heel and ball of your foot, where it rubs. On a long pack-out, that rubbing turns into a hot spot fast.
They also add a layer of boot protection against abrasive rock, brush, and wet vegetation. That matters less for comfort and more for how long your boots and socks last. A gaiter takes the abuse so the boot does not have to.
- Gaiters are not a substitute for waterproof boots or breathable socks. They reduce what gets in; they do not manage moisture that is already there.
Choose the right gaiter height for the terrain
Low gaiters cover the ankle and collar. They are light and breathable, and they are enough for dry, brushy country where the main threat is dust and seed heads. Tall gaiters run to just below the knee. They are the better choice for snow, deep grass, and wet brush, where debris and moisture come from higher up.
Match the gaiter to the season, not to the brand name. A tall gaiter in hot, dry conditions traps heat and sweat. A low gaiter in wet snow lets the snow in over the top within the first mile.
- If you hunt the same boots across seasons, one pair of mid-height gaiters is a reasonable compromise, but it will not excel at either extreme.
Step-by-step: putting gaiters on correctly
The order matters more than most hunters expect. Boots first, then gaiters. If you put gaiters on before your boots, you cannot get the bottom anchor seated properly, and the whole system shifts as you walk.
Once the gaiter is on, close the top before the bottom. A snug top keeps the gaiter from sliding down. Then attach the bottom anchor and check that the front hook or strap sits centered on the laces, not off to one side. Finally, take ten steps and look down. Any gap at the ankle means you need to re-seat the bottom.
- Common mistake: leaving the top closure loose because it feels tight on the calf. A loose top is the number one cause of gaiters riding down.
Layering gaiters with pants and boots
Gaiters go over your pants, not under them. Tucking pants into the gaiter keeps the fabric from catching on brush and keeps snow out of the pant cuff. If your pants have a cuff cinch, tighten it before you close the gaiter top.
Watch the interaction with your boot laces. A front hook that catches a lace loop will pop off on the first steep step. If your gaiters use a lace hook, press it down firmly and give it a tug to confirm it is seated.
- If you wear crampons or microspikes, check that the gaiter bottom does not interfere with the binding. Re-check after the first few minutes of walking.
Field checks and quick fixes
Stop and check your gaiters after the first steep climb and again after any creek crossing or deep snow section. The top is the first thing to loosen, and the bottom anchor is the first thing to collect a twig. Both take ten seconds to fix.
If debris is still getting in, the problem is usually the top, not the bottom. Tighten the top closure, then re-seat the bottom. If that fails, your gaiter may be sized for a different boot volume, which is a fit issue rather than a technique issue.
- Carry a spare lace hook or a short length of cord if your gaiter model uses one. It is a small item that can end a day of constant stopping.
Care that keeps gaiters working
Rinse mud and grit off the closures and hook after each trip. Grit in a hook or strap is what causes it to slip mid-hunt. Let them air dry fully before storage, especially if they are coated or waterproof.
Inspect the bottom anchor and any elastic for wear before a long trip. A stretched elastic top will not stay snug, no matter how carefully you put it on.
- Do not store gaiters compressed in a stuff sack for months. Elastic loses its snap when it stays stretched or crushed.
The 6-step gaiter routine
- Boots on first: Lace and tie your boots before you touch the gaiters. This lets you seat the bottom anchor correctly against the boot. Checkpoint: the boot is fully laced and the tongue is straight.
- Pants over the boot: Pull your pant cuff down over the boot collar and tighten any cuff cinch. Gaiters go over the pants. Checkpoint: no pant fabric is bunched under the gaiter top.
- Pull the gaiter up: Slide the gaiter over the boot and up the calf. Center the front of the gaiter over the laces. Checkpoint: the gaiter is not twisted to one side.
- Close the top first: Fasten the top closure snug against the calf. This is the seal that keeps debris from entering from above. Common mistake: leaving the top loose because it feels tight. A loose top is why gaiters ride down.
- Anchor the bottom: Attach the front hook or strap and the under-boot strap if your model has one. Press the hook down firmly and tug it. Checkpoint: the anchor is centered and does not catch a lace loop.
- Walk and re-check: Take ten steps, then look down. Re-seat anything that has shifted before you commit to the climb. Checkpoint: no gap at the ankle and no slack at the top.
Gear that supports the system
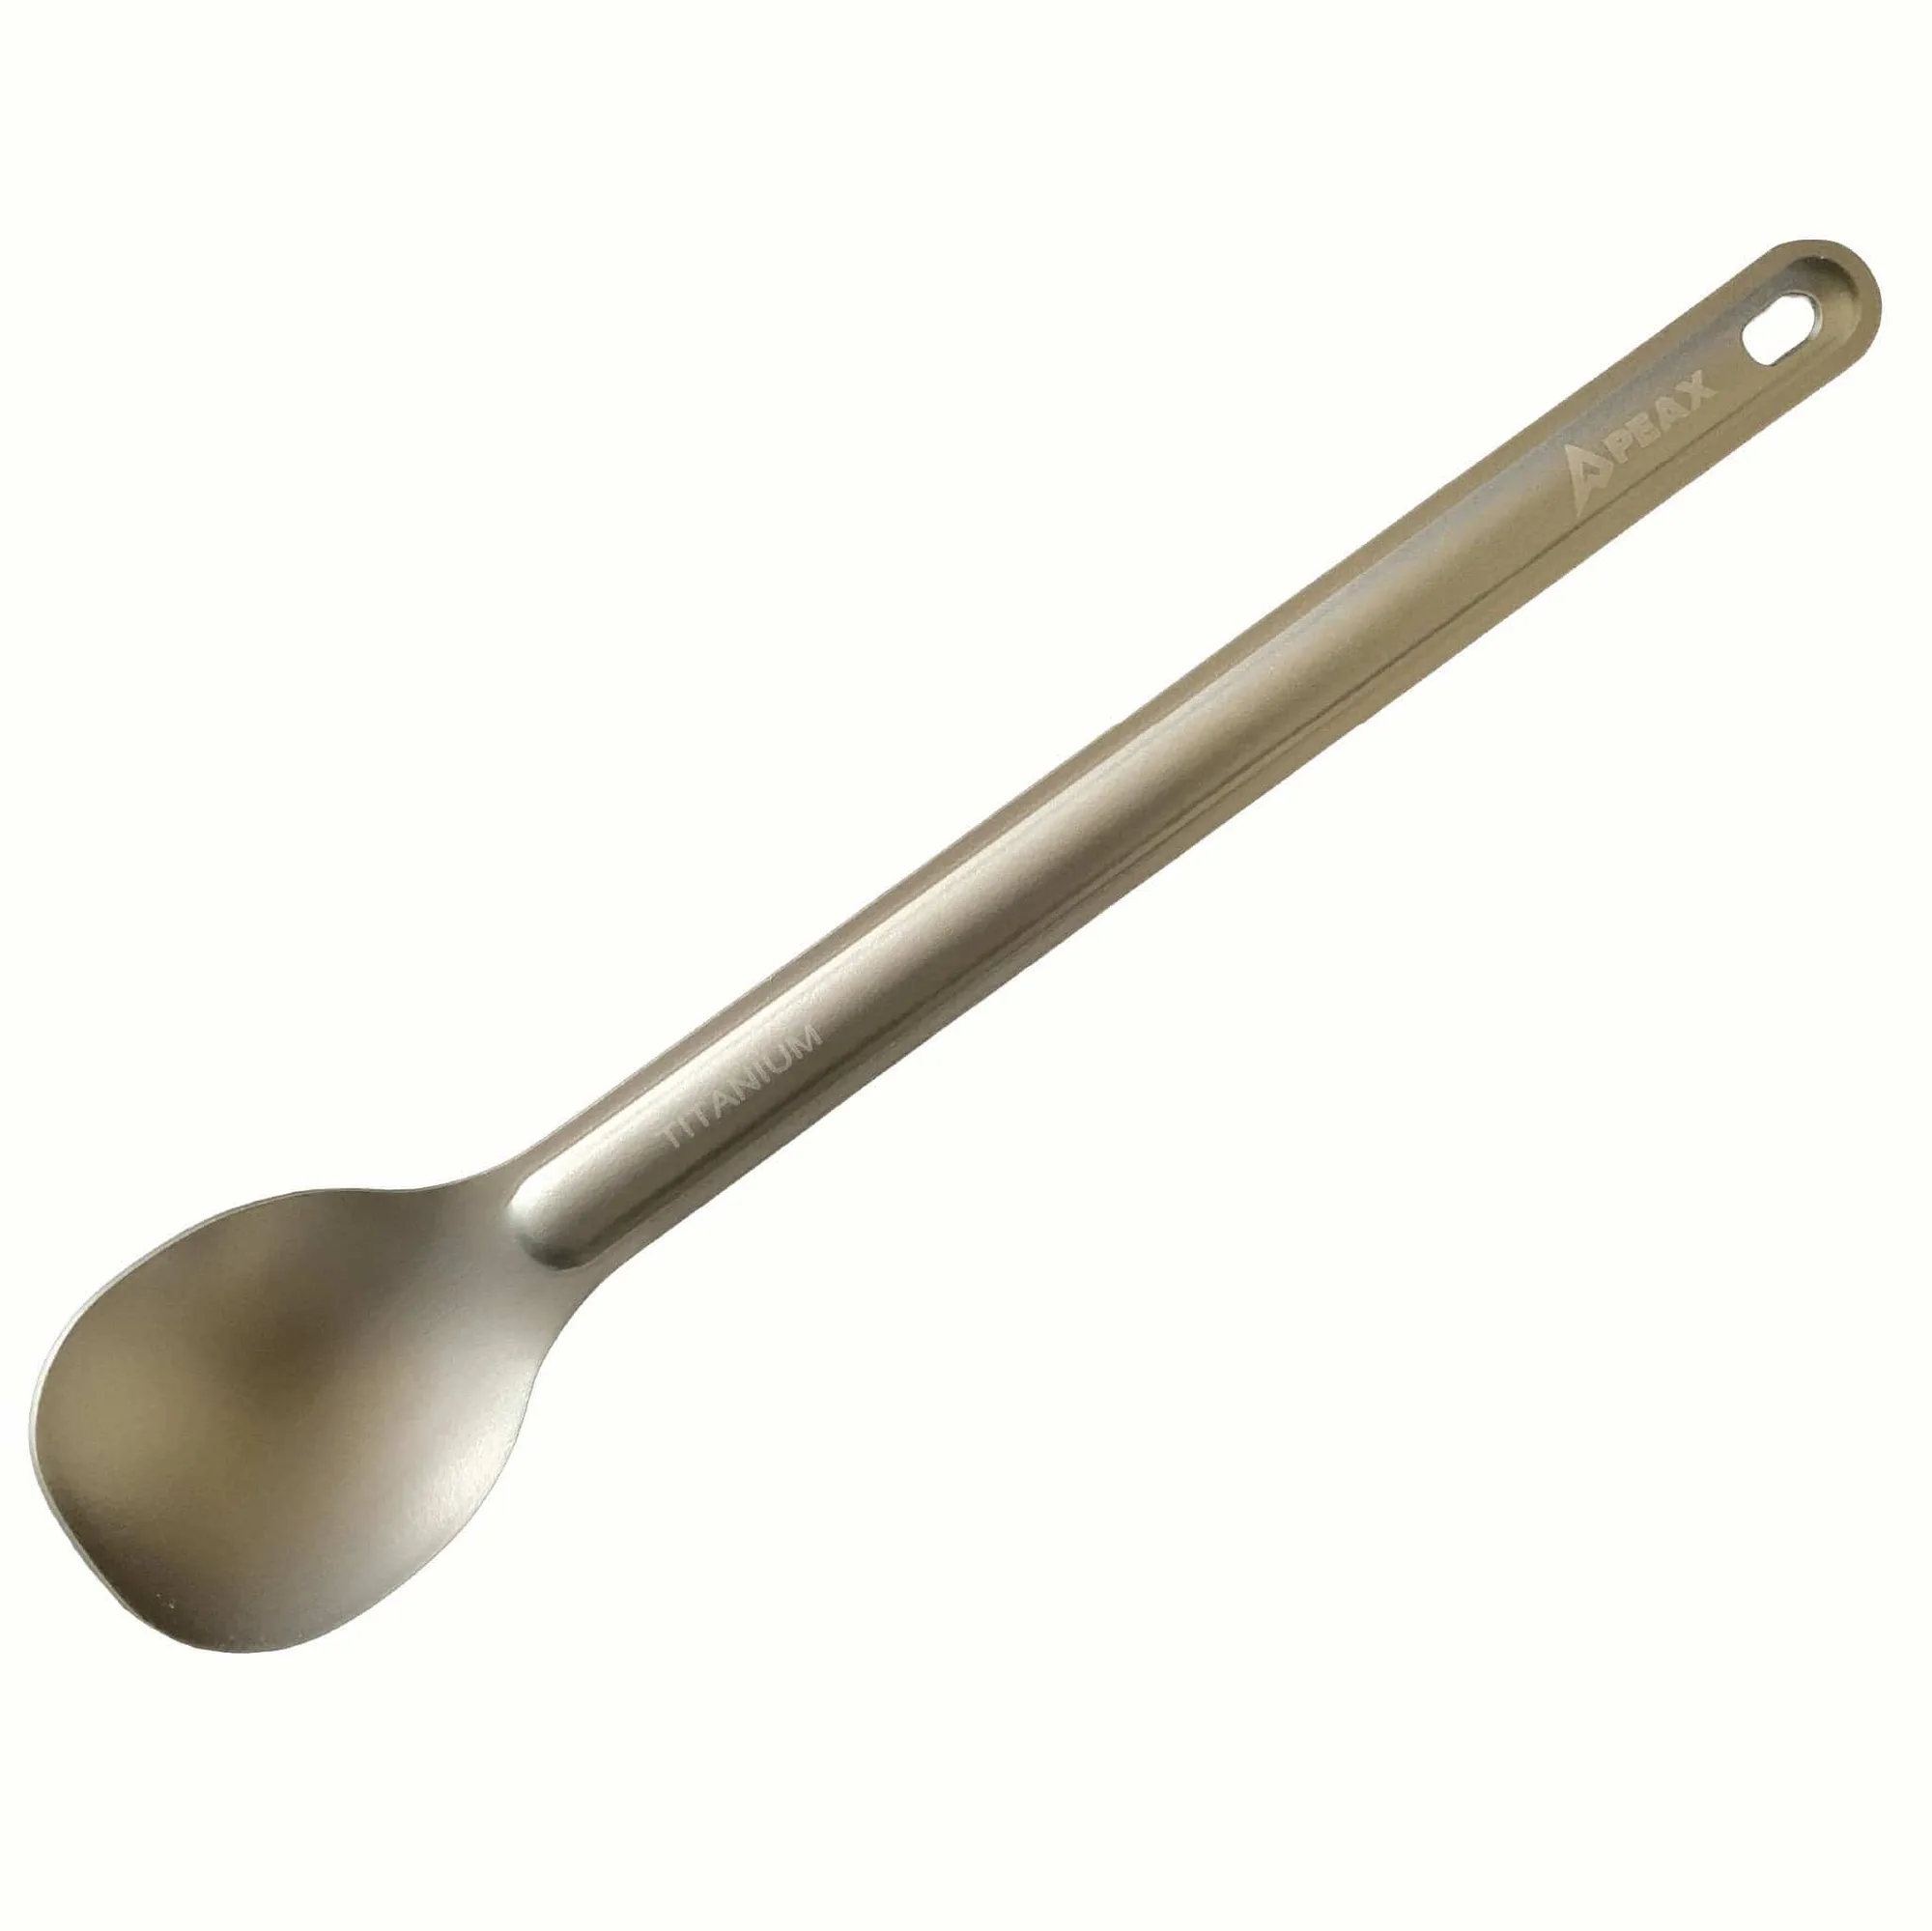
- PEAX BACKCOUNTRY Ti SPOON: The PEAX Backcountry Ti Spoon is a long handled, ultra light utensil at 8.5 in and 0.5 oz, built for freeze dried meals. A long handle keeps your hands clean when you eat from a deep pouch, which matters on days when your gaiters and gloves are covered in grit and mud.
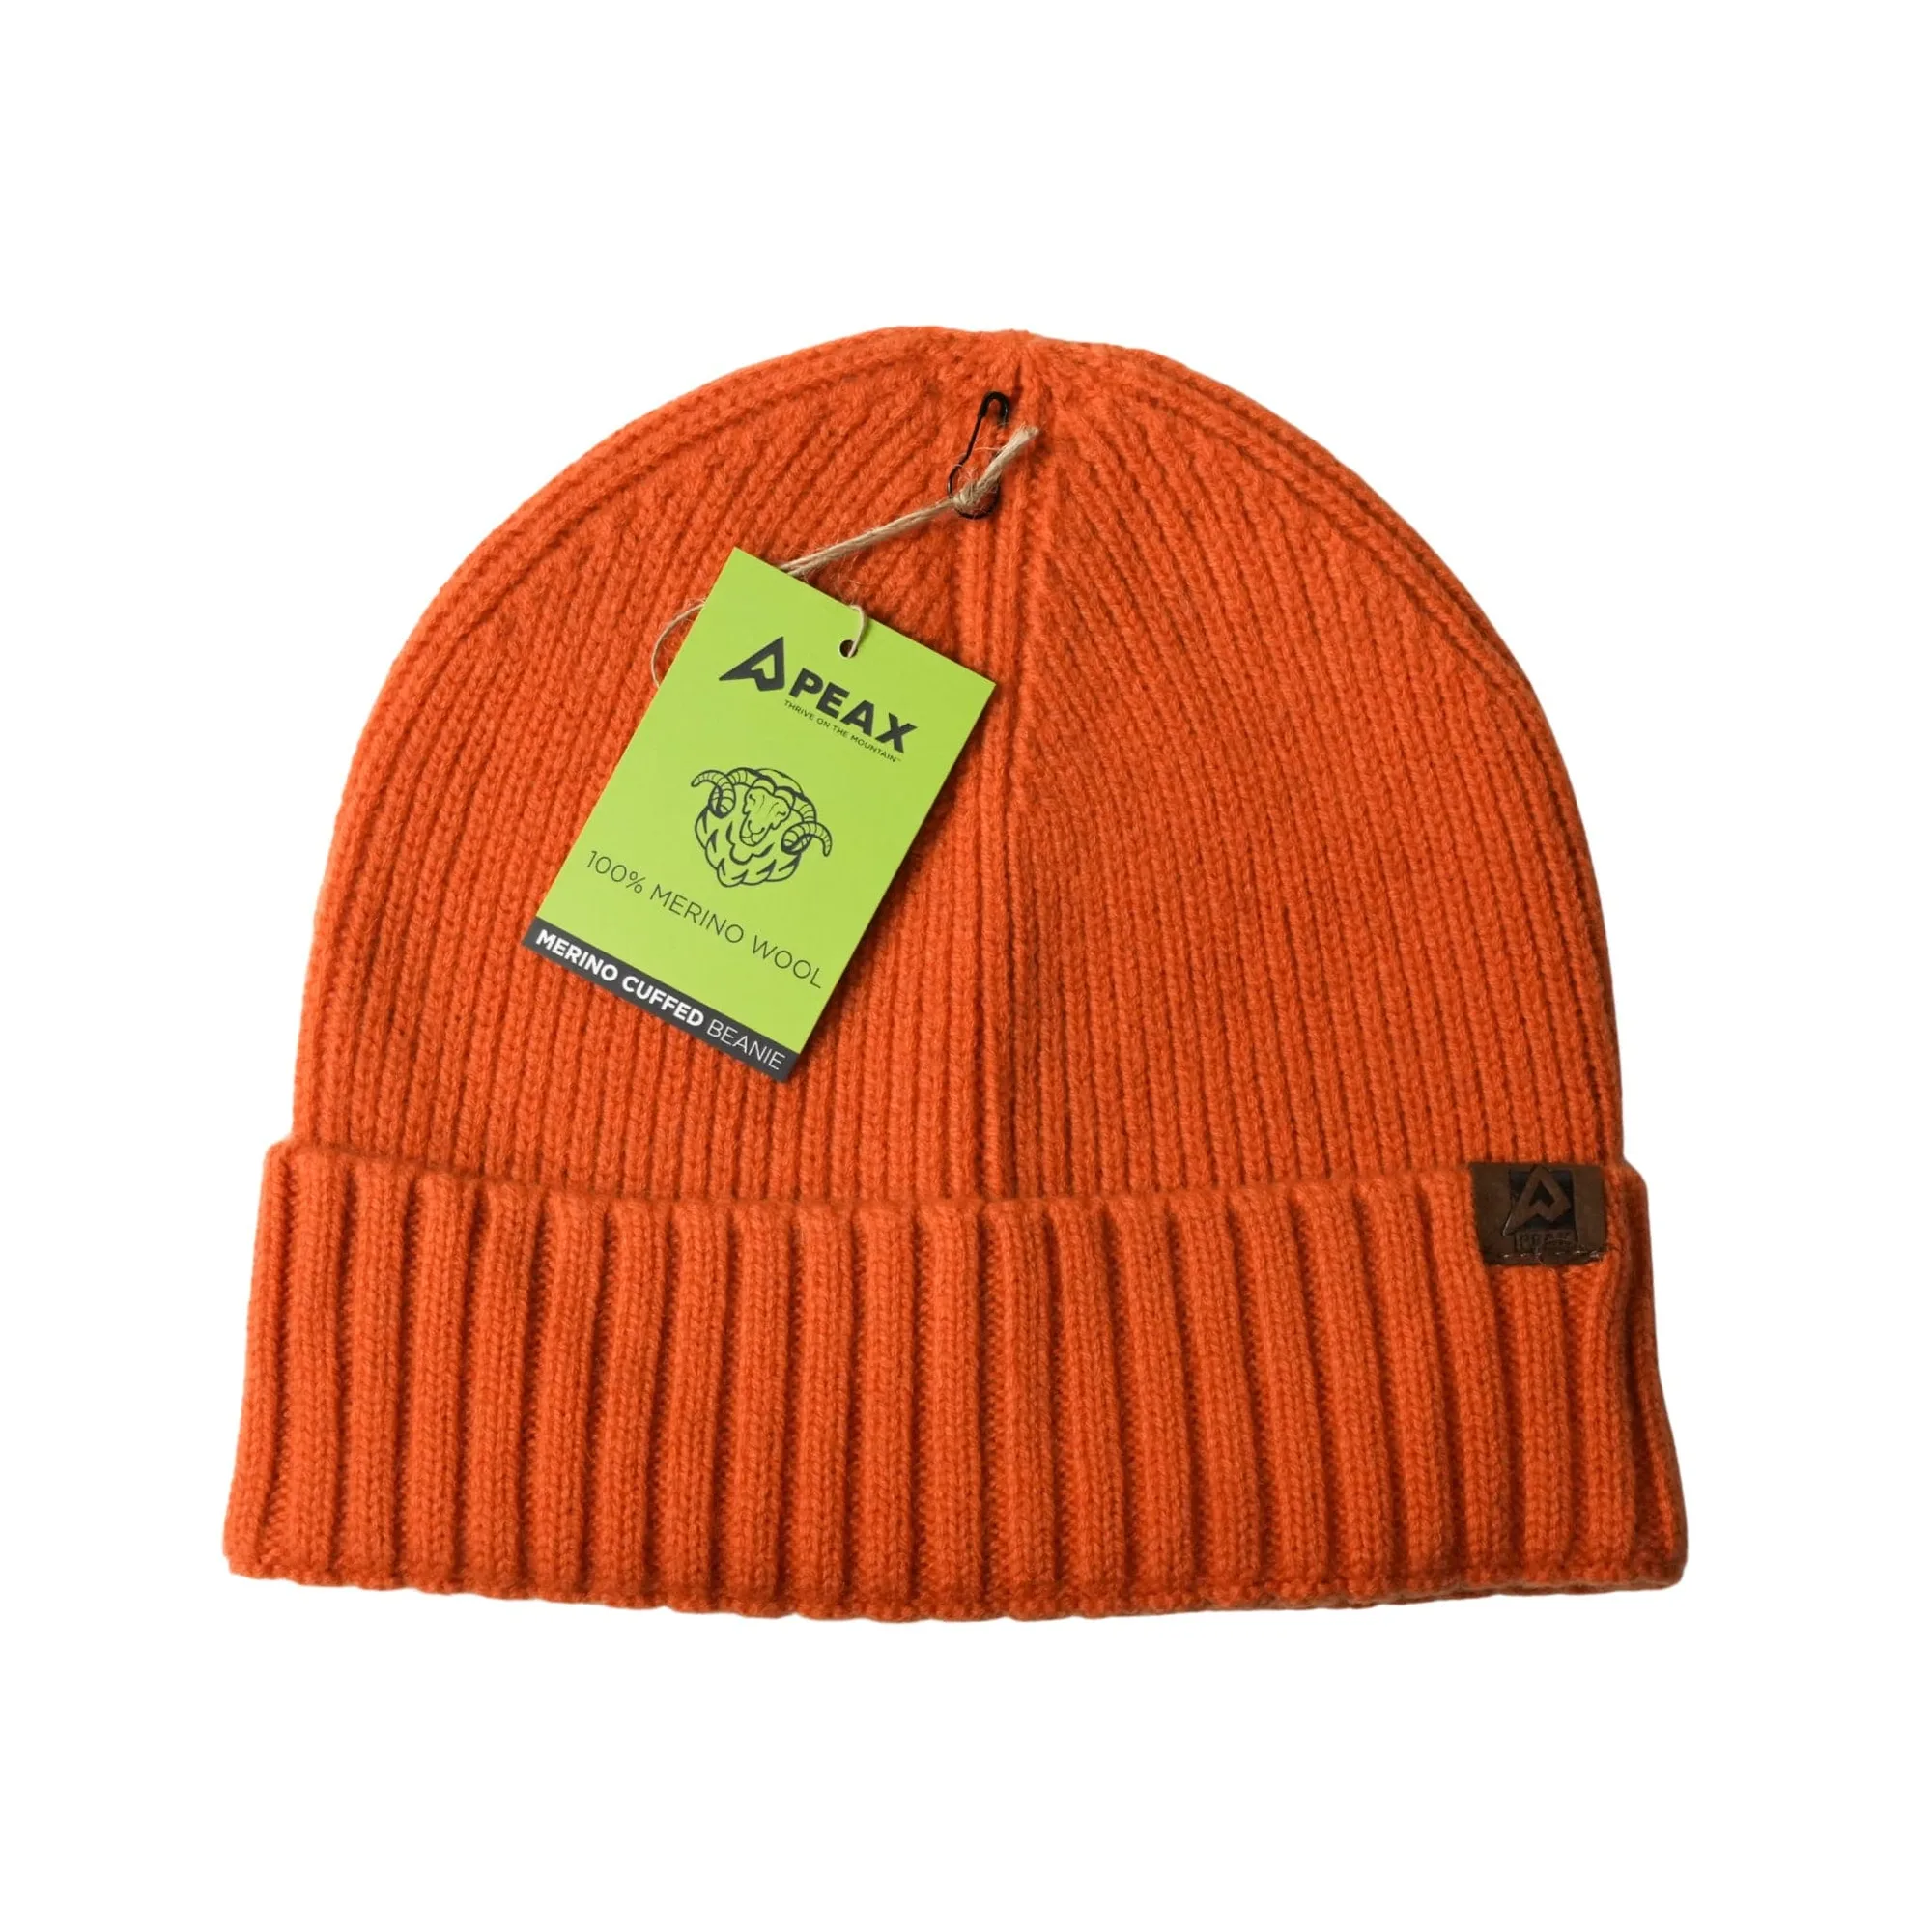
- MERINO CUFFED BEANIE: The PEAX Merino Cuffed Beanie is 100% pure Merino wool certified to the Responsible Wool Standard, with natural moisture management and anti-odor properties. Merino manages moisture and odor on multi-day hunts, so a beanie stays wearable when you are layering up and down through the day.
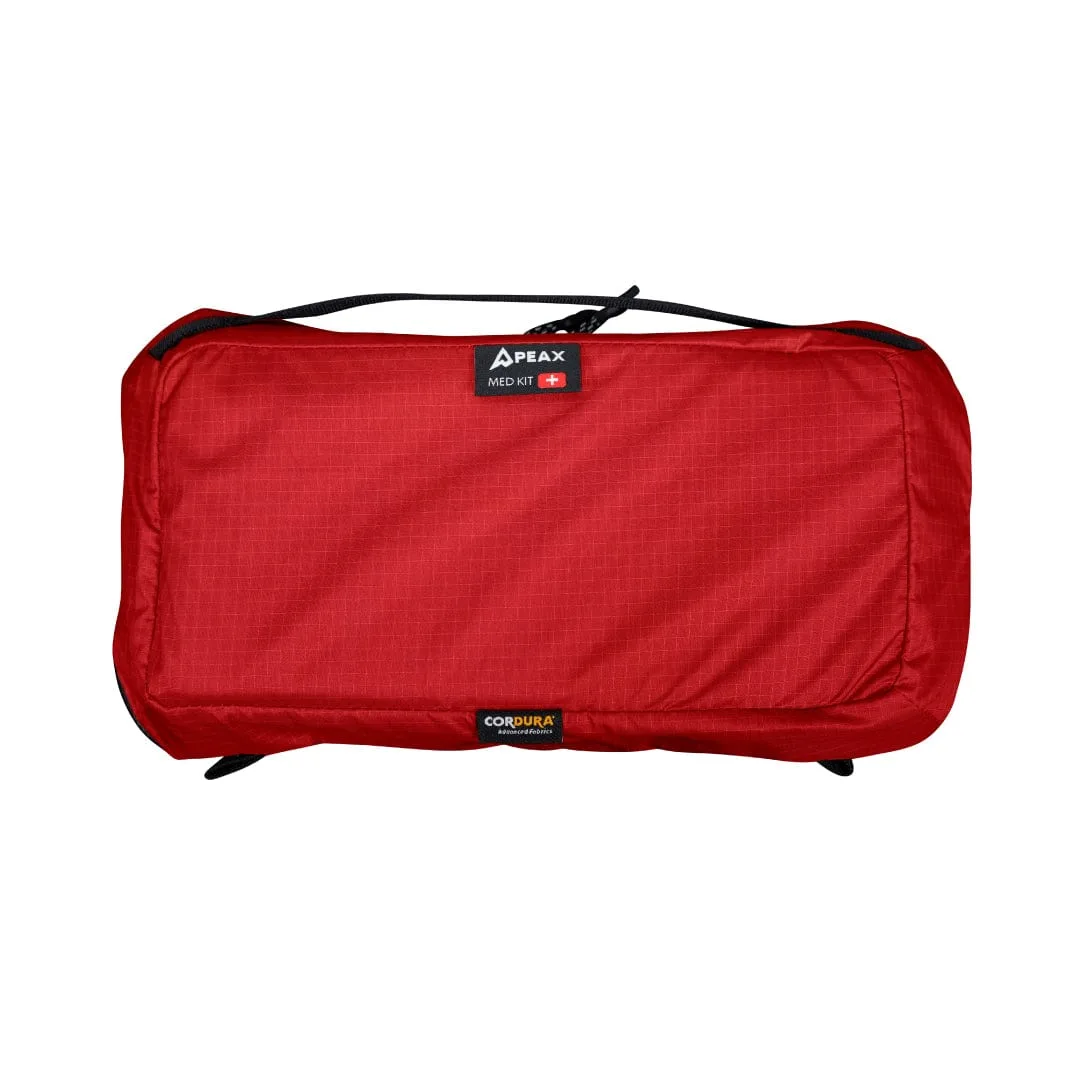
- FIRST AID KIT: The PEAX Hunting First Aid Kit provides critical medical supplies to help hunters manage injuries, stabilize emergencies, and respond with confidence when professional care is hours away. Debris inside a boot causes hot spots and blisters. A compact kit lets you treat them early instead of cutting a hunt short.
Gaiters are simple gear, but they reward a little attention at the trailhead. Boots first, top closed snug, bottom anchored, then a quick check after ten steps. Do that and you will spend your day hunting instead of shaking grit out of your socks.