Quick answer
Place your quilt block on the GEasy Wool Pressing Mat, set your iron to the appropriate heat, and press each seam with a firm, even motion. The wool absorbs heat and presses from both sides, giving you crisp, flat seams without the distortion you might get on a standard ironing board.
Why wool works differently from an ironing board
A standard ironing board reflects heat back into the fabric from below only, which can leave seams slightly rounded. The GEasy Wool Pressing Mat is 1/2-inch thick and made of 100% wool, so it absorbs heat and radiates it back through the fabric, pressing the seam from both sides simultaneously. This dual-direction heat is what produces noticeably flatter seams, especially on thick or layered blocks.
The texture of the wool also grips the fabric, preventing it from shifting as you press. That means less distortion and fewer re-presses, which is a real time-saver when you are chain-piecing many blocks.
When a small mat is the better choice
The GEasy Wool Pressing Mat - Small measures 14” x 14”, which is compact enough for retreats, classes, or tight sewing spaces. If you press mostly individual blocks or small units, this size is sufficient and easy to store. For larger quilts or long seams, you may need to work in sections or use a larger pressing surface. The small mat is not designed to replace a full-size ironing board for pressing entire quilt tops, but it excels at precise block pressing.
Heat and moisture: what to watch for
Wool pressing mats work best with dry heat, but a little steam can help stubborn wrinkles. However, excessive steam can dampen the wool and reduce its effectiveness over time. If you use steam, allow the mat to air-dry completely before storing. Also, avoid pressing directly on the wool with an iron set to a very high temperature for extended periods, as this can scorch the fibers. Always test your iron setting on a scrap first.
Step-by-step: pressing seams with the GEasy Wool Pressing Mat
- Set up your pressing station: Place the GEasy Wool Pressing Mat on a sturdy, heat-resistant surface. If using the silicone tray, position it next to the mat for your iron. Ensure the mat lies flat and is not folded or bent. Checkpoint: A wobbly or uneven surface can cause tipping—verify stability before heating the iron.
- Preheat your iron to the correct setting: Set your iron to the temperature recommended for your fabric (usually medium-high for cotton). Let it fully heat. Avoid using the highest steam setting continuously; use steam sparingly if needed. Checkpoint: Test on a scrap of the same fabric to ensure the setting does not scorch; wool mat amplifies heat.
- Place the quilt block on the mat: Lay the block flat on the wool mat, aligning the seam you want to press. The wool texture will help hold the fabric in place. Do not stretch or pull the block; let it relax naturally. Checkpoint: If the block does not lie flat, gently finger-press it first—forcing it can cause distortion.
- Press the seam with firm, even pressure: Lower the iron onto the seam and hold for 2–3 seconds, then lift and move to the next section. Use a pressing motion (up and down) rather than sliding the iron, which can stretch the fabric. Work along the entire seam. Checkpoint: Avoid sliding the iron—it can warp the block and wear the wool surface prematurely.
- Flip and press the other side: Turn the block over and press the seam from the reverse side. The wool mat will continue to absorb heat and press from both sides, helping the seam lie perfectly flat. For especially thick seams, you can press both sides twice. Checkpoint: If the seam still feels bulky, try pressing it open or to the darker side before flipping—sometimes a second pass with steam helps.
- Let the block cool completely: Remove the block from the mat and place it flat on a cool surface to set the press. Avoid handling it while hot, as the fibers can shift. Cooling helps the seam retain its flat shape. Checkpoint: Stacking hot blocks can cause them to distort—wait until they are room temperature.
- Store the mat properly: Once done, allow the mat to cool and dry completely if you used steam. Roll or lay it flat; do not fold it sharply, as creases can affect performance. Keep it away from moisture and direct sunlight. Checkpoint: A damp wool mat can develop odors—ensure it is fully dry before storing.
Product facts
-
GEasy Wool Pressing Mat - Small: The GEasy Wool Pressing Mat - Small is 14” x 14” and 1/2” thick, made of 100% wool. Its compact size fits easily beside your sewing machine or in a retreat bag, while the thickness provides the heat absorption needed for double-sided pressing.
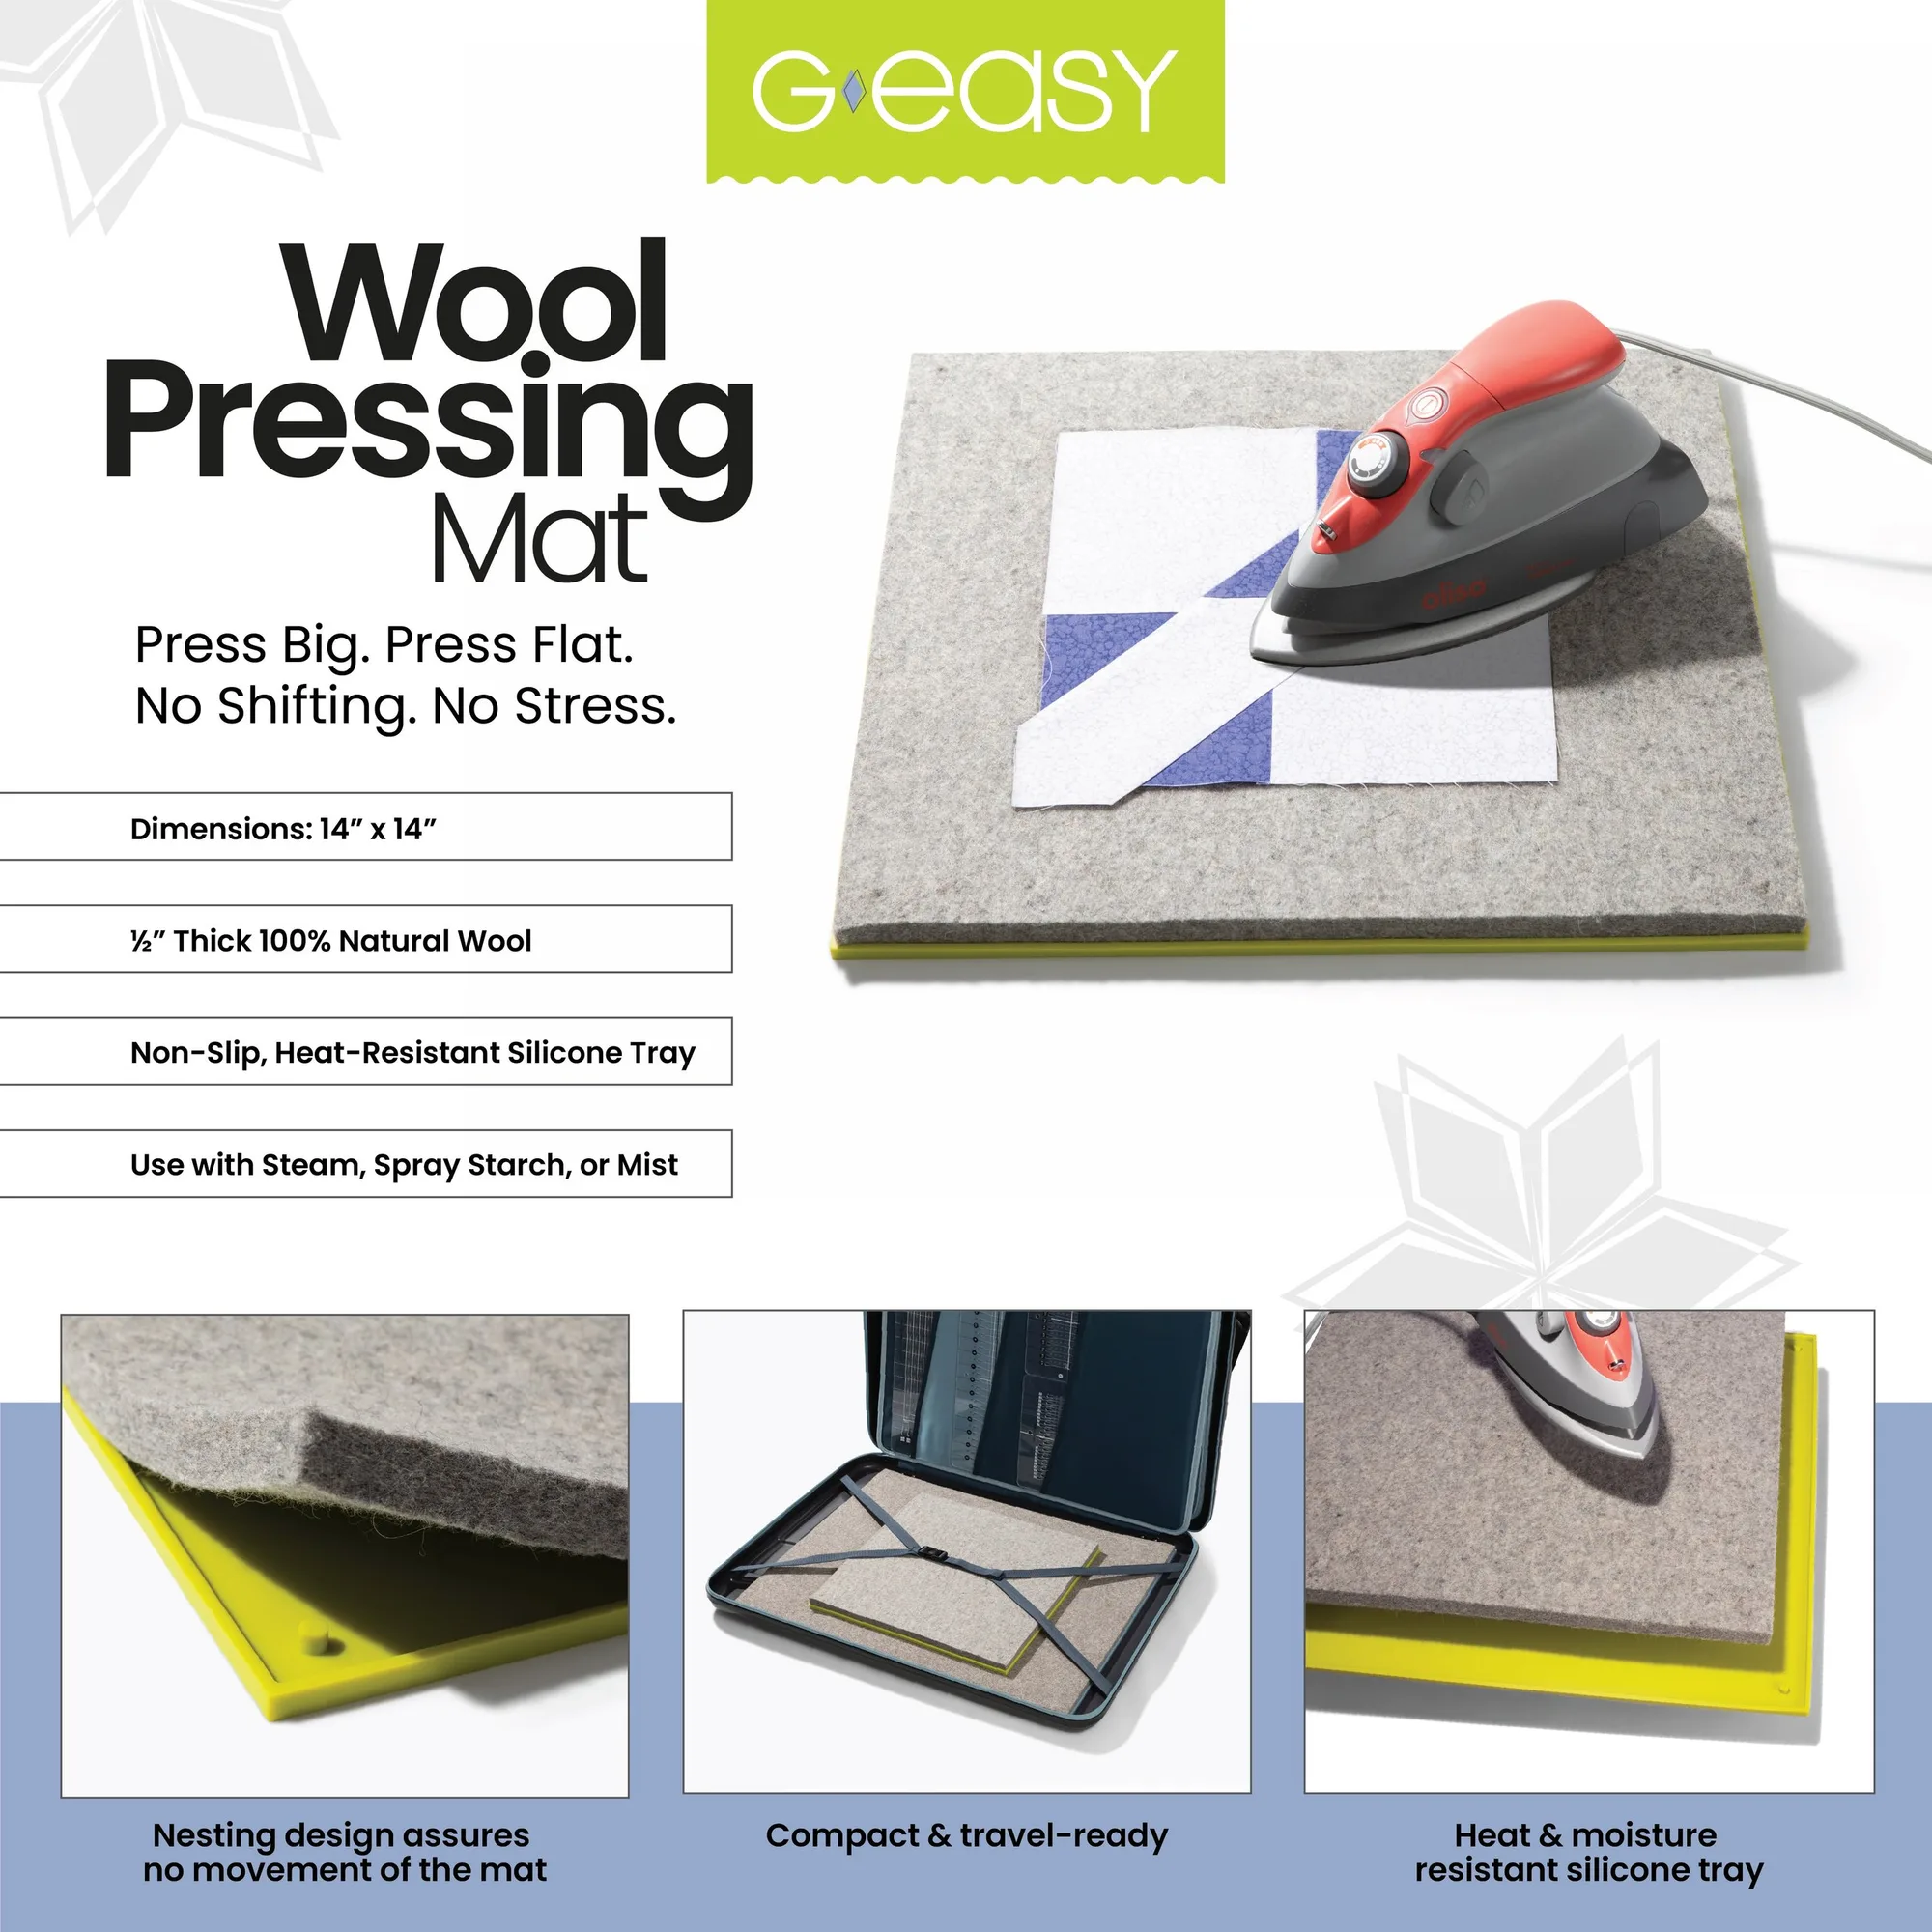
GEasy Wool Pressing Mat - Small
-
GEasy Wool Pressing Mat - Small: The mat comes as a combo with a silicone tray, designed by Gudrun Erla. The tray gives you a dedicated spot to rest your iron between presses, keeping your workspace organized and protecting your table.