Quick Answer
To use heat erasable fabric marker refills correctly, simply pull the old ink cartridge out of the pen body, insert a new refill, and let the ink flow for a minute before marking. Avoid pressing too hard or using on damp fabric.
Why Refilling Beats Buying New Pens
Refilling your heat erasable fabric markers with refill packs is more economical and reduces plastic waste. The refills use the same gel ink formulation as the original pens, so you get the same thin, visible line without buying a whole new pen body each time.
One trade-off: refills require a bit more care during installation than a new pen. If you force the refill or twist the pen body too aggressively, you can damage the tip or cause leaks. Taking an extra 30 seconds to do it gently pays off.
When Refills Don't Work Well
Refills are designed for the specific pen body they come with. They will not fit generic or third-party markers. Also, if your pen tip is already frayed or clogged from heavy use, a new refill may still produce uneven lines. In that case, consider replacing the whole pen.
Always check that the pen body is clean and dry before inserting a refill. Moisture inside the barrel can dilute the ink and cause the line to bleed or fade prematurely.
Step-by-Step Guide to Refilling Heat Erasable Fabric Markers
- Remove the old refill: Unscrew the pen body near the tip. Pull the old empty cartridge straight out. Do not twist or yank the tip itself, as this can damage the nib. Checkpoint: If the old refill is stuck, gently wiggle it side to side while pulling. Never use pliers—they can crack the plastic barrel.
- Insert the new refill: Take a fresh refill from the pack and push it firmly but gently into the pen body until it clicks or seats fully. The tip should be centered and not crooked. Common mistake: Pushing too hard can bend the tip or force ink out prematurely. If you feel resistance, stop and check alignment.
- Let the ink flow before marking: After inserting the refill, hold the pen tip-down for about 60 seconds. This allows the gel ink to reach the nib. Then test on a scrap of fabric—if the line is faint, wait another 30 seconds. Checkpoint: Never shake the pen to speed up flow—this can create air bubbles that cause skipping or blotchy lines.
- Mark on dry, clean fabric only: Use the pen on fabric that is completely dry and free of oils or residues. The ink works best on cotton, linen, and most blends. Avoid damp or freshly washed fabric, as moisture can make the line bleed or fail to erase cleanly. Common mistake: Marking on damp fabric can cause the ink to spread and become permanent when heat is applied later.
- Store the pen tip-down between uses: When not in use, store the pen with the tip pointing downward. This keeps the ink at the nib and prevents it from drying out. Recap the pen tightly after each use. Checkpoint: If the tip dries out, dip it in a tiny drop of water for 10 seconds, then let it flow on scrap fabric. Do not soak the entire pen.
Product Facts
-
Heat Erasable Fabric Marker Refills - Mix or Single Color Pack - 20 pcs: These refills come in a mix pack of all four colors (five of each) or single packs of each color, with small, accurate writing points that leave a thin yet nicely visible line on nearly all fabrics. You can customize your color selection and always have a fresh tip, ensuring consistent, precise markings for quilting or sewing projects without buying new pens.
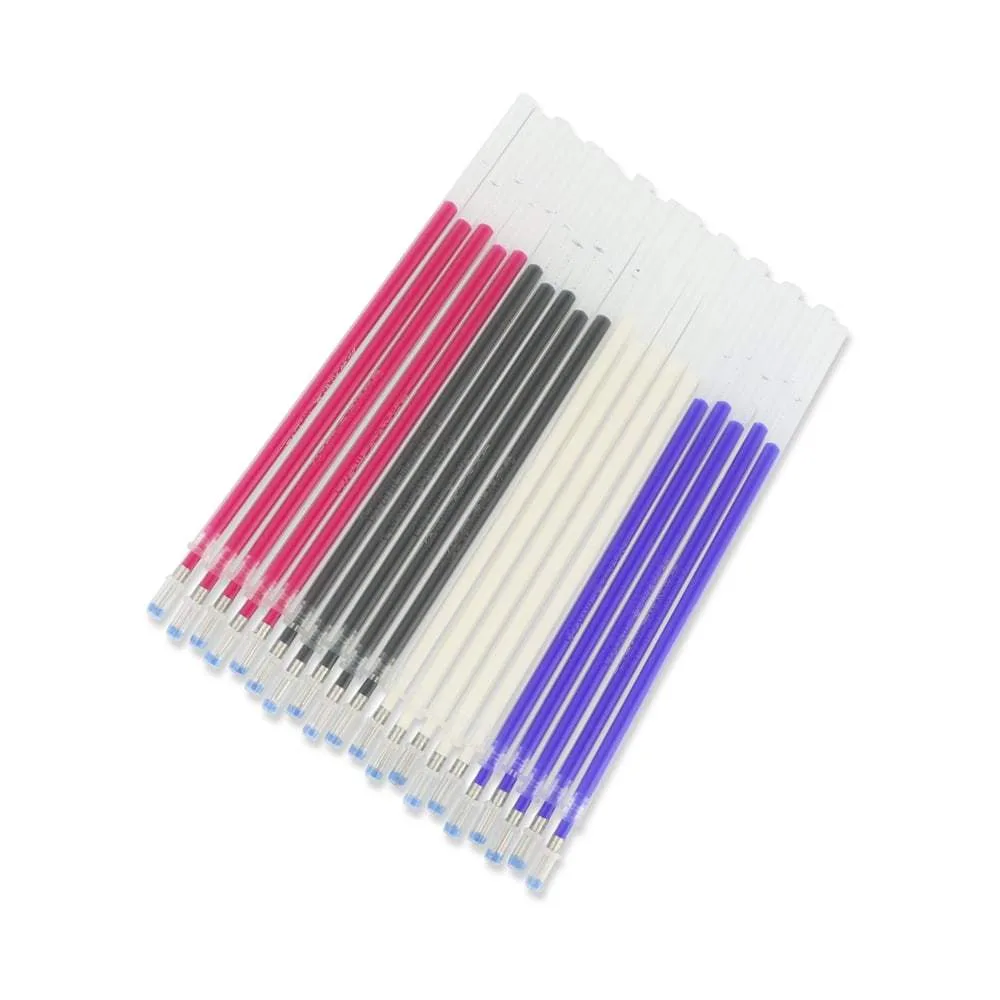
Heat Erasable Fabric Marker Refills - Mix or Single Color Pack - 20 pcs