Quick Answer
To get the most from your iron patch, apply it to clean, dry, hairless skin and wear it for up to 12 hours. Choose a spot with good blood flow, like your inner wrist or upper chest, and rotate sites daily. Follow these steps to maximize absorption and avoid common mistakes.
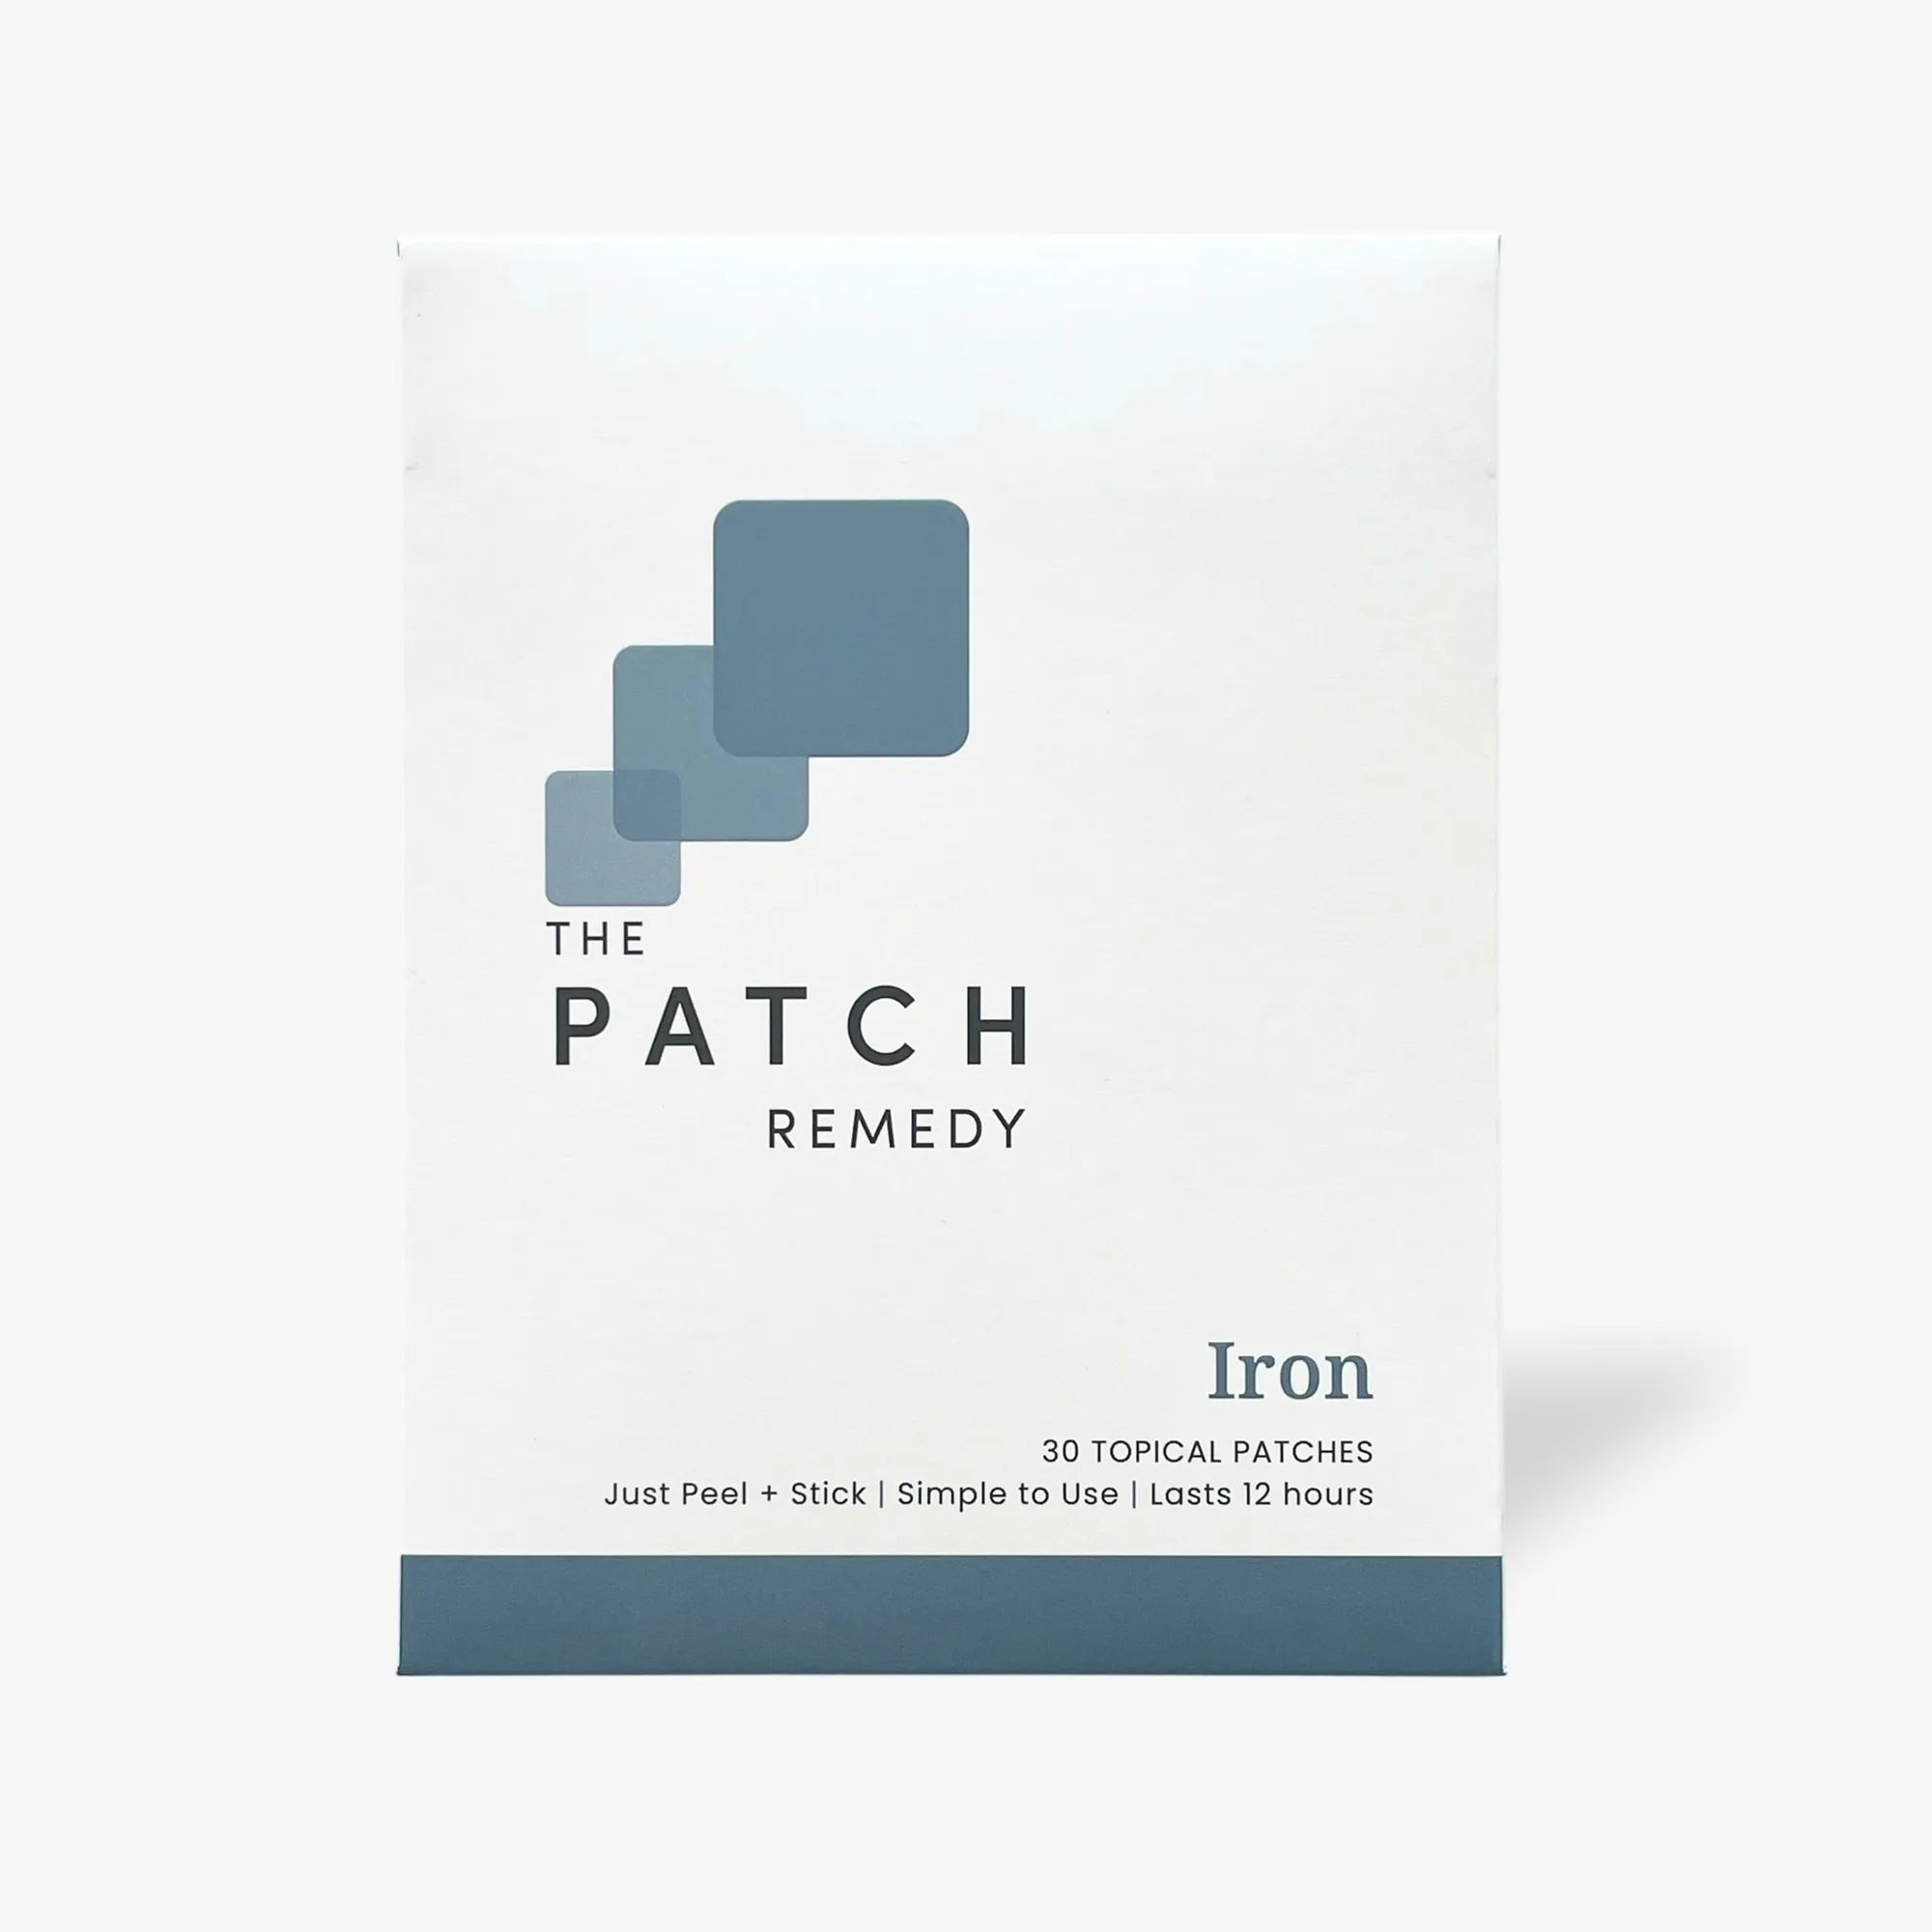
iron
Iron patches are a convenient way to support healthy iron levels without the metallic taste or stomach upset often linked to oral supplements. But to get the full benefit, application matters. Where you place the patch, how you prep your skin, and how long you wear it all influence how well the iron absorbs.
This guide walks you through the correct way to apply an iron patch, common pitfalls to avoid, and why a topical patch can be a smarter choice for many people. Whether you're new to patches or looking to improve your routine, these steps will help you get consistent results.
Why Patch Placement Matters
Your skin isn't uniformly absorbent. Areas with thinner skin and more blood vessels allow ingredients to pass through more easily. For iron patches, the goal is to deliver iron into the bloodstream steadily, so choosing the right spot is key.
Good options include the inner wrist, upper chest, or inner arm. Avoid areas that are hairy, oily, or prone to heavy sweating, as these can reduce adhesion and absorption. Also, steer clear of joints or areas that bend a lot, because the patch may peel off prematurely.
- Rotate application sites daily to prevent skin irritation.
- Apply to clean, dry skin—never after lotion or oil.
Step-by-Step Application
Start with clean, dry skin. Wash the area with mild soap and water, then pat it completely dry. Do not apply any lotions, oils, or powders, as they create a barrier that can block the patch's ingredients.
Peel the backing off the patch and press it firmly onto the chosen spot. Hold it in place for about 10 seconds to ensure good adhesion. Wear the patch for up to 12 hours, then remove and dispose of it. If it falls off earlier, you can reapply a fresh patch to a different site.
- Check the patch after a few hours to ensure it hasn't shifted.
- If you experience redness or irritation, remove the patch and try a different spot next time.
5 Steps to Better Iron Patch Absorption
- Choose the Right Spot: Pick a clean, dry, hairless area like your inner wrist, upper chest, or inner arm. Avoid areas with lotion, oil, or excessive hair. Checkpoint: Does the patch lie flat without wrinkles?
- Prep Your Skin: Wash the area with mild soap and water, then dry thoroughly. Do not apply any moisturizer, oil, or powder before sticking the patch. Checkpoint: Is the skin completely dry to the touch?
- Apply Firmly: Peel off the backing and press the patch onto your skin. Hold it in place for at least 10 seconds to ensure strong adhesion. Checkpoint: Run a finger over the edges to confirm it's sealed.
- Wear for 12 Hours: Leave the patch on for up to 12 hours to allow continuous absorption. Avoid activities that cause heavy sweating, which can loosen the patch. Checkpoint: If it peels early, reapply a fresh patch to a different site.
- Rotate Sites Daily: Switch between different application spots each day to give your skin a break and maintain consistent absorption. Checkpoint: Keep a log of where you placed the patch to avoid repeating the same spot too soon.
Iron Patch Features
- Iron: Support healthy iron levels with one easy daily patch. No metallic taste, gentle on the stomach, no constipation often associated with oral iron. Key ingredients: Iron, Vitamins A, C, B9 & B12, Astaxanthin. The added vitamins and astaxanthin may support overall wellness, and the patch format avoids digestive side effects, making it easier to stick to a daily routine.
Using an iron patch correctly is simple, but the details matter. Choose a good spot, prep your skin properly, and wear it consistently for the best results. If you're looking for a gentle, convenient way to support your iron levels, the Iron patch from Topical Wellness Patches is a solid choice—just remember to follow these steps every day.