Quick Answer
The KeySmart Golf Divot Tool is a compact, stainless steel tool that folds neatly onto your keychain, ready to repair ball marks on the green. To use it, simply unfold the tool, insert the prongs under the edge of the divot, and gently lift and pull the turf back into place. Always repair your ball mark and at least one other to keep the greens healthy.
If you carry your keys on a KeySmart organizer, you already know the value of keeping your everyday carry slim and organized. Adding the Golf Divot Tool to your keychain means you'll never be caught without a repair tool on the course. Whether you're a weekend golfer or a seasoned pro, repairing divots is a simple courtesy that keeps the greens playable for everyone.
This guide walks you through how to use the KeySmart Golf Divot Tool correctly, common mistakes to avoid, and how to make it part of your golf routine. You'll also learn how it fits into the KeySmart ecosystem and why it's a smart addition to your golf bag.
Why Repair Divots?
Ball marks on the putting green are more than just an eyesore. When a ball lands on the green, it can leave a depression that disrupts the smooth surface. If left unrepaired, the damaged turf can die, leaving a scar that affects putting for weeks. Repairing your divot promptly helps the grass recover quickly and keeps the green true for all players.
Using a divot tool is the standard way to fix these marks. The KeySmart Golf Divot Tool is designed to be durable and easy to use, with a polished stainless steel finish that feels solid in your hand. It folds away neatly, so it won't add bulk to your keychain or pocket.
- Always repair your own ball mark plus one more if possible.
- Repair divots as soon as you reach the green, before you putt.
How to Use the KeySmart Golf Divot Tool
Using the tool is straightforward. First, locate the ball mark on the green. Insert the prongs of the tool into the turf at the edge of the depression, angling them toward the center. Gently lift and pull the turf inward, working from the edges toward the middle. Avoid lifting the center of the mark, as this can tear the roots.
Continue this motion around the entire mark until the surface is level. Use the flat side of the tool to lightly tamp down the repaired area. Finish by smoothing the surface with your putter or foot if needed. The process takes less than a minute and makes a big difference.
- Work from the outside in, not the center out.
- Don't twist or pry the tool; use a gentle lifting motion.
Common Mistakes to Avoid
One common mistake is using the tool like a fork to pry up the center of the depression. This tears the roots and kills the grass. Another is leaving the tool on the green after use—always pick it up and return it to your pocket or keychain.
Also, avoid using the tool on hard, dry ground, as it can bend the prongs. The KeySmart Golf Divot Tool is made from stainless steel, but it's still a precision tool. Use it only on the green, not as a general-purpose pry bar.
- Keep the tool clean and dry to prevent corrosion.
- Store it folded when not in use to protect the prongs.
Carrying the KeySmart Golf Divot Tool
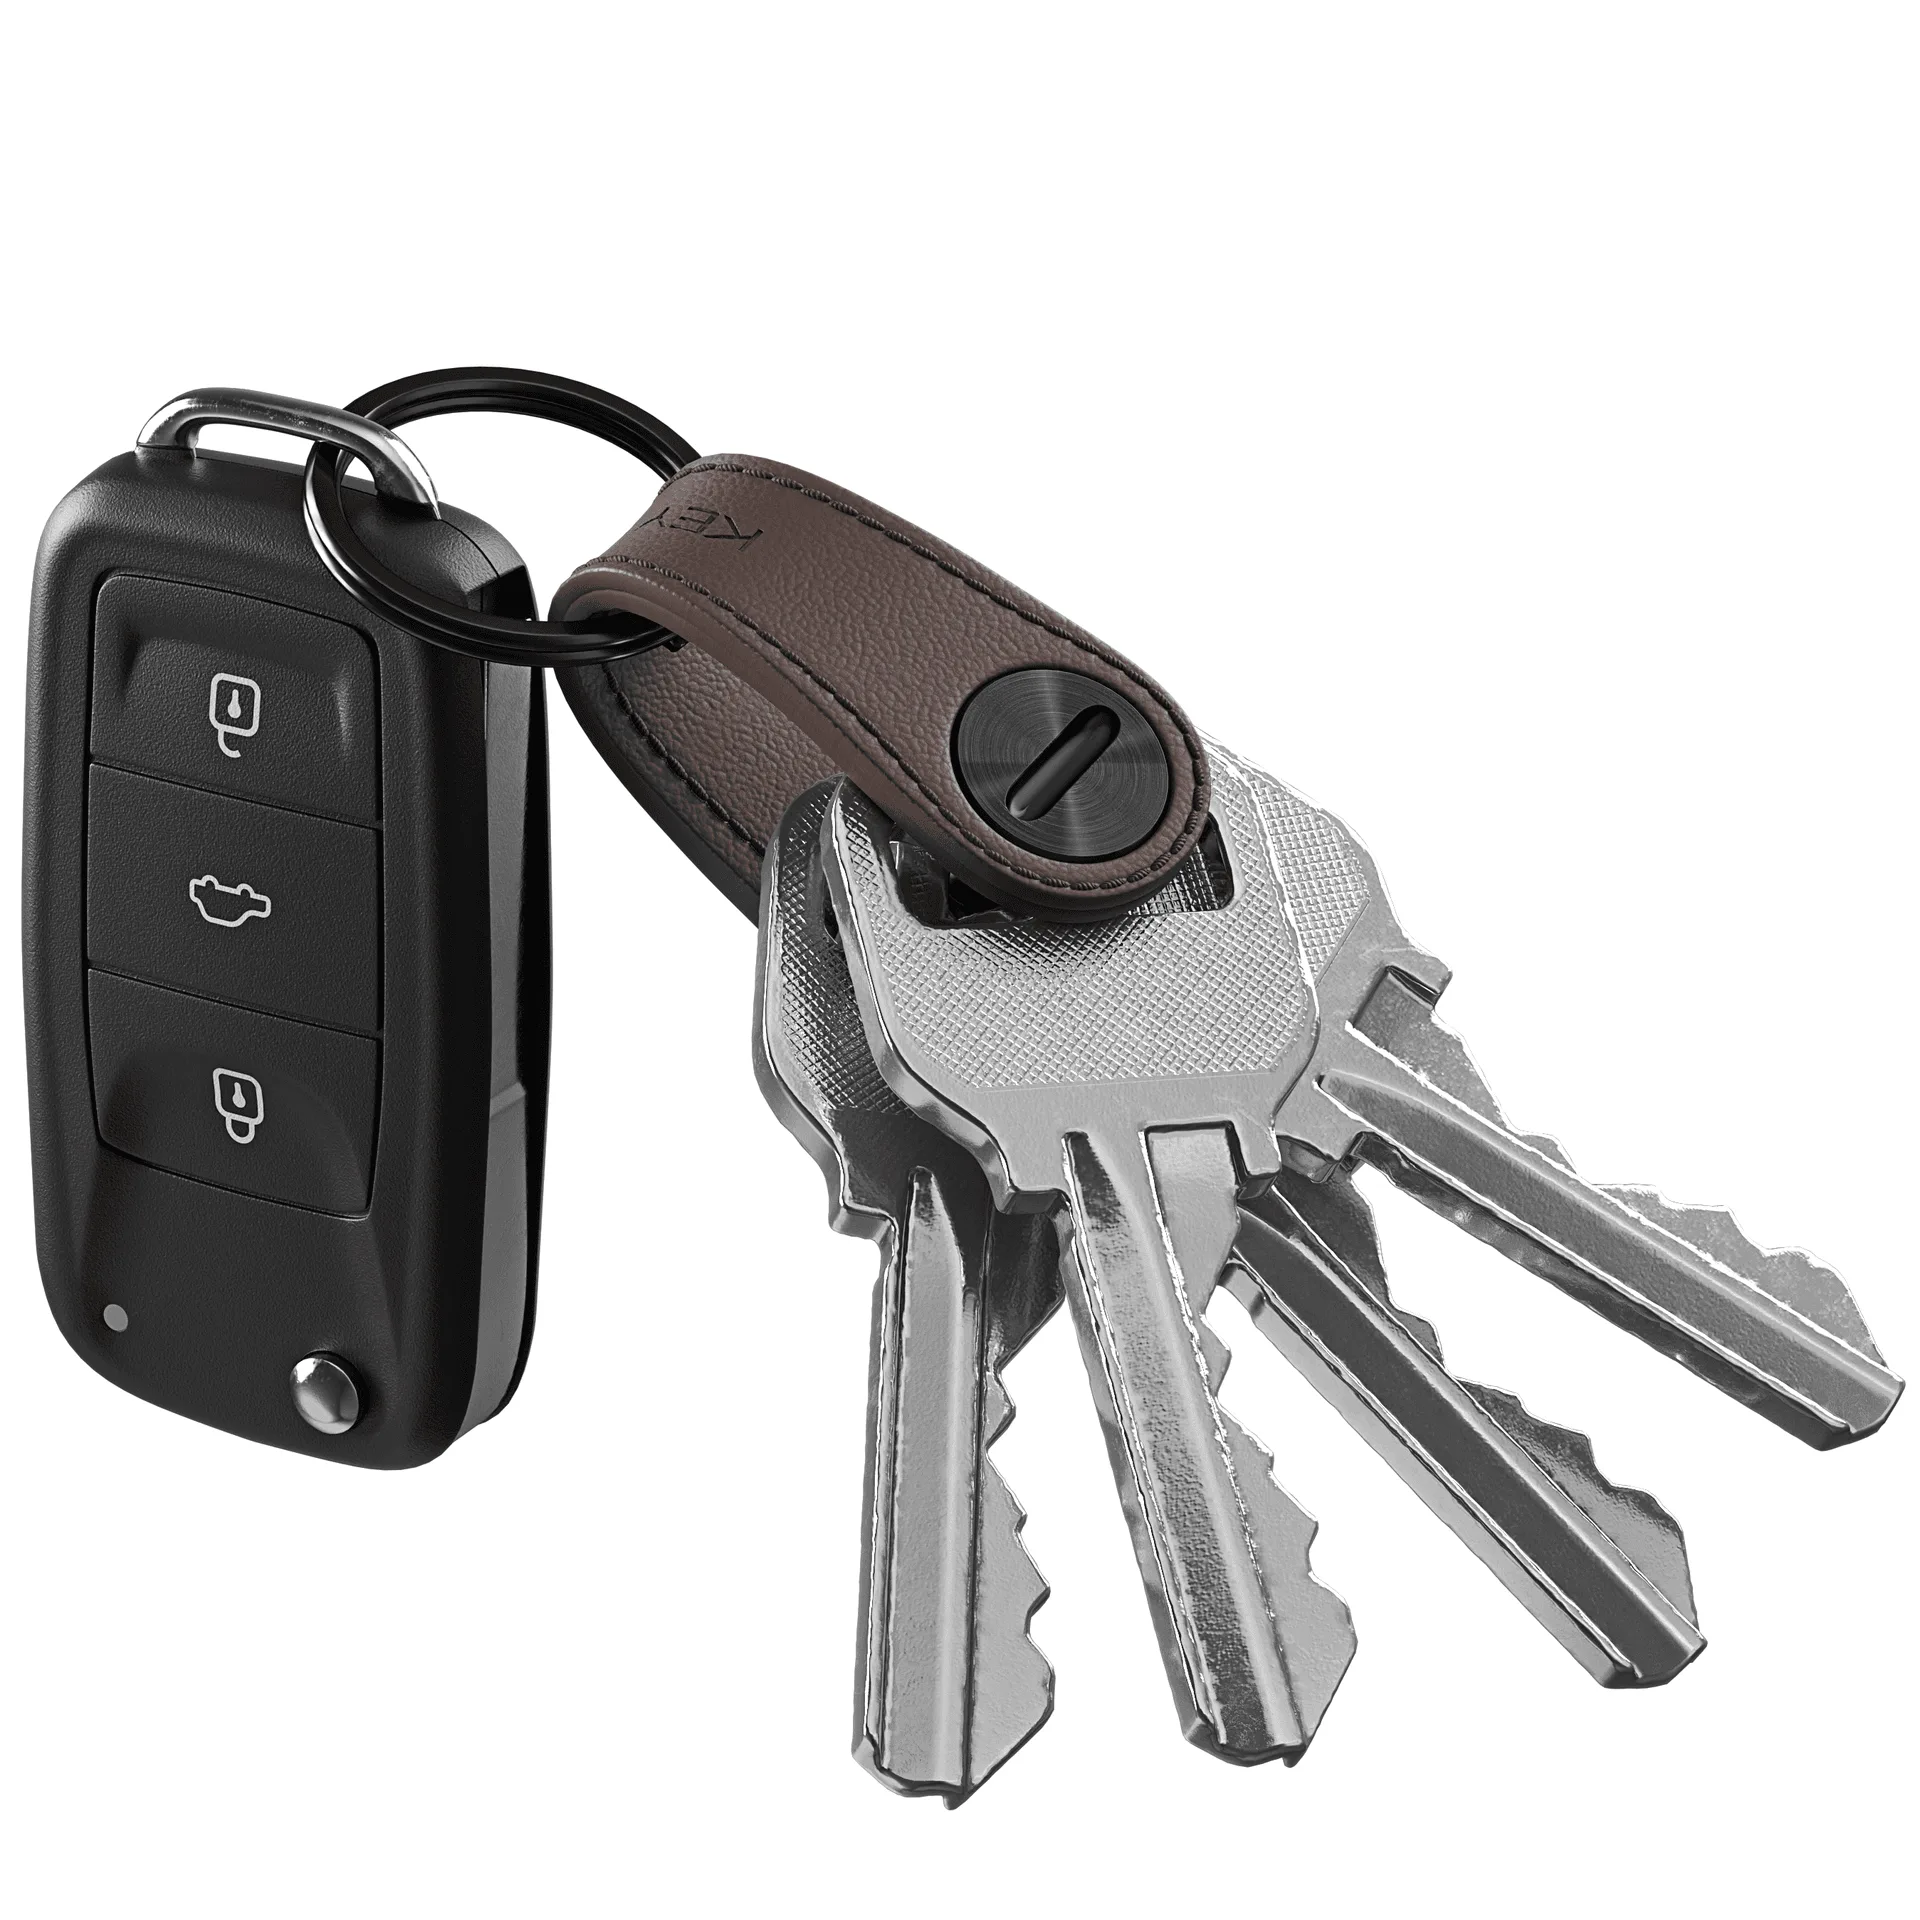
The Golf Divot Tool is designed to attach to your keychain or KeySmart organizer. It folds away neatly, so it won't poke you or snag on clothing. You can also clip it to your golf bag using a carabiner. The KeySmart CarabinerClip 2-pack is a great companion for this, allowing you to quickly attach and detach the tool as needed.
Having the tool on your keys means it's always with you, even if you're just walking the course. You'll never have to borrow a tool or skip repairing a divot because you left it in the cart.
- Attach the tool to your KeySmart using the key ring or a carabiner.
- Consider a secondary clip for your golf bag for quick access.
Step-by-Step Divot Repair
- Unfold the tool: Flip open the Golf Divot Tool from your keychain. It should open smoothly and lock into place. Checkpoint: Make sure the tool is fully extended for a firm grip.
- Insert prongs at the edge: Place the prongs into the turf at the outer edge of the ball mark, angling toward the center. Avoid inserting directly into the center—this can tear the roots.
- Lift and pull inward: Gently lift the handle and pull the turf toward the center. Work around the mark, moving from the edges inward. Use a smooth motion; don't twist or pry.
- Tamp down and smooth: Once the surface is level, use the flat side of the tool to tamp the area. Then smooth with your putter or foot. Checkpoint: The repaired spot should be level with the surrounding green.
- Fold and store: Close the tool and return it to your keychain or pocket. Always pick up your tool and any others you see left on the green.
KeySmart Golf Divot Tool at a Glance
- Golf Divot Tool | Perfect Accessory For Any Golf Enthusiast: The perfect accessory for any golf lover. Durable in use, and folds away neatly when you're off the course. Made from stainless steel with a polished finish. Its compact, foldable design means you can carry it on your keychain without adding bulk, and the stainless steel construction ensures it will last through many rounds.
- KeySmart® Mini Leather | Holds Up to 5 Keys Plus Car Key Fob | Full-Grain Leather: Easily Carry 5 Keys Plus Car Fob. The free carabiner ring included with the KeySmart Mini Leather allows you to easily attach your car fob and other accessories. Pair the Golf Divot Tool with a KeySmart Mini Leather to keep your keys, fob, and divot tool organized and quiet in your pocket, so you're always ready on the course.
The KeySmart Golf Divot Tool is a simple, durable addition to any golfer's carry. By following these steps, you'll repair ball marks correctly, keep the greens healthy, and show respect for the course. Add it to your KeySmart organizer today and never miss a repair again.