Quick Answer
To make homemade butter with a Kilner® butter churner, start with chilled heavy cream, churn until the butter separates from the buttermilk, then rinse, salt, and shape. The process takes about 15–20 minutes and gives you fresh, creamy butter with no additives.
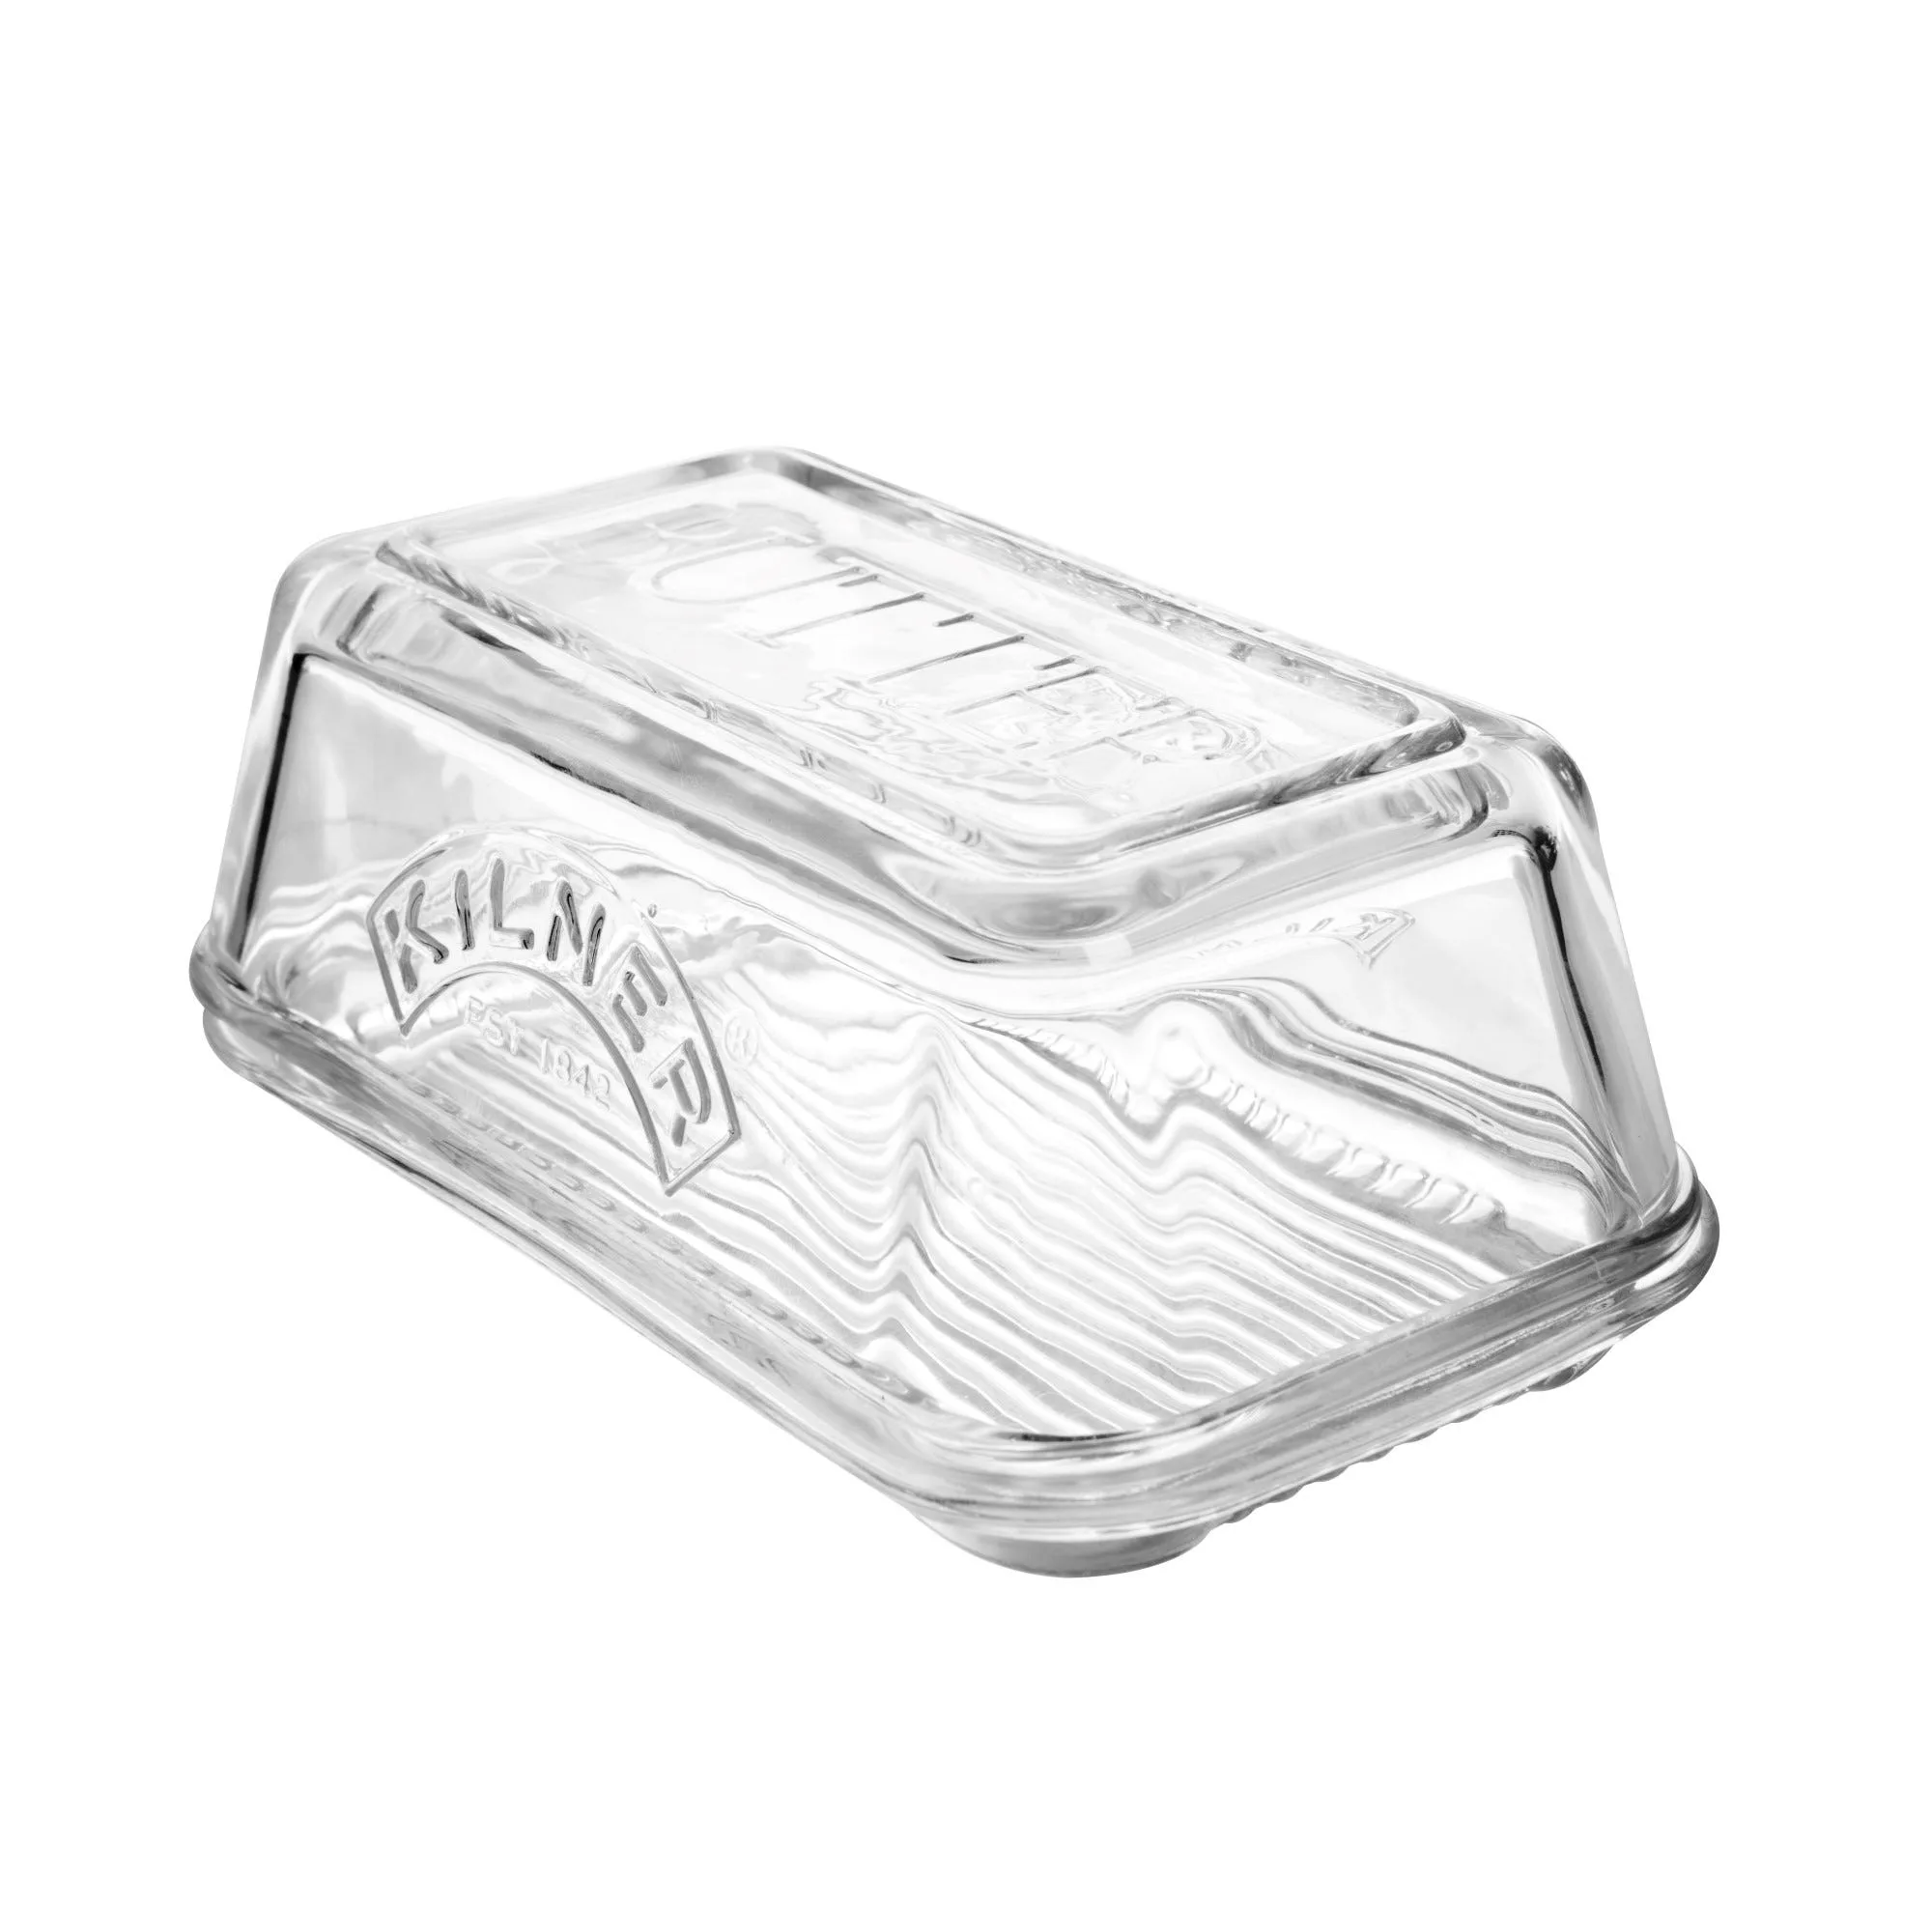
Kilner® butter churner
Making your own butter is surprisingly simple and rewarding. With a Kilner® butter churner, you can turn fresh cream into rich, creamy butter in about 20 minutes. This guide walks you through the entire process, from choosing the right cream to storing your finished butter.
Whether you are a home cook looking to impress or just curious about traditional food making, this beginner-friendly guide covers every step. You will also learn common mistakes to avoid, so your first batch turns out perfect.
What You Need to Get Started
Before you begin, gather the essentials: a Kilner® butter churner, heavy cream (ideally at least 35% fat), a fine mesh strainer, a bowl of ice water, a spatula, and a clean jar for storing the finished butter. The cream should be cold, straight from the fridge, as warmer cream can make the churning process slower and the butter softer.
You can use pasteurized cream from the store or raw cream if you have access to it. Avoid ultra-pasteurized cream if possible, as it can be harder to churn into butter. The quality of your cream directly affects the flavor, so choose a high-quality source for the best results.
- Use chilled heavy cream with at least 35% fat for best results.
- Have a bowl of ice water ready for rinsing the butter.
- A fine mesh strainer helps separate buttermilk from butter.
Step-by-Step Butter Making Process
Pour the cold cream into the churner, filling it no more than halfway to leave room for the cream to expand. Secure the lid and start turning the handle steadily. After a few minutes, the cream will thicken into whipped cream, and with continued churning, it will suddenly separate into yellow butter solids and thin buttermilk.
Once the separation happens, stop churning. Pour off the buttermilk (save it for baking or pancakes!) and rinse the butter under cold water. Rinsing removes residual buttermilk, which can cause the butter to spoil faster. Use the ice water to rinse and knead the butter with a spatula until the water runs clear.
Finally, add salt to taste if desired, then shape the butter into a block or roll. Wrap it in parchment paper and store it in the fridge. Your homemade butter will keep for about two weeks, or you can freeze it for longer storage.
- Don't overfill the churner—leave room for the cream to expand.
- Rinse the butter until the water runs clear to extend its shelf life.
- Save the buttermilk for recipes like pancakes or biscuits.
Common Mistakes and How to Avoid Them
One common mistake is using cream that is too warm. This can make the butter soft and greasy, and the churning process takes longer. Always start with cold cream and keep the churner in a cool place if possible.
Another mistake is over-churning, which can make the butter too hard and difficult to work with. Stop as soon as the butter solids separate from the buttermilk. Under-churning leaves too much buttermilk in the butter, affecting flavor and shelf life.
Finally, don't skip the rinsing step. Rinsing with ice water is essential for removing buttermilk and ensuring your butter stays fresh longer. It also helps the butter firm up nicely.
- Use cold cream and keep the churner cool.
- Stop churning as soon as the butter separates.
- Always rinse the butter thoroughly with ice water.
Step-by-Step: Making Butter with Your Kilner® Churner
- Chill the cream: Place heavy cream in the fridge for at least 2 hours before churning. Cold cream churns faster and produces firmer butter. Checkpoint: The cream should be below 50°F (10°C).
- Fill the churner: Pour the cold cream into the churner, filling it no more than halfway. Secure the lid tightly. Checkpoint: Leave enough headspace for the cream to expand.
- Churn until separation: Turn the handle steadily. After about 5–10 minutes, you will see the butter solids separate from the buttermilk. Stop immediately. Checkpoint: The butter should be in small, yellow clumps.
- Drain and rinse: Pour off the buttermilk, then rinse the butter under cold water, kneading gently until the water runs clear. Checkpoint: Clear water means all buttermilk is removed.
- Salt and shape: Add salt to taste, then shape the butter into a block or roll using a spatula or your hands. Checkpoint: Shape it while it is still cold and pliable.
- Store properly: Wrap the butter in parchment paper and store in the fridge for up to two weeks, or freeze for longer. Checkpoint: Label and date the butter before freezing.
Kilner® Products That Complement Your Butter Making
- Kilner® Storage Jar & Fine Grater 0.25 Litre: The Kilner® Storage Jar & Fine Grater makes it incredibly easy to grate nutmeg, garlic, ginger, parmesan cheese and zests from citrus fruits. Ideal for food preparation, bakin Add a pinch of freshly grated nutmeg or garlic to your butter for a quick, flavorful compound butter. This jar and grater combo also stores your finished butter.
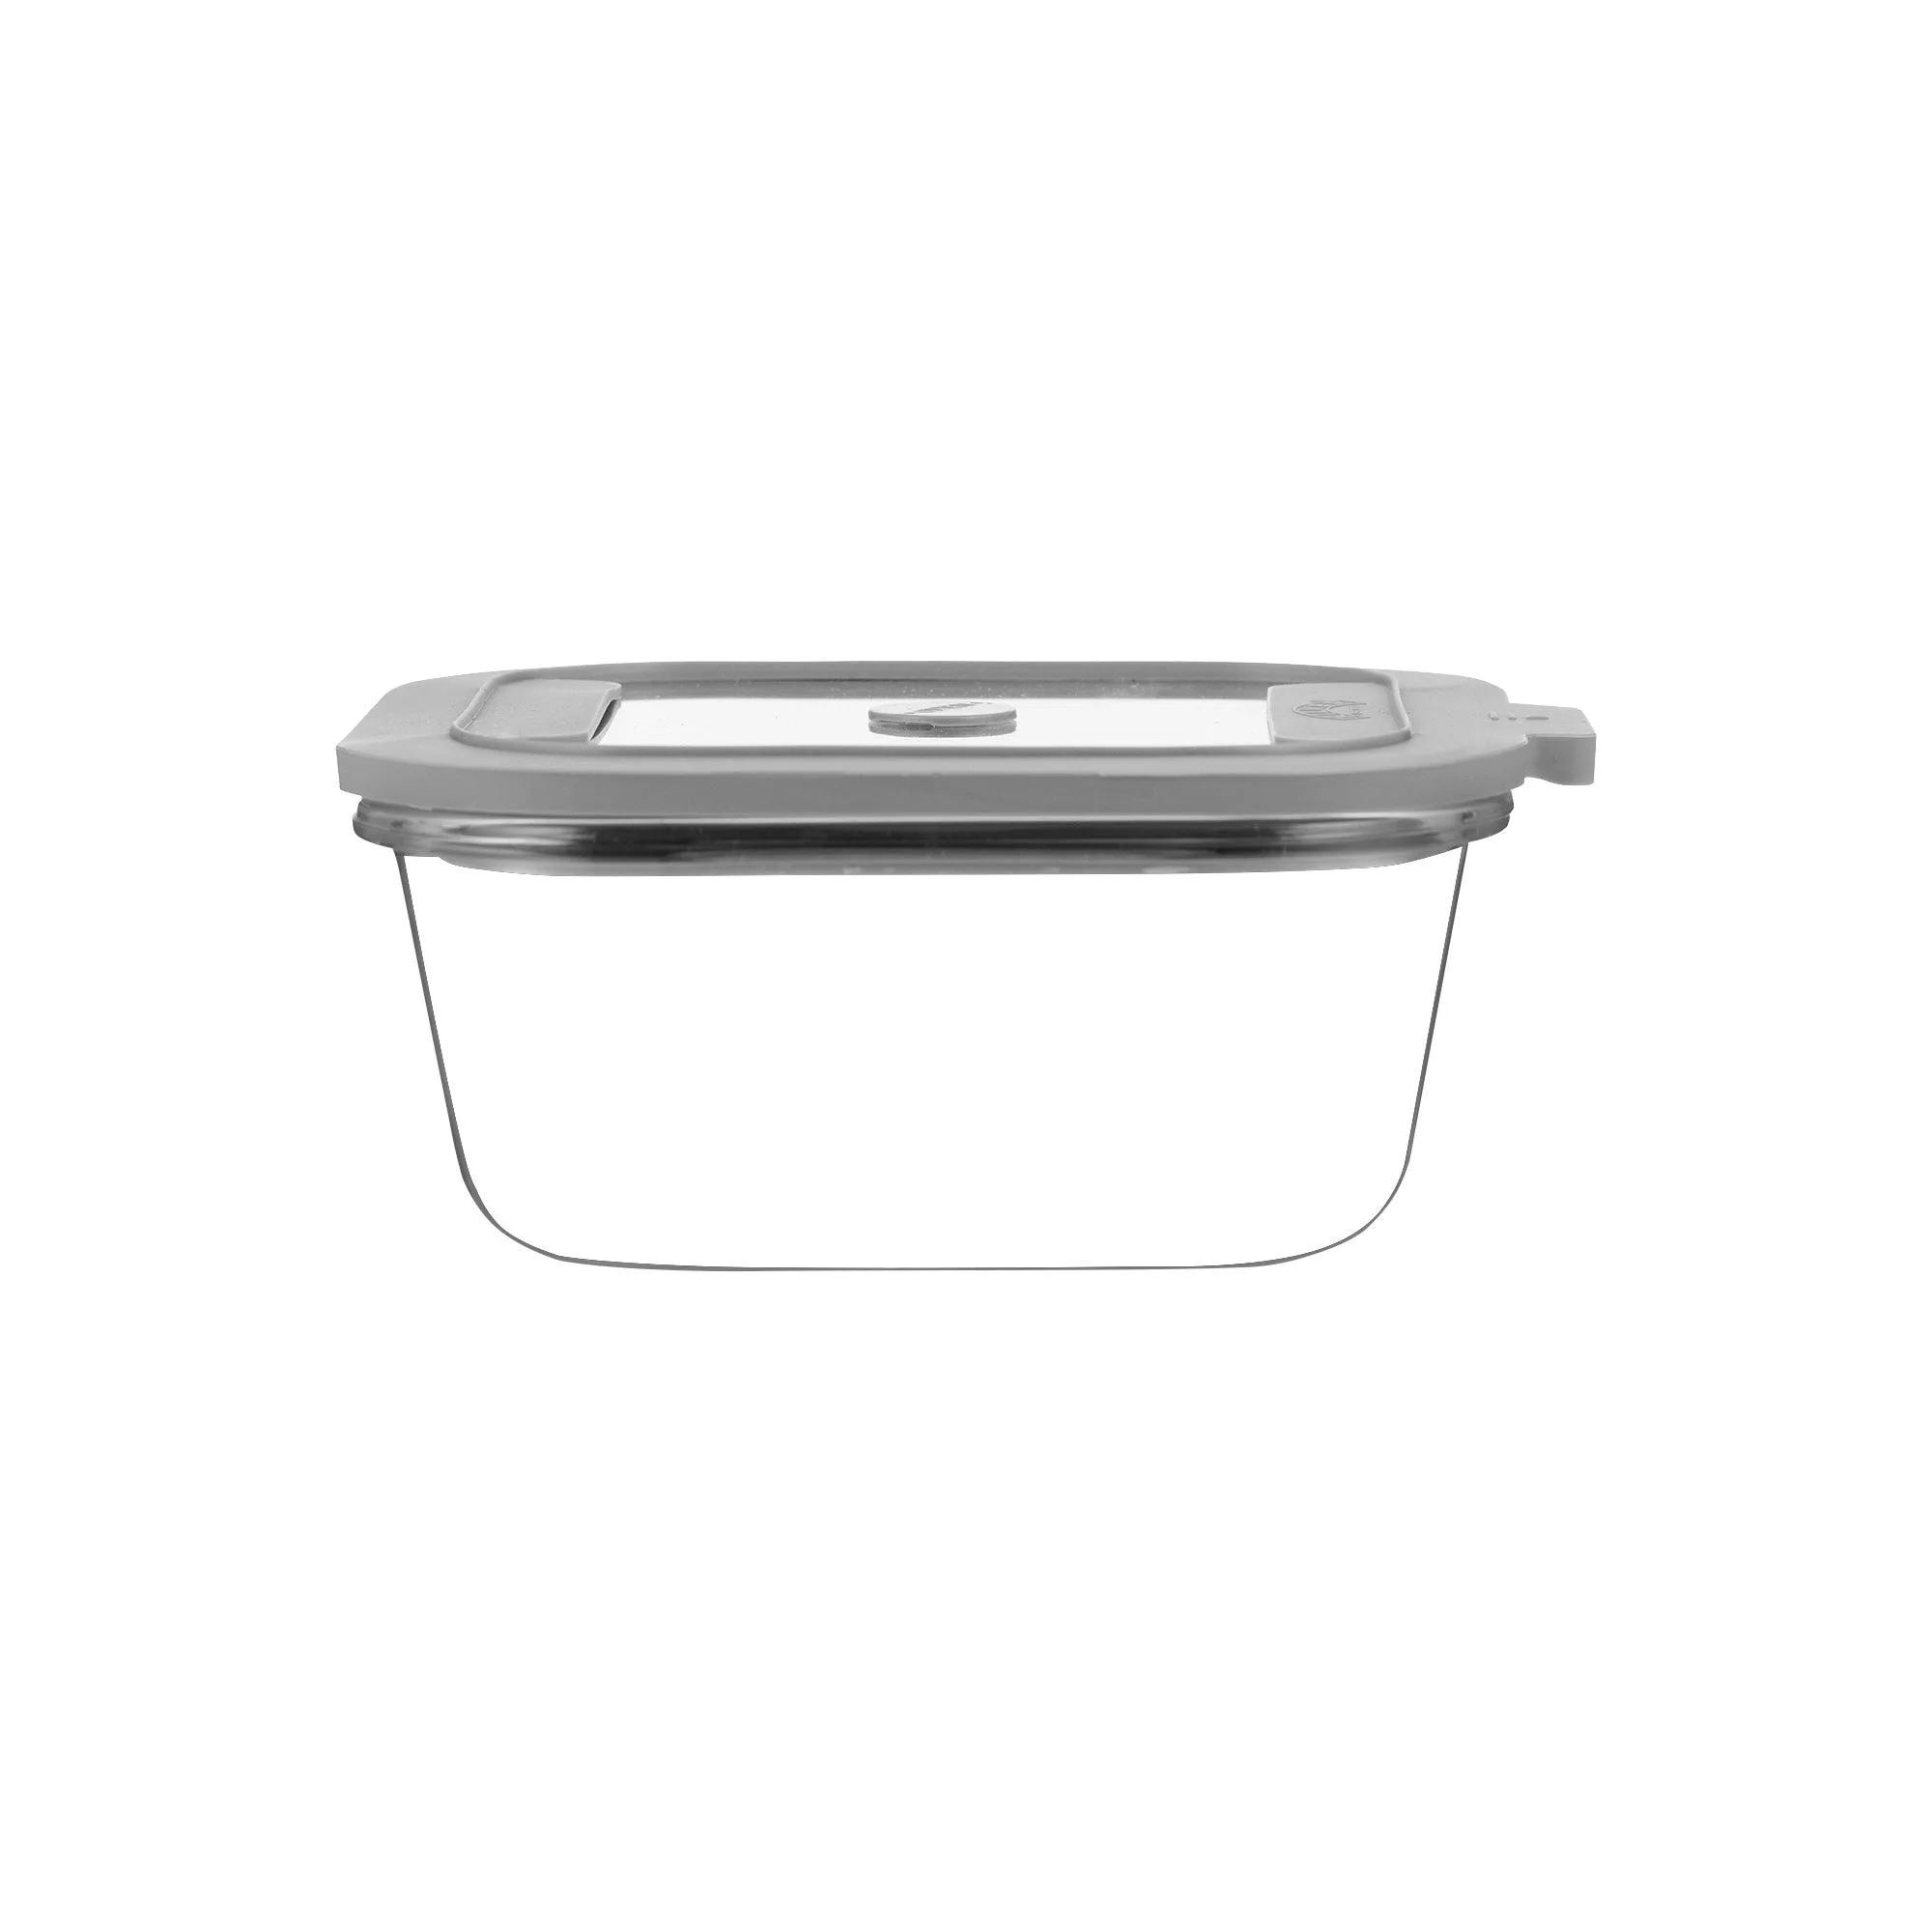
- Kilner® New 1.5 Litre Rectangular Fresh Storage Container: The Kilner® New 1.5 Litre Rectangular Fresh Storage Container offers a practical and stylish solution for keeping your food fresh. Designed with the iconic quality you expect from Kilner®, this container is ideal for storing a variety of ingredients in your kitchen.1.5 litre capacity provides ample space for storing dry goods, leftovers, or meal prep.Rectangular shape allows for efficient use of shelf and fridge... Use this container to store your homemade butter or keep extra cream chilled and ready for your next batch. Its rectangular shape fits neatly in the fridge.
Making homemade butter with a Kilner® butter churner is a fun and satisfying kitchen project. With the right cream and a little patience, you can enjoy fresh, creamy butter that tastes far better than store-bought. Store your creation in a Kilner® container to keep it fresh, and don't forget to save the buttermilk for your next batch of pancakes.