Quick answer
Start by planning your Hobonichi WEEKS sticker layout on a scrap sheet, then work in layers: washi tape first, large stickers second, small accents last. Keep functional space for writing, and seal the finished spread with a wax seal or a final washi strip. This order prevents mistakes and keeps your weekly planner readable.
Decorating a Hobonichi WEEKS planner is a balance between making it pretty and keeping it usable. The weekly spread is narrow, so every sticker you place affects how much room you have for appointments, to-dos, and notes. A little planning goes a long way.
This guide walks you through a repeatable seven-step process for a clean sticker spread. You will learn where to place large and small stickers, how to test placement without damaging pages, and which supplies make the job easier. The goal is a layout you enjoy looking at and can still write in every day.
Why planning your sticker layout matters
A Hobonichi WEEKS page is smaller than a standard A5 planner, so stickers can quickly crowd out writing space. Before you peel anything, decide which areas need to stay clear for daily entries. A common mistake is covering the entire left column with decorations, then realizing you have nowhere to write your Monday tasks.
Think of your layout in zones: a functional zone for writing, a decorative zone for large stickers, and an accent zone for small details. This mental map keeps your spread balanced and prevents you from sticking something you will regret later.
- Use a pencil to lightly mark where you want to write before placing any stickers.
- If you are unsure, test the layout on a scrap sheet first.
Step 1: Gather your supplies and test on scrap paper
Before touching your planner, pull together the stickers and tools you plan to use. For a Lil' Toy Story theme, you might choose a sheet of Lil' Frozen Stickers or Lil' Raged Stickers for character accents. Both are quarter-sized sheets (3.5 x 4.5 inches) printed on non-removable vinyl matte paper, so they are not repositionable once pressed down.
Because these stickers are not removable, always test your arrangement on a scrap sheet of paper first. Cut or tear a piece the same size as your weekly spread, then lay out your stickers without peeling them. This lets you adjust spacing and see how the colors work together before committing.
- Checkpoint: If a sticker overlaps a spot where you need to write, move it before peeling.
- Keep a pair of sticker tweezers handy for precise placement.
Step 2: Lay down washi tape as a base layer
Washi tape is the easiest way to add color without committing to a permanent sticker. It is also removable, so you can lift and reposition it if you change your mind. Start by placing a strip along the top or bottom edge of the weekly spread to frame the page. You can also use short pieces to create a divider between days.
For a soft, pastoral look, Washi Tape - Lil' Pasture Pals Collection works well. It is printed on traditional rice paper and designed to be easily removable without leaving sticky residue. Each roll measures 10 meters, so you have plenty for multiple spreads. Remember that the complete set does not include the diecut washi, so plan your design accordingly.
- Mistake to avoid: Pressing washi tape down too firmly before you are sure of the placement.
- Use a credit card edge to smooth out air bubbles.
Step 3: Place large stickers in the decorative zone
Once your washi base is set, add the largest stickers first. This gives you a focal point and prevents small stickers from getting lost. In a Hobonichi WEEKS layout, a large sticker often works best in the top corner of the weekly spread or centered on the monthly calendar page.
If you are using Lil' More Sailor Scouts Stickers, these are also quarter-sized sheets with hand-drawn artwork. Because they are kiss-cut and ready to peel, you can lift individual designs easily. Place one or two larger characters in your decorative zone, leaving the rest of the page open for writing.
- Checkpoint: Step back and look at the spread from arm's length to check balance.
- Avoid placing large stickers over the date numbers or grid lines you need to read.
Step 4: Add small accents and functional stickers
Small stickers are perfect for marking important tasks, paydays, or reminders. Use them sparingly so they do not compete with your large focal stickers. A good rule is to limit yourself to three to five small accents per weekly spread.
If you want a coordinated set, Vinyl Sticker - Lil' Fox Festival (Set of 8) gives you eight matte vinyl stickers, each measuring about 3 inches at the longest length. These are waterproof, weatherproof, and UV-resistant, so they hold up well on planner covers or tabs as well as inside pages. For inside your planner, you can also use Lil' Frozen Stickers for tiny seasonal accents.
- Mistake to avoid: Overloading the page with too many small stickers, which makes it look cluttered.
- Group small stickers in odd numbers for a more natural look.
Step 5: Seal and finish with a wax seal or final washi strip
A wax seal adds a tactile, vintage touch to your planner spread. You can use it on a dashboard page, a divider, or even on the cover of a notebook. The Wax Seal - Blank Rectangle Stamp (28mm) is a brass metal stamp head that is laser engraved. Note that you will need a handle to use the stamp, and the stamp head is sold separately from the handle.
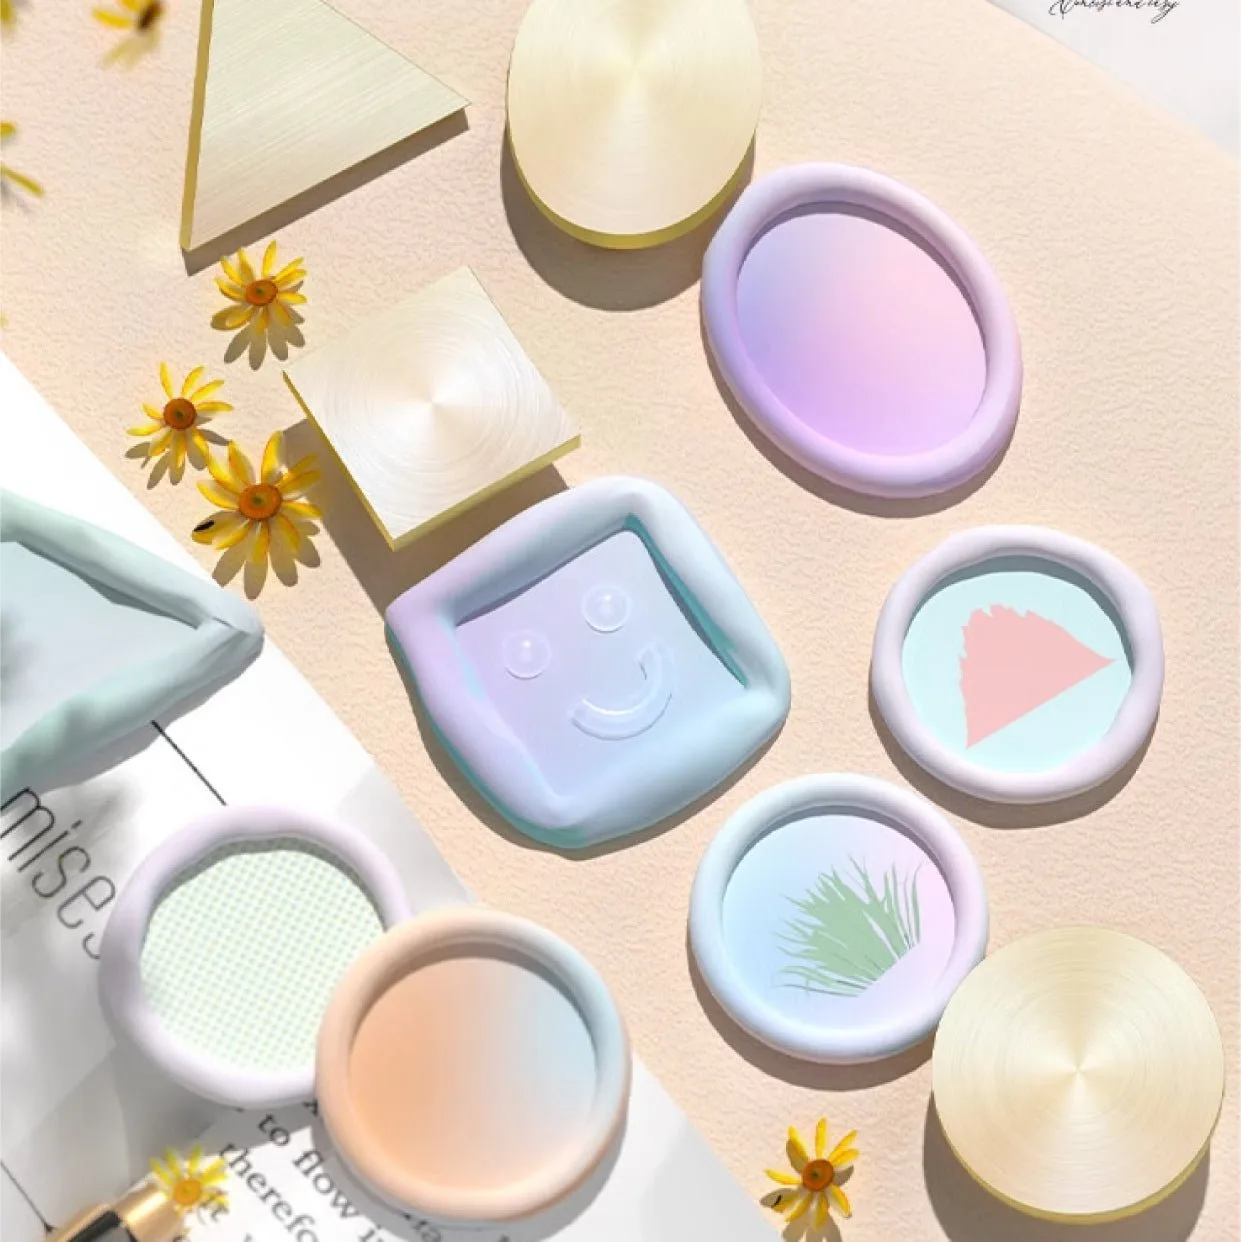
Wax Seal - Blank Rectangle Stamp (28mm)
If you prefer a simpler finish, add a final strip of washi tape along the edge of the page or create a small tab. This ties the layout together and covers any uneven edges from stickers. Let the wax cool completely before closing your planner to avoid smudging.
- Checkpoint: Test your wax seal on a scrap envelope first to get the timing right.
- Keep the seal small so it does not add too much bulk to the planner.
Step 6: Review and adjust before you write
Before you start writing your schedule, take a final look at the spread. Check that all important areas are clear and that no stickers are peeling at the edges. If you used non-removable stickers, press them down firmly now. If something feels off, you can still add a small washi tape strip to cover a mistake.
This is also the time to make sure your layout works for the week ahead. If you have a busy week, you may want fewer decorations. If it is a light week, you can add more. Adjust as needed before committing with pen.
- Mistake to avoid: Writing before checking that stickers are secure.
- Use a fine-tip pen that will not smudge on sticker surfaces.
Seven-step sticker layout process
- Gather and test: Collect your stickers, washi tape, and tools. Test the arrangement on a scrap sheet the same size as your weekly spread before peeling anything. Checkpoint: If a sticker covers a writing area, move it now.
- Lay washi base: Place removable washi tape along edges or as dividers. Press lightly so you can reposition if needed. Mistake to avoid: Pressing too firmly before you are sure of the placement.
- Add large stickers: Place your biggest stickers first in the decorative zone, such as a top corner or the monthly page. Checkpoint: View from arm's length to check balance.
- Add small accents: Use three to five small stickers for tasks or reminders. Keep them grouped in odd numbers for a natural look. Mistake to avoid: Overcrowding the page with too many small stickers.
- Seal and finish: Add a wax seal or a final washi strip. Let wax cool completely before closing the planner. Checkpoint: Test the wax seal on a scrap envelope first.
- Review and adjust: Check that writing areas are clear and stickers are secure. Make any final adjustments before writing. Mistake to avoid: Writing before checking sticker adhesion.
- Write your week: Use a fine-tip pen that will not smudge on sticker surfaces. Fill in your schedule and tasks. Next step: Repeat the process next week with a new theme.
Products that work well for this layout
- Lil' Frozen Stickers: Quarter-sized sticker sheet 3.5 x 4.5 inches, printed on non-removable vinyl matte sticker paper, kiss-cut and ready to peel. The small size fits the narrow Hobonichi WEEKS columns, and the kiss-cut design makes it easy to lift individual stickers without scissors.
- Washi Tape - Lil' Pasture Pals Collection: Printed on traditional rice paper, designed to be easily removable and leave no sticky residue. Each roll measures 10 meters long. Complete set does not include the diecut washi. You can reposition the tape while planning your layout, and the 10-meter length gives you plenty for multiple spreads. Just note that the diecut washi is not included.
- Vinyl Sticker - Lil' Fox Festival (Set of 8): Made of high quality matte vinyl that is waterproof, weatherproof, and UV-resistant. Each sticker measures about 3 inches at the longest length. These durable stickers work on planner covers, water bottles, and laptops, so you can use them beyond your weekly spread.
- Wax Seal - Blank Rectangle Stamp (28mm): Made with high quality brass metal and laser engraved. You will receive one metal wax stamp head. You will need a handle in order to use the stamp. The brass head gives a clean impression, but remember to buy a handle separately if you do not already own one.
A Hobonichi WEEKS sticker layout does not have to be complicated. By planning on scrap paper, layering washi tape first, and keeping writing space clear, you can create a spread that is both pretty and practical. Adjust the steps to fit your own style, and enjoy the process of decorating your weekly planner.